

Page 1
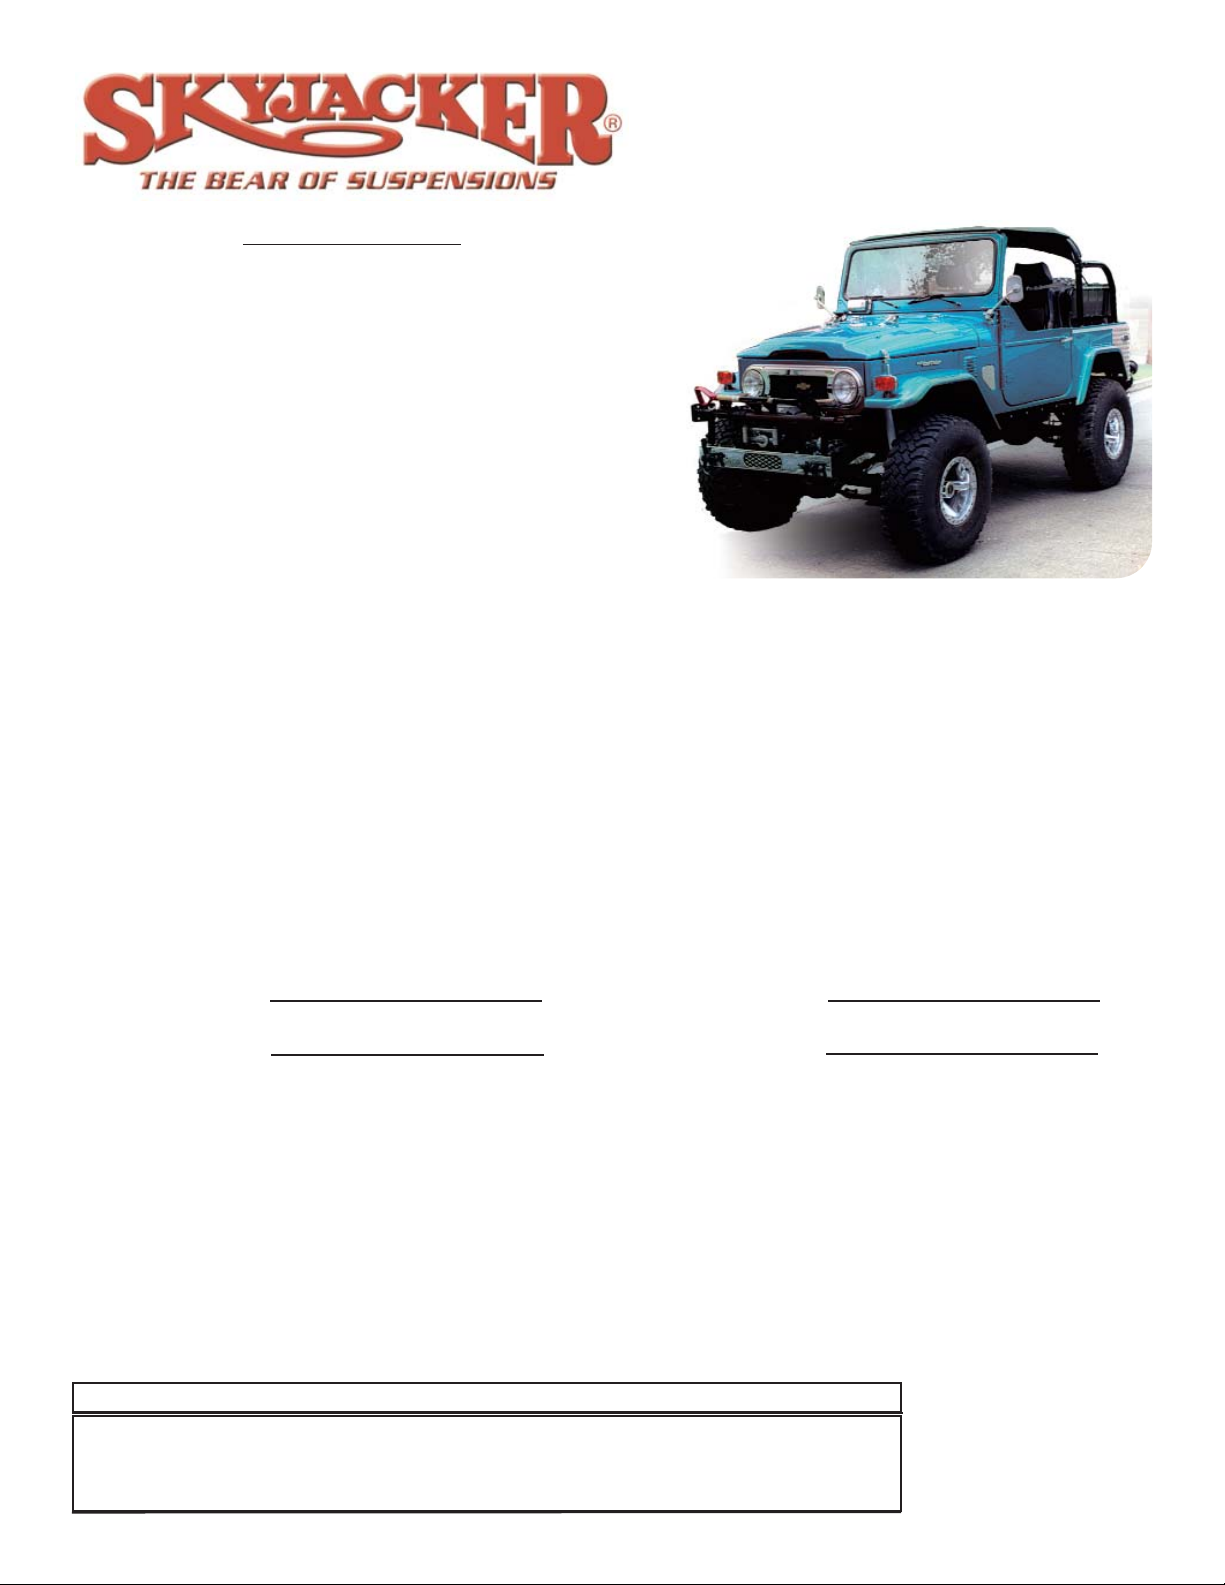
1964-1980 FJ40 LandCruiser 4WD
Installation Instructions
Part # L20KS & L40KS
I-TL 7-03 Pg 1
Before beginning the installation, read these instructions and the enclosed driver’s WARNING
NOTICE thoroughly and completely. Also affix the WARNING decal in passenger compartment in
clear view of all occupants. If any of these items are missing from this instruction packet, do not proceed with installation, but call SKYJACKER®to obtain needed items. If you have any questions or
reservations about installing this lift kit, call SKYJACKER®at 318-388-0816 for Technical Assistance
or Customer Service departments.
Make sure you park the vehicle on a level concrete or asphalt surface. Many times a vehicle is un
level (side-to-side) from the factory, but usually not noticed until a lift kit has been installed which
makes the difference more visible. Using a measuring tape, measure the front and rear (both sides)
from the ground up to the center of the fender opening above the axle. Record below for future reference.
Driver Side Front: Passenger Side Front:
Driver Side Rear: Passenger Side Rear:
IMPORTANT NOTES:
• Please refer to Parts List to insure that all parts and hardware are received prior to disassembly of
vehicle. If any parts are found to be missing, contact your dealer as soon as possible.
• After installation occurs, a qualified alignment facility is required to align the vehicle to factory
specs.
REQUIRED TOOL LIST:
* Metric and Standard wrenches and sockets
* Floor Jack
* Jack Stands
* Measuring Tape
* Torque Wrench
Note: 2” Lifts require 2 Front springs Part # L20FS, 2 Rear Springs Part # L20RS
Note: 4” Lifts require 2 Front springs Part # L40FS, 2 Rear Springs Part # L40RS
Contents: Box Kit Part # L24S
Part # Description Qty
916X314X712U 9/16 X 3 1/4 X 7 1/2 U-BOLT 7
916X314X912U 9/16 X 3 1/4 X 9 1/2 U-BOLT 1
SP2032 TOY LANDCRUISER SPRING BUSHING 16
916FTN 9/16-18 NYLON INSERT LOCKNUT 16
Page 2

TO INSTALL FRONT:
1.Apply a thin coat of grease to the polyurethane bushings and insert into each eye of new front
springs. Now apply a thin coat of grease on outside of bushings.
2.Raise front of vehicle and support securely with jack stands under the frame behind front springs
and block the rear wheels. Remove the tires, shocks, and u-bolts and loosen the sway bar bolts.
(CAUTION: THE FRONT AXLE WILL NOW BE FREE TO MOVE, SO SUPPORT SECURELY ON
FLOOR JACK.)
3.With a floor jack supporting the front axle, unbolt each end of leaf springs and remove from both
sides. (Note: If new shackle bushings were purchased, grease and install them in the frame at this
time.) Install new springs-Notice the tie bolt in the new front leaf springs is not in the center of the
leaf spring, but there is a long end and a short end. Install the springs with the short end towards
the rear and longer end towards the front bumper. (NOTE: Do NOT tighten spring eye bolts at this
time.)
4.Using the floor jack, lower the front axle down to leaf springs. Be sure tie bolts align and fit into the
tie bolt holes in the axle housing. Install and tighten new u-bolts.
5.Install new shocks and tires then lower vehicle to ground. Tighten spring eye bolts at this time.
NOTE: The drag link that goes along side of the frame from the gearbox to the bell crank may
require slight bending for clearance of the new shock. Bending this drag link will not affect it, but
do not kink the bar.
TO INSTALL REAR:
6.Raise rear, support securely with jack stands and block the front wheels. Remove the tires, shocks
and u-bolts. (CAUTION: the rear axle will now be free to move, so support securely on floor jack.)
7.Apply a thin coat of grease to the polyurethane bushings and insert into each eye of new rear
springs. Now apply a thin coat of grease on outside of bushings.
8.With a floor jack supporting the rear axle, unbolt each end of rear leaf springs and remove from
both sides. (Note: If new shackle bushings were purchased, grease and install them in the frame
at this time.) Install new springs-Notice the tie bolt in the rear leaf springs is not in the center of
the leaf spring, but there is a long end and a short end. Install the springs with the short end
towards the front and longer end towards the rear bumper. (NOTE: Do NOT tighten spring eye
bolts at this time.)
9.Using the floor jack, lower the rear axle down to leaf springs. Be sure tie bolts align and fit into the
tie bolt holes in the axle housing. Install and tighten new u-bolts, shocks and tires then lower vehicle to ground. Tighten spring eye bolts at this time.
Installation is now complete. Check brake line length, and if they seem too short, longer stainless
steel lines are available from Skyjacker.
To readjust steering before driving: The steering wheel can be adjusted by adjusting the drag link.
Adjust each end of the drag link out making the link longer being sure that the drag link ends do not
come past the clamps.
NOTICE: Retorque ALL nuts, bolts and especially u-bolts after first 100 miles, again after another
100 miles, and check periodically thereafter.
If the vehicle sits unlevel the following can be checked: 1) be sure all of the polyurethane bushings
were greased well so that they will not restrict spring movement; 2) check the condition of the shackle bushings in the frame (if not replaced with new ones) to be sure they are not worn, and if so, they
should be replaced with new poly bushings, available from Skyjacker; 3) check the body bushings
between frame and body to be sure they are not worn; 4) to be sure that the poly bushings are not
restricting the spring from being at the correct ride height, loosen ( do not remove) the spring eye
and shackle eye bolts, then stand on the bumpers and bounce the vehicle up and down vigorously
to free up the bushings and then retighten spring eye and shackle eye bolts. If the vehicle sat unlevel before, then it will most likely continue to sit unlevel now.
Pg 2
 Loading...