

Page 1
A PERSONAL MESSAGE FROM OUR CEO
When I shop, I am not just buying a product or
service. I purchase why that brand focuses on
what they do, what their corporate philosophy is,
the quality of their products, and whether or not
my personal core values align with that brand’s
vision. When I don’t feel great about a company’s
brand, products, or how I’m being treated as a
customer, then I know they are not delivering on
what matters most: exceeding the customer
expectation by delivering happiness with their
products, quality, and service.
This primary focus is what drives our culture at
Team SkyBound. For supporting our vision, we
would like to personally thank you for trusting us
to deliver happiness to you and your family!
-Kiki (CEO) & Team SkyBound
“Nurturing the inner-child in all of us by
uniting communities worldwide and
promoting an active lifestyle.”
For customer service, please contact:
888-891-4689
Monday through Friday
8:00 am to 5:00 pm PST
or visit www.SkyBoundUSA.com
or www.TrampolinePartsCenter.com
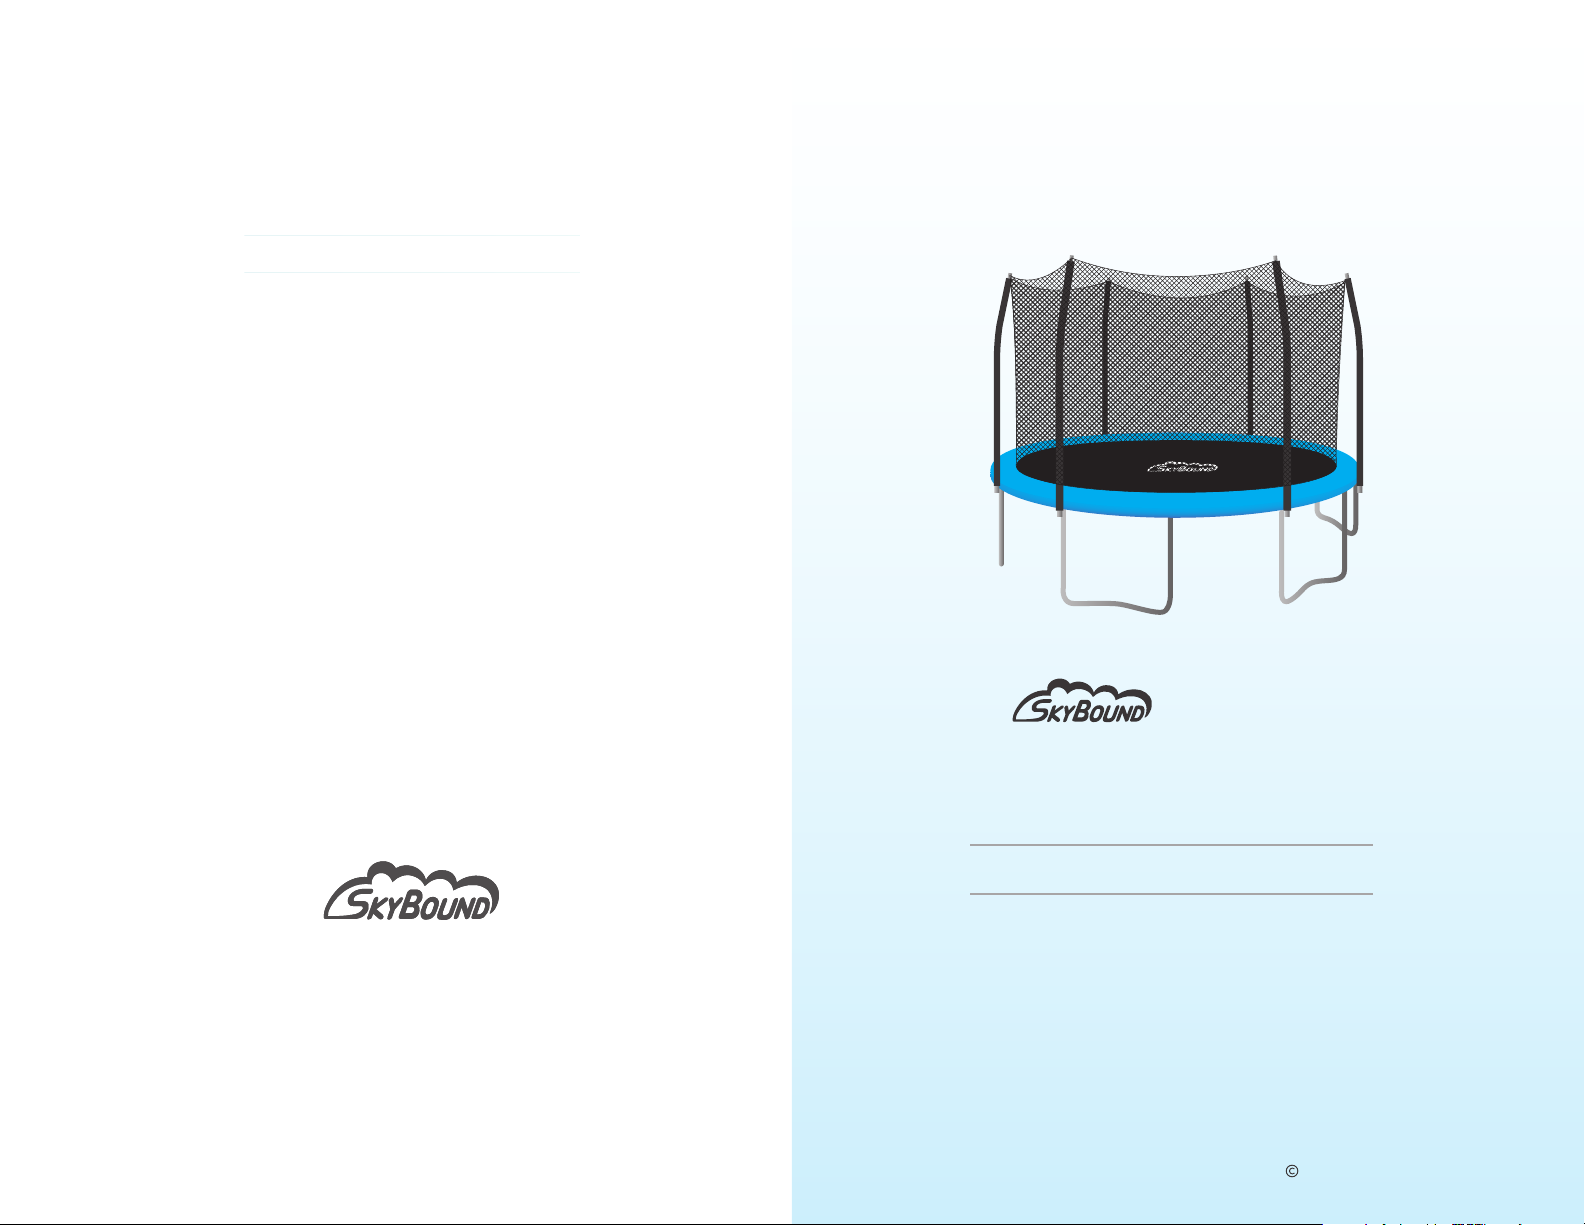
CURVED POLE
TRAMPOLINE NET
ASSEMBLY AND INSTALLATION MANUAL
www.TrampolinePartsCenter.com
2017 - 2019 FULOO LLC - ALL RIGHTS RESERVED
Page 2
PLEASE KEEP THIS MANUAL AS IT CONTAINS IMPORTANT INFORMATION
ASSEMBLY INSTRUCTIONSASSEMBLY INSTRUCTIONS
IMPORTANT SAFEGUARDS
Always enter the enclosure only through the
door of the net.High winds increase the
chance of a trampoline with enclosure being
blown over. Always secure your trampoline by
using an anchor kit. Adequate overhead
clearance is essential. A minimum of 24 ft
from the ground level is recommended.
Provide clearance for wires, trees, and other
obstacles. It is recommended for at least 2
able bodied adults to setup the trampoline net.
Read the following
instructions and warning to
ensure the trampoline is
safe to use and lasts as long
as possible, follow all
assembly and maintenance
instructions at all times.
CURVED POLE
ENCLOSURE NET
REMOVING THE OLD NET
CARE AND MAINTENANCE
While every attempt is made to ensure the
highest degree of quality and protection in all
equipment, we cannot guarantee complete
exemption of injury. The user assumes all
responsibility of injury due to use of this
equipment. All merchandise is sold on this
condition, and all equipment is used at the
consumers risk.
LIABILITY
Always inspect your trampoline and enclosure
before each use and regularly replace any
worn, defective, or damaged parts.
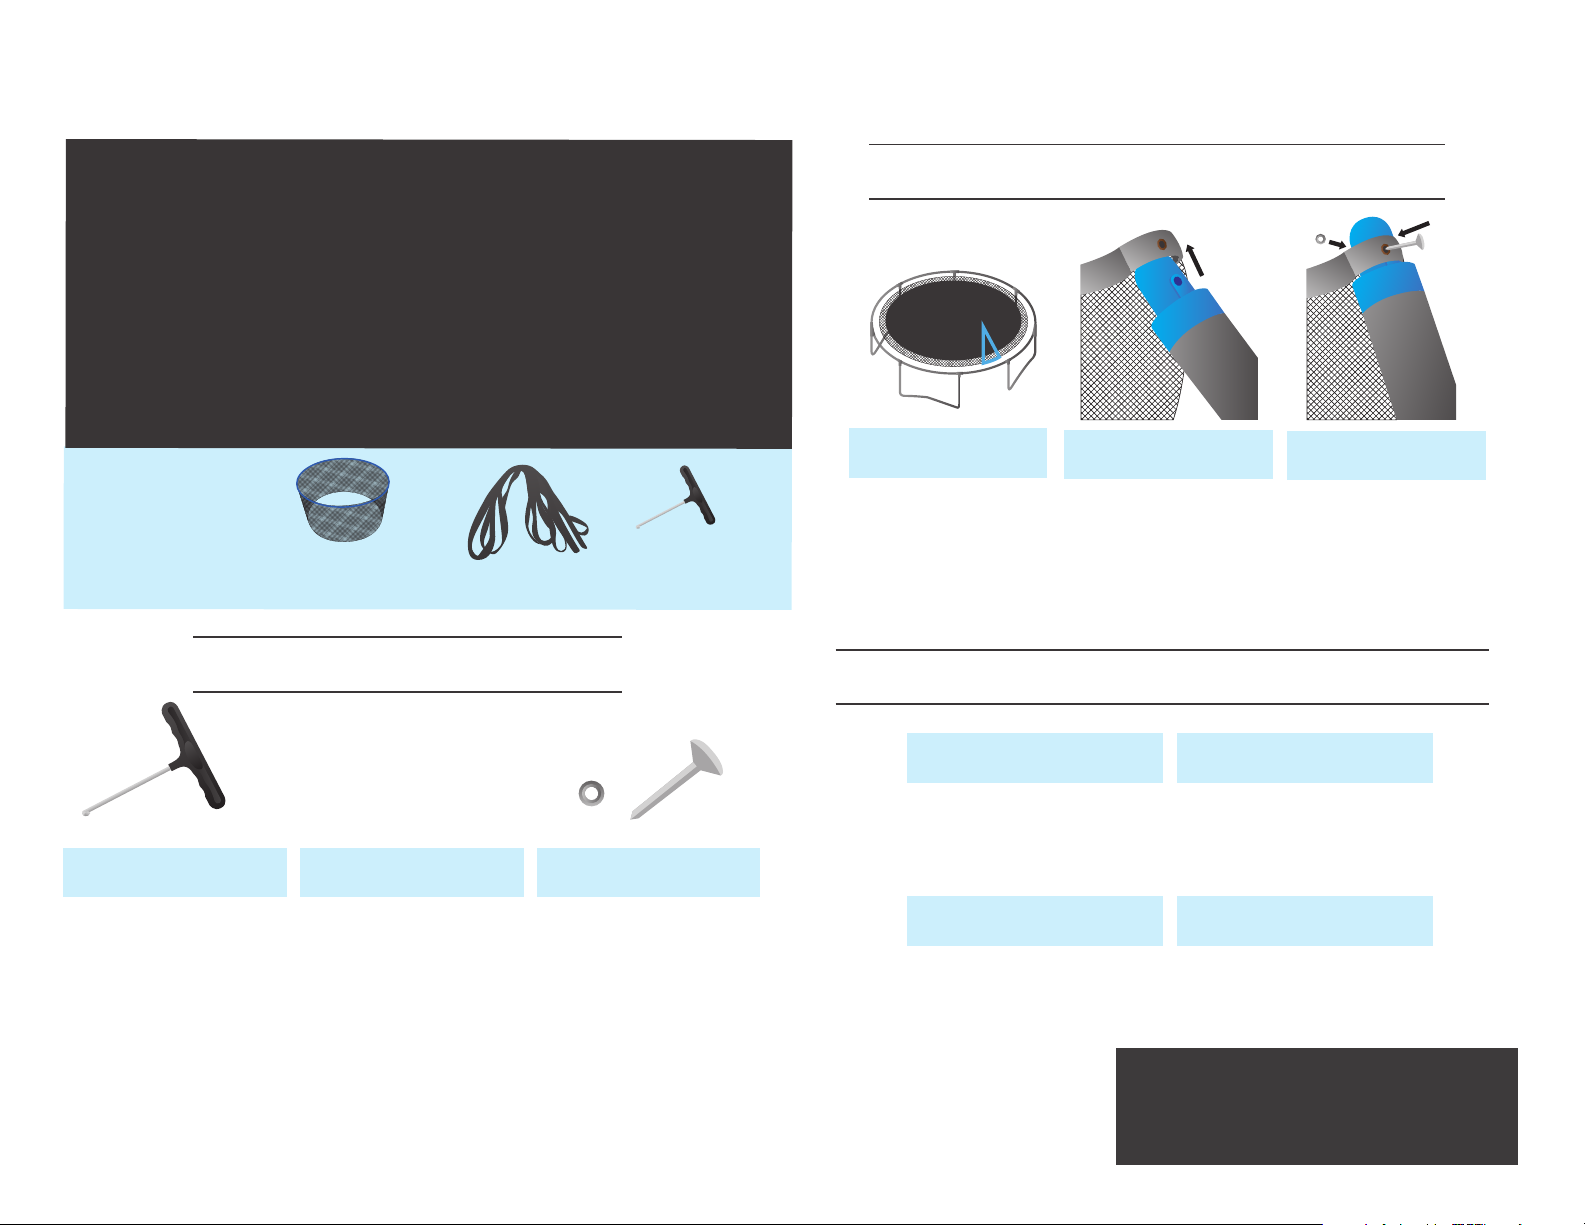
TOOLS NEEDED:
Spring Tool
ROPE x8
ATTACHING THE TOP OF THE NET
STEP 1
Start by nding the Net
Door and placing it in
the middle of the
Trampoline Legs.
STEP 2
Attach the top of the net to
the poles by placing the
Straps over the Pole Caps.
Do not tie the straps yet.
STEP 3
Secure the Straps to the
Pole Caps byputting he
Thumbscrew through the
Grommet and Pole Cap
and securing by putting
the Nut on the end of the
Thumbscrew.
ATTACHING THE BOTTOM OF THE NET
STEP 1 STEP 2 STEP 3
Use a spring tool to unhook
one spring and remove the
net from the V-Ring and then
reattach the V-Ring to the
frame.
Repeat steps 1 and 2 for the
rest of the springs to remove
the remaining parts of net.
Note: The mat must be
attached to the frame of the
trampoline for safety reasons.
Once the bottom of the net
is removed from the Frame,
remove the top of the net
by untying the Straps and
then removing the
Thumbscrews from the
Pole Caps. If necessary,
use a ladder to reach the
top of the Enclosure Pole.
STEP 1
Start by attaching the hole
that is closest to the Net
Door to the frame.
STEP 2
Using a spring tool, unhook
the spring that corresponds to
the previously mentioned hole.
STEP 3 STEP 4
Put the V-Ring of the mat through
the hold of the net and reattach
the spring to the frame.
Repeat this process for the remaing
holes until your net is completely
attached to the trampoline.
SkyBound, a Fuloo, LLC Company.
SkyBound is a registered trademark of Fuloo, LLC in
the U.S. and other countries. All logos, names,
characterse, likenesses, images, slogan, and
packaging appearance are the property of SkyBound.
 Loading...