

Page 1

ŠkodaAuto
AUTORÁDIO SYMPHONY
AUTORADIO
CAR RADIO
Page 2

1
GENERAL VIEW 2
BRIEF OPERATING INSTRUCTIONS 3
IMPORTANT INFORMATION 5
RADIO MODE 6
CASSETTE MODE 15
CD CHANGER MODE 17
SETTINGS 18
THEFT PROTECTION
CODING 21
HINTS 23
BRIEF TECHNICAL
DESCRIPTION 24
CE
This unit corresponds to the EMV
protective requirements (EC directives
89/336 EWG and 93/68/EWG) according
to the EN 55013 and EN 55020 norms.
CONTENTS
GB
F
I
NL
E
P
PL
Page 3

GENERAL VIEW
2
ANTENNE
TP
ANTENNE
TP
›1›
2
›
3
›
5
›
11
›
10
›
13
›
18
›
19
›
20
›
14
›
16
›
15
›
6
›
7
›
9
›
4
›
17
›
8
›
12
Page 4

GB
BRIEF OPERATING INSTRUCTIONS
3
Pos.................................................... Page
1 – Control knob/push button ................ 6
– Switch on/off: press the button.
– Volume control: turn the knob.
– Tone control: press the tone control
button
2 then turn the control knob.
– Tone balance: press the tone balance
button
3 then turn the control knob.
2 – AUD – Tone control button .............. 9
Press the tone control button and turn
the control knob/push button
1 to
change the setting.
– 1 pressure: bass control (BASS)
– 2 pressures: treble control (TRE)
3 – GEO – Tone balance button .......... 10
Press the tone balance button and
turn the control knob/push button
1 to
change the setting.
– 1 pressure: fader (FAD)
– 2 pressures: balance (BAL)
5 – ij– Dolby® button ........................ 15
Serves for switching on and off the
Dolby® noise reduction system.
Pos.................................................... Page
7 – Autoreverse/
cassette ejection ............................ 15
Brief pressure: autoreverse.
Long pressure: cassette ejection.
9– Cassette compartment ................... 15
ßI – A/F button ........................................ 7
Serves for switching between the FM
1/2 and AM 1/2 ranges, or between
CC or CD mode and radio mode.
ß? – TP button ....................................... 12
Briefly pressing this button switches
on the traffic programme functions.
Pressing this button a longer time displays the Setup menu.
ß` – Station search rocker button .......... 14
Briefly press the rocker button to
start a station search cycle in the AM
range.
When in the FM range, you can scroll
through the memory list.
Pos.................................................... Page
ßQ – AIM button ..................................... 12
The AIM function serves for storing and
playing back traffic announcements.
Playback is started by pressing the AIM
button.
– With the radio switched on, every
traffic announcement is recorded.
ßW – C/D button .................................. 7/17
Briefly press this source selection
button to change the programme
source with a cassette inserted or a
CD changer connected.
ßR – Station buttons .............................. 13
for 12 FM and 12 AM stations.
In CD changer mode, these buttons
serve for selecting the CDs 1 – 6.
ßZ – AS button.......................................... 7
This button serves for the automatic
storage of 6 stations in every range.
Page 5

BRIEF OPERATING INSTRUCTIONS
4
Pos.................................................... Page
ßU – Security diode ................................ 22
When the radio is switched off and
the ignition key is removed, this diode
will flash to signal that the car radio is
theft-protected by a code system.
´I – SCN button ...................................... 7
Pressing this button briefly plays
stations in radio mode or titles in
cassette or CD mode.
Display
4 – TP indication .................................... 2
6 – DOLBY B NR.................................... 2
8 – Station button indication .................. 2
ßE – Waveband ....................................... 2
ßT – Station name ................................... 2
Manufactured under license from Dolby
Laboratories.
"Dolby" and the double-D symbol are
trademarks of Dolby Laboratories.
Page 6

GB
Operation while driving CD mode
IMPORTANT INFORMATION
5
The requirements in today’s road traffic
call for the full attention of the road users
at any time.
The comprehensive and pretentious
features of modern car radios offer a lot
of information about traffic and road conditions besides an abundance of entertainment.
However, the radio system with its
many functions should only be operated if the traffic situation allows for
this.
For example, changing cassettes or reading a cassette label while driving has
already often led to dangerous situations.
In addition, the volume of the radio system
should always be adjusted so that you can
still safely hear outside acoustic signals.
Caution
Keep complete control of your
vehicle at all times!
This car radio offers you the convenience
of controlling the original Skoda CD changer or CD player.
Operation of these devices is described in
their separate user manuals.
Page 7
6
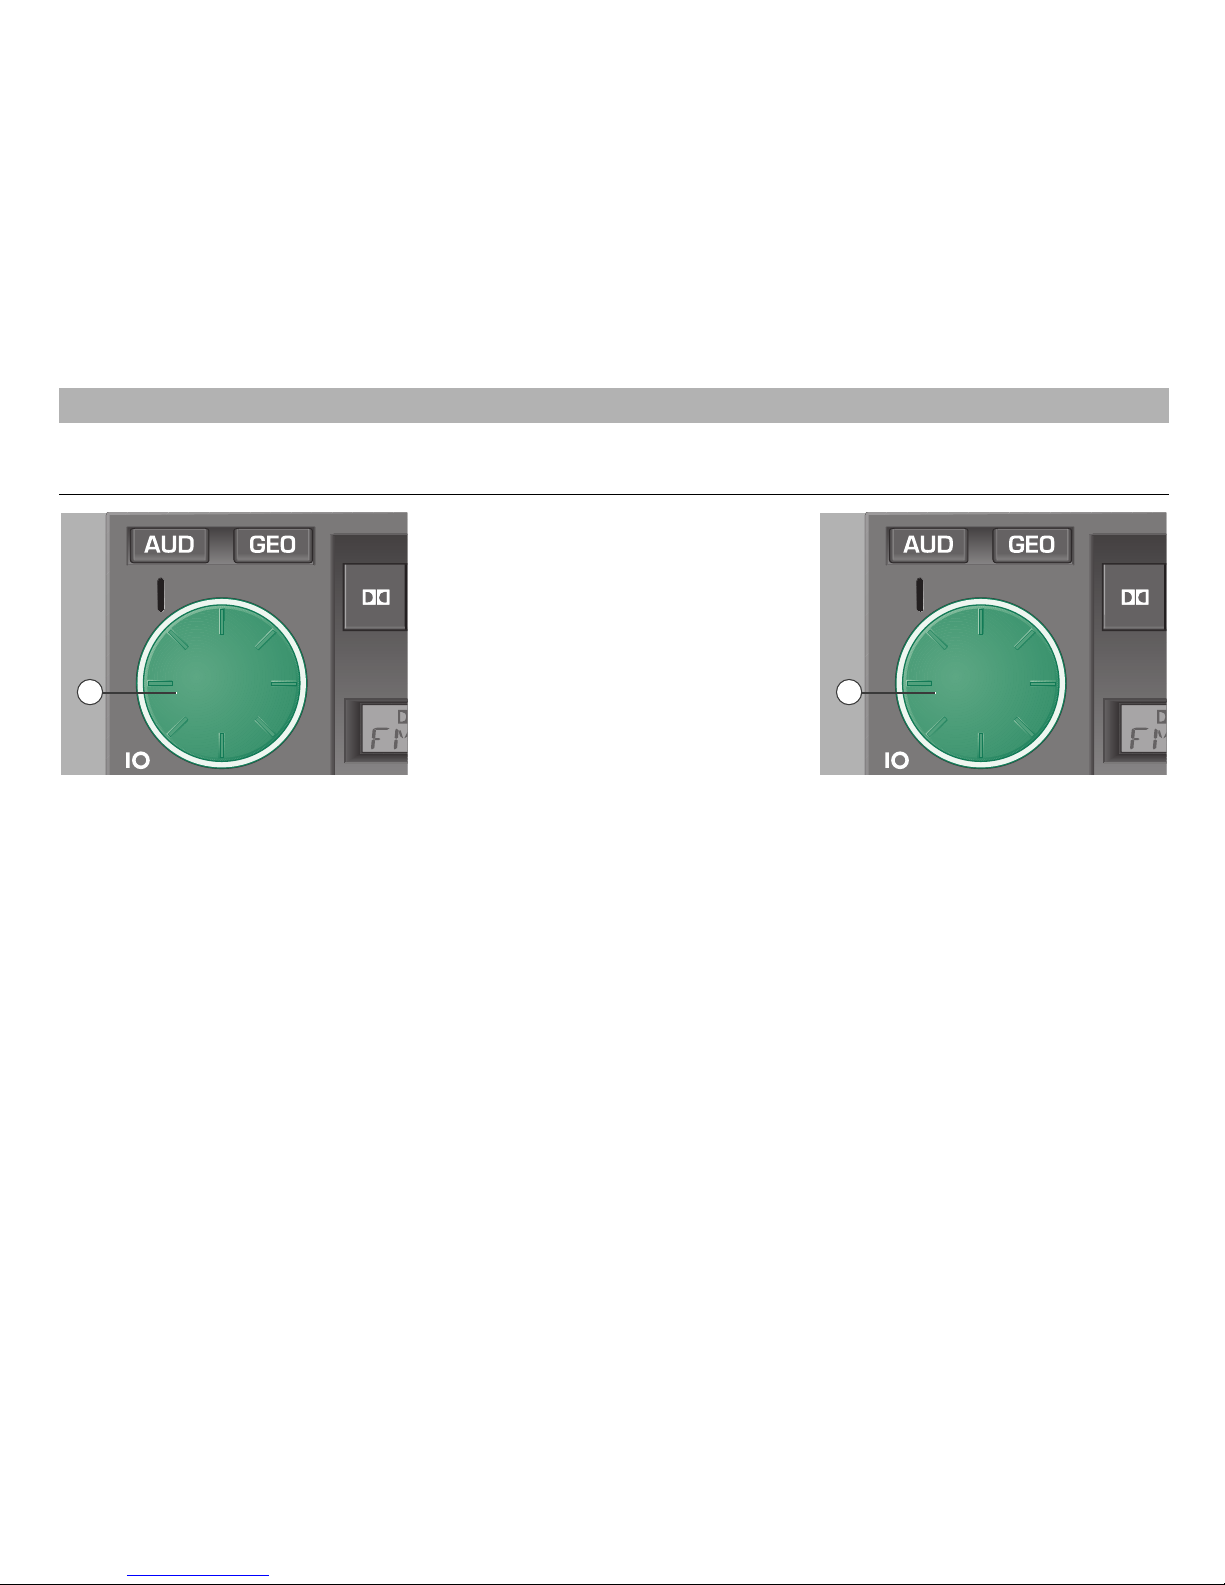
1
– Control knob/push button
This knob/button permits:
• Switching on/off
• Volume control
• Tone control
• Tone balance control
TP
Switching on/off,
volume control
Pressing the push button1switches
the radio on and off
The frequency and volume adjusted
before switching off are recovered.
If the ignition key is removed from the
ignition lock with the radio switched on,
the radio is automatically switched off.
If the ignition key is refit into the ignition
lock and turned, the radio is automatically
switched on.
If the ignition key is pulled out, you may
switch on the radio by pressing the control
knob/push button
1
twice.
After about 1 hour the radio is automatically switched off to avoid discharging of
the car battery.
You may repeat this operation as often as
desired.
If the radio is switched off and the ignition
key pulled out, the flashing diode
ßU
signals that the car radio is equipped with an
electronic theft protection system.
If the car radio remains mute after switching on and "SAFE" appears in the display,
observe the notes from page 18.
Turning the control knob
1
allows you
to change the volume, the tone or the tone
balance settings.
TP
RADIO MODE
Control knob/push button
11
Page 8
GB
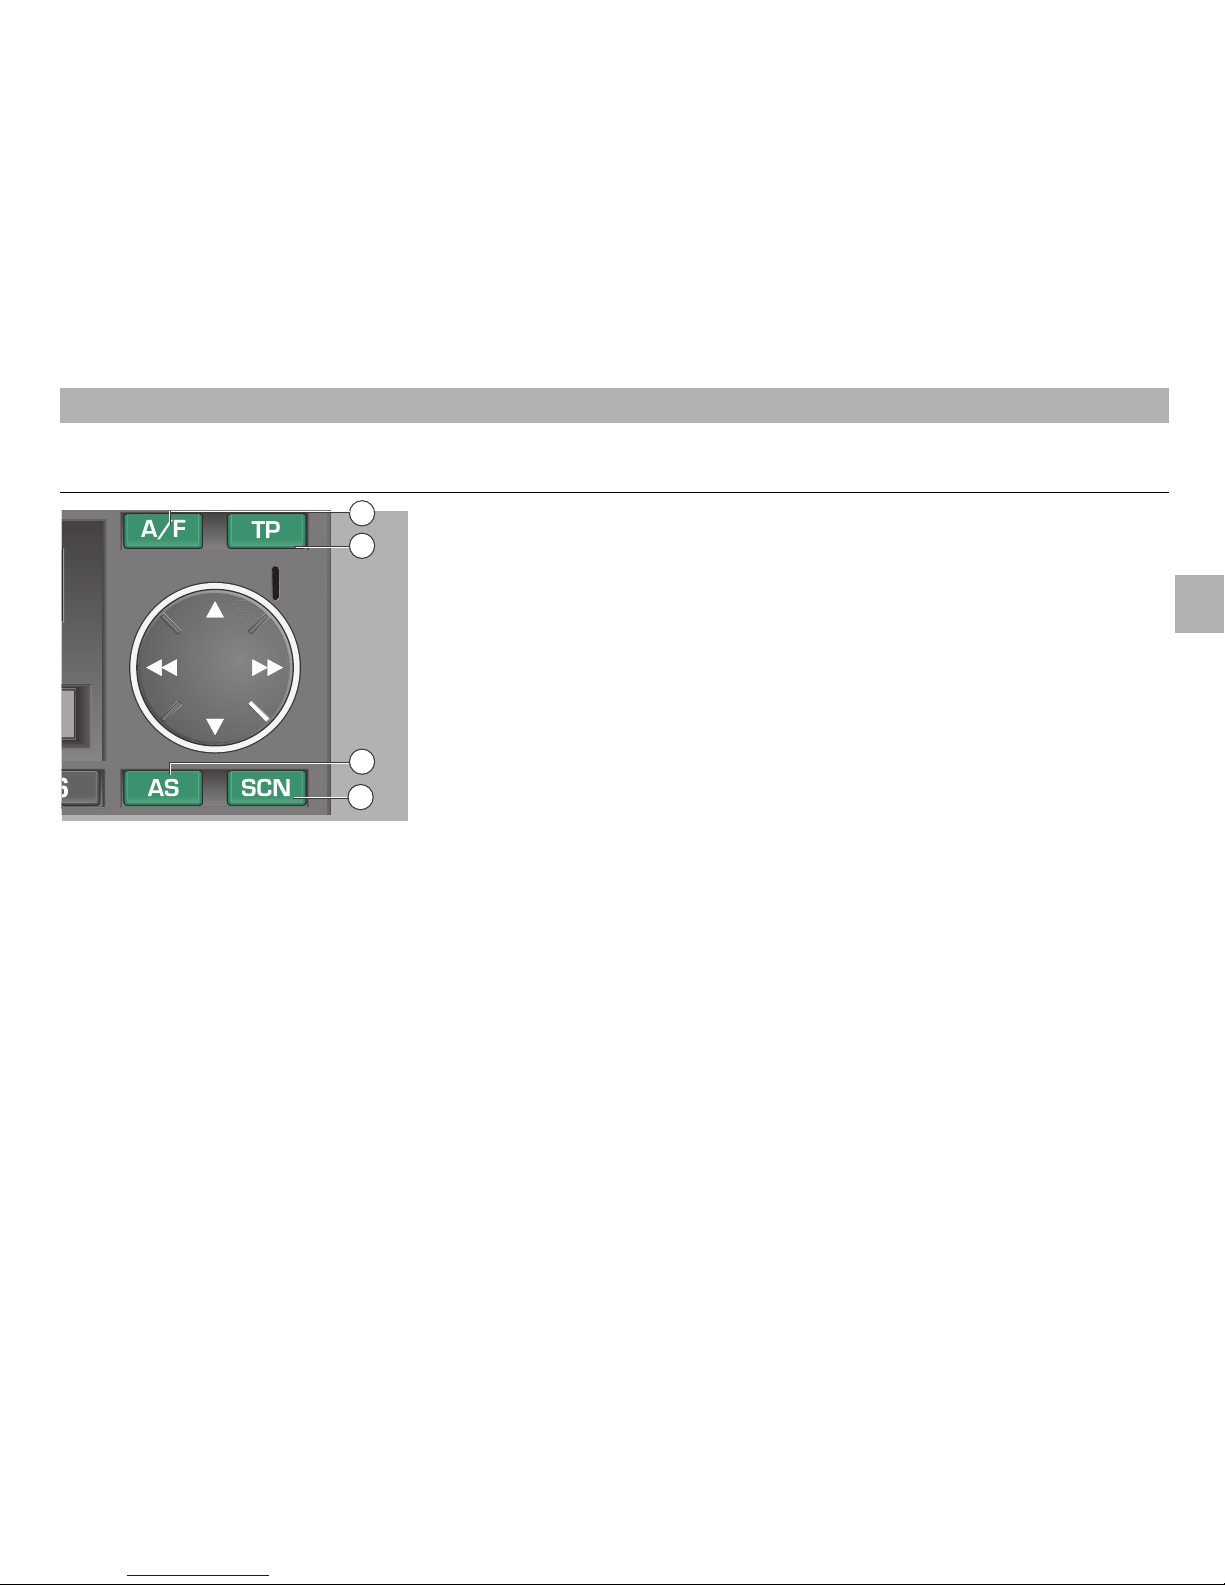
ßZ
– AS button
The AS button ßZallows you to automatically store the strongest stations in a convenient way.
Using the AS function, you may store 6
stations in each of the FM and AM wavebands.
Automatic storing
• Select the "FM1" or "AM1" waveband. If
you then press the TP button
ß?
, only
traffic radio stations are searched. If AM
has been selected, the radio switches
automatically to FM.
The "FM2" and "AM2" wavebands should
be used for the "AS" function only if you
are frequently changing your location or
during the holidays.
• Press the AS button
ßZ
for about 2
seconds. "STORE" appears in the display and the 6 strongest stations are
stored on the station buttons
1… 6
.
This operation takes several seconds.
• When storing is completed, the radio
selects automatically the strongest
station.
You may call up the stored stations by
pressing the corresponding station button.
´I
– SCN button
If you press the SCN button ´I, all
stations in the selected waveband are
heard several seconds.
• Press the SCN button
´I
.
• "SCAN" appears in the display.
You hear one station after the other for
several seconds.
If you wish to hear the current station
permanently, press the SCN button
´I
again.
RADIO MODE
7
RANGE SELECTION BUTTON
AUTOSTORE
function
ßI
– A/F button
Use the A/F button ßIto switch
between the "FM" and "AM" ranges.
Press the A/F button
ßI
repeatedly to
switch between the memory levels "FM1"
and "FM2" or “AM1“ and “AM2“.
The display shows "FM1" or "FM2" for the
memory levels in the FM range, and
"AM1" or "AM2" for the memory levels in
the AM range.
10
18
11
20
Page 9
With the push of a button you may store
up to 30 stations in the IS memory (IS =
intelligent search). The stored stations
then can be called one after the other.
The IS memory is useful if you wish to reassign the station buttons, or when you
are in an unknown reception area and do
not wish to delete already stored stations.
Programming RDS stations
(IS function)
Starting the IS search
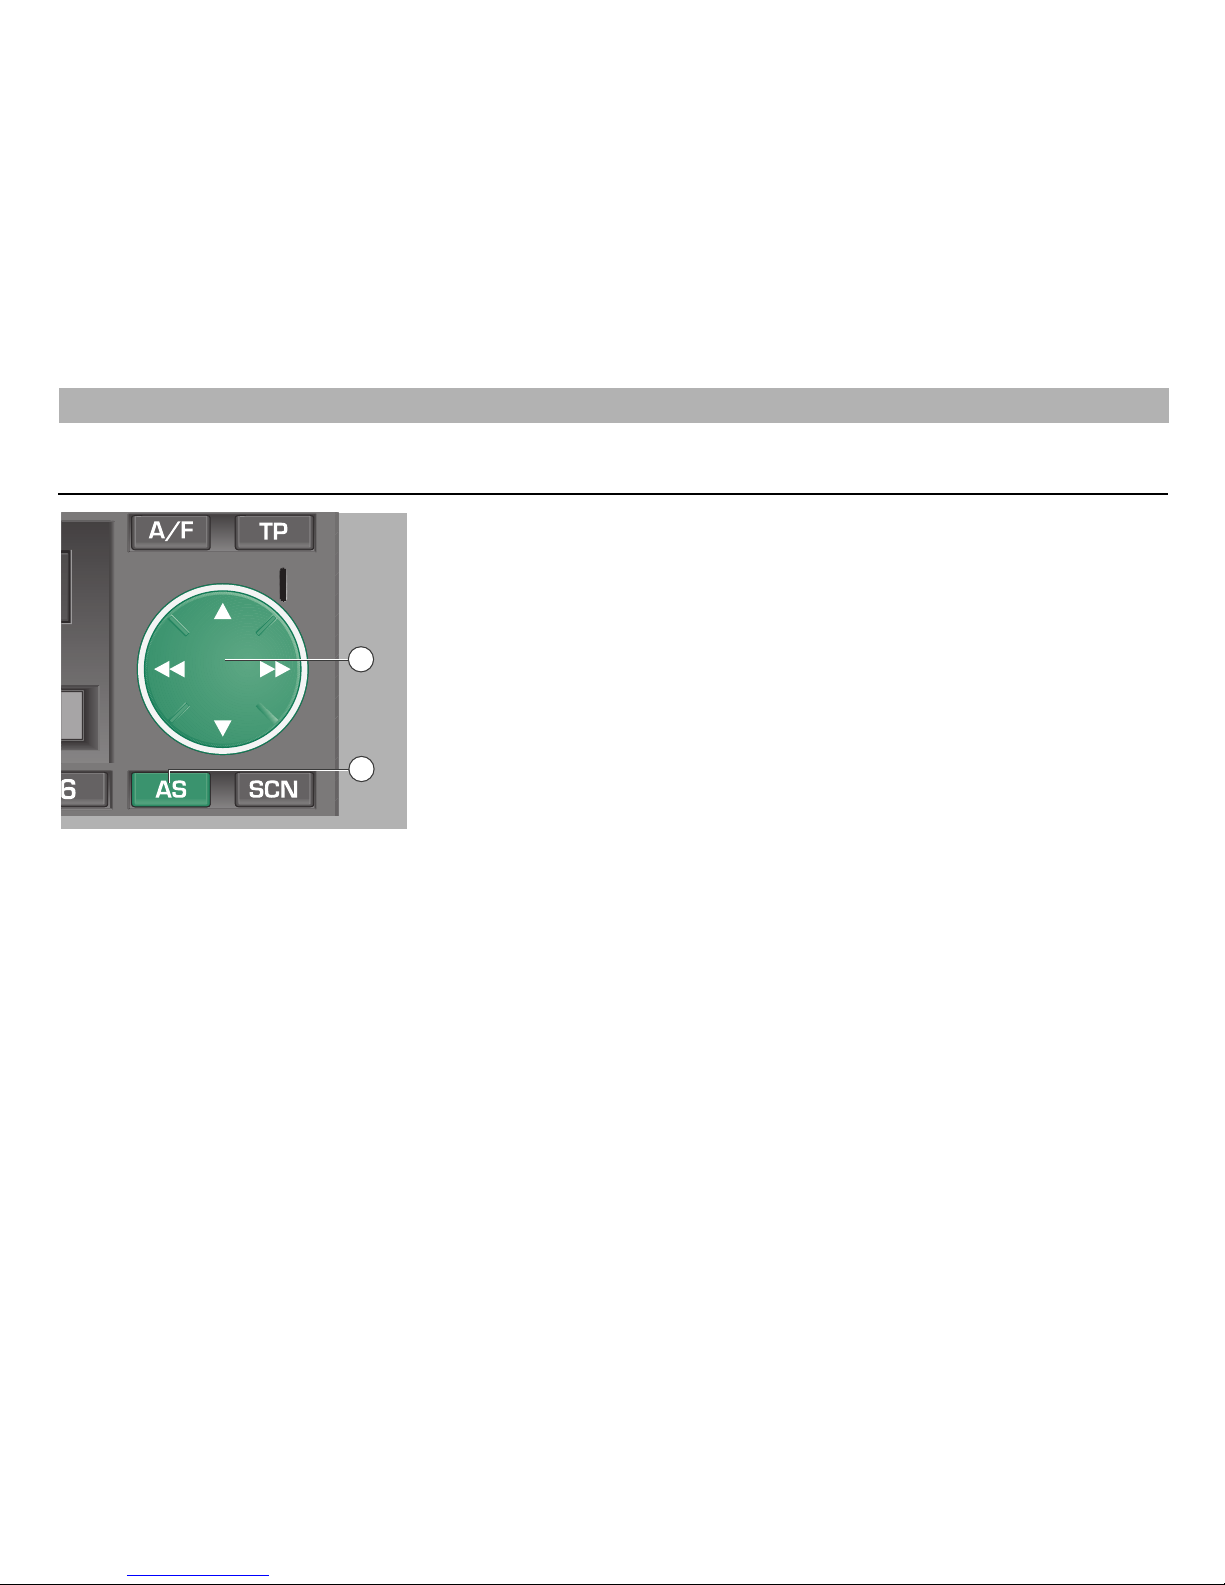
• Press on ľľ or ıı of the rocker
ß`
repeatedly for more than 2 seconds
until "IS ON" appears in the display.
• Press the AS button
ßZ
for about 2
seconds. "STORE" appears in the
display.
This operation takes several seconds.
• If no reception is possible, for example in
an underground car park or if the aerial
is defective, the search function may be
endless. In this case you may switch off
the search function by pressing one of
the station buttons
1
… 6.
As soon as the IS search is completed,
up to 30 stations are stored. You then will
hear the station giving best reception.
The intelligent search function first stores
the RDS stations (sorted by station name)
and then the remaining stations in the
order of their volume level.
Calling up the IS memory contents
Selecting the IS mode
• Press on
ľľ or ıı of the rocker
ß`
repeatedly for more than 2 seconds until
"IS ON" appears in the display.
• Briefly press on
ľľ or ıı of the rocker
ß`
.
Switching the IS mode off
• Press on ľľ or ıı of the rocker
ß`
repeatedly for more than 2 seconds until
"IS OFF" appears in the display.
RADIO MODE
8
12
18
Page 10
9
GB
Treble control (TRE)
• "TRE" and the current setting +6 to –6
appear in the display.
• Turn the control knob/push button
1
to
the left or the right to adjust the desired
setting.
• If you wish to adjust the treble control
immediately to its normal setting, press
the AUD button
2
until "TRE 00"
appears in the display.
• When this is done, press the AUD
button
2
again to store the setting.
• To go directly to the treble control mode,
press the AUD button
2
briefly twice.
RADIO MODE
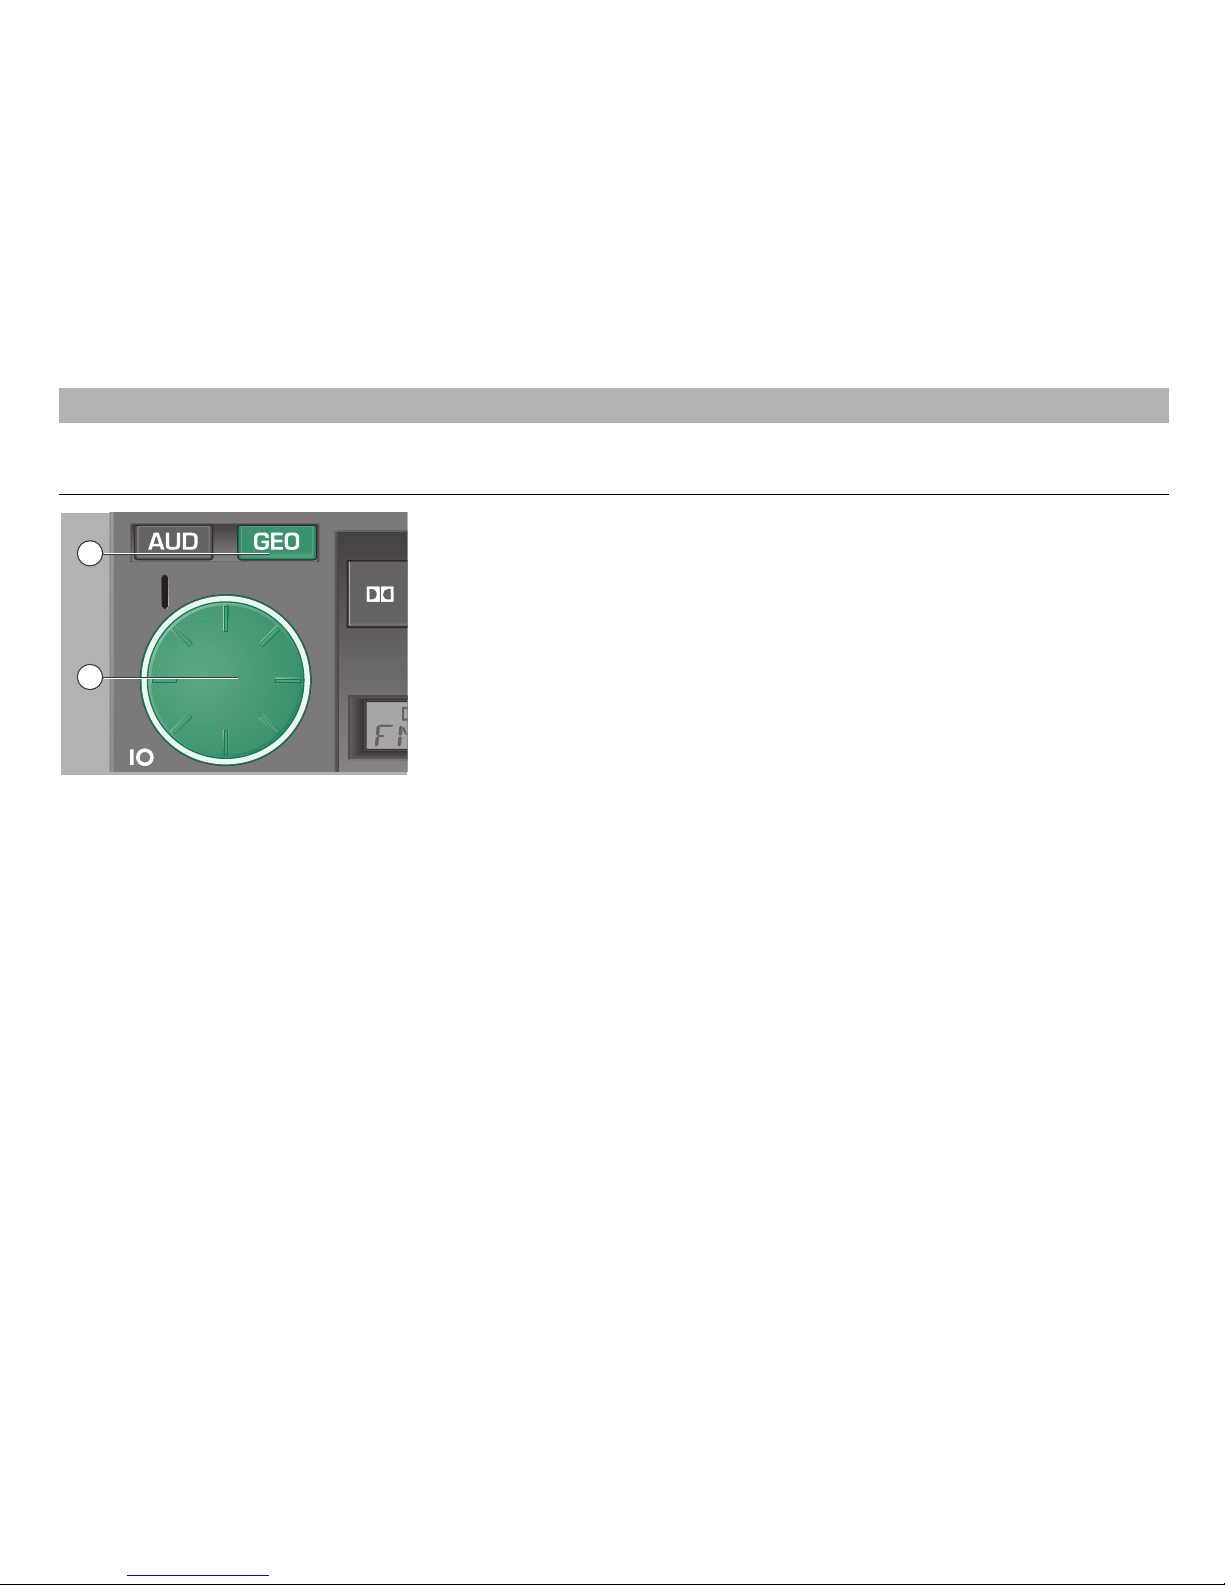
2
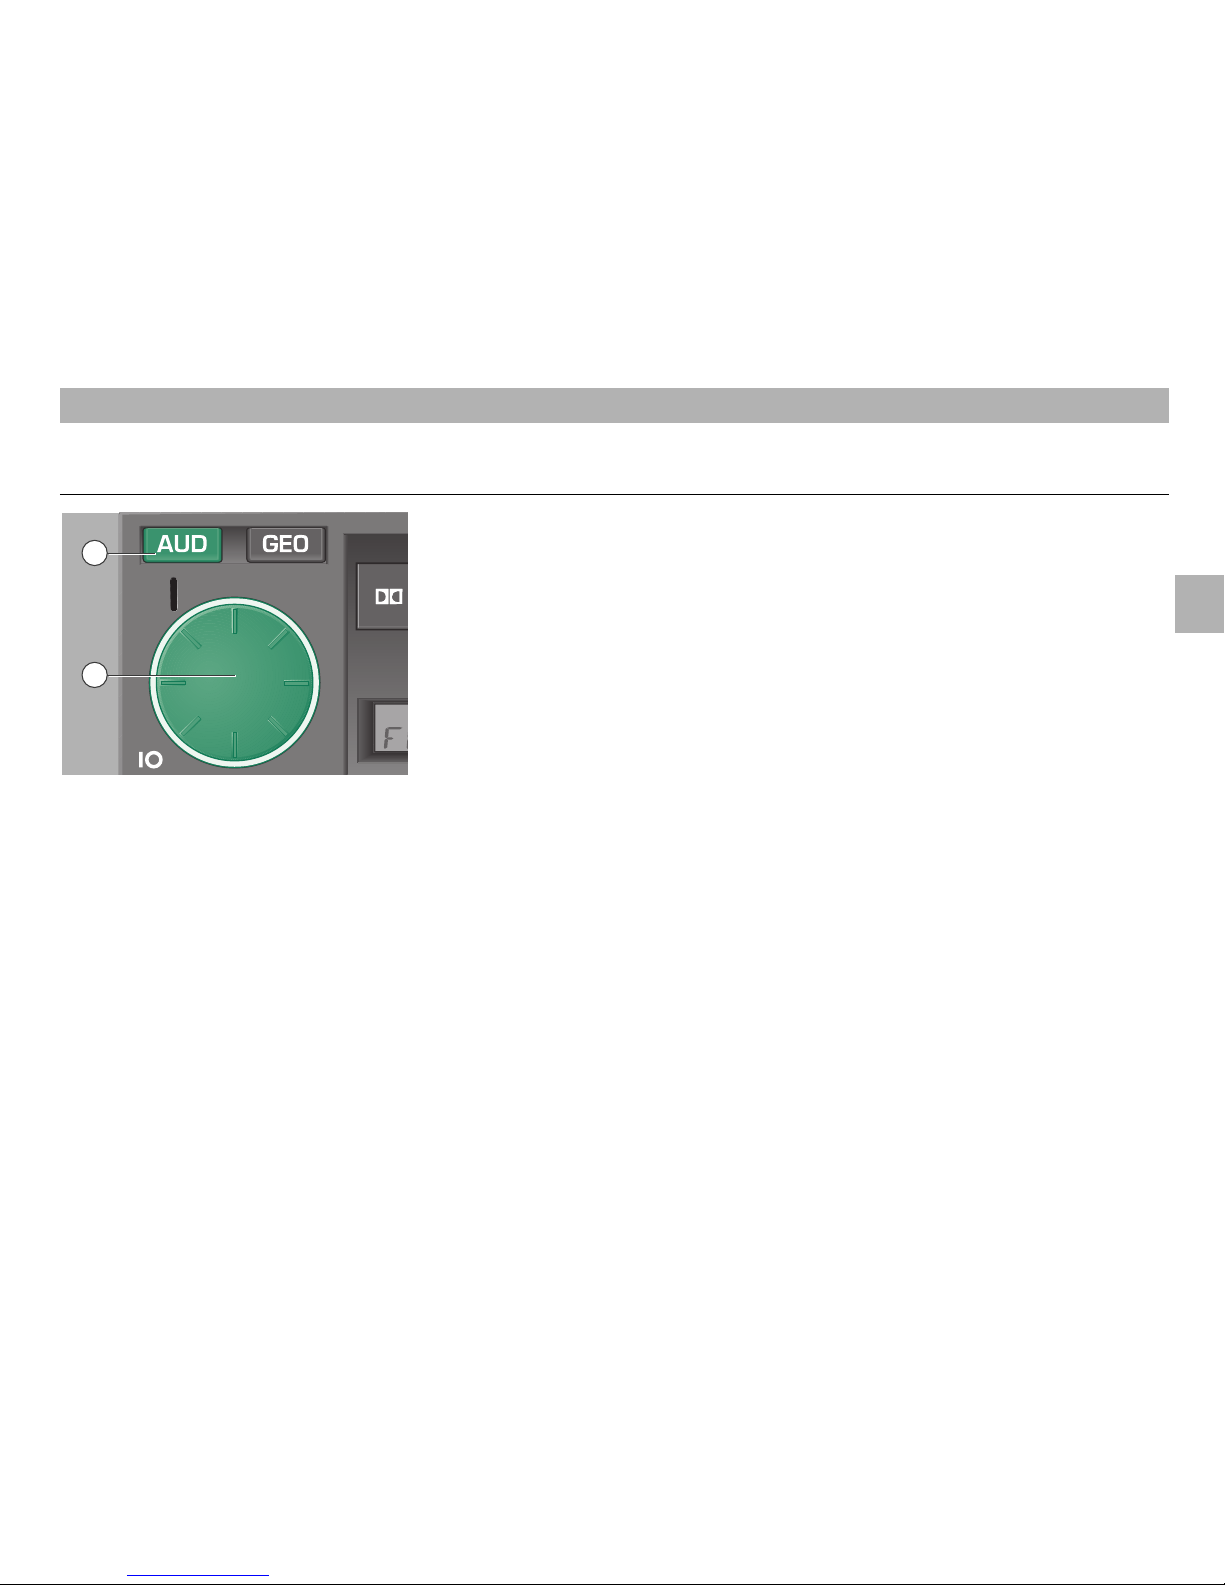
– Tone control button
After pressing the AUD button 2, the following indications appear in the display:
• 1 pressure: bass control "BASS",
• 2 pressures: treble control "TRE".
You may change the tone control setting
by turning the control knob/push button
1
.
TP
Tone control
Bass control (BASS)
• Press the AUD button
2
. "BASS" and
the current setting +6 to –6 appear in the
display.
• Turn the control knob/push button
1
to
the left or the right to adjust the desired
setting.
• If you wish to adjust the bass control
immediately to its normal setting, press
the AUD button
2
until "BASS 00"
appears in the display.
• When this is done, press the AUD
button
2
again to store the setting.
This will select at the same time the
treble control mode.
2
1
Page 11
Balance (BAL)
With this function you may adjust the
volume balance of the left/right loudspeakers.
• "BAL" and the current setting (from LEFT
15 via CENTER to RIGHT 15) appear in
the display.
• Turn the control knob/push button
1
to
the left or the right to adjust the desired
setting.
• If you wish to adjust the Balance control
immediately to its centre setting, press
the GEO button
3
until "CENTER"
appears in the display.
• When this is done, press the GEO button
3
again to store the setting.
• To go directly to the balance control
mode, press the GEO button
3
briefly
twice.
3
– Tone balance button
After pressing the GEO button 3, the
following indications appear in the display:
• Fader (FAD)
• Balance (BAL)
Turn the control knob/push button
1
to
the left or the right to change the desired
setting.
TP
Fader (FAD)
With this function you may adjust the volume balance of the front/rear loudspeakers.
• Press the GEO button
3
.
"FAD" and the current setting (from
FRONT 15 via CENTER to REAR 15)
appear in the display.
• Turn the control knob/push button
1
to
the left or the right to adjust the desired
setting.
• If you wish to adjust the Fader control
immediately to its centre setting, press
the GEO button
3
until "CENTER"
appears in the display.
• When this is done, press the GEO
button
3
again to store the setting. This
will select at the same time the Balance
control mode.
10
Tone balance control
RADIO MODE
1
3
Page 12

11
GB
When storing RDS stations you should
press the corresponding station button
only when the station name appears in
the display. This ensures that all RDS
information has been interpreted and
stored automatically.
When calling up stored RDS stations,
the corresponding station name is displayed. If the stored frequency is too weak for
good reception, the radio searches automatically for an appropriate alternative frequency (best station function).
If non of the stored alternative frequencies
is strong enough for good reception, the
desired station cannot be received at the
moment. In this case, tune to another station.
Ń
!
Please make sure that the station
name is displayed when the station
is stored. If a moving text should be
displayed, this will be stored
instead of the station name.
Information about How does RDS work?
RDS stations
In many European countries, RDS is already transmitted by many radio stations.
The goal is to provide an overall coverage.
With this system, an inaudible digitized
data current is transmitted in addition to
the normal FM radio signal, providing the
RDS receiver with information in encoded
form which controls, among other things,
the following functions:
• Programme identification
(PI code)
With the help of the PI code, the radio
recognizes the currently received station.
• Programme service name
(PS code)
The PS code transmits the station name
which is shown in the display.
• Alternative frequencies
(AF code)
Because of the limited transmission
range of the FM waves, the programme
of one radio provider is transmitted by
several stations on different frequencies.
The AF code informs the radio about all
alternative frequencies of the same programme.
This enables the radio to tune to the frequency which can be received in the best
quality.
Tuning to another frequency is carried
out in an inaudible way.
The station name in the display remains
unchanged.
While you are driving, the RDS radio
searches permanently for alternative
frequencies of the station selected and
tunes to this in an automatic and nearly
inaudible way.
• Traffic programme identification
(TP code = Traffic programme)
This information tells the radio that it is
currently receiving a traffic programme
station.
RADIO MODE
Page 13
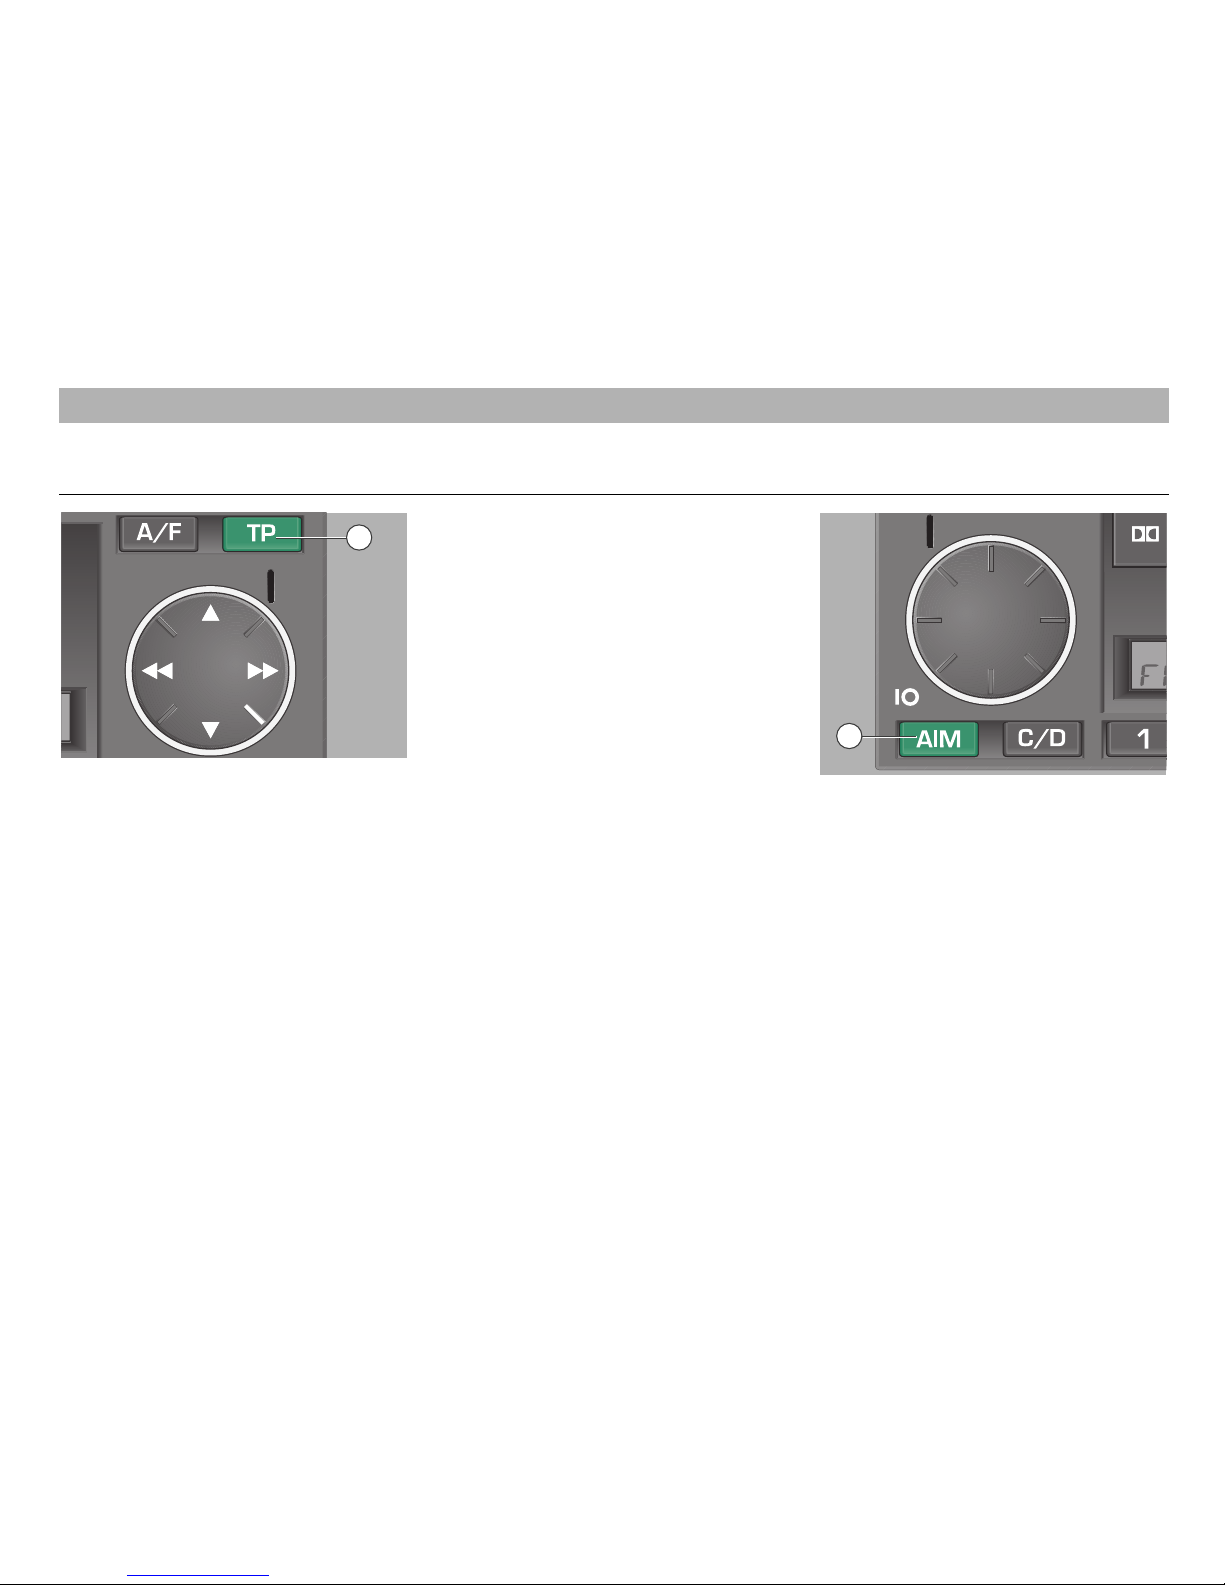
ßQ
– AIM button
Using the AIM function (Automatic Information Memory), you may store automatically up to 9 traffic announcements with a
total length of 4 minutes with the help of
the integrated digital voice memory.
Storing traffic announcements
There are 3 different possibilities of storing
traffic announcements:
• When the radio is switched on, every
traffic announcement of the station tuned
to is stored as soon as the “TP” function
has been selected ("TP" in the display).
TP
12
ß?
– TP button
The TP standby mode allows you to hear
only traffic announcements. Even if the
volume is set to minimum, the traffic announcements are heard with the programmed volume – see also page 17. If the
transmission range of the traffic station
tuned to is left, the radio will start after
about 30 seconds an automatic station
search.
Interrupting a traffic announcement
You may wish to interrupt a traffic announcement in certain situations, for
example
– if the announcement does not concern
your route,
– if the announcement is very long and
the part concerning you is already completed.
Briefly press the TP button
ß?
while the
announcement you wish to abort is heard.
The announcement will be aborted and
the previous mode, for example radio
reception, cassette or CD play, is continued. A new traffic announcement will be
heard again.
To switch definitely off all traffic announcements, deselect the TP range.
RADIO MODE
Traffic programme functions
11
13
Page 14
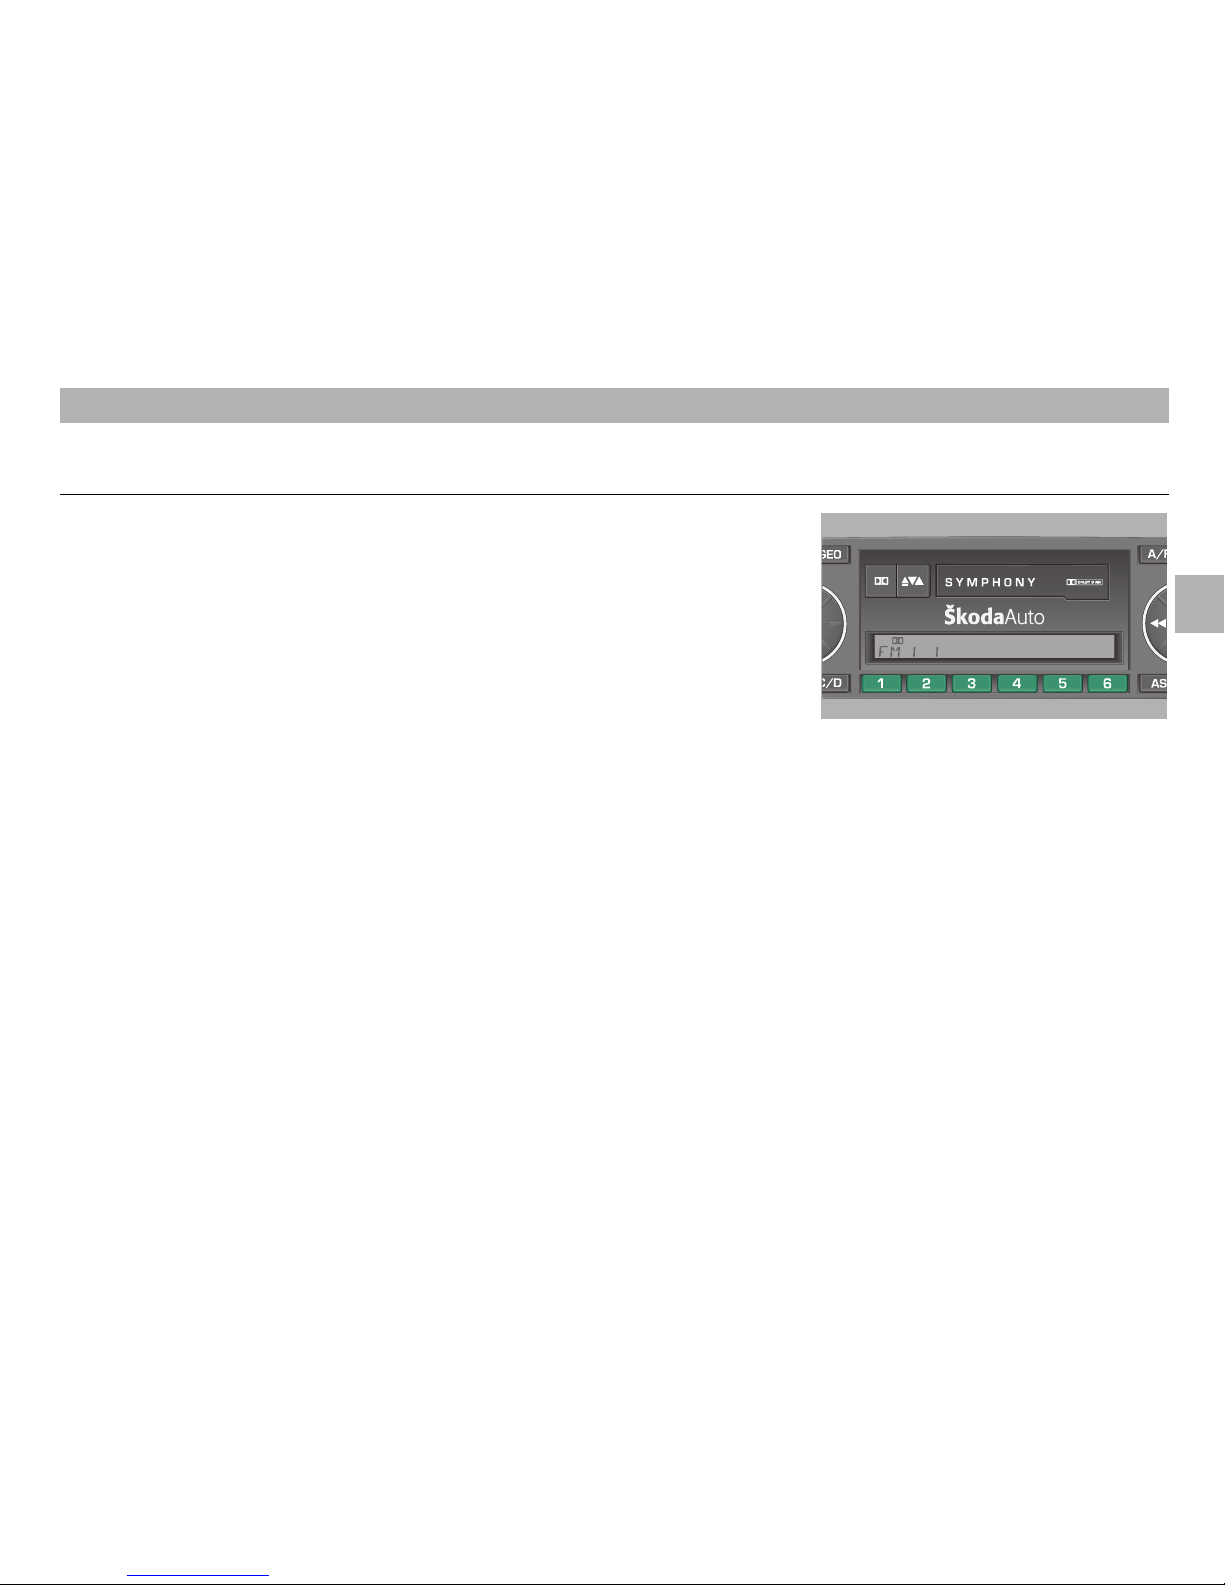
Playback of traffic announcements
in chronological order
Press the AIM buttonßQ. Playback is started
with the last stored traffic announcement
and is continued till the oldest announcement. The display indicates, for example,
"AIM 4 15:35".
– "AIM" AIM playback
– "4" 4th announcement
– "15:35" Time of storage
If no traffic announcement has been stored,
"AIM NO MSG" appears in the display.
Playback of traffic announcements
in random order
• With the AIM function activated, press
quickly twice on the manual tuning
rocker
ß`
during playback.
• You may then use the rocker
ß`
to skip
forward and reverse between the stored
traffic announcements.
Repeating traffic announcements
Press on the left side of the manual tuning
rocker
ß`
during playback. The current
traffic announcement is repeated.
13
GB
• Storage standby: 2 hours.
1 – Activate the TP function using the TP
button
ß?
.
2 – Switch the radio off.
"AIM 2 h" appears in the display. This
means that 2 hours of traffic announcements will be stored.
• Storage standby: 24 hours.
Proceed as described above.
3 – Press the AIM button
ßQ
for about
1 second.
The station last tuned to and then
"AIM 24 h" appears in the display. Now
24 hours of traffic announcements will be
stored.
Ń
!
If the voice memory is full, the
oldest announcement will be
overwritten (deleted).
Ń
!
In the case of a message having a
length of more than 4 minutes the
beginning is overwritten.
A signal sounds to indicate you that
the entire message could not be
recorded.
Station buttons
You may store up to 24 stations on the
6 station buttons in connection with the
respective memory levels.
FM1/FM2 range = 6 stations each
AM1/AM2 range = 6 stations each
"FM2" means that you are in the second
memory level. Press the A/F button
ßI
to
switch between the memory levels.
ANTENNE
TP
RADIO MODE
Page 15
Manual tuning Manual storing
14
First press the A/F button ßIrepeatedly to
select one of the memory levels of the
"FM1", "FM2", "AM1" or "AM2" ranges.
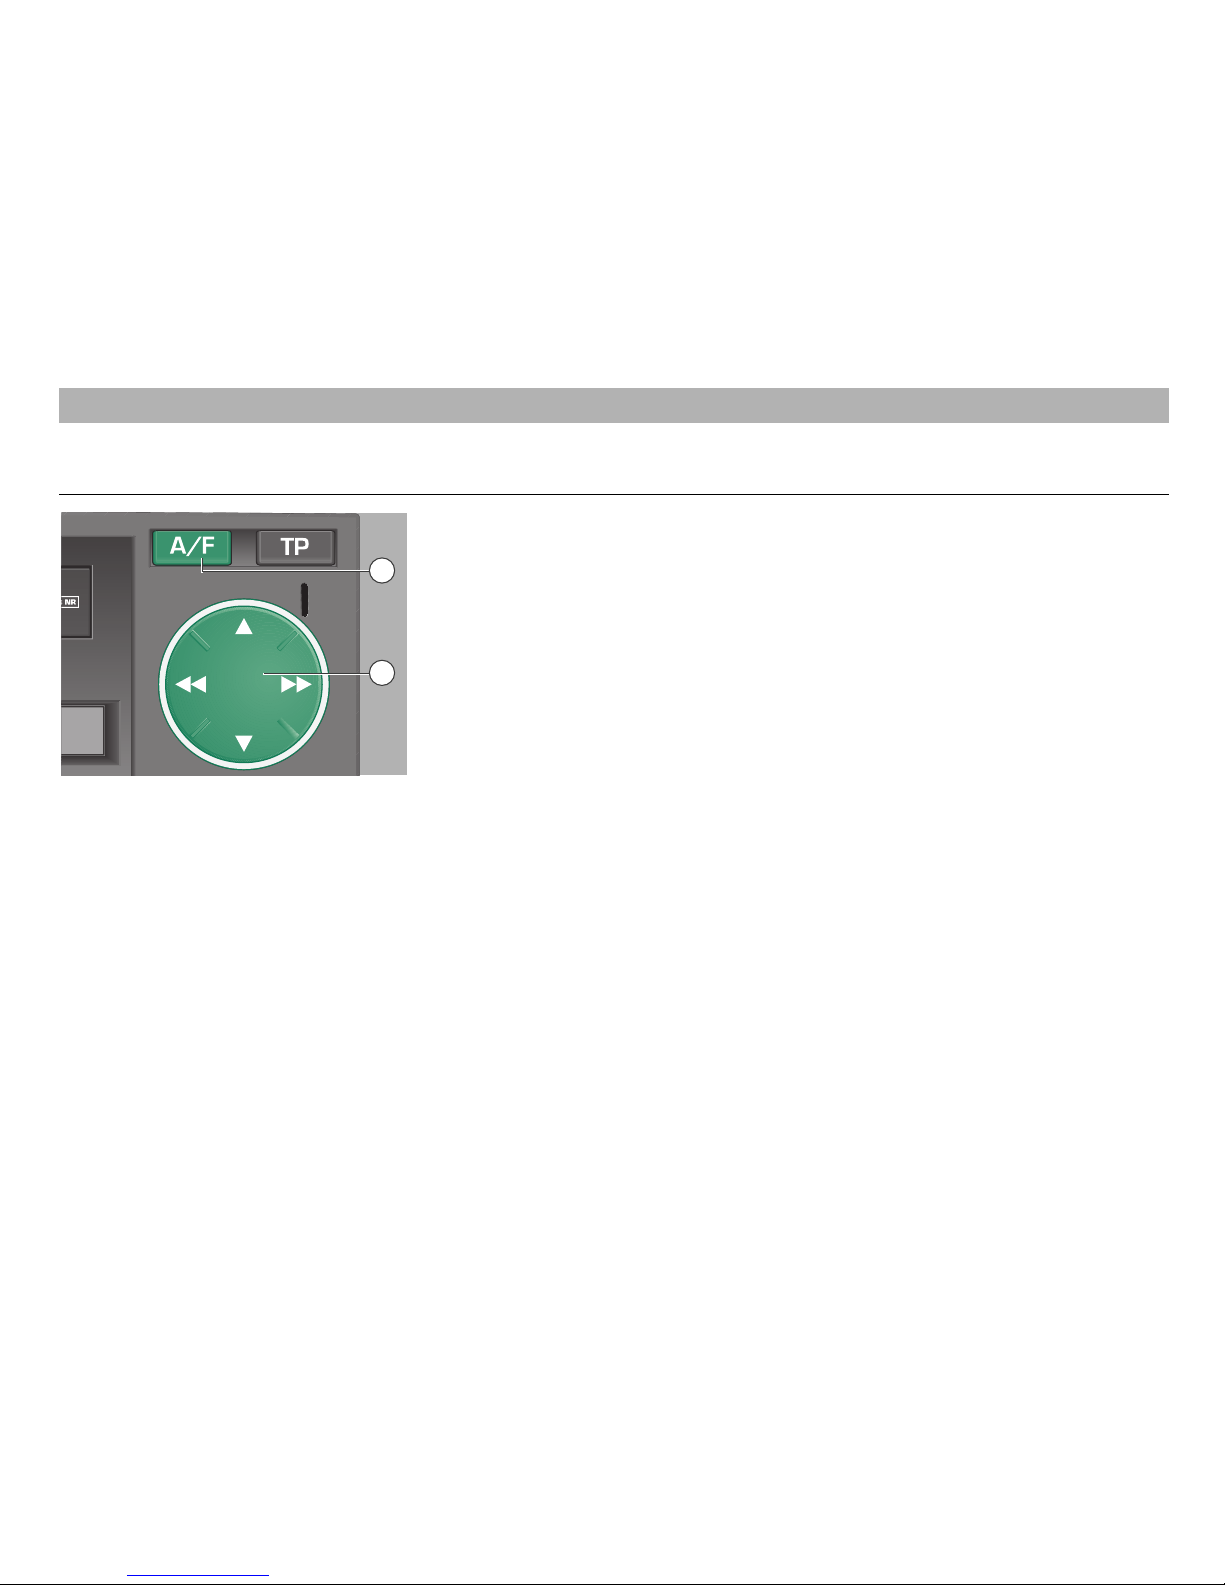
ß`
– Station search rocker
Press on Ń or Ľ of the rocker
ß`
to start
the manual station search.
• Briefly press one side of the rocker
ß`
:
"MAN" and the current reception
frequency appear in the display.
• Briefly press repeatedly on Ń or Ľ of the
rocker
ß`
:
The frequency is changed in single steps
(50 kHz in FM, 1 KHz in AM).
• Hold down
Ń or Ľ of the rocker
ß`
:
the frequency scrolls at high speed.
Manual storing
• Press the station button
ßR
on which the
station is to be stored until the mute
function is deactivated (the frequency to
be stored appears in the display). The
station is stored.
Please make sure that the station name
is shown while the station is stored and
not a moving text as otherwise the
moving text will be stored instead of
the station name.
RADIO MODE
12
10
Page 16
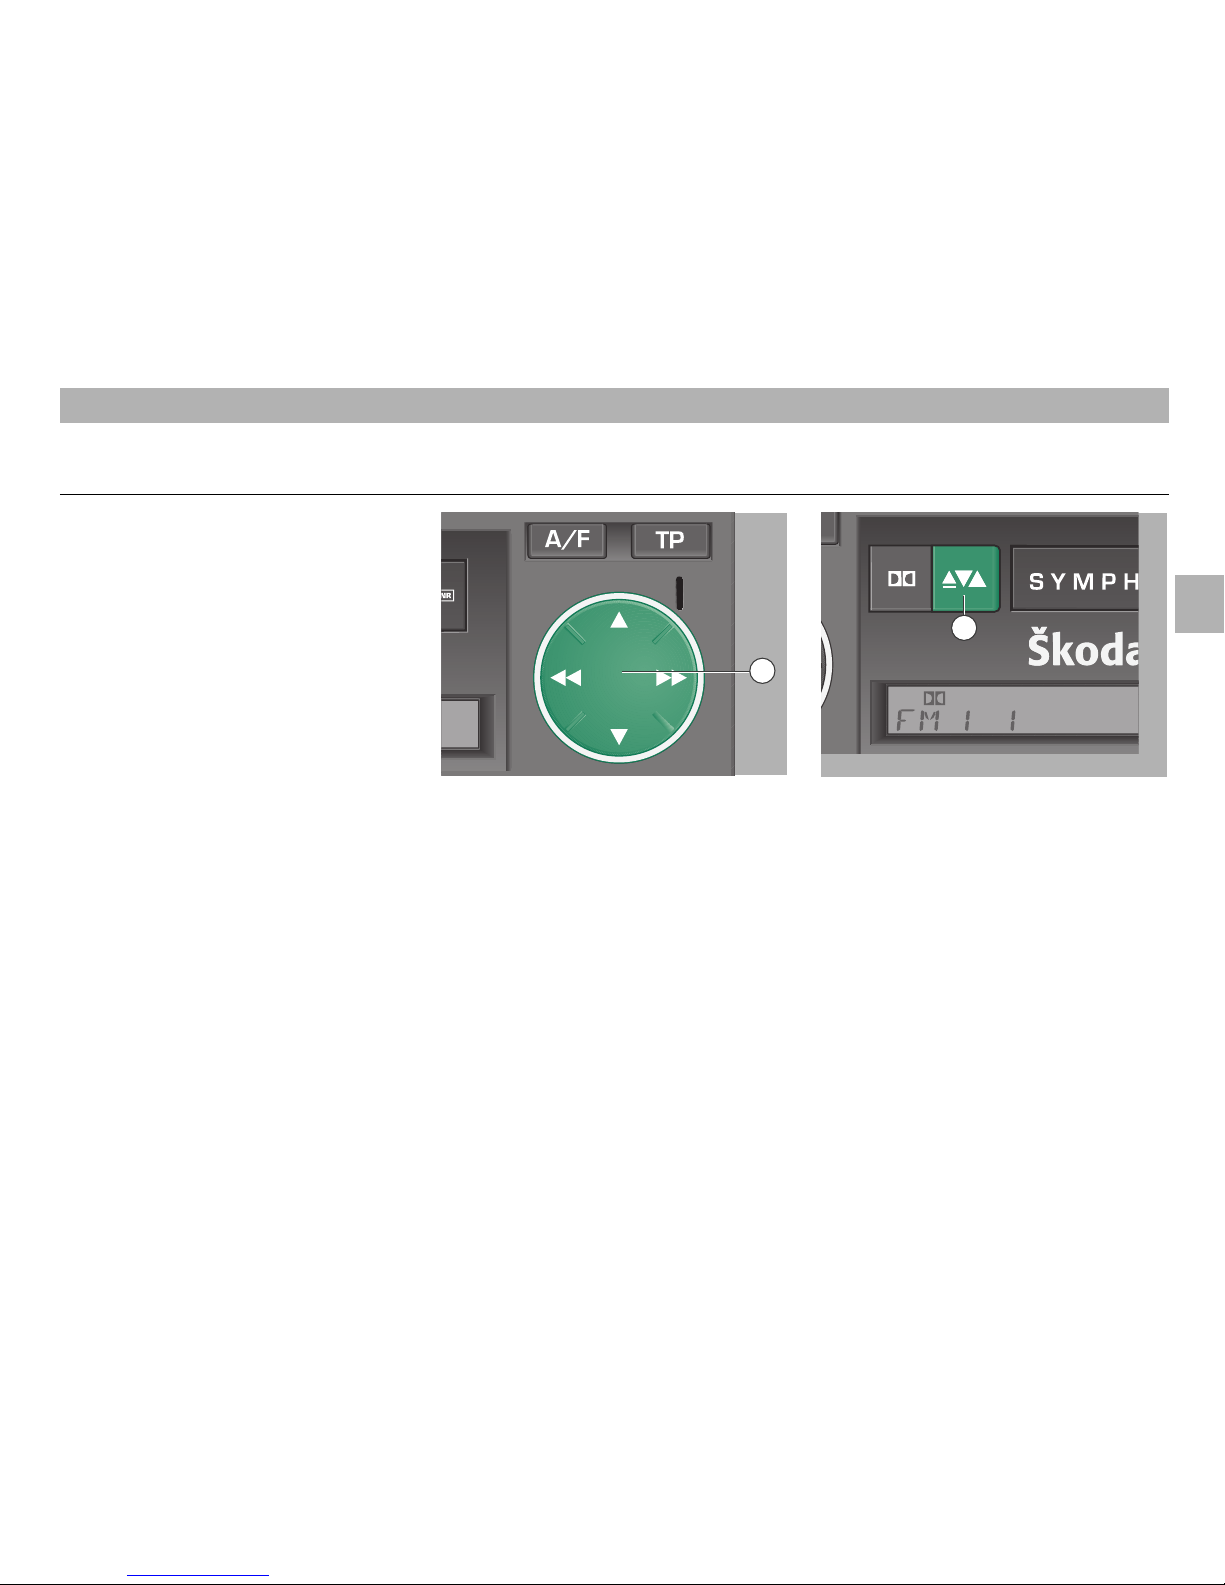
7
Reverse button
• Briefly press the button 7during cassette play to select the other cassette
side. The tape run direction is indicated
by "PLAY FOR" or "PLAY REV" in the
display.
If the cassette side changes automatically
during cassette play, the casssette may
jam. In this case, select the fast wind or
rewind function. If this does not remove
the fault, use another cassette.
AN
T
TP
Insert the cassette fully into the cassette
compartment. When inserting a cassette,
the radio switches automatically to cassette play.
The tape run direction is indicated by
"PLAY FOR" or "PLAY REV" in the display
5
Dolby® button
• Briefly press the Dolby® button 5during
cassette play to switch on and off the
Dolby noise reduction system.
If the Dolby noise reduction system is
activated, the Dolby® symbol
ij appears
in the display.
ß`
Fast forward and rewind
Pressing ľľ or ıı of the rocker
ß`
se-
lects fast rewind or forward, respectively.
The tape run direction is indicated in the
display.
"WIND FOR" – fast forward
"WIND REV" – fast rewind
Briefly pressing the rocker
ß`
ends the fast
forward or rewind function.
15
GB
CASSETTE MODE
Cassette compartment Fast forward and rewind Reverse function
cassette ejection
12
7
Page 17
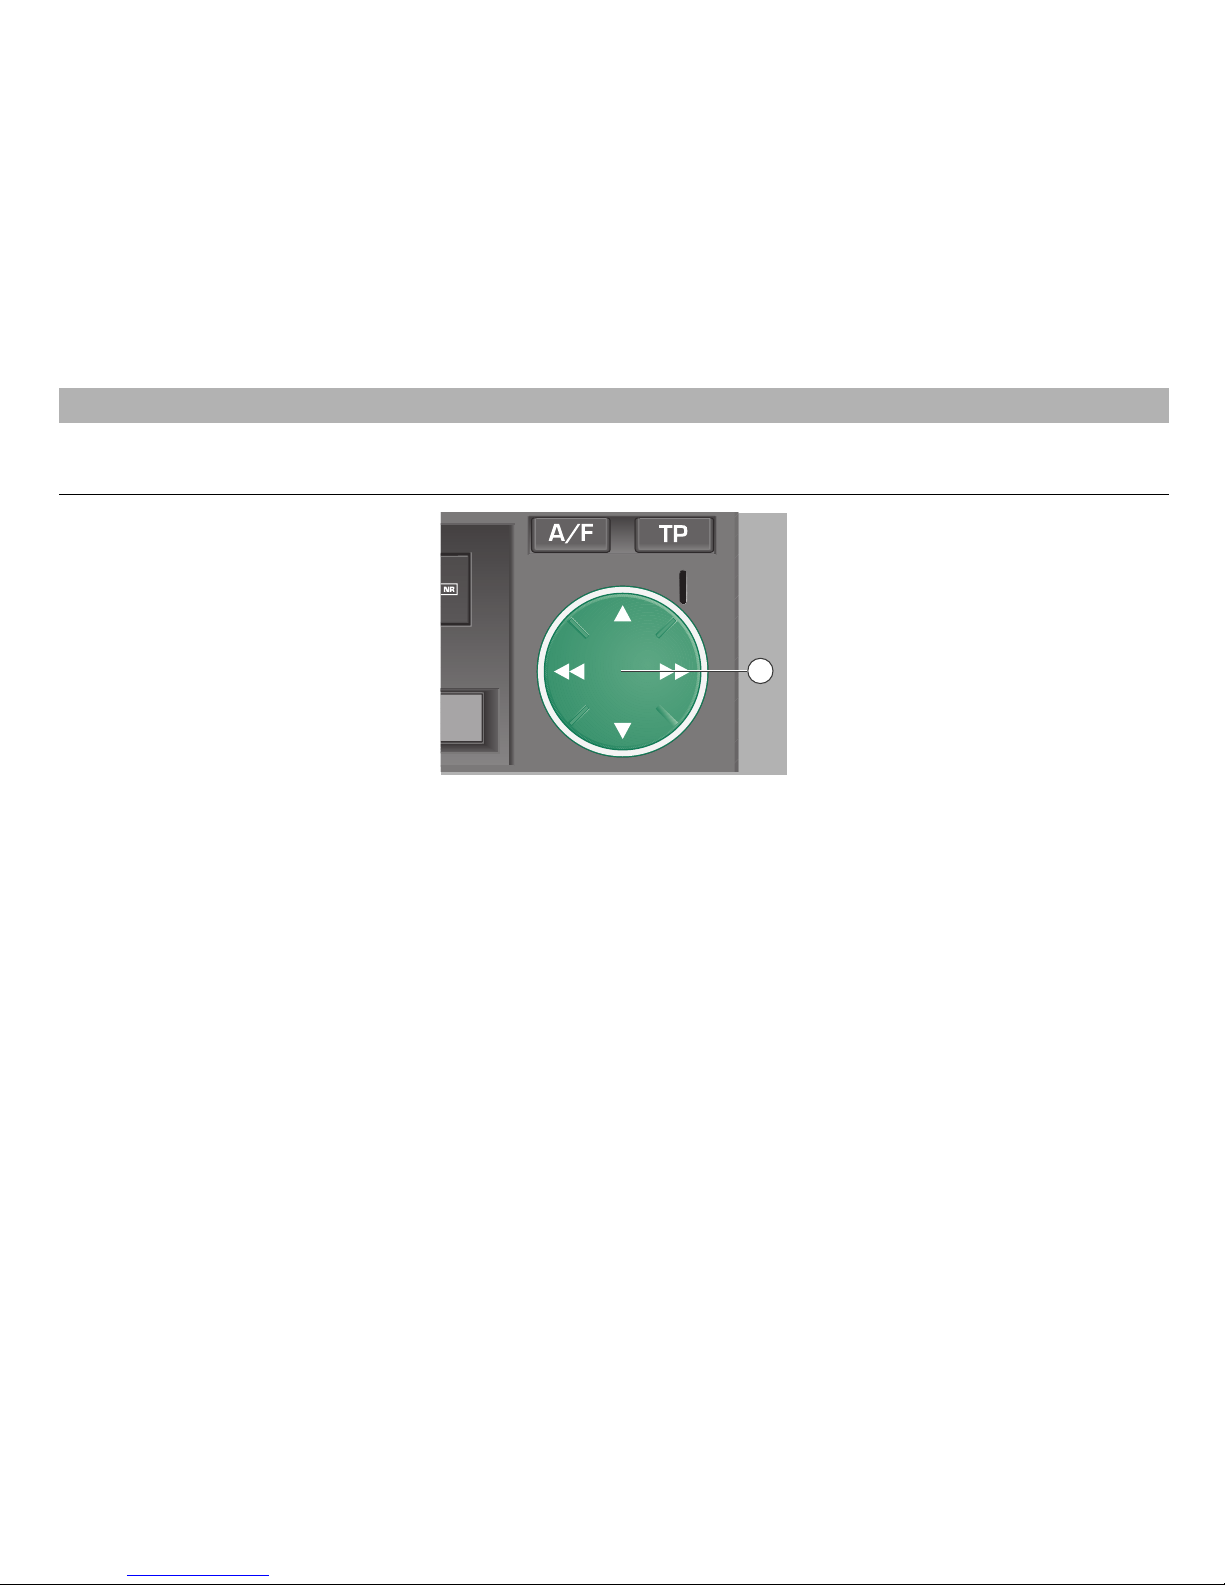
At tape end, the cassette side changes
automatically (Autoreverse).
Cassette ejection
• Press and hold down the button
7
during cassette play to eject the cassette
(motor ejection).
When in cassette mode, the MSS system
searches automatically the beginning of
the next or of the current music piece and
starts playback.
To select the desired search direction,
briefly press
Ń or Ľ of the rocker
ß`
.
The search direction is indicated in the
display.
"MSS FOR" – forward,
"MSS REV" – reverse.
Ń
!
The pauses between the music
pieces must last at least 3 seconds
to ensure the MSS function.
When the TP function is activated during
cassette mode, cassette play is automatically interrupted during a traffic announcement so that this can be heard.
If the transmission range of the traffic
station tuned to is left, the radio will automatically search a new traffic radio station.
Briefly press the TP button
7
if you wish
to abort a traffic announcement and to
continue cassette play.
A new traffic announcement is heard
again.
16
Music search system (MSS) Cassette mode and traffic
radio programme
CASSETTE MODE
12
Page 18
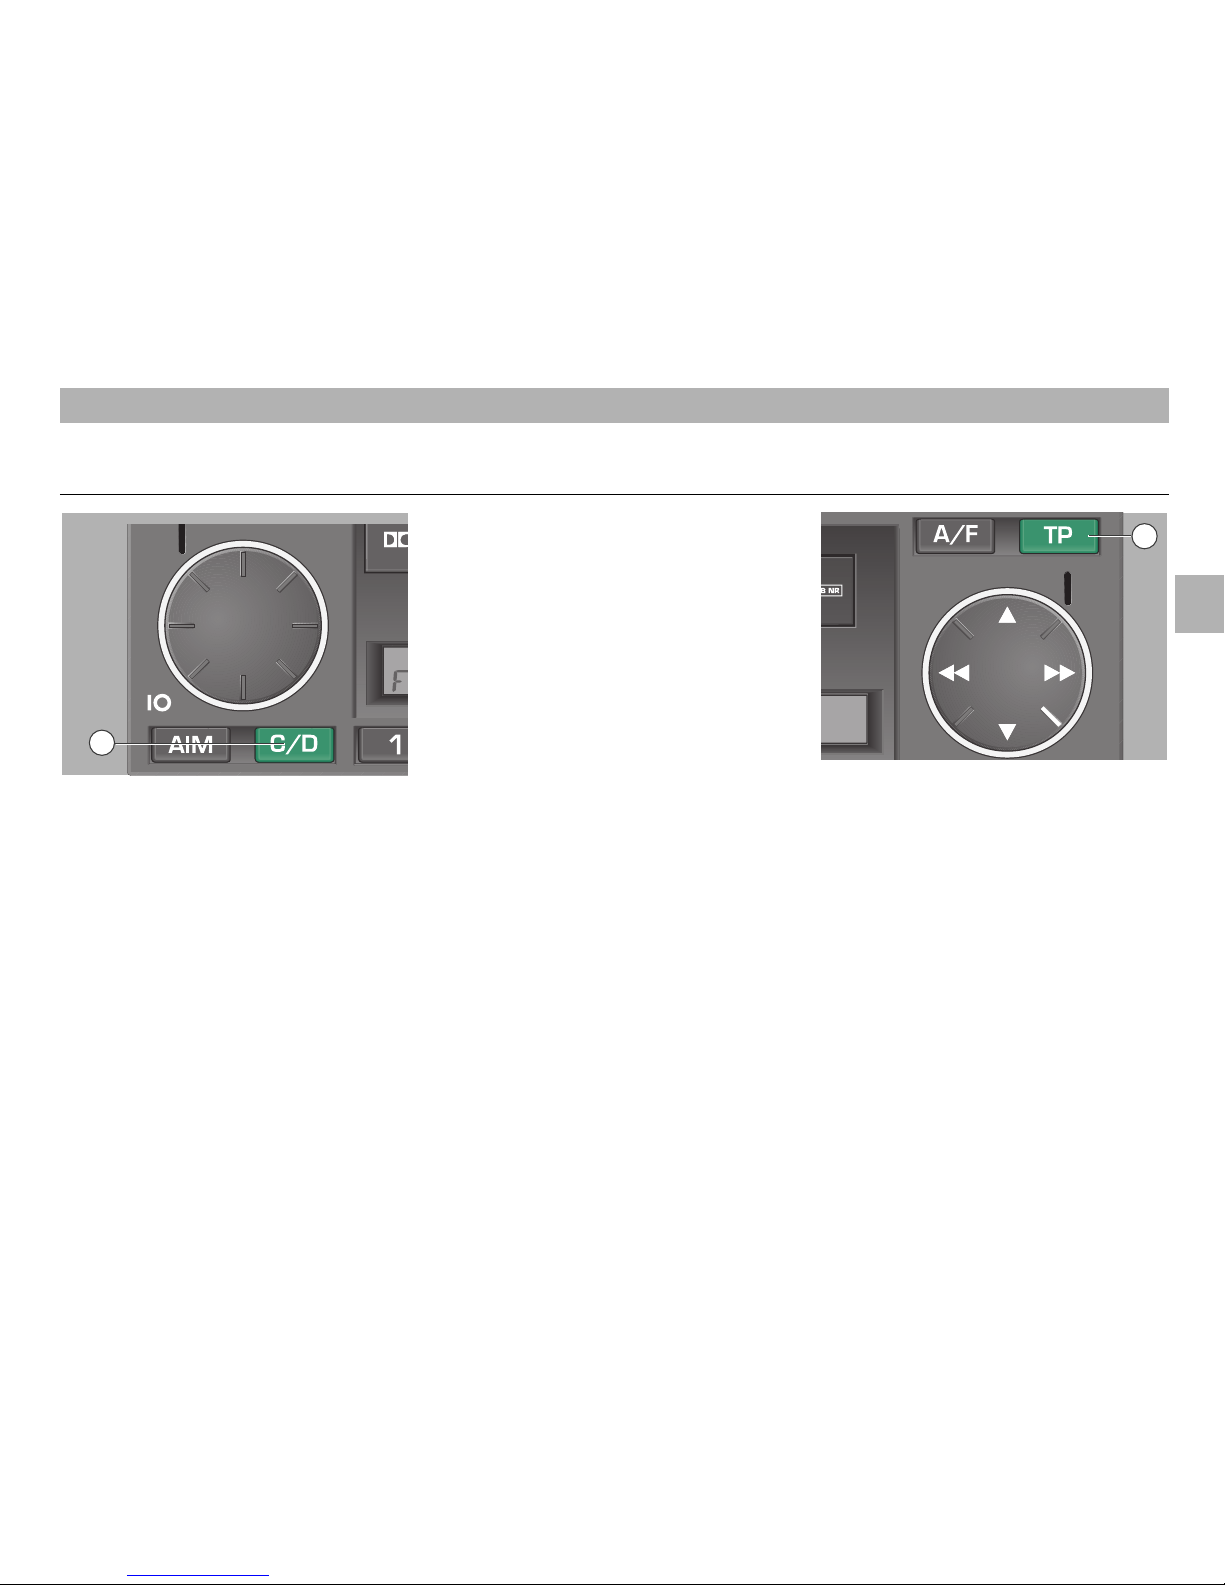
ßW
Source selection button
•
Briefly press the button ßWto switch between the programme sources "FM/AM",
"TAPE" or "CD".
Selecting a CD
• Press one of the station buttons ßRto
change the CD in the magazine. If no CD
is inserted, "NO CD" and the CD number
appear in the display. When the CD is
changed, "LOAD" and the number of the
selected CD appear in the display.
T
P
Selecting and repeating a track
• Press on
Ń or Ľ of the rocker
ß`
to
select the CD tracks in the desired direction. The number of the selected track
appears in the display.
CD play is started automatically.
Playing tracks in random order
• Press a longer time on
Ń or Ľ of the
rocker
ß`
to switch on the random play
function. "SHFFL" appears in the display.
Press the button
ß`
again (long pressure)
to return to normal play. "PLAY" appears
in the display.
Fast forward and reverse
• Press on
ľľ or ıı of the rocker
ß`
to
listen to the tracks in “quick preview”
mode at reduced volume.
Playing tracks for about 8 seconds
• Press the SCN button
´I
to play every
track on a CD for about 8 seconds.
"SCAN" appears in the display. Press the
SCN button
´I
again to return to normal
play. "PLAY" appears in the display.
Traffic announcements
• Press the button ß?to switch on the traffic announcement standby mode. "TP"
appears in the display. During traffic
announcements, CD play is interrupted.
Press the button
ß?
again to abort the
current traffic announcement. "TP" disappears in the display. A new traffic
announcement will be heard again. A
new traffic announcement will be heard
again.
Ending CD play
• Press the C/D buttonßWor the A/F button
ßI
to change the programme source. CD
play then is ended.
17
GB
CD CHANGER MODE
11
14
Page 19

Pressing the TP buttonß?for more than 2
seconds enables you to carry out special
settings and special RDS functions.
To select the individual Setup menu items,
use the two rockers
ľľ and ıı
ß`
.
It is possible to select the following menu
functions.
• TM
• SYNC
• TAVOL
• LRN
• REG
• LOC
• MONO
• ONVOL
• LOUD
• IGN
• RM
• PHONE OFF/ON/IN
• PHONE 0 ... 47
• GALA
• CODE/SAVE
• LED
• BEEP
Exit the Setup menu
Press the TP button
ß?
to save your chan-
ged settings and to exit the Setup menu.
TM
The TM function enables you to manually
set the time.
Press
Ń or Ľ of the rocker
ß`
to set the
time.
With the "SYNC ON" function, the time is
corrected if an RDS station is received.
If the RDS station received should transmit a not desired time, switch off the time
correction by selecting the "SYNC OFF"
option.
SYNC ON/OFF
With "SYNC ON" selected, the built-in
clock is corrected (synchronised) by the
RDS information received.
In regions where no RDS TIMER signal
can be received, the synchronisation can
be switched off by selecting the "SYNC
OFF" option.
• Press
Ń or Ľ of the rocker
ß`
to select
the desired function.
TAVOL
The TAVOL function enables you to adjust
the minimum volume for traffic announcements.
If the current volume is lower than the
TAVOL setting, the volume of the traffic
announcement will be increased to the
TAVOL setting.
• Select TAVOL in the setup menu.
"SETUP TAVOL" and the current setting
appear in the display.
• Use the control knob/push button
1
to
select the desired setting. The setting
range is 02 – 15.
LRN ON/OFF
If you are driving in a region where the
reception of RDS programmes with traffic
announcements is poor, you may prevent
the automatic station search in radio
mode.
"LRN ON" automatic LEARN desired,
"LRN OFF" automatic LEARN not
desired.
• Press
Ń or Ľ of the rocker
ß`
to select
the desired function.
18
The Setup menu
SETTINGS
Page 20

• Use the control knob/push button 1to
select the desired setting. The setting
range is -- – 47.
LOUD ON/OFF
The Loudness function improves the
sound at low volume.
The function is activated if "LOUD ON" is
shown in the display.
IGN ON/OFF
Switching on and off with the ignition
switch.
"IGN ON" You may switch the car radio
on and off with the ignition
switch of the vehicle.
"IGN OFF" You may switch the car radio
on and off only with the "IO"
button.
• Press
Ń or Ľ of the rocker
ß`
to select
the desired setting.
REG ON/OFF
If the reception quality gets poor, your car
radio first only selects an alternative frequency of the current station.
However, if the reception quality gets so
poor that a lose of the station becomes
possible, the radio will also accept frequencies of a “related” station.
The "REG ON/REG OFF" function enables you to select whether alternative
frequencies with identical programme are
to be tuned to with the help of the RDS
signal, that is, regional stations are only
selected in the case of emergency.
• Select REG ON/REG OFF in the Setup
menu.
"SETUP" and the current setting are
displayed. The "REG ON" setting is
preset at the factory.
• Press
Ń or Ľ of the rocker
ß`
to select
the desired setting.
REG OFF: free change between all regionally related stations.
REG ON: preferred change between identical programmes; in the “case of emergency” also change to a regional programme.
LOC ON/OFF
The LOC ON/OFF function is used to
adjust the station search sensitivity.
Maximum station search sensitivity when
"LOC OFF" is shown in the display.
MONO ON/OFF
The MONO ON/OFF functionis used to
select between mono and stereo sound.
ONVOL
With the ONVOL function you may limit
the maximum switch-on volume.
Normally the last adjusted volume will be
recovered when switching the car radio
on. However, if the switch-off volume is
higher then the ONVOL setting, the
switch-on volume will automatically be
limited to the ONVOL setting.
• Select ONVOL in the Setup menu.
"SETUP ONVOL" and the current setting
appear in the display.
19
GB
SETTINGS
Page 21

20
It is possible to individually adjust this
speed dependent volume control.
• Select GALA in the Setup menu.
"SETUP GALA" and the current setting
are shown in the display.
• Use the control knob/push button
1
to
select the desired setting. The setting
range is 1 – 9.
1 = minimum effect
9 = maximum effect
Select the "NO" option to switch the
GALA function off.
Use the control knob/push button
1
to
adjust the basic volume (e.g. for different
radio stations or cassettes). The speed
dependent volume control continues to
operate automatically
CODE/SAFE
If "CODE" appears in the display, coding
is not activated.
If "SAFE" appears in the display, coding is
activated.
The way how to activate and deactivate
the coding is described on the the following pages.
RM
With "RM ON" selected, the radio switches to the last selected radio programme
when fast forward winding or rewinding
the cassette.
PHONE OFF/ON/IN
The PHONE function enables you to select whether a telephone call is to be
heard via the loudspeakers when a mobile
telephone is connected.
• Select PHONE in the Setup menu.
"SETUP PHONE" and the current
setting "ON", "IN" or "OFF" appear in the
display.
• Press
Ń or Ľ of the rocker
ß`
to select
the desired setting.
"PHONE OFF": no interpretation of the
telephone connection.
"PHONE ON": the car radio is automatically muted on reception of a telephone
call.
"PHONE IN": the car radio is automatically
muted on reception of a teelephone call
and the conversation is heard via the loudspeakers.
SETTINGS
PHONE 0 ... 47
The PHONE function is used to set the
minimum telephone sound volume.
If the current volume is below the
"PHONE" setting, it will be boosted to this
setting if a telephone call is received.
• Select the PHONE menu item.
"SETUP PHONE" and the current setting
are shown in the display.
• Use the control knob/push button
1
to
select the desired setting. The setting
range is 00 – 47.
GALA
With increasing vehicle speed the noise
level inside the vehicle is increasing too.
So far it has been necessary to manually
adjust the radio’s volume to this noise
level.
Today, the GALA (GeschwindigkeitsAbhängige-Lautstärke-Anpassung =
speed dependent volume control) function
automatically adjusts the volume according to the vehicle speed.
Page 22

21
GB
LED ON/OFF
Switching the security LED on and off.
"LED ON" The security LED is on.
"LED OFF" The security LED is off.
• Press on
Ń or Ľ of the rocker
ß`
to
switch the desired function on.
BEEP ON/OFF
Switching the sound signal on and off.
"BEEP ON" Sound signal as function
confirmation.
"BEEP OFF" Function confirmation by
brief muting of the loudspeaker outputs.
• Press on
Ń or Ľ of the rocker
ß`
to
switch the desired function on.
Convenience radio coding
In teh event that you did not receive the
security code for your radio, this is because your car is equiped with the convenience system of coding for which this code is
not needed. In the battery is disconnected
and then re-connected, first of all switch
the ignition on with the key and then, after
this, the radio. Should you nevertheless
wish to have the security code, please
contact your ·koda dealer.
Deactivating the electronic security
system
If the electronic security system has
locked the car radio for any reason, for
example, when the car battery has been
disconnected or a fuse has blown, “SAFE”
appears in the radio’s display after switching on.
• After about 1 second, "1– – – –"
appears in the display.
If you now enter the correct code number,
the electronic security system can be
deactivated.
If is absolutely necessary to follow the
order of the operational steps:
• Switch the radio on: "SAFE" appears in
the display.
• After about 1 second, "1– – – –"
appears in the display (1 stands for the
first attempt).
• Use the station buttons ßRto enter the
code number which is to be found on the
radio card.
Briefly press the station button 1 to
enter the first digit of the code number,
then station button 2 for the second
digit, etc.• When this is done, press for
more than 2 seconds on
ľľ
or ıı of the rocker
ß`
then
release the pressure.
• If you have entered the correct code, the
frequency will be displayed after a few
moments.
The car radio is operational again.
Ń
!
If you should have lost the radio
card with the code number, please
contact a Skoda service point.
Coding
SETTINGS THEFT PROTECTION CODING
Page 23
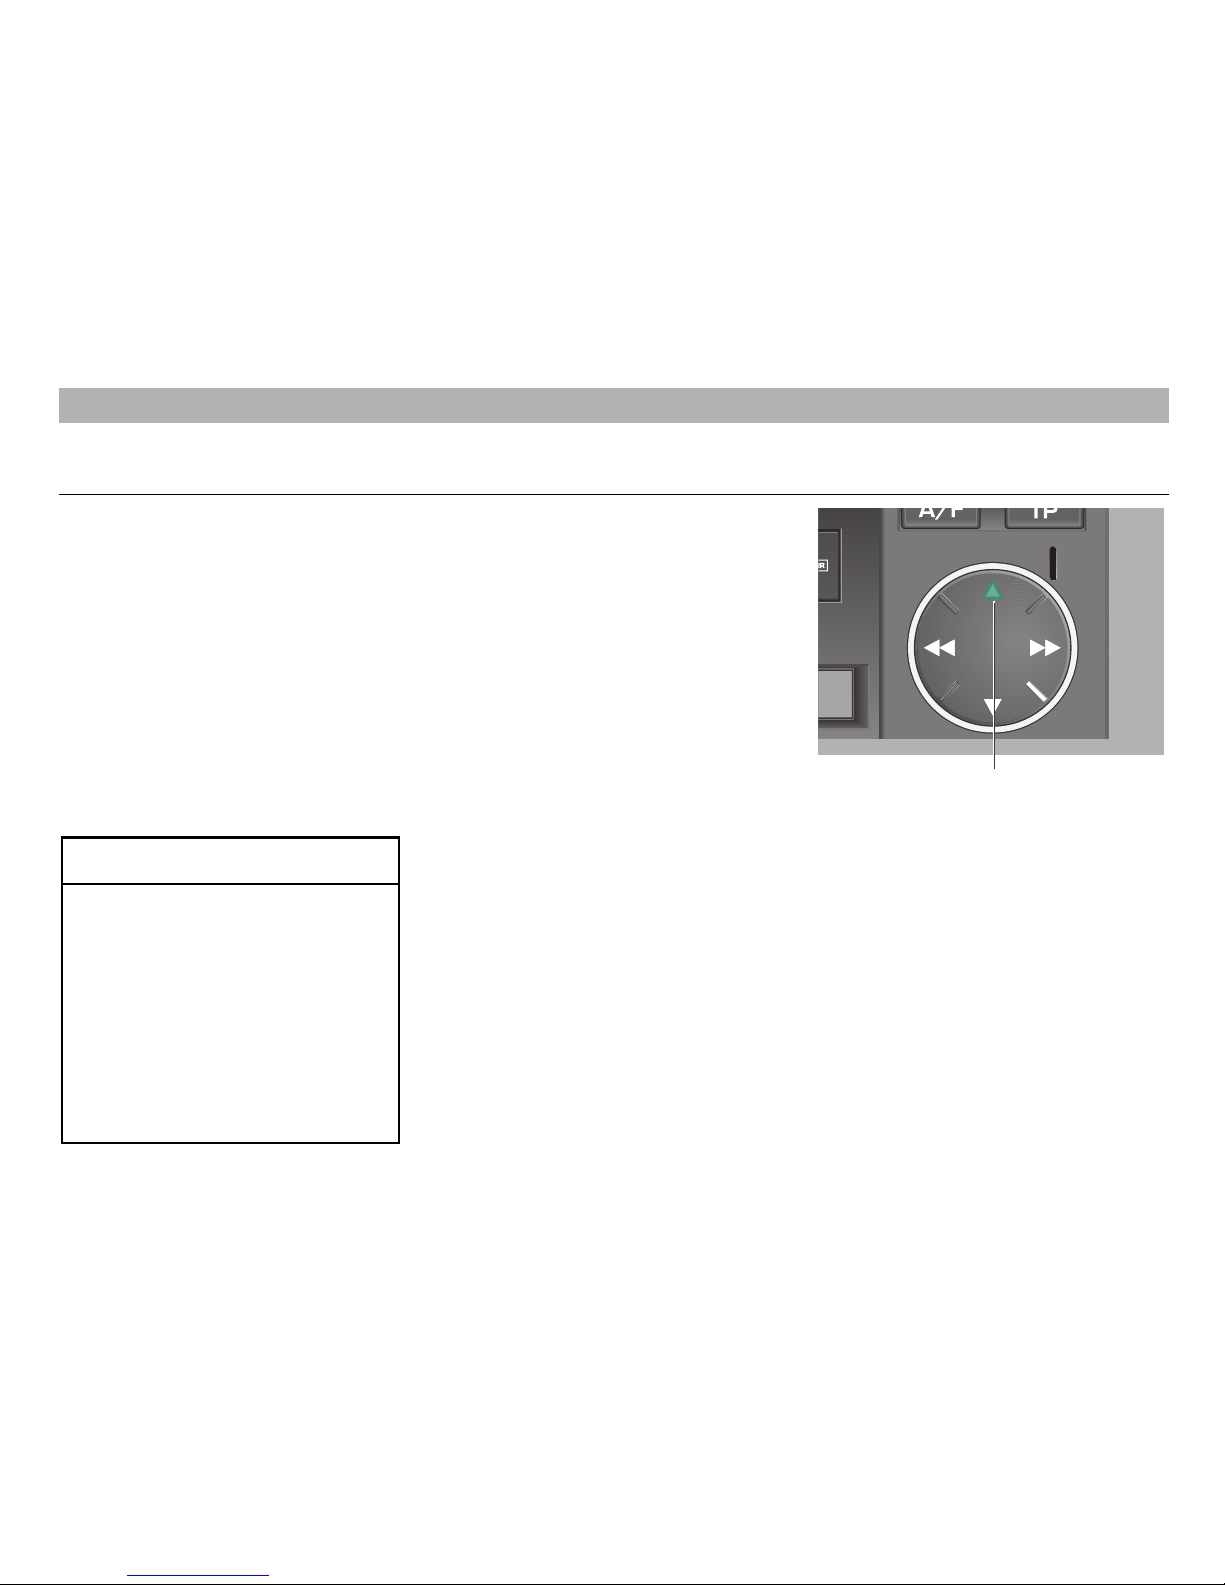
22
Security diode
Activating the electronic security
system
Press the TP button ß?to display the
Setup menu.
• Select the "CODE/SAFE" function.
• Press
Ń or Ľ of the rocker
ß`
.
• "1– – – –" appears in the display.
• Use the station buttons
ßR
to enter the
code number which is to be found on the
radio card.
Briefly press the station button 1 to
enter the first digit of the code number,
then station button 2 for the second
digit, etc.
• When this is done, press for more than 2
seconds on
ľľ or ıı of the rocker
ß`
then release the pressure.
• If you have entered the correct code,
“SAFE” will be displayed after a few
moments.
The car radio is locked again.
THEFT PROTECTION CODING
The security diode ßUflashes if the radio
is switched off and the ignition key is
removed.
›
19
Incorrect code number
If you enter an incorrect code number
when attempting to deactivate the electronic security system, "SAFE" appears after
about 10 seconds and then “2 – – – –”
(2nd attempt) in the display.
You may then repeat once the entire
operation. The number of attempts is
indicated in the display.
If you enter an incorrect code number
again, the radio will be locked for the
waiting times indicated in the table below.
Waiting times between attempts:
Attempt Waiting time
(display) (approximately)
1 10 sec.
2 1.5 min.
3 5 min.
4 21 min.
5 1.5 hrs.
6 6 hrs.
7 24 hrs.
8 24 hrs.
Page 24

23
GB
The device is provided with an automatic
tape type switch-over function. For optimum playback quality we recommend you
to use “chromium dioxide” or “metal” cassettes. To ensure a troublefree operation,
you should only use cassettes of wellknown manufacturers.
If distortions should occur when playing
prerecorded cassettes, we recommend
you to copy the recording on a cassette of
a renowned make.
To prevent distortions due to the cassette
itself, we recommend you to use cassettes
with a playing time of max. 90 minutes
(C-90 cassettes). C-60 cassettes are very
appropriate.
You should not stick adhesive labels
or additional labels on the cassette.
During cassette mode, the cassette
may get warm and the label detach
causing malfunctions.
Tips to cassette mode Guarantee
Never expose cassettes for a long time
to very low (below -10° C) or very high
(above +50° C) temperatures inside the
vehicle. Please consider that the temperature inside the vehicle may be considerably higher than outside the car.
Avoid exposure of the cassettes to direct
sunlight. It is best to store the cassettes in
their boxes or in the original cassette tray
with reel lock available for most vehicles.
If the high frequencies should get lost after
long operation (about 100 hrs. according
to tape material), the sound head may be
soiled by tape abrasion. In this case, clean
the sound head using a wet cleaning cassette. Use only cleaning cassettes of a
nenowned make and follow the user
manual of the cassette manufacturer.
For our car radio systems apply the same
guarantee conditions as for new vehicles.
Ń
!
A damage in the sense of the
guarantee must not be caused by
improper handling of the system or
by inexpert attempts of repair. In
additioin, no visible damages must
exist.
HINTS
Page 25

24
Connections
CD changer/CD player, mobile telephone,
AF muting, booster.
For more information, contact a Skoda
service point.
Display
Frequency, station name, waveband,
station button, TP (traffic programme),
cassette functions, CD functions (only
with connected CD changer/CD player).
Max. output power
4 x 20 Watt (max.),
4 x 17 Watt (to DIN in 4 Ohm).
Illumination
Anti-glare illumination of the control elements and the display when the vehicle
illumination is switched on (night design).
The brightness can be adjusted together
with the instrument board illumination.
Waveband selection
By touch buttons.
Cassette player
Wear-resisting high-performance sound
head, automatic tape type recognition,
rocker for fast forward and rewind, electromotoric cassette ejection, automatic stop
at tape end and switch-over to radio
reception in the case of traffic announcements, automatic change of cassette side
at tape end (autoreverse), music search
system (MSS).
Theft protection
Electronic security system locking the
radio when the power supply is disconnected. The radio can be put into operation again only by entering the correct
code number.
Reception ranges
FM, AM (MW).
Interference suppression
The automatic interference suppression
integrated in the radio eliminates most
interferences during FM reception.
Special intereference suppression circuits
eliminate most interfering impulses generated by the motor and other parts of the
electrical system, for example, ventilator,
windscreen wiper, etc.
Station selection
Automatic play of the last station tuned to
(last station memory) in radio mode.
Six station buttons each for AM1/AM2,
FM1/FM2. Direct manual tuning for RDS
stations. Manual tuning possible in the
direction of high or low frequencies. Microcomputer-controlled stabilization of the
transmission frequencies (PLL quarztuning).
Traffic radio programme functions
Automatic station search, automatic traffic
announcements, switch-over to mono
during traffic announcements.
Audio functions
Stereo (radio, cassette and CD), active
tone control, sound balance control integrated in the radio, speed-dependent volume control (GALA), multiple loudspeaker
system.
BRIEF TECHNICAL DESCRIPTION
The indications in this user manual comp-
ly with the information available at the day
of printing.
Subject to technical modifications.
This paper has been made of chlorine-
free and bleached pulp.
Page 26

www.skoda-auto.cz
www.skoda-auto.com
Autorádio Symphony
Škoda Auto 08.03
 Loading...