

Skoda Octavia Bolero User Manual
SIMPLY CLEVER
ŠkodaOctavia
CAR RADIO BOLERO

koda Auto pursues a policy of constant product and model development. We trust that you will understand that changes to models in
terms of shape, equipment and engineering, may be introduced at any time. It is therefore not possible for legal claims to be made
based on the data, illustrations and descriptions contained in this Owners Manual.
Reprint, reproduction or translation, either in whole or in part, is not permitted without the written consent from koda Auto.
koda Auto expressly reserves all rights relating to copyright laws.
We reserve the right to make changes to this document.
Published by KODA AUTO a. s.

Contents
Contents 1
General information . . . . . . . . . . . . . . . . .
Equipment overview . . . . . . . . . . . . . . . . . . . . . . . . . .
Important information . . . . . . . . . . . . . . . . . . . . . . . .
Anti-theft protection . . . . . . . . . . . . . . . . . . . . . . . . . .
General - operation . . . . . . . . . . . . . . . . . . . . . . . . . . .
Basic setting . . . . . . . . . . . . . . . . . . . . . . . . . . . . .
Switching the unit on and off . . . . . . . . . . . . . . . . .
Audio settings . . . . . . . . . . . . . . . . . . . . . . . . . . . . . . . . .
RADIO selector key . . . . . . . . . . . . . . . . . . . . . . . . . . .
Range selector key MEDIA . . . . . . . . . . . . . . . . . . . .
Range selector key SETUP . . . . . . . . . . . . . . . . . . . .
Range selector key PHONE . . . . . . . . . . . . . . . . . . .
2
2
2
3
4
6
6
6
6
9
14
17
General information2
A1A
A
A
A5A6A
A
General information
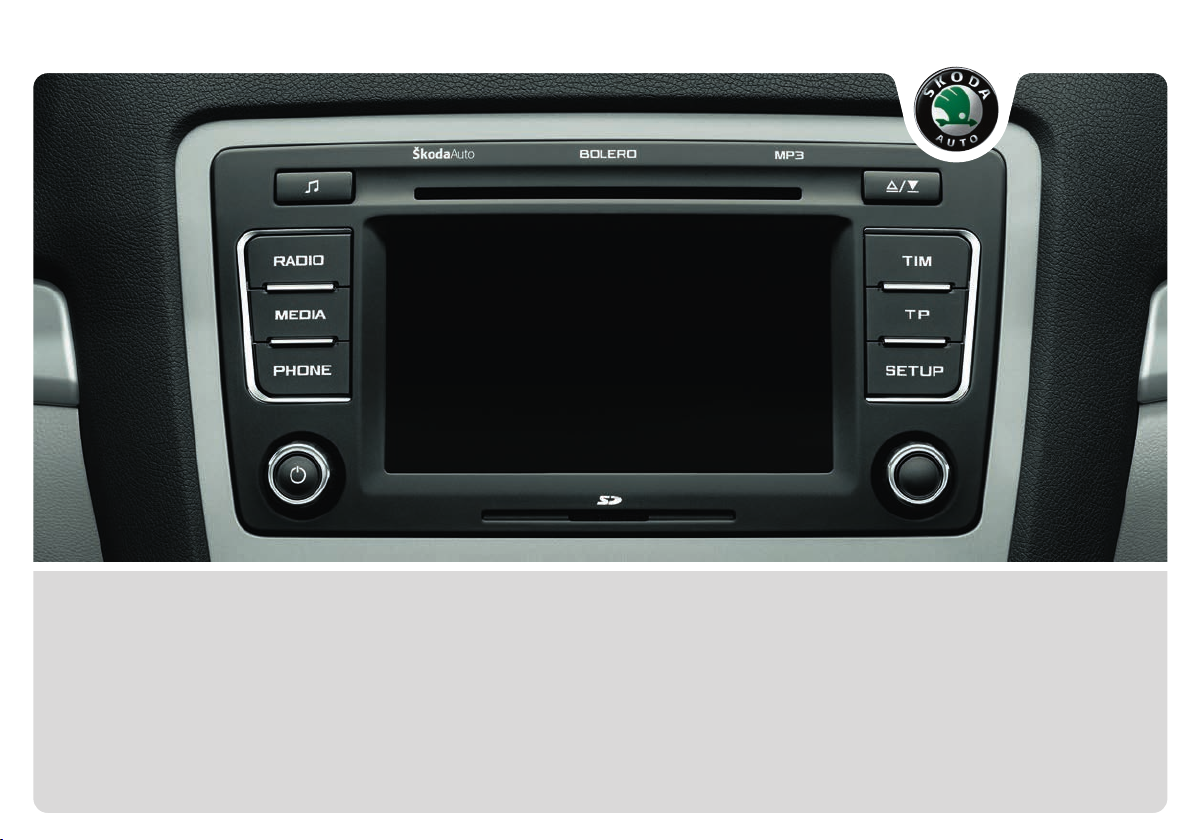
Equipment overview
Switching on/off: Rotary/push knob for switching on/off (press for a
long period of time), for reducing the volume (press briefly) and
volume control (turn)
2
Setting up button
− RADIO mode – turn for manual station adjustment; press briefly
to start or stop the automatic play (Scan).
− MEDIA mode – turn to change track; press briefly to start or stop
the automatic play (Scan).
3
Selector key for selecting the corresponding menu:
RADIO
− – changes over into radio mode and changes the
frequency range when in the radio mode
MEDIA
− – changes over to the last played media source or selects
a new media source
PHONE
− – °Phone function – Muting of the current audio source
TIM
− – TIM function (Traffic Information Memory) recorded traffic
announcements can be replayed. After entering up to two
different TIM recording times in the SETUP menu, a recording of
the traffic announcements is also possible if the unit is switched off
TP
− – Switch the traffic information function (Traffic Program) on
or off or interrupt the currently recorded traffic announcement.
SETUP
− - enables setting-up the individual fields
4
– opens the sound and volume settings menu
Touchscreen (Touch-screen): Fields circled in colour on the display
are presently “active” and are operated by touching the display
CD-case
7 /
Eject key – press briefly to move an inserted CD into the initial
position ready for removal
8
Memory card case: SD memory cards (“Secure Digital Memory
Cards”) and MMC-memory cards (“Multimedia Cards”) measuring 32
mm x 24 mm x 2.1 mm and with a capacity of up to 2 GB are available.
The case for the memory card is located under the display
Characters in the text
* Parts of the equipment which are marked in such a way are only installed as
standard on certain models or are available as special equipment.
End of the paragraph.
The paragraph continues on the following page.
Important information
Warran ty
The equipment warranty terms and conditions also apply for new vehicles.
After the expiration of the warranty, a piece of equipment in need of repair will be
replaced with a reconditioned, original item with spare part warranty. It is, however,
a precondition that the housing has not been damaged and no unauthorised
attempts have been made to carry out repairs.
Note
Damage within the meaning of the warranty must not be the result of improper
handling of the system or from unprofessional repair attempts. It is also essential
that there is no external damage.
Device operation
The radio should only be used, if the traffic situation permits it.
The volume settings must be selected in such a way that audible signals from the
outside, e.g. a Martins horn from utility vehicles (police cars, ambulances and fire
brigade), can be heard at all times.
General information 3
WARNING
Please concentrate fully at all times on your driving! As the driver you are
fully responsible for road safety. Only use the functions of the radio in such
a way that you are always in full control of your vehicle in all traffic situations!
Caution
• Inserting a second CD while a CD is being ejected can destroy the CD drive in
the unit. Please note that the CD ejection lasts a few seconds after pressing the
Eject key . During this time the lock in front of the CD case is open. It is essen-
tial that you wait until the CD has been fully ejected before you try to insert a new
CD.
/
• Press the buttons and the keys of the unit gently in order to avoid damaging
them. Gentle pressure on the appropriate key is sufficient to operate the unit.
Please note that the rotary/push knobs have predetermined breaking points, in
order to reduce the risk of injury.
• Do not use any pointed or sharp-edged objects to operate the touch-screen.
Slight finger pressure sufficient to operate the equipment. A text in the display,
which cannot be called up by pressing the button, is therefore not available at that
time.
Using the display
Carefully handle the display because dents and scratches can occur through pressure of the finger or contact with sharp objects.
The display can be cleaned with a soft cloth and finger marks can be wiped away
with pure alcohol.
Note
Do not use solvent such as turpentine or petrol as they will corrode the display
surface.
Anti-theft protection
Anti-theft coding
Your radio is equipped with a convenience coding. If the radio is being operated for
the first time, the safety code is not only stored in the radio but also in the vehicle.
After disconnecting and reconnecting the battery, first of all switch on the ignition
and then the radio.
If you wish to install the radio in another vehicle, the safety code must be entered.
In this case, please do not hesitate to contact a Škoda Service Partner or a Škoda
importer.
As the unit only functions after entering the safety code, this practically excludes its
use after a theft - a contribution to increased anti-theft safety.
Note
The code is stored in the instrument cluster. This ensures that it is automatically
decoded (convenience coding). Manual input of the code is normally not
necessary.
Enter code
If a keypad appears after switching on with the command to enter the
code, the unit can be unlocked by entering the correct four-digit code
number. The number of the possible attempts is shown in the second
display line.
– Press directly a digit from to on the digit block displayed on the
display. The digit is accepted in the entry line.
– After a four-digit order has been entered, the group of digits will turn
grey (inactive) and no further digits can be accepted in the entry line.
– Press on the display to erase the digits in the entry line from right
to left and thereby correct your input, if necessary.
0 9

General information4
– If the correct code number is displayed in the entry line, press .
Code number
The code number can only be called up “online” via the Škoda system, as this guarantees even more effective anti-theft protection. Please contact your Škoda Service
Partner if necessary.
Incorrect code number
If an incorrect code is confirmed after entry of the code, the procedure can be
repeated once again. The number of attempts is shown in the second display line.
If the code number is entered incorrectly for the second time, the unit will be
blocked for approx. one hour. It is possible to enter again the safety code after one
hour has expired, when the unit and the ignition have been switched on.
If two invalid attempts are then made again, the navigation system will be blocked
again for an hour.
The cycle - two attempts, blocked for an hour - will continue to apply.
OK
Note
The code is normally stored in the instrument cluster. This ensures that it is automatically decoded (convenience coding). Manual i nput of the cod e is nor mally n ot
necessary.
General - operation
The screen of the unit is a so-called touch screen (touch-screen). Fields
circled in colour on the touch-screen are presently “active” and are operated by touching the screen.
“Function keys” on the screen
– Active fields on the touch-screen, which call up a function or a menu,
are called “function keys”.
– By using the function key you can change back from each menu to
the previous menu.
Moving objects or regulators
– Place your finger on the display of a moving object on the touch-
screen, for example the “sliding regulator” in a “scrollbar”.
– Now move your finger over the touch-screen without interruption.
The object will follow your movements, but can only be moved within
the pre-defined range.
– Lift the finger from the touch-screen at the desired position.
– To view the displayed menu section, move the right sliding regulator
in the scrollbar completely to the bottom.
– Alternatively, you can move the sliding regulator on the touch-screen
to the bottom and top by touching the function keys and .
– A sliding regulator in a set-up bar
pressing or
“Scrollbar”
The vertical bar on the right side of the display with a sliding regulator between the
arrow keys and is called a “scroll bar”. It indicates that further menu entries
become visible if the sliding regulator is moved completely to the bottom.
Display settings
In a set-up menu a set-up or value is infinitely adjustable. Move the sliding regulator or press or to change a setting. Press the function key , to take
over a changed setting and to switch back to the initial menu.
“Pop-up window”
A function key with an arrow behind another function key shows the presently
selected set-up, e.°g. with an .
If you press on the function key on the display, a so-called “pop-up window” will
open where all the set-up options are displayed.
- +
+ -
Confirmation tone Off
can alternatively be moved by

Briefly press the desired set-up option. The pop-up window is closed and the
setting you have selected is displayed. To close the pop-up window without
changing the set-up, press the function button in the pop-up window .
“Check-box”
There is a so-called “check box” in front of a function which can only be switched
on or off. A tick in the check-box indicates that the function is switched on, an
empty check-box , indicates that it is switched off.
Briefly press the corresponding function key for switching on and off.
General information 5

Basic setting6
A
Basic setting
Switching the unit on and off
– The system is switched on or off by pressing the rotary/push knob
for a long period of time.
The last active audio source before switching off is repeated.
If the key is pulled out of the ignition lock with the unit switched on, the unit wil
switch off automatically. You can then switch the unit on again. When the ignition is
switched off, the unit switches off automatically after approx. one hour (discharge
protection of the vehicle battery). This process can be repeated as often as
necessary.
1
Audio settings
By pressing the button you can select the following parameters:
Height-Middle-Depth
• - Setting of height, middle and depth;
Balance fader
• - Volume ratio (left and right = balance), (front and rear = fader);
Volu me Switch on volume Traffic announcements PDC
• - , and * - Switch on
volume, traffic announcements and volume of park distance control signal;
GALA
• - Speed dependent volume adaptation;
Confirmation tone
• - Switching on or off the tone signal when storing the radio
stations.
Reducing the volume when activating the parking aid (PDC)*
If your vehicle is equipped with “parking aid”, the volume is automatically
decreased to a pre-defined value, when the “parking aid” is active.
GALA function
Your radio increases automatically its volume with the increasing vehicle speed. A
higher setting value results in a stronger volume increase.
RADIO selector key
Selecting a radio station
Call up RADIO main menu and choose frequency range
– Press the range selector key to call up the RADIO main menu.
The currently heard radio station is indicated at the top of the display.
– To change the frequency range, press the function key or the
function key and on or in the opening pop-up
band FM AM
window. The current frequency range is indicated at the top left of the
display.
Changing radio station
– By pressing the arrow keys on the display of the RADIO main menu,
you can change to the previous or the following station.
Selecting a radio station from the station list
– Press the function key to display all radio stations that can
currently be received. The list “skips” directly to the display of the
currently heard radio station.
– Choose the desired station by pressing the respective selection. After
about 20 seconds without operation the image of the station list will
close automatically.
Function keys in the Radio main menu
1... ...42
to – Station keys for storing or calling up a stored radio station.
Band
– Button for selecting the desired frequency range.
Station list
Memory
– opens the list of the presently receivable radio station.
– opens the list of the stored radio station.
RADIO
RADIO
Station list
 Loading...