

SIX Payment Services Ingenico Desk 3500, Ingenico Move 3500 Quick Manual
Purchase
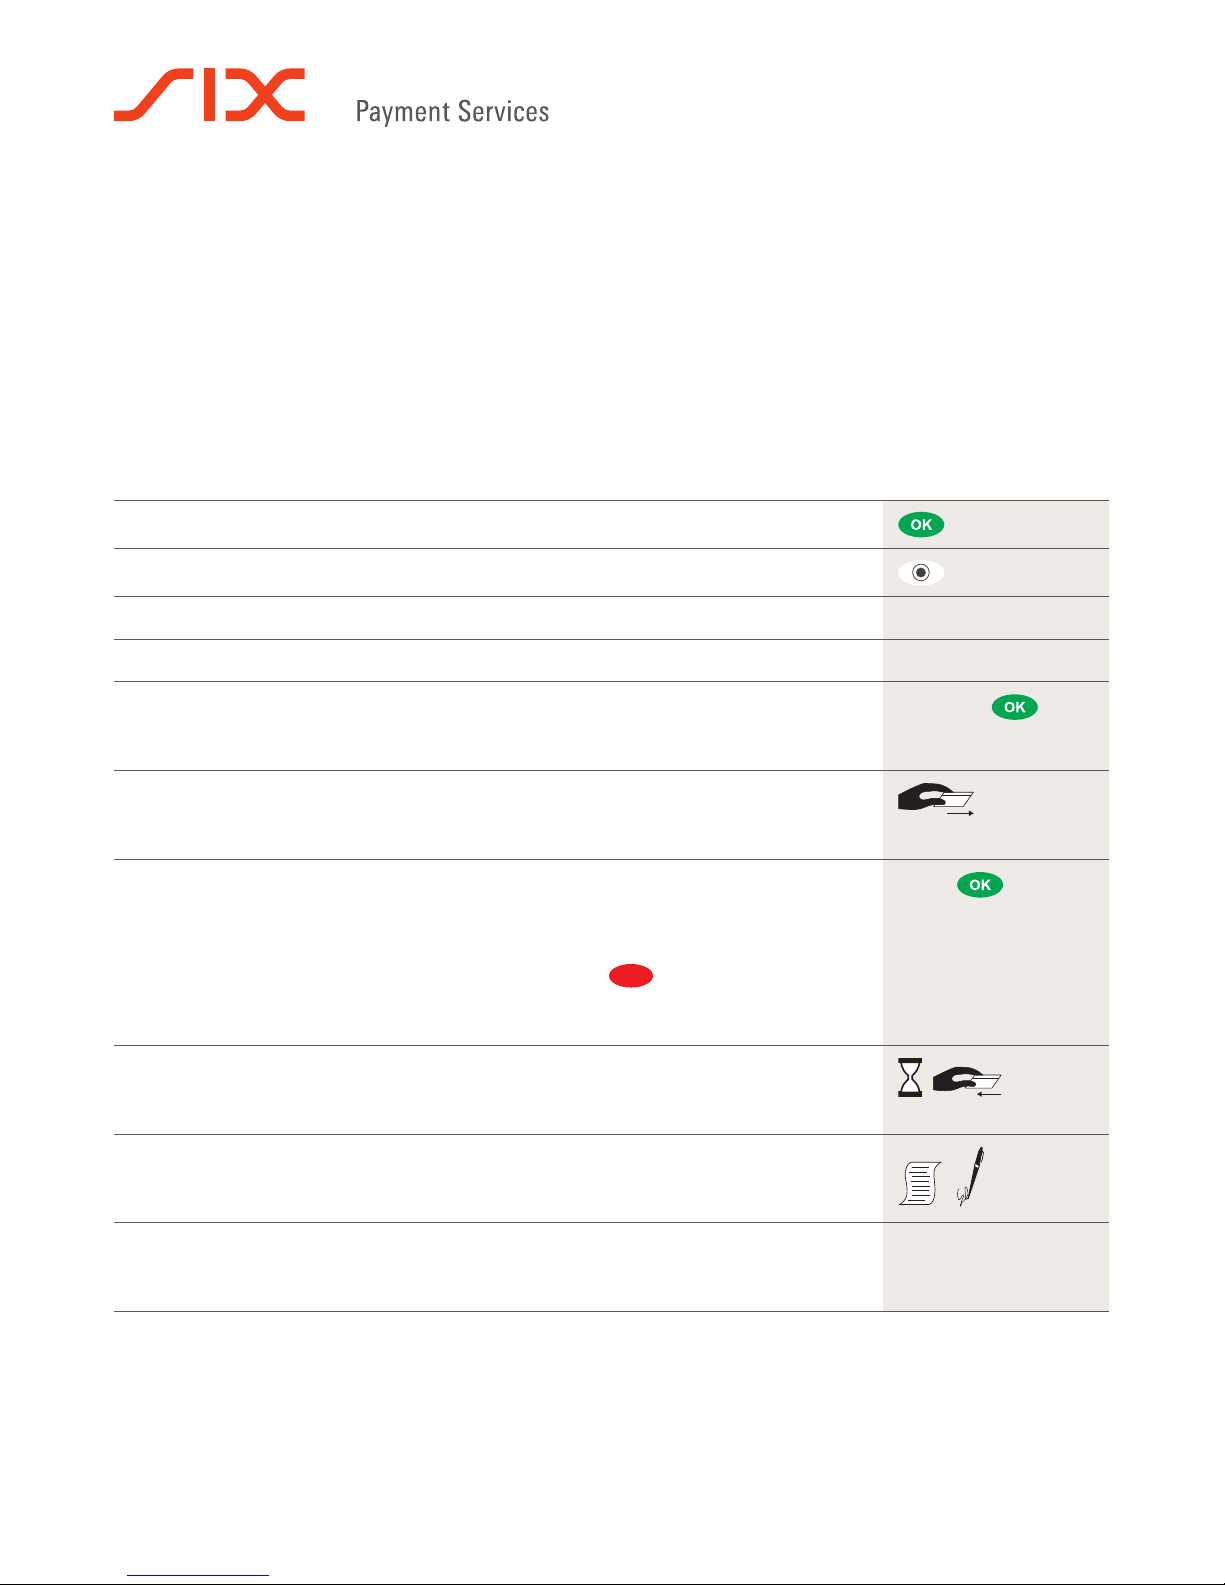
1. Pressing the green <OK> button switches the terminal on.
2. The <F> button opens the main menu.
3. Pressing <1> opens the transaction menu. 1: Transactions
4. Push the <1> button. “Purchase” is activated. 1: Purchase
5. Enter the amount and confirm with <OK>.
The amount is separated (e.g. euros/cents) with a period.
Amounts less than “1” are registered with a “0.” at the beginning.
<Amount>
6. Depending on the card type, it must be inserted in the chip card reader, held up to the
contactless reader or pulled through the magnetic swipe reader. If the customer uses
the wrong reader for his or her card, that person is instructed to use the proper reader.
7. The amount is displayed for the customer to read. When using a card with an associated
PIN, the customer is instructed to enter the PIN code (4 to 6 digits) and confirm with
<OK>. When using a card without a PIN, only the amount must be confirmed. Generally,
customers do not need to do anything further for a contactless payment of a small
amount. The transaction can be interrupted by pressing
. Please confirm the
message “Please return trm. to cashier” with the upper left function key, so that
terminal switches back to basic state.
<PIN>
8. Payments are processed and, when appropriate, authorised online.
Chip cards: The card must remain inserted in the chip reader during the transaction
until the instructions appear to remove the card.
9. Receipt is printed out. Please follow the terminal’s instructions: If the customer’s
signature is necessary, request that he or she provide one.
10. To print a copy of the receipt: Push the <1> button.
To not print a copy of the receipt: Push the <2> button.
If no button is pushed, a copy is automatically printed after 10 seconds.
1: Copy
or
2: No copy
The most important functions of
Ingenico Desk 3500
Ingenico Move 3500

Reversal (Cancellation)
With this function, the last transaction that was carried out is cancelled.
1. Pressing the green <OK> button switches the terminal on.
2. The <F> button opens the main menu.
3. Pressing <1> opens the transaction menu. 1: Transactions
4. Push the <3> button. “Reversal” is activated. 3: Reversal
5. Enter the terminal’s password and confirm with <OK>.
(For the password, see the configuration sheet.)
<Password>
6. The amount of the previous transaction is displayed, and confirm it with <OK>.
7. Reversal is processed and, when appropriate, authorised online.
8. Receipt is printed out.
9. To print a copy of the receipt: Push the <1> button.
To not print a copy of the receipt: Push the <2> button.
If no button is pushed, a copy is automatically printed after 10 seconds.
1: Copy
or
2: No copy
Credit (Refund)
If a transaction can no longer be cancelled, a credit can be issued.
1. Pressing the green <OK> button switches the terminal on.
2. The <F> button opens the main menu.
3. Pressing <1> opens the transaction menu. 1: Transactions
4. Push the <4> button. “Credit” is activated. 4: Credit
5. Enter the terminal’s password and confirm with <OK>.
<Password>
6. Enter the amount and confirm with <OK>.
The amount is separated (e.g. euros/cents) with a period.
Amounts less than “1” are registered with a “0.” at the beginning.
<Amount>
7. Only if the DCC function is activated: Enter the date of the original transaction and
confirm with <OK>.
<Date>
8. Depending on the card type, it must be inserted in the chip card reader, held up to the
contactless reader or pulled through the magnetic swipe reader.
9. The cashier signs the receipt as a confirmation.
 Loading...