

Si Tech Neck Tite User Manual
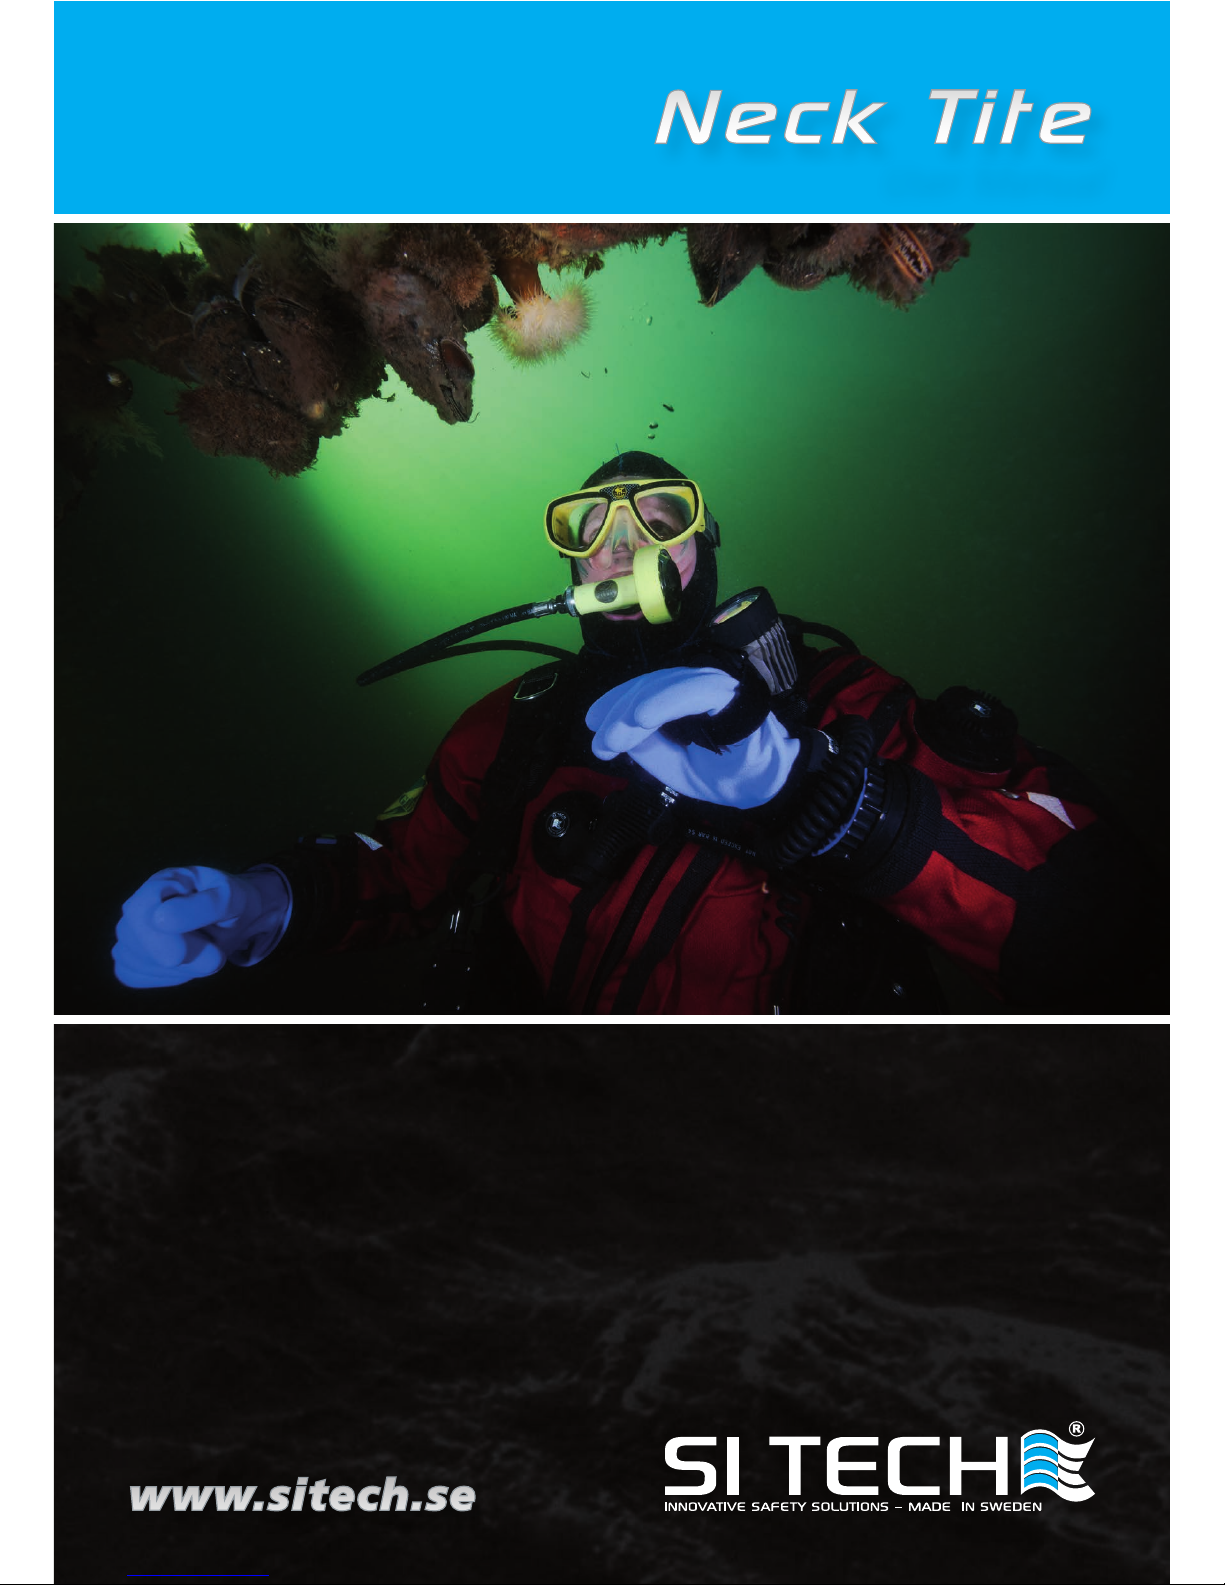
Photo: Jonas Andersson/Lysekil
www.sitech.se
Neck Tite
User Manual
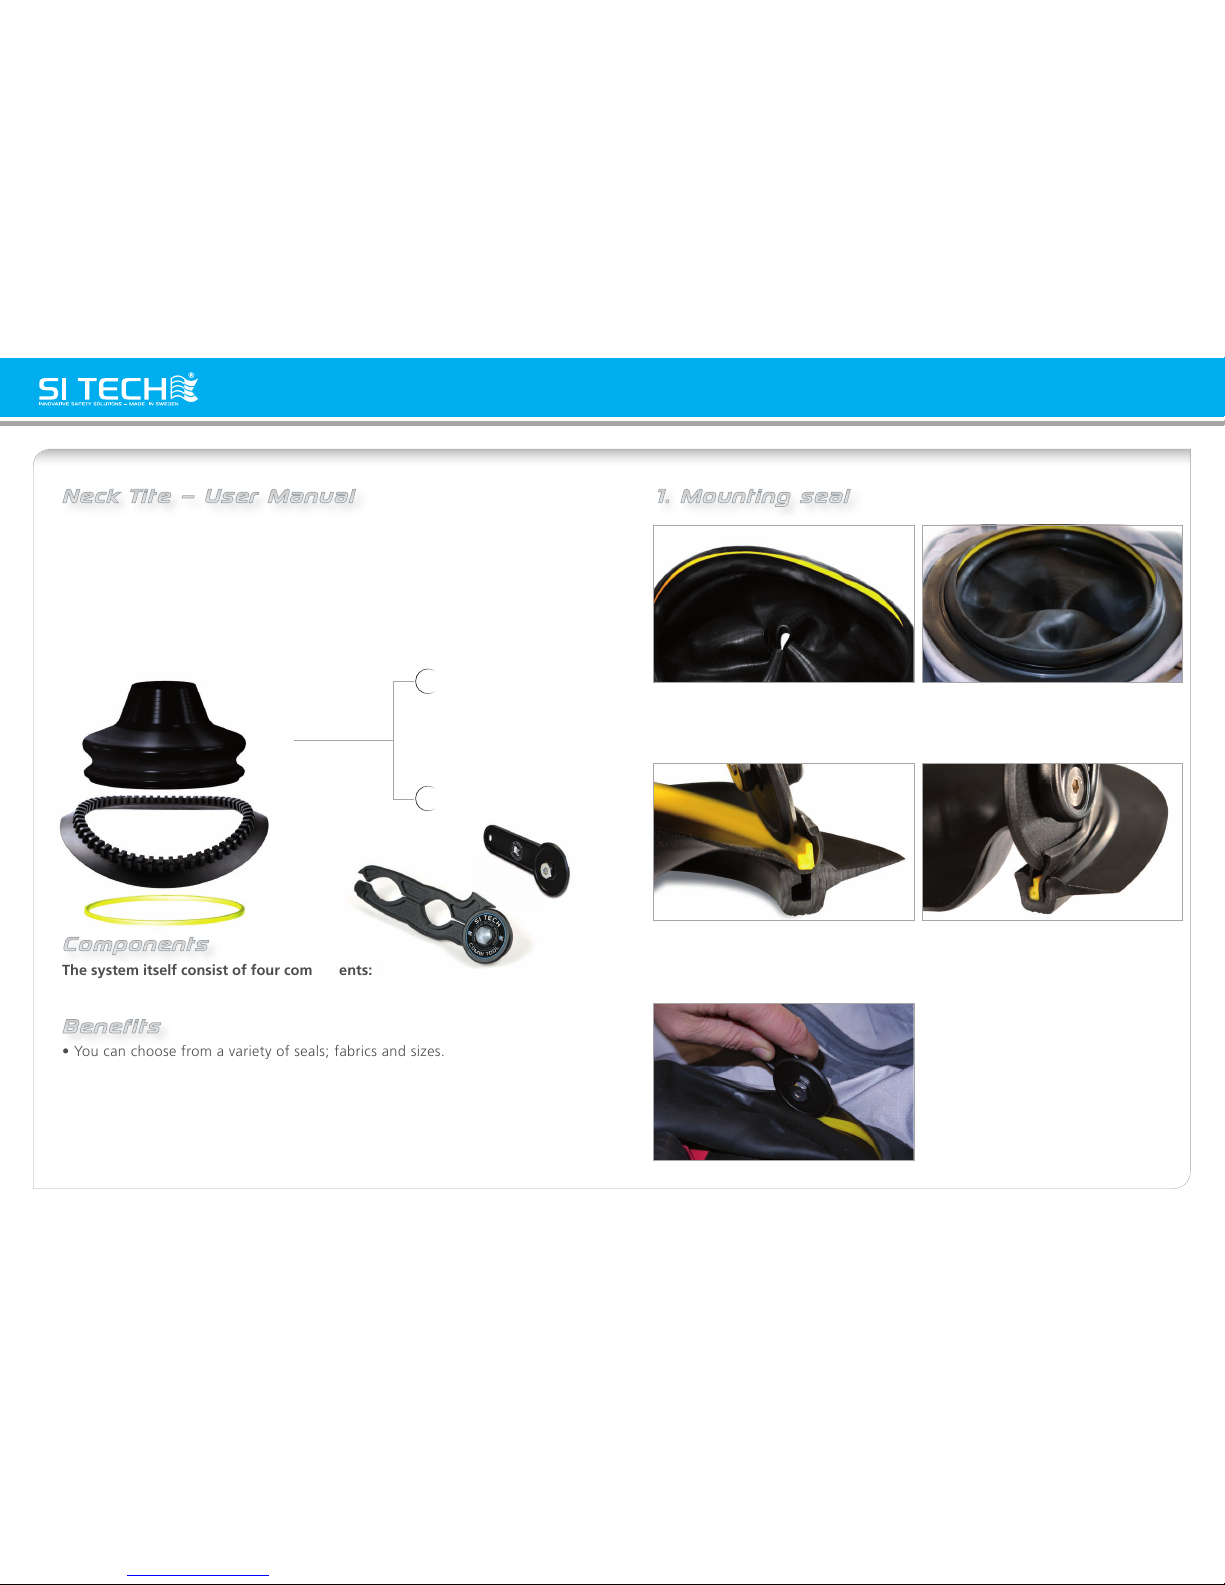
Neck Tite – User Manual 1. Mounting seal
We want to congratulate you on your purchase of the Neck Tite
system, a Modular Quick Change Solution developed and manufactured by SI TECH in Sweden.
www.sitech.se
• You can choose from a variety of seals; fabrics and sizes.
• If a seal breakes, you will be able to quickly solve the
problem without ruining the activity of the day.
• A suit used by several people can easily be adjusted with
correct size of seal within minutes.
The Neck Tite system is designed as a modular seal attachment platform
providing the opportunity to quickly change a broken, torn or aged seal.
It provides you with the flexibility to choose from a variety of seals made
from silicone or latex, each with different properties.
The system itself consist of four components:
• Neck Ring • Lock Ring • Neck Tite Tool • Neck Seal (silicone or latex)
1.2 Put the seal in position over the Neck Ring
(mounted on your drysuit) with the Lock Ring
on top of the tapered groove in the Neck Ring.
1.3-1.4 Put the Neck Tite Tool in position as image displays. By applying force, press the Lock
Ring down into the tapered groove of the Neck Ring so that the Lock Ring enters the groove
and locks into position. Use a flat surface when performing this operation.
1.1 Place the Lock Ring on the inside of the
seal. Ensure that approximately 1,5 cm of the
seal is pulled over the Lock Ring.
1.5 Push the Neck Tite Tool forward
along the Lock Ring until all of it has
been forced into the groove in the
Neck Ring. (Strive to get the same amount
of excess part of seal around
the entire assembly, see image 1.6.)
Benefits
This manual does not address the topic of gluing/attaching the Neck Ring to your
drysuit. Please visit: www.sitech.se for information.
Components
Silicone
Latex
Options of the seals
Quick Neck Ring
Lock Ring
Seal
Neck Ring Tool
(old)
Combi Tool
(new)
 Loading...