

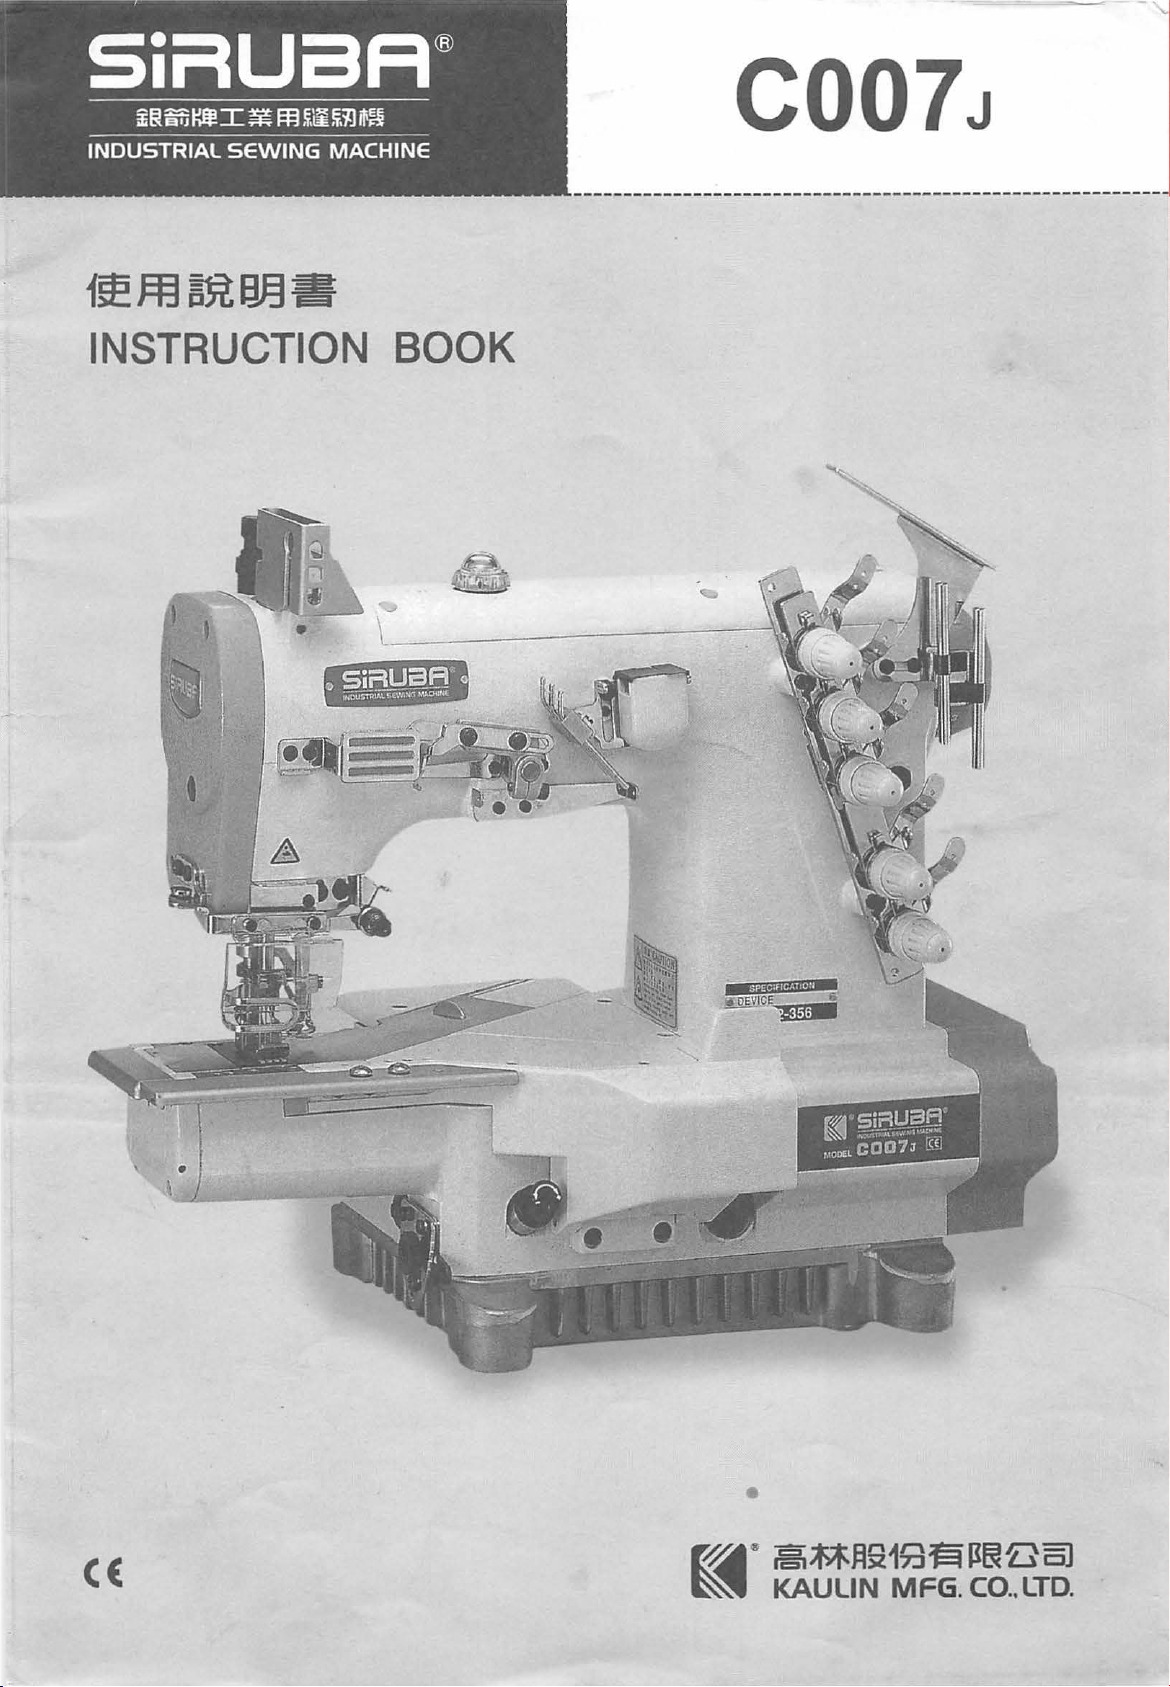
Page 1
1~ffl~aF.1~
INSTRUCTION BOOK
C007J
•
~i#ii31i!+fdh·R
..
•
((
Page 2

EC
DECLARATION
OF
CONFORMITY
Machinery
The
undersigned,
Min
Shan
E.
described
Provided
good practice
and
health
For
the
requirements of
-
the
general
The
compliance
by
AlB-
body under
hereafter
that
it
and
requirements of
most specific
European
principles
VINCOTIE
the
According
Directive : 89 I 392 I EEC • as
Road,
DAVID
Taipei,
LIN , representing
Taiwan
:
Interlock
Model
is
used
and
maintained
the
recommendations of
the
Machinery
risks
of the machine, safety
the
Directive
Standard
for
of
the
Inter
number
model
EN
design.
n.f.p,
26
for
has
been
292
with
the
Avenue
machinery listed
to
the
following
amended
ROC.,
manufacturer,
Sewing
in
accordance
the
Directive.
based
- 1 & -2 :
requirements of
A.
on
1992-
Drouart
in
EC
Directive
by
91 I 368 I EEC
KAULIN
MFG.
CO
declares
Machine
C007J
with
the
generally accepted codes of
instructions
and
elements of :
Safety
27annex
manual,
compliance with the essential
of machinery ; basic concepts,
EC
Machinery Directive
29
, B
1160
IV
of
EC
meets the essential safety
, Brussels, Belgium (Notified
Machinery Directive ) .
and
93 I 44 I EEC.
..
LTD.
that
the
was
11 F 128
machine
established
Sec.
3
Date
:
Signature:
Qualification:
APR. I 15 I 2002
-~V.:..::IC~E=---C=..:........:.H:......:A.:...:...IR.:..:...:M~A....:.:..N-=----
Page 3

General
Safety
Instructions
Warning !
risk
of
fire,
Read
all
these
1.
Keep
work
Cluttered
2.
Consider
Do
well
3.
Guard
against electric
Avoid
4.
Keep
children
Do
5.
Dress
properly.
Do
covering
6.
Do
not
Never
from
7.
Maintain
Follow
damaged
8.
Disconnect
When
9.
Avoid
unintentional
Do
0.
Check
damaged
Before
determine
1.
Warning.
The
manual,
When
using
electric shock
instructions
area
clean.
areas
work
area
not
expose
lit.
Dot
body contact
not
let
not
wear
abuse
carry
heat,
machine
instructions
machine
not
not
carry
further
use
power
not
use
away.
visitors touch
loose
to
contain long
the
cord.
the
oil
and
with
have
in
use,
a plugged -
parts.
use
that
it
of
any
may
present a risk
this
machine,
and
personal
before
and
environment.
power
shock.
clothing
machine
sharp
care.
for
it
repaired
before
starting.
of
will
accessory
operating
benches
to
rain.
tools
with
earthed
the
hair.
by
edges.
lubrication
by
servicing
in
the
tool, a guard
operate
or
basic
injury,
invite
injuries.
Do
not
where
or
grounded
tool
or
extension
or
jewelry,
cord
or
yank
and
an
authorized
and
tool
with
properly
attachment,
of
personal
safety
precautions should
including
this
use
there
they
changing accessories. Inspect tool cord periodically
when
a finger
or
other part
and
injury.
the
following.
product
machine
it
perform
other
and
save
tools
in
is
risk
to
cause
surfaces
code.
can
be
to
disconnect
serviced
changing accessories.
on
the
than
(e.g.
caught
facility.
switch.
that
is
its
intended function.
those
always
these
damp
or
fire
or
pipes,
in
moving
it
from
the
Ensure
damaged should
recommended
be
instructions.
wet
locations.
explosion.
radiators,
parts.
socket.
switch
followed to
Keep
ranges
Wear
Keep
is
off
be
in
this instruction
refrigerators).
protecting
the
when
carefully checked
reduce
cord
plugging
work
away
and
area
hair
the
if
in
.
to
2.
Have
your
tool
repaired
Repairs
Special
1.
Incorporate
2.
Follow
3.
Always
4.
Before
the
hazard
should
Warning For
this
machine
the
instruction
earth
machine
adjustment,
of
unintentionally
by
a qualified
only
be
carried
Electric
only
with
manual
appropriately during operation.
parts
device
change
start
person.
out
by
qualified persons using original spare
Connection I
"CE"
certificate hold
to
install
or
servicing must
of
machine.
control
device.
be
sure
-to-
run
control device.
to
pull
out
the
plug
from
parts.
socket
to
prevent
Page 4
~~
INSTALLATION
1
.~il~m~
W:lJ~i
;IM)
)i
jf.b
;Z
Sf!
t~
5115m
a z
I!
t~
~t
~
*i
.:zit
~0
~
;IM)
~~
~t
;Zj!f~
~ti155~
i.il*iJj~fl~M
~t
*i
t;6*i
*¥
;Z
ID!l
~
MOTOR
LUBRICATION
HOW
HOW
LUBRICATE
THREADS
TO
THREADING
ADJUSTING
ADJUSTING
AND
TO
CHANGE
TO
CHANGE
AND
REPLACE
THREAD
NEEDLE
BELT
OIL
OIL
THE
COOLING
NEEDLES
TENSION
THREAD
FILTER
OF
NEEDLES
TAKE-UP
AND
1
2
2
2
3
3
4
4
4
J:
.3Z
t;6
*''l
·~
;Z
~
g
iflt~z~M
*i~EI:m:rr.:z~~
~lhtt.:Z~~
iiJIA~tJ5i/fz~g
*3Mz~-~~
~mill
~Hill
m
~~:i:
~
Ji
~~af)
ADJUSTING
ADJUSTING
ADJUSTING
ADJUSTING
ADJUSTING
CLEAN
THREADING
TABLE
IMPORT
SPREADER
PRESSER
STITCH
DIFFERENTIAL
THE
UP
DUST
DIAGRAM
CUT-OUT
SAFETY
THREAD
FOOT
LENGTH
FEED
PRESSURE
DIAGRAM
INSTRUCTION
OF
TAKE-UP
RATIO
PRESSER
FOOT
4
5
5
6
6
6
7
8-12
13
MODEL
Net
Weight
Serial
Dimension
(Kgs)
No.
45
Length
46cm 25cm 40cm
Noise
Vibration
level,
(m/sec 2 )
Width
C007J
db(A)
82
dB(A)
Height
Page 5
------------------------
:le~
----
---------------
1.
ftvt:::f~H.PITI!f1~1&~~1l11:&~1!f*Jlg~J51T91J
z~cf!f.f~ff;~~~1.i!H~mt.~~.
----------
------------- -~-----------------
---------------
---------
---------
-- -------
-----
--------
-------
-----
-------------------
-
- -
-----------
---
-- ----------------
INSTALLATION
---
----------
1.
Before installing machine, please refer
cut-out drawing, and the necessary
-----------
----------------------------------·
totable·
attachment as enclosed, according to the
sequence of installation, to fix cushion base,
thread stand.
2.
Be
2.
.~
ll
Z
~~ ~ ~
=F:t~~pg~T
~~
fll.
t;lf
~&H~t~J:..
lllfi
B~
~
1J ~ , $.
2cm
~:§:.~a~ml"~~Jm~.
(~
.1 & 2)
~ Z f~
~
Ji
1-;.1.
ffl
sure that the motor turning direction
clockwise, and the motor belt tension can
th
be pressed wi
finger inward about 2cm.
For safety reason, please fasten the belt
cover.
ig. 1 &
2)
(F
3. Regarding machine speed and motor pulley
diameter, please refer to Table
1.
is
--~
I
l
;!~:
1.~ffl~~H~W-O~~Q~/i~~~~U
~.:28~.~~~~
(~Ul
~
1).
~-~~llt;ff~R~
Remarks:
1.
During the first month
the maximum speed shouldn't exceed 80%
of the speed listed in Table
choose the correct size of motor pulley.
2.
The standard thickness of Table
50mm.
tl·fll.t;tfR~~~~ffl~~~~rt·M~~~~
~P.IT~W.
Table 1
S.
P.M
PULLEY
~~~.
fll.t;ff~R-t
60HZ 50HZ
60
00 105 125 36"
55
00
5000
45
00
4000
MO
95
85
80
70
(~
1)
TOR
SIZE
115 i
105
95
85
BELT
$.~
R~
35"
-1-
34"
J5ifl!l
Note: Belt size depend on motor type.
(BELT)
of
using the machine,
1.
Make sure to
is
about
·----------------------------------------------------------------------------------------------------------- -
.~ii~Bltm
.
----
-----------------------------
1.
iWfrH.~ii
2
t~
2.~llffi2.:Z~~~~~-Hfll.t;ff~~
t;lf
~a~
1/2
M * V
t:f:l
,G
*~
.~1J
~fll.t;/f.
&:,
~~
·- -----------------------------------------------
(~
400
li
),
3
ffi
~~&
-
®:
*'~.
MOTOR
AND
BELT
----------------------
1.
Clutch Motor, 1/2 HP (400W), 3 phase, 2
po
le M type V belt.
2.
The centre line of both motor's and
machine's pulley
must be aligned each
other, when installing the motor.
1
--
-------------- ---------!
-----------
_________
__ j
!
Page 6
1.
~~iHJf.l
'PJI:.!!!o
if%.1
2.
83
?'£
A~
ii}'.(~
3.
fij
~HI&\
~~
*
1m
~~
MOBIL
'rh
11"1
i!%1·
1i1
*li
~
H
1i
Jf.l
iW
&,
H
!:pI
f€f
3,4)
~
&'
~i
~
~ji
iJD
51*"
&\~fig
*i
1±
z
*"
~t
fi
1!§1
~u
J:
#10 ~ ESSO
1'± « 5.1
~Ji
~fil
~Jt
~~
"'"F
iW
8
51
A
*li
5fil,lS
:1:
~ ~ ~filt~
~D
~
~fil81tt
~fil.
'i'
Ut
71
~
*1f
:m:
~~!f
9...
*
ffB
1~
1JD
5fil
#32
~~*~;Z
~~
~m1;~
11,
~
ll:~
mJ
!Ill
mffi
(A)
j~
~
J:
"'"F
~
1i15fil
f~JU~
~'I'
it
mJ
~tim
li
If¥
~
fJj
Jlll.
1!fm
rm
~fiT
~1i m a~,
;r.lH~.
*li
~
H
~~
~fil5i
;Z
ra~
Bn
Z
"'"F
1'1=
iW
I~
1.
Please
equivalent.
2.
The
lubricating
the
machine before
screw
reaches
gauge.
3.
Be
sure
if
oil
level
gauge.
*
Before
machine
more
needle
use
oil
Mobil
oil
has
(A),
and
fill
the
between
(Fig
to check
is
starting a brand
which
than
a couple of
bar.
3,4)
lower
has
lines H
every
than
#1 0 or
been
delivery,
oil
until
and L of
day
line
new
not
been
week,
Esso
#32
drained
to
remove"
the
oil
and
refill
L of
oil
machine
used
oiling
from
level
oil
level
the
level
or
for
the
or
its
oil,
a
Fig.3
1 .
1.
~~!Ill**
~.(
2.
m~:Bt~m!HB3,~~1i1Jm~t1flf.l-1!§1~
t~
o
~~rm,1f~mmz~mie~HHI:if~~~~
IIi!.
5)
*"
~fil,
rM
f~
*~~1m
1!§1
~
J!
f~-
:.!;:.
ffj!
.
~~~~~~-~~~~~•~m-oo~••~
"'"F
j}ij
5;t I &\
Jt;
B~ ~~ t~
*"
~
. (
lW1
6)
Loosen
tank,
2.
For
oil
that,
This
the
the
after
machine
filter
filter
Screw
then
fasten
extending
the
initial
change
is
must
the
if
necessary.
D ,
drain
the
screw.
the
life
one
oil
every
equipped
cleaned
(Fig.
all
the
of
the
month
four
months.
with
every
6)
oil
from
(Fig.
5)
machine,
operation.
an
oil
filter,
month,
the
change
After
and
replace
2
Page 7

-------~-
---
----<!"---.--~
..,
__
-----
StiQlizJtttllftW-a51
-'----~-----"'"'--'-'
D
Fig.5
----·-
-------
.....______
---
---
-----
-----·
-·--
-----
.....
-----------·
LUBRICATE
OF
--
NEEDLES
-----------·----------------~------~
Fill
reservoir
the thread from breaking. (Fig.
(1)
----
AND
AND
with silicone oil to prevent
------
-------·-
THE
COOLING
THREADS
7)
--
---
®
Fig.?
-----
~
J
l
2.
1i1Eml!l~**
M!
fi
Needle
System
~H-\:~.1!
SC
UY128GAS
ORGAN
128GAS
(1)
~t
.:Z
~;-
HMETZ
M!lfx
iiD
Table(~
Needle Size
2 Needles
l' ~t
J~~rr~
$.]
El
c..
#70
#10
t
Hli ~ ~t ~~
(Ill
8)
2)
/~t
3 Need les
R
#75
#11
"t
ftfi'i/ffl
1.
See Table 2 for the sizes and the
specifications of the needles.
ll
,
2. Loosen Screw (1), then pu
needles. Insert the new needles into the holder.
holes as far as they can go, and let the long ·
groove of the needle face you.
3.
Fasten Screw
(1).
out the used
(F
ig
8)
0 X
Fig.8
* Needle size of special model, please
refer to conversion chart.
3
Page 8

I
I
i•~Ji'1~l:~;;tjJ~::~\:·Jr:;~::::~:~~;Il:c::l::~;:::~:~:~~:~~~~~~::~~;;t~:,;:;Jif~t;~.~i~~~~~~~
··-~M~ffl§~~~~*Mm~~~~~~
~
*i~~
51
~
lfi*i,
~~t
~t
!X
]f[
*I
1'
zp:
±.§
~
iJi
•.
~~
*
ft~;g
7
W~*JRII.
Follow
threading.
breaking, skipping stitch, puckering
unexpected
the
procedures
Wrong
sewing.
shown
threading
Please
in
(Fig
may
refer
9)
for
cause
or
to
page 7
thread
~~~~~}~:::::::~::::~~~~
tJL*i~~~&,~ji*Btll:
1.
11!M**4'm~w
2.
*4~~)1,
3.
*JR
4.
M~e
~ ~ ~
~~.&.:ZF!IJ~Jj.
W&i~V~I"~~,
rm
f~x
rus1
~.
u~
t~
(
!;.
mu
£H
111ft
a~~
9)
;·:'::;]:
15
IR:I
-:F'·x·--
~n
a~,
ti
...
--~:-·.:-
-------
The
tension
according
1 .
The
being
2.
The
3.
The
If
you
thread
If
you
•·
AOj"liSTiNG-.N.S~Eiii
of
the
thread should
to:
(Fig.
9)
material
sewed;
thread:
needle gauge.
turn
turn
and
the thickness of
the
thread tension
will
be
tighter.
it
counter-clockwise,
be
adjusted
the
fabric
knob
clockwise,
will
be
looser.
-TWM~~~'Y~~{\
~,~~-~-~2~~JL
1.
Q!IIJJ~~fi~tt¥fu~tiftffufSB~,~t*i~~~tG
tiW(1
(4)
2.
75mm
~±:
sx
sx
)a{J_tif&,~.i1~7J<zp:,
~M.:Z.(II1
~~!l~*~H2)J~~~.L~Jl
4ijil~.
~~~t
*i
~~
~~
~t
*i
~~
·~
B~
I~~
~
B~
I~~
0)
jj~*9'
jj~*JR
..
L
..... : ..
!fb~B~niJj~~
A B
jiiij~Ji!Y-JMetll*~
~~
(3)
JR]
~~
(3)
JR]
x:~~
_jf
______
,
__
~
15
J1ij
'~
lh.
ti
15
JR]
'~
lh.
::
..
c •
.T~~~;~~-e.
1.
When
the
should
position of
first.
2.
Loosen
between
fasten
Note:
3.
Do
(5)
_____
~
-~-
_.;
_____
the
needle
top edge of
remain
the
(Fig 1 0)
Screw
point A
Screw
To
loosen
Needle
To
not
when
Thread
tighten
move
making above adjustments.
bar
is
the
Needle
horizontal.
Take-up,
(2)
and
adjust
and
B to about
(2)
tightly.
the Needle
Take
turn
it
toward
the
Spreader
,
-~~.,.,i2I1Ji:[~J~~~
in
the
lowest position,
Thread
To
loosen
Thread,
Up
(3)
the
Thread
adjust
the
the
length
75mm,
turn
toward
right.
Take-up
the
Screw(4)
then
the
the
Take-up
left,
1.
1.
'i'
_t5l_j~t*i~~(1)ti~ii~~JiB~,~-5ft*i~~(2)
1
_ta{]
1\~L
(Ahf6~J!
(11!.11)
~5ft*''R'-~(1)
_tz&~MJ£ ~ ~.
4
When
the
adjusted to
other
Spreader
at
the
same
Spreader
Thread.
Spreader
the
level
Thread
top,
the
Thread
with
(Fig.
Take-up
small
Take-up
the
long
11
)
hole
must
groove
(1)
(A)
of
be
of
is
the
the
Page 9

2.
&'~~ ~ B~:
5(jj~*?~~~(2)
$t
f~
ml
.~~
~~~
~J:
**
(3)
~
;Z.
}..Z
(
4),
J:.l'
j~!JJ
J:.
2.
To adjust, loosen Screw
the Spreader Thread Take-up
and then tighten screw again.
(3)
and
(2)
{4),
and move j
up or down,
Fig.9
---------------
------
--~
f~mliJ:**
~ffiltl~~o
------
-~
---------------
(1) ,
tc
~z
c:r
-
-----
..
--------------------------
..
--------
:ti
}~}it~
,GN~li.~
-------__
~tiJl
~ ~~.
(Ill 12)
·----
--------------
__
_
.._
__
-·
--
-·----
*IEI~JlZIDfd~
~El~EB
~11~~.
1.
ffl
-=F-=Fm~~~&~A~~H~~~O.
1.2 ~ 4.0mm ~ 6-18
ti:
-=F
~
"'F
HHH
(A),~
1...:1.
ti
A
---
----
....
-
-------
_.
___
-
-~
------
~(2),
~~~mm*m(1).
-=F
ff
it
~uffil~~
-----
.....
----
-~-
- -----------------------------------------------------
it/'f?!!W~
~ij}J
-=FfRirn:
~IJ
ti:
B Fig.10
-------
----
...... --....
-
..
--
---
..........
---
...
--
..
---
-·-----
ADJUSTING
------------
Loosen Screw(1) and adjust Presser Foot(2) left
and right to a proper position to let the needle l
may get into the centre
After adjusting, tighten screw (1). (Fig 12) l
..
--------
ADJUSTING
Stitch length can
from 1.2mm - 4.0mm, or 6 - 18 stitches per inch.
1. Keep pressing the push button(A) with your
left hand, then turn the hand-wheel with you
right hand until your left hand f
push button lock
PRESSER
..
--------
--------
of
Presser Foot
STITCH
be
adjusted variably
in
.
Fig.11
..
-
..
-
---
----
---
FOOT
-
..
- -
----
..
--------
's
..
---------------:
LENGTH
in
in
ger feels the
eyelet. l
range
---
--------:
--
..
-~-
'
'
'
l
'
'
j
2.
~
~imh-=FfRi,
z~
El
*llJt~(B)f..t{
3.
s.t
~
~
iH§
I J \.
4. it
~e
z ~
~ ~ 1~
~~~
~~IJ.Jl:t.
J.I:
tB~:ti=F~~~iJfifla~
~inimJt~iH.(~
B~
J~
-=F
fRi
~
B~~
t
1i
~
j}]
tt
21
w.
i!ii
·
i~Hi.PJT?m
1
o)
rPJ
fil£,3;
& Z
~IJ
it
~e
~m ~ ~i,
?m
2. Keep turning hand-wheel for a inquired stitch
length, whose
wheel must
pressing the button. (Fig 1
3.
Rotate the hand-wheel counter clock-wide to
increase the
decrease.
4.
After adjusting stitch length the differenti
ratio will
adjustment of differential ratio is required.
be
sti
usually
sca
le indicated on the hand-
aligned with, then stop
tch length, and clockwise
be
changed too. So
5
0)
to
al
Page 10

Press Drucken Appuyer
Oprimir
*tiH2.1£1J.Jtt'EJft£ 1:0.3
B}(1
),J:
l''~IJ.J'EJIDI]fl;Z.([115)
ID~l~~
1:2.9
J~lmil
Fig.13
The
differential Feed Ratio of this machine
adjustable from 1 :0.3 to 1
To
adjust the ratio, loosen the nut
Indicator
*To
upward.
*To
(2)
up or down.
stretch the cloth, move the indicator
gather the cloth, move the indicator
:2.9
(Fig
15)
(1),
move the
Fig.14
is
(2)
(2)
1£
16
*~
ft
~111ft
fl
{lmt~®.
~-~Mti!m
((;
17)
M022,
.13.
*it
-g.
jC
~
z
Fig.
15
5~11*~~m,
'l'li
55?.
""F
I
fill
A
JD
A
J,;LmtiltiHII3.
tJ
Pressure
light
and
Fig.
Please
and waste every month.
of
the
Presser
as
possible,
sewed
16
Smoothly.
unplug the stopper
so
that
Foot
(Fig
should
cloth
MQ22,
17)
be
as
can
be
feed
Fig.
17
clean up dust
6
Page 11

THREADING DIAGRAM
FOR
C007J
THREADING DIAGRAM
CFC/CFE/CHP /CR/CRA/CRB/CRL/CY/CQ/CZP
'
----------------------------------------------------------------------------------------
-
-------
- - -------
'
-L----
---
-------------------------------
FOR
----
---------------------~---------------------------
7
Page 12

co
~-------------------------------------------------------------------------------------------------------------------------------~~~~~~7~~~·
~
-uz
I UNIT :
J5Jf1fR'f1}~
MM
I DIFFERENCE :
±2
i i l r
r-------------~----~~------------~--~~~--~-
1
c.o
c.o
8
~~
,.,;.~
"
~------------------------------------------------------------------------------------------------------------------------------
~
-uz
I
UN!
T :
MM
J5Jf~R'f1}~
B-8
giJ
I DIFFERENCE
290
200
150
80
0
iii
0
0
~
±2
N
("t')
1.{')
181
til
~
(!)
1.{')
N
~
1.{')
I I
228
0
m
N
~
,.....
N
--+------'----
0
0
N
j
0
--r
----t-
jl$17
115
~:@.:;~~~~\;\-
61
Page 13

,.,
...
,~-,"·~·-
------------------------------------------------------------------------------------------------------------------------------:
I
I
-~Ul.l
F01ifJ)nhtli~:;~
.PJT~
UNIT :
R.'t0~
MM
I DIFFERENCE ±2
433
290
200
150
80
0
B!J
iii
0
0
~
B-8
C'\J
("I')
L.()
0
m
N
-.:1'"
,......
C'\J C'\J
___
--.f-325
---+-
....Ll
~~~
---1-
C)
0
0
296
~~5
~
uz.
I UNIT :
.PJT~R.'t0~
MM
I DIFFERENCE
433
290
-+---+----
200
ft
B-8
BIJ
mi
-i--
150
-t---
105
-t---
80-i--
50'r=t==
45
0,---t._----,
0
¢17
±2
C'\J
("I')
L.()
0
m
N
--+-465
1--7'-----
--+-
--+-
---+-
---+-
---+-
--'-
400
385
325
296
250
115
--+-61
-_l
'-----.:-:--:--H------.....L..+...!,_------'
_ __..._ 0
228
0
0
N
....,..
,......
C'\J
0
C>
C'\J
0
Page 14

------------------------------------------------------------------------------------------------------------------------------
~
i1z
I UNIT :
J5JT1fR't0~
MM
I DIFFERENCE :
±2
3-09
\
N
t.O
N
I.
C)
0'>
I
I.(')
co
I.
C)
I
0
o;
~~
t.O
m
...
tl
80
----+- r-.
030
,~30
~
30
---1
I
I
C)
385
460
535
.018
-~~
228
C)
,......
A-A
------------------------------------------------------------------------------------------------------------------------------
~
J5ff1fR't0~
~J
-llz
I UNIT :
!Iii
MM
I DIFFERENCE
±2
C)
N
I.(')
3-09
C)
c:c
...,.
C)
...,.
("I')
I -
I
t
I.
,......
-.::t-
N
0'>
A
C)
A I
N 0 I.(')
c.o
N -
C)
Lt)
co
co
I.()
co
,......
oo
NO
I.(')
I.()
---1
I
I.(')
co
~_il
228
A
I
I
A
t
I
$--
0
5
~7
0
9
09
:.:.····
1
1
42
3
85
4
60
35
5
C)
Page 15

T"""
T"""
r~~;~-.-r---------------------------------------------------------------------------------
-------------------------------------------
I
-i
··>
·.-'.:.~
~
Ul
I UNIT
J5ff1fR't0~
MM
I DIFFERENCE
433
290
-t---1---
200-+--150--
125-+---
ao..._...
__
63
0
0
m
N
0
IZS17
±2
465
--4--400
--"-
--~
1.0
CX)
--"-
----L-
__
0')
0
0
N
0
,......
<0
<0
<0
0
0
N
0
385
325
296
115
61
_.__ 0
~~:"2i·-j-
i·-·,::
- ,_
'i-~,-~,
~~--
~-----------------------------
··.
··.,.c:J
~
-llz
.;
rl
I UNIT
PfffiK10~
MM
; DIFFERENcE
------------------------------------------------------------------------------------------
±2
N 0 1
("t')
"'
433
290
-t----f---
200-+--
228
0
0
N
m
N
,......
-
N
j
U">
0
....
9117
--"-
--~
--"-
---+-
t---1-
----L-61
__
_.,_
j
0
0
N
0
1
465
400
385
325
296
270
115
0
1:
I
I
I
I
I
I
I
I
I
I
I
I
I
Page 16

~------------------------------------------------------------------------------------------------------------------------------
Page 17

----------------------------·------------
--
m~~~$Jfi~R,aF,J
___
,_
--
--
--------------
1 .
1RHI1'1=
( 1 )
( 2 )
( 3 )
2
f~f¥1'1=~
( 1 )
..
-
-- --
·---
~
f~ffl
~~=J=iitB~f~
1i51:
Jd.lHij
ffl
-¥
f~
H /f'
pg
.
f1t~
§X=
f~
ffl
B~
---------·
--
-
..
---
--
..
-------.
:h~[~?H~H§~~jj
.A
ffl
~-¥
tEi
·
ff!
ffl
~jj ~ ~
- -
----------------------
-- --
--
-
..
---
..
-
..
--
......
---
-----
--------------------------------
IMPORT
....
--
----
.. --..
1 . Transportation
( 1 ) The machine packed with two piece
(
2)
!JJ
1RHI
M?J
~
.2
.l
·
(
3)
2.
Storage
( 1 ) The machine must use
( 2 ) The machine avoid
3
1'F~~
H~
H /f'
4
¥"*
"f;-
§
1-
* @
1±
..
Q 'FJ
~
..
1£
.&.
""
~
fi~
iiffi -
'f>T-
i]\
40 oc
......,
1'4!':
tL
Hl!!:
1-~
_l
~*
: .
-iS'
iiFit:f:
,'ffi, •
B~
iml
fl
I
1'1=
·
3.
Working
The machine doesn't work over 40°C.
4.
Warning
Pay attention to this warning advice as
follow:
a.
b.
c.
Be careful if you
d. Do not insert your finger between needle
-
--------------------
SAFETY
----
..
--
--
---
covers that made
polystyrene to protect
INSTRUCTION
-
------
----
----
. -
of
expanded
it.
-.
----
-
-~
..
-
---
Put the machine into a carton.
Use a cart or by two men's hands to
move
it.
duster-
cover to
cover it when it dod not work.
to
temperature more than 45
Working area
is
dangerous.
storage
oc.
in
the
Never touch the needle if the machine
still running.
in
feed fabric.
and roller for transportation
on
fabric.
----
------
is
-~
'
~
----
,·
'
(
2)
~*-l · J~*-l
;f*
.
·
~~ · ~~;MB~~~;;t::~~~M~
Pay
attention to the warning sticker.
a.
b.
Movable parts must be enclosed with
guard when you operate.
Pull out the plug from socket when you
adjust, thread, change bobbin and
needle clean.
13
Page 18

i&i~A2153f§i~G§J
KAULIN MFG. CO
..
LTD.
The specification and/or appearences
to change because of modificition without previous notice.
of
the equipment described in this instruction book are subject
MY27J . APR. 2002
 Loading...