

I N S T A L L A T I O N
I N S T R U C T I O N S
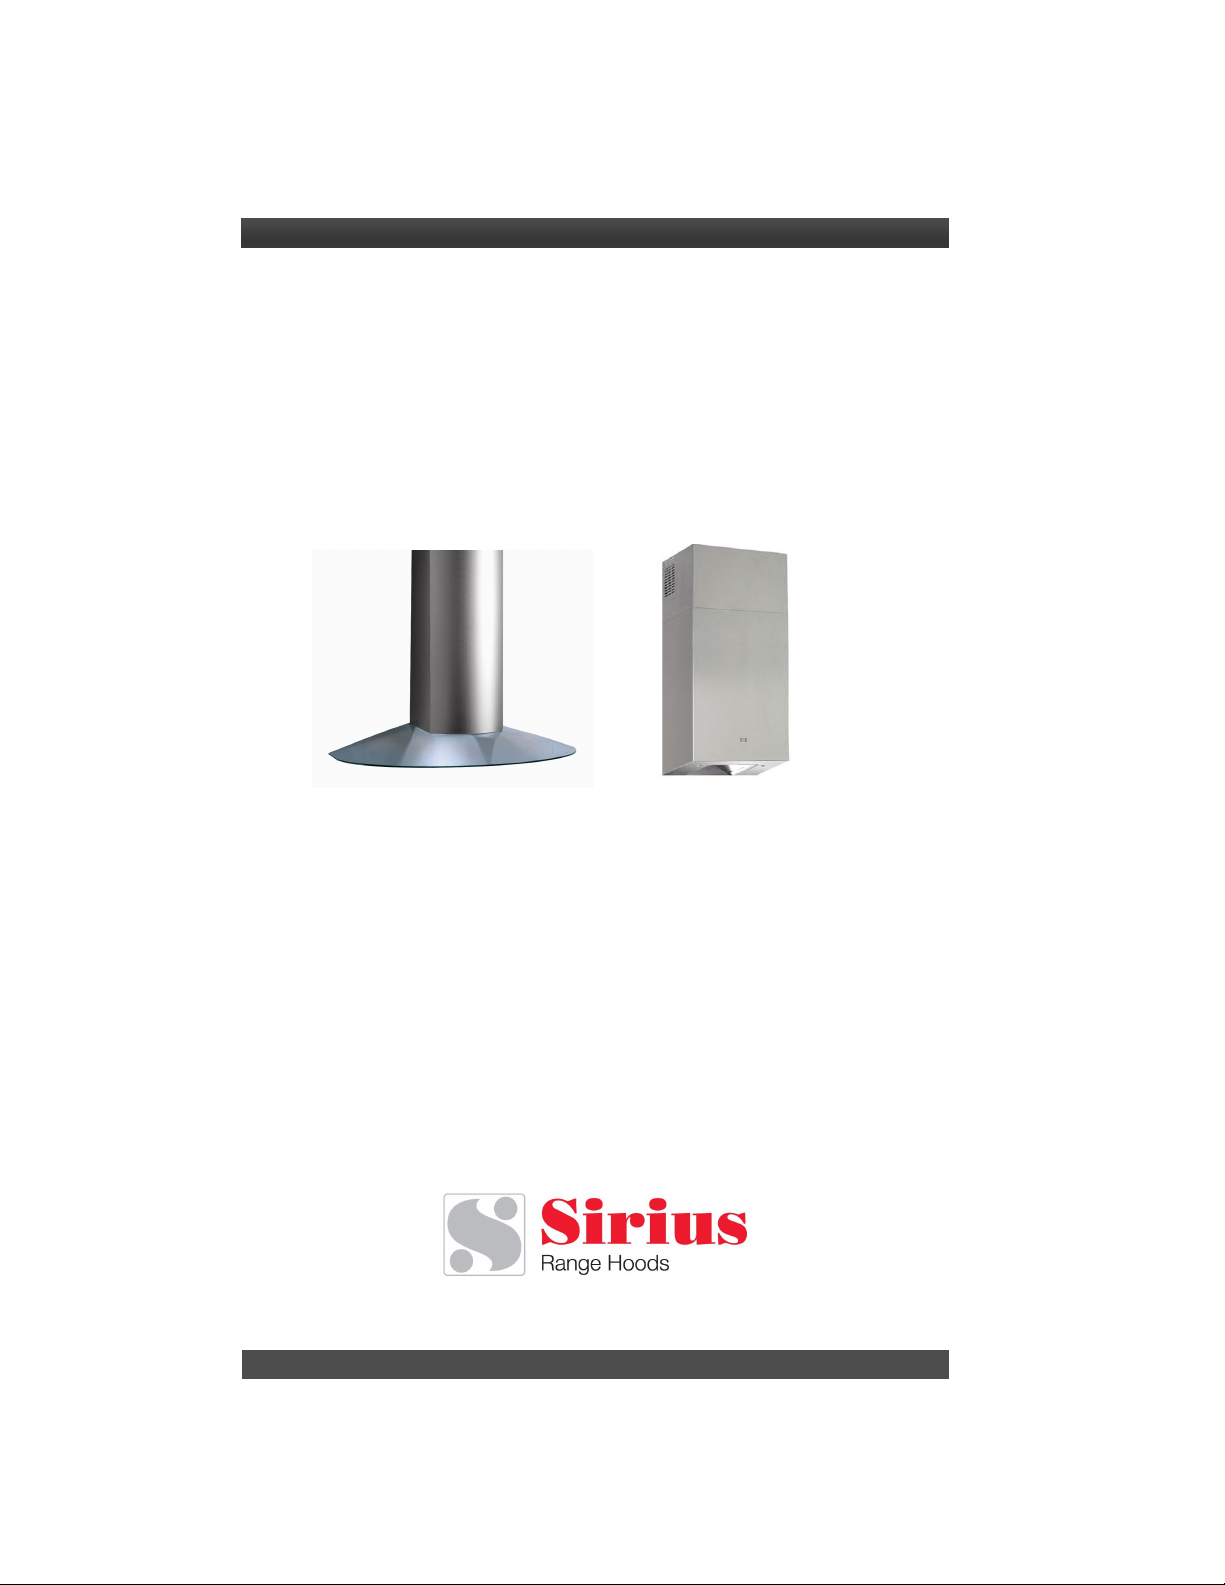
CARE AND USE MANUAL FOR:
CONTEMPORARY WALL RANGE HOODS
Models covered by these instructions:
SU202 & SU 207
* * * B E F O R E I N S T A L L A T I O N * * *
ENSURE THERE IS NO VISIBLE OR HIDDEN DAMAGE SUSTAINED
DURING SHIPPING
* * * S H I P P I N G D A M A G E * * *
MUST BE REPORTED WITHIN 5 DAYS OF RECEIPT
Telephone (Toll Free): 866.528.4987 Fax (Toll Free): 866.365.9204
www.siriushoods.com info@siriushoods.com

W A R N I N G S
Thank you for purchasing a Sirius Range Hood. Please read all the
instructions in this manual before installing the appliance.
Save these instructions for future reference.
The appliance is not intended for use by young children or infirm persons without supervision.
Young children should be supervised to ensure they do not play with the appliance. If the
range hood is vented, the air so vented must be ducted into a dedicated duct that
with any other equipment whatsoever. All ducting must conform to all requirements of the local
authority.
If the range hood is to be used inside he same structure (home or building) as any equipment
hat burns combustible material such as oil, coal, gas, etc. then pervision must be made for
make up air. Under certain circumstances, the range hood could create a negative air pressure
inside the structure. This negative air pressure must not exceed 0.04 mbar (please consult
your local HVAC professional for guidance at this point).
The use of combustible material in close proximity of the range hood must be avoided. When
frying, please pay particular attention to fire risk due to grease. Being highly inflammable,
fried oil is especially dangerous. In order to avoid possible fire risk, all instructions for greasefilter cleaning and for removing eventual grease deposits must be followed strictly.
is not showed
If the rating label in the cooker-hood shows the
symbol , the appliance is built in class II and
it does not need
Only use this appliance as an exhaust ventilation system for the removal of cooking vapors.
use to expel flammable substances or any other materials or vapors.
NOT
The installation procedures in this manual are intended for qualified installers, service technicians or persons with similar qualified background.
yourself.
When performing the electrical connections on the appliance, please ensure that the current
supply is provide with ground connection and that the voltage values correspond to those
indicated on the label placed inside the appliance itself.
Ensure that electrical power is turned off at source before commencing installation. All electrical wiring must be properly installed, insulated and grounded and conform to all applicable
codes and standards.
Make sure all existing ductwork is clean of grease build up, or ductwork should be replaced, if
necessary, to avoid the possibility of a grease fire. Check all joints on ductwork to ensure
proper connection and all joints should be properly taped. Be careful when cutting through
ceilings or walls not to damage any hidden pipes or electrical wiring. Ensure your kitchen has
sufficient air return vents to replace the exhausted air.
any ground connection.
If the rating label in the cooker-hood does not
show the symbol ,the appliance is built in
class I and it needs
DO NOT attempt to install this appliance
the ground connection.
DO
TABLE OF CONTENTS
BEFORE YOU BEGIN 1
DUCTING 1
External Venting Requirements 1
Duct Run Calculation 1
ELECTRICAL 2
Electrical Supply 2
INSTALLATION 3
Positioning the Range Hood 3
Marking the Fixing Holes for the Range Hood 3
Fixing the Main Support Bracket 3
Chimney Installation 4
Hanging the Range Hood 4
Connecting Electricity and Ducting 5
Connecting Chimneys 5
Connecting the Screen (SU 202 only) 5
Re-Circulating Requirements 6
OPERATING PROCEDURES 6
General Advice 6
Functions 7
MAINTENANCE 7
Cleaning the Filter 7
Cleaning the Hood 8
Light Bulb Replacement 8
Battery Replacement 8
WARRANTY 9
BEFORE YOU BEGIN
The manufacturer declines all
responsibility in the event of failure
to observe the instructions given
here for installation, maintenance
and suitable operation of the
product. The manufacturer further
declines all responsibility for injury
due to negligence and the warranty
of the unit automatically expires due
to improper maintenance and/or
installation.
Please read this entire manual and
ensure that you are fully conversant
with the requirements and limitations
D U C T I N G
BEFORE YOU BEGIN:
It is advisable to test run the
range hood before installation.
(Not applicable if the range hood is
used in re-circulating mode)
WARNING: Do not vent this
appliance into any other ductwork,
spaces between walls, ceilings,
attics, garages or any other confined
space.
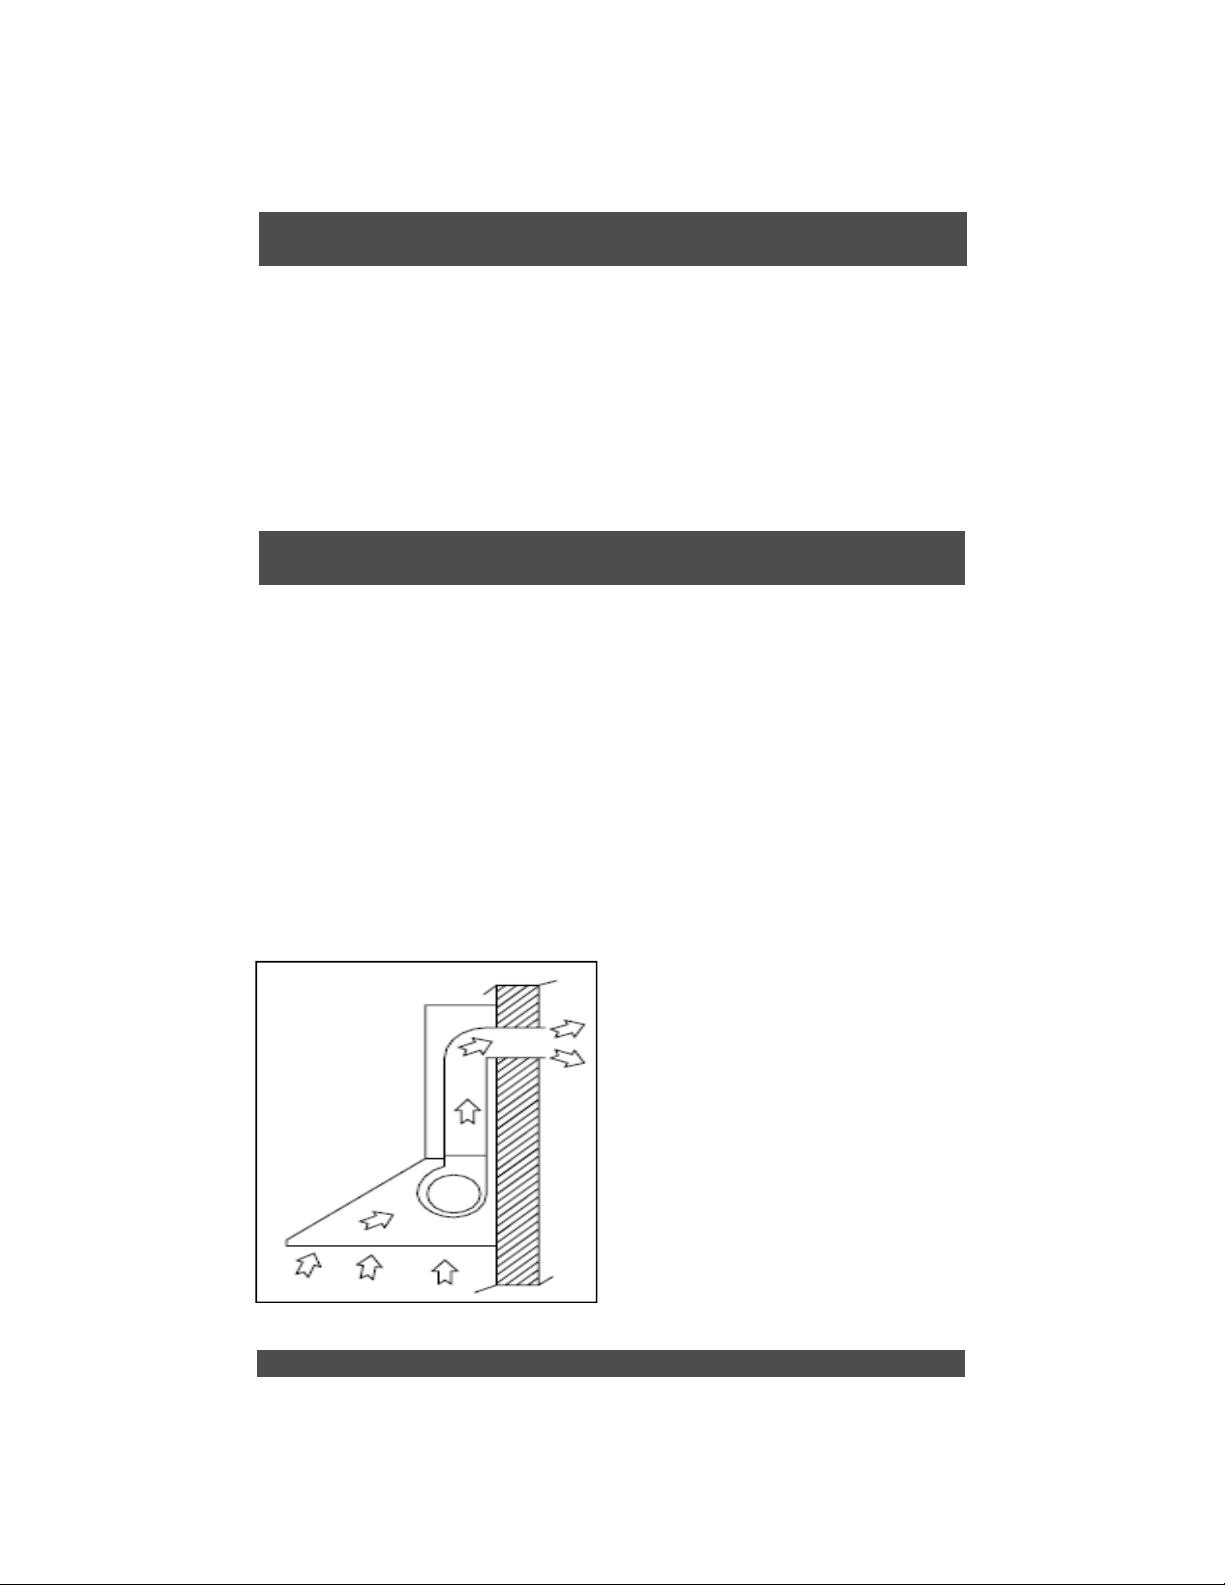
External Venting Requirements
When planning new ductwork, always
look for the most direct route to the
outside. Venting can be done through
the roof or directly through the back
outside wall. (See Figure 1) Only
use rigid type metal ducting (plastic
ducting is generally not permitted by
code). Flexible ducting could restrict
airflow by up to 50%. Always fasten
connections with sheet metal screws
and tape all joints with certified
Silver Tape or Duct Tape.
use screws to fasten ductwork to
the hood
screws will stop the dampers from
opening and your hood will not work.
This hood requires a 6” round duct
outlet. You can increase the duct
size of the duct run but never
decrease it.
Use the shortest and most direct
route possible. Always, wherever
possible, reduce the number of
transitions and turns with as few
sharp angles as possible. Two
staggered 45 degree angles are
better than one 90 degree. Make
these turns as far away from the
motor exhaust as possible, with as
much space between each bend
as possible.
, only use tape as the
Do not
Figure 1
1
Duct Run Calculation
The maximum duct run before
effecting the performance of the
 Loading...