

Siqura XCU Fusion Installation Manual

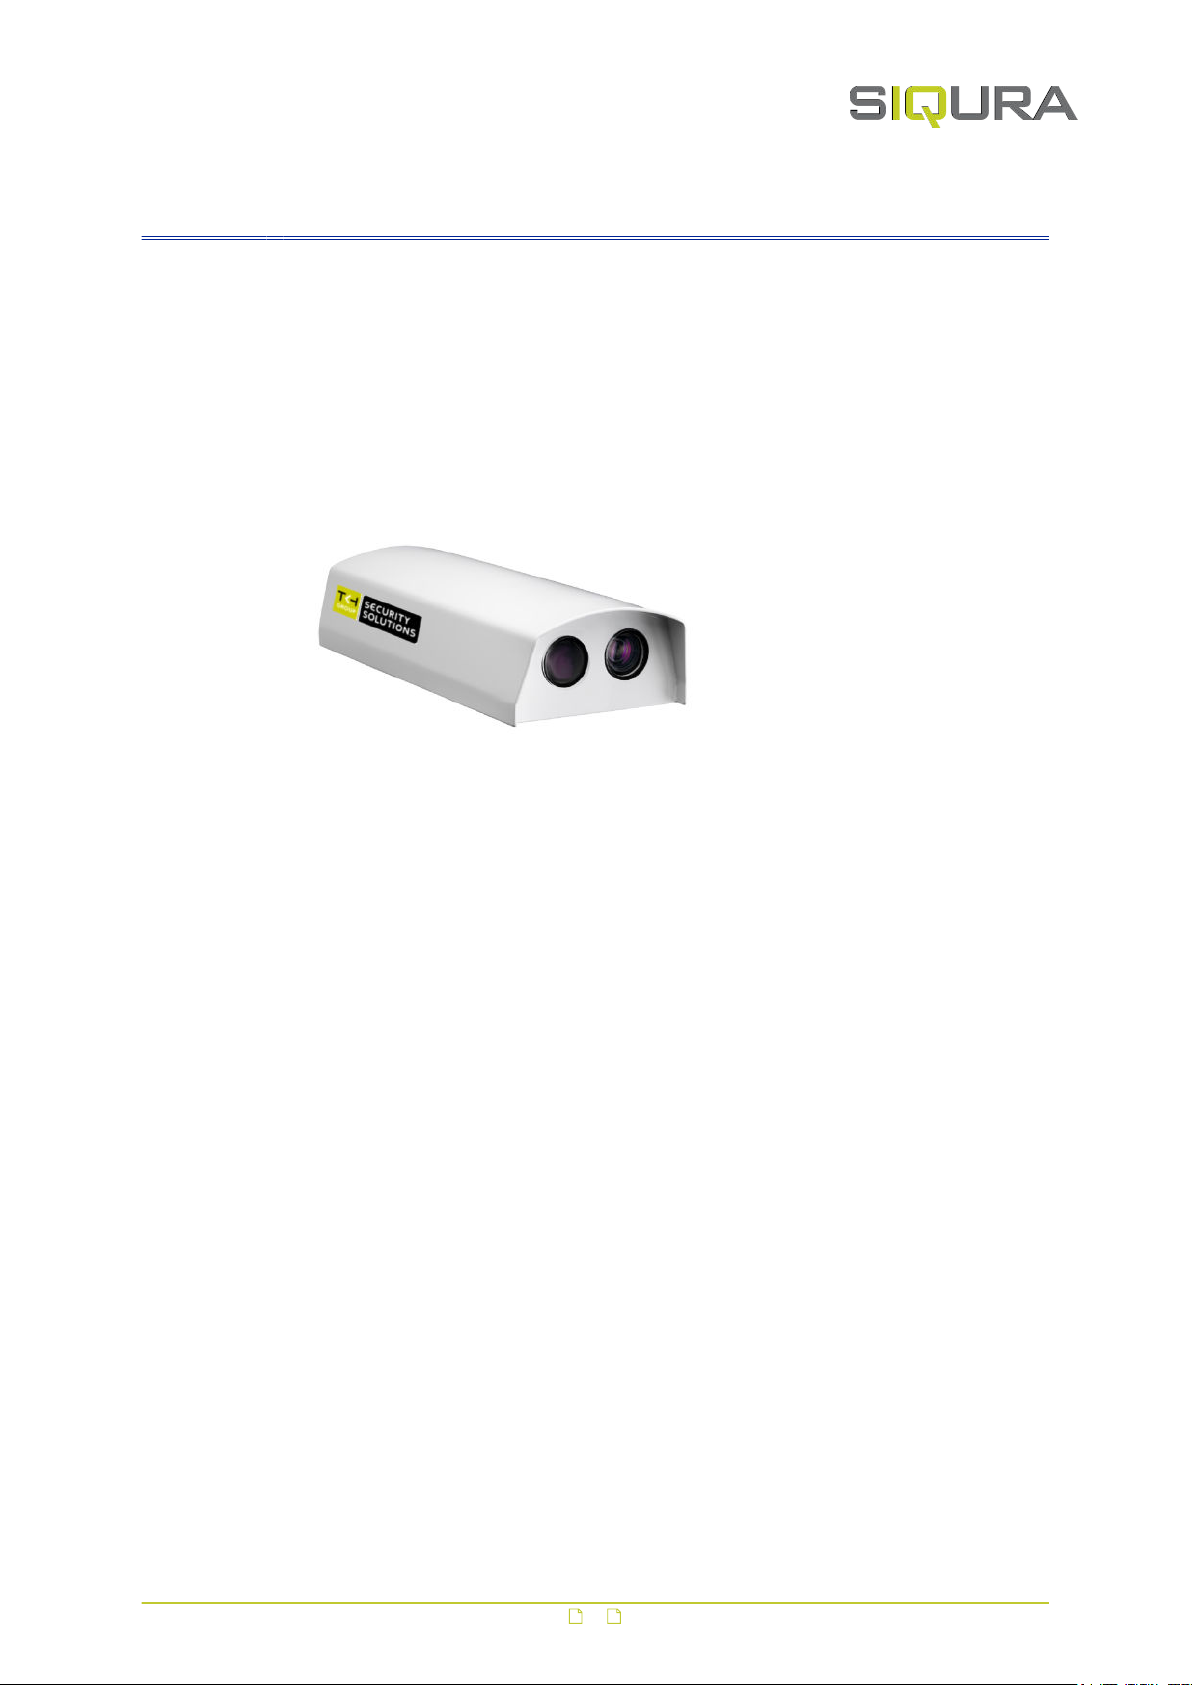
XCU Fusion
316L stainless-steel dual imager camera
Installation Manual

Note: To ensure proper operation, please read this manual thoroughly before using the
product and retain the information for future reference.
Copyright © 2018 Siqura B.V.
All rights reserved.
XCU Fusion
Installation Manual v3 (181804-3)
AIT55
Nothing from this publication may be copied, translated, reproduced, and/or published by
means of printing, photocopying, or by any other means without the prior written permission
of Siqura.
Siqura reserves the right to modify specifications stated in this manual.
Brand names
Any company, brand or product names mentioned in this manual are registered trademarks of
their respective owners.
Liability
Siqura accepts no liability for claims from third parties arising from improper use other than
that stated in this manual.
Although considerable care has been taken to ensure a correct and suitably comprehensive
description of all relevant product components, this manual may nonetheless contain errors
and inaccuracies. We invite you to offer your suggestions and comments by email via
t.writing@tkhsecurity.com. Your feedback will help us to further improve our documentation.
How to contact us
If you have any comments or queries concerning any aspect related to the product, do not
hesitate to contact:
Siqura B.V.
Zuidelijk Halfrond 4
2801 DD Gouda
The Netherlands
General : +31 182 592 333
Fax : +31 182 592 123
E-mail : sales.nl@siqura.com
WWW : siqura.com
2

Contents
1 About this manual ..................................................................................... 4
1.1 Copyright and trademarks .................................................................... 4
1.2 Typographical conventions .................................................................... 5
1.3 Compliance information ........................................................................ 5
2 Identification ............................................................................................ 6
2.1 Models ............................................................................................... 6
2.2 Product markings ................................................................................. 7
3 Preparations ............................................................................................. 8
3.1 Unpack ............................................................................................... 8
3.2 Check package contents ....................................................................... 8
3.3 Discard packaging materials .................................................................. 8
4 Cables and connectors .............................................................................. 9
4.1 Recommended cables ........................................................................... 9
4.2 Connectors ......................................................................................... 9
4.2.1 Power ............................................................................................ 9
4.2.2 Ethernet ......................................................................................... 10
5 Mount and connect .................................................................................... 12
5.1 Wall/pole mounting .............................................................................. 12
5.1.1 Wall/pole mount accessories ............................................................. 12
5.1.2 Mount the bracket ............................................................................ 13
5.1.3 Attach safety cable .......................................................................... 14
5.1.4 Mount the camera ............................................................................ 14
5.1.5 Connect to network .......................................................................... 15
5.1.6 Connect to power ............................................................................ 15
5.1.7 Fix the camera position .................................................................... 15
5.1.8 Check installation ............................................................................ 16
5.2 Ceiling mounting ................................................................................. 16
5.2.1 Ceiling mount accessories ................................................................. 16
5.2.2 Mount the ceiling mount ................................................................... 17
5.2.3 Mount the camera ............................................................................ 17
5.2.4 Connect to network and power .......................................................... 19
5.2.5 Check installation ............................................................................ 19
6 Maintenance .............................................................................................. 20
7 Dimensions ............................................................................................... 21
7.1 Wall/Pole mount .................................................................................. 21
7.2 Ceiling mount ...................................................................................... 22
3

1 About this manual
What's in this manual
This manual gives you the information you need to install the XCU Fusion camera. It tells:
● How to mount the camera
● How to connect the camera
● How to power the camera
Who this manual is for
These instructions are for all professionals who will install the XCU Fusion.
Where to find more information
Find product specific datasheets, manuals, EU Declarations of Conformity and firmware
updates at siqura.com/downloads/software. Make sure that you have the latest version of this
manual.
What you need to know
You will have a better understanding of how this product works if you are familiar with:
● Camera technologies
● CCTV systems and components
● Ethernet network technologies and Internet Protocol (IP)
● Windows environments
● Video, audio, data, and contact closure transmissions
● Video compression methods
Before you continue
Read, fully understand and observe all instructions and warnings in this manual. Keep this
manual in a safe place for future reference. When you unpack this product, make sure there
are no missing or damaged items. If any item is missing, or if you find damage, do not install
or operate this product. Ask your supplier for assistance.
Why specifications may change
We are committed to delivering high-quality products and services. The information given in
this manual was current when published. As we continuously seek to improve our products
and user experience, all features and specifications are subject to change without notice.
Acknowledgement
This product uses the open-source Free Type font-rendering library. The Open Source
Libraries and Licenses document, available at siqura.com/downloads/software, gives a
complete overview of open source libraries used by our video encoders and IP cameras.
1.1 Copyright and trademarks
Any company, brand or product names mentioned in this manual are registered trademarks of
their respective owners.
4
About this manual
1.2 Typographical conventions
INFO
Read this information carefully to have a better understanding of the current or
following instructions.
CAUTION!
Follow these precautions to prevent potential injury or material damage.
DANGER!
Follow these safeguards to prevent serious injury or death.
1.3 Compliance information
The XCU Fusion is in conformity with the certifications listed below.
Certifications:
● IP67
● CE
● FCC
EU Conformity Statement
This product and - if applicable - the supplied accessories too are
marked with "CE" and comply therefore with the applicable harmonised
European standards listed under the Low Voltage Directive
2014/35/EC, the EMC Directive 2014/30/EC, the RoHS Directive
2011/65/EU.
2012/19/EU (WEEE directive): Products marked with this symbol
cannot be disposed of as unsorted municipal waste in the European
Union. For proper recycling, return this product to your local supplier
upon the purchase of equivalent new equipment, or dispose of it at
designated collection points. For more information see:
www.recyclethis.info.
5
2 Identification
In This Chapter
2.1 Models.................................................................................................................. 6
2.2 Product markings....................................................................................................7
2.1 Models
This section gives an overview of the powering, connectivity and mounting options for the
XCU Fusion series. More detailed information is given in the XCU Fusion datasheet.
Modular concept
The XCU Fusion comes in many variations, all sharing the same housing. For mounting and
connectivity purposes, a modular concept is introduced:
● XCU Fusion: This is the camera with the housing, excluding the bracket, mount or cable
connectors.
● Wall/Pole mounting bracket: This is the part with which the camera (via the swivel) will be
mounted, either on a wall or on a pole. The swivel on the bracket is used to fix the pan
and tilt position of the camera.
● Ceiling mount: This is the part with which the XCU Fusion can be ceiling or wall/pole
mounted.
● Connectors and cables.
Powering
Camera power can be supplied by:
● Line voltage (100-240 Vac)
● 24 Vdc / 24 Vac / PoE+
Connectivity
Models are available to connect the camera to:
● Ethernet (RJ-45)
● directly to fiber (dual LC SM)
● directly to existing coax (Ethernet over coax)
6

Identification
2.2 Product markings
The back of the camera housing has a label complying with CE
markings.
The label shows:
● Camera model name
● Article number (including bar code)
● Power supply (Volt)
● Frequency (Hertz)
● Current consumption (Amps)
● Compliancy (RoHS and Part 15 of FCC rules)
● Work order number (WO)
● Production year and month
● MAC address
● IP address
● Serial number
The side of the camera housing has the manufacturer's brand label.
The label shows:
● Camera brand
7
3 Preparations
In This Chapter
3.1 Unpack..................................................................................................................8
3.2 Check package contents.......................................................................................... 8
3.3 Discard packaging materials.....................................................................................8
3.1 Unpack
● On delivery of the product, make sure that the packaging shows no signs of
damage.
● If the packaging is visibly damaged, do not install or operate the unit. Report
any damage to the supplier immediately.
● Unpack and handle the unit carefully so as not to damage the product.
● For better grip and protection, you are advised to wear slip-resistant safety
gloves when handling the unit.
3.2 Check package contents
The package contents include the items below. Notify your supplier if any item is missing.
Camera
● XCU Fusion unit
Documentation
● 1x Quick Start Guide
3.3 Discard packaging materials
● You are advised to retain the original product packaging. Shipping the product
for repairs without the original packaging may cause product damage during
transport.
● The packaging materials can be recycled. If you discard the packaging,
properly separate the materials and dispose of them at your local waste
collection or recycling centre. Observe the local waste disposal regulations.
8
 Loading...