

Page 1
8
FOR HELP OR ADVISE ON THIS PRODUCT PLEASE CONTACT YOUR DISTRIBUTOR
Please dispose of packaging for the product in a responsible
manner. It is suitable for recycling. Help to protect the
environment, take the packaging to the local amenity tip
and place into the appropriate recycling bin.
Never dispose of electrical equipment or batteries in with
your domestic waste. If your supplier offers a disposal facility please use it or alternatively use a recognised re-cycling
agent. This will allow the recycling of raw materials and help
protect the environment.
Ref:160710
1
03945
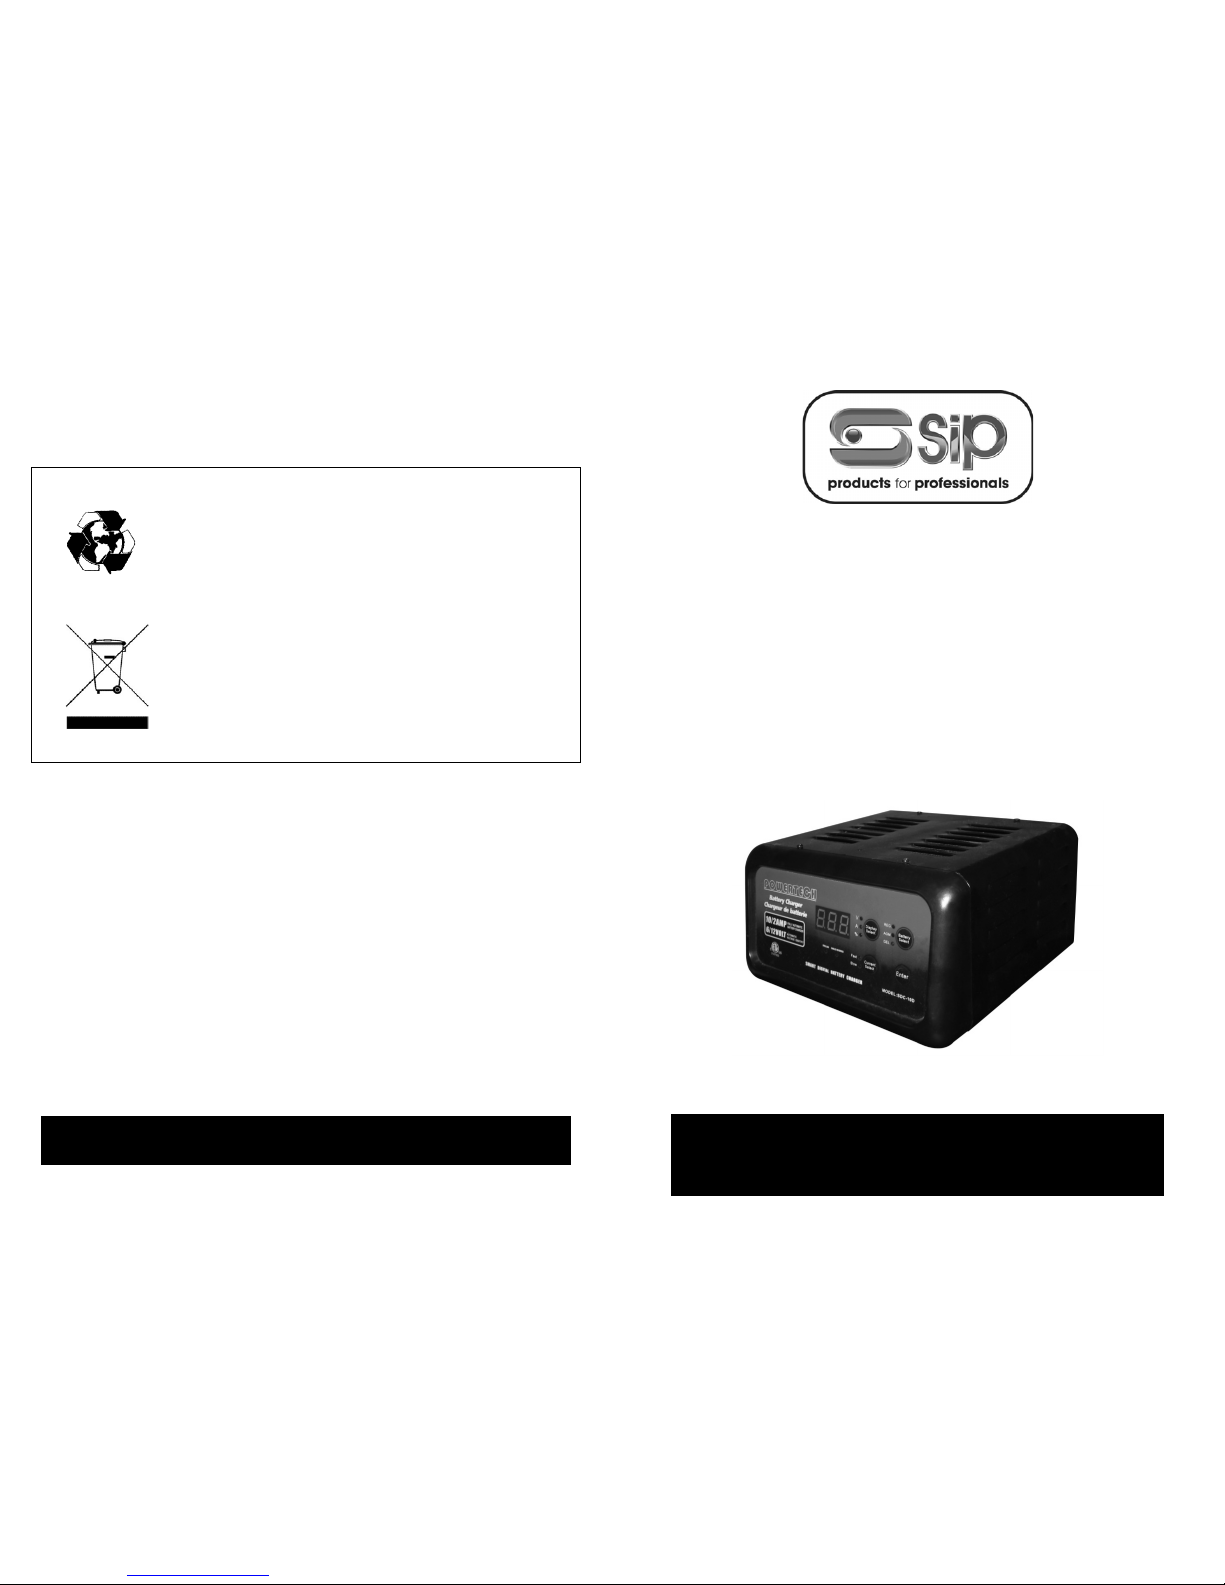
Chargemaster
Smart 16
Please read and fully understand the instructions in
this manual before operation. Keep this manual
safe for future reference
Page 2
2
7
DECLARATION OF CONFORMITY
DECLARATION OF CONFORMITY
WE
SIP LTD
GELDERS HALL ROAD
SHEPSHED
LOUGHBOROUGH
LEICESTERSHIRE
LE12 9NH
Declare that the
Chargemaster Smart 16 SIP pt No. 03945
Complies with the following EEC Directives their supporting Statutory
Instruments and the relevant standard where applicable:
73/23/EEC Low Voltage Directive
And Amendments EN 60335-1:2002+A1+A11+A12+A2+A13
93/68/EEC EN 60335-2-29:2004
2006/95/EC EN 62233:2008
89/336/EEC EMC Directive
And Amendments EN 55014-1:2006
2004/108/EC EN 55014-2:1997+A1
EN 61000-3-2:2006
EN 61000-3-3:1995+A1+A2
Signed:
Mr P. Ippaso - Director - SIP (Industrial Products) Ltd
Date: 16 June 2010
Page 3
6
TROUBLESHOOTING / WARNING / GUARANTEE
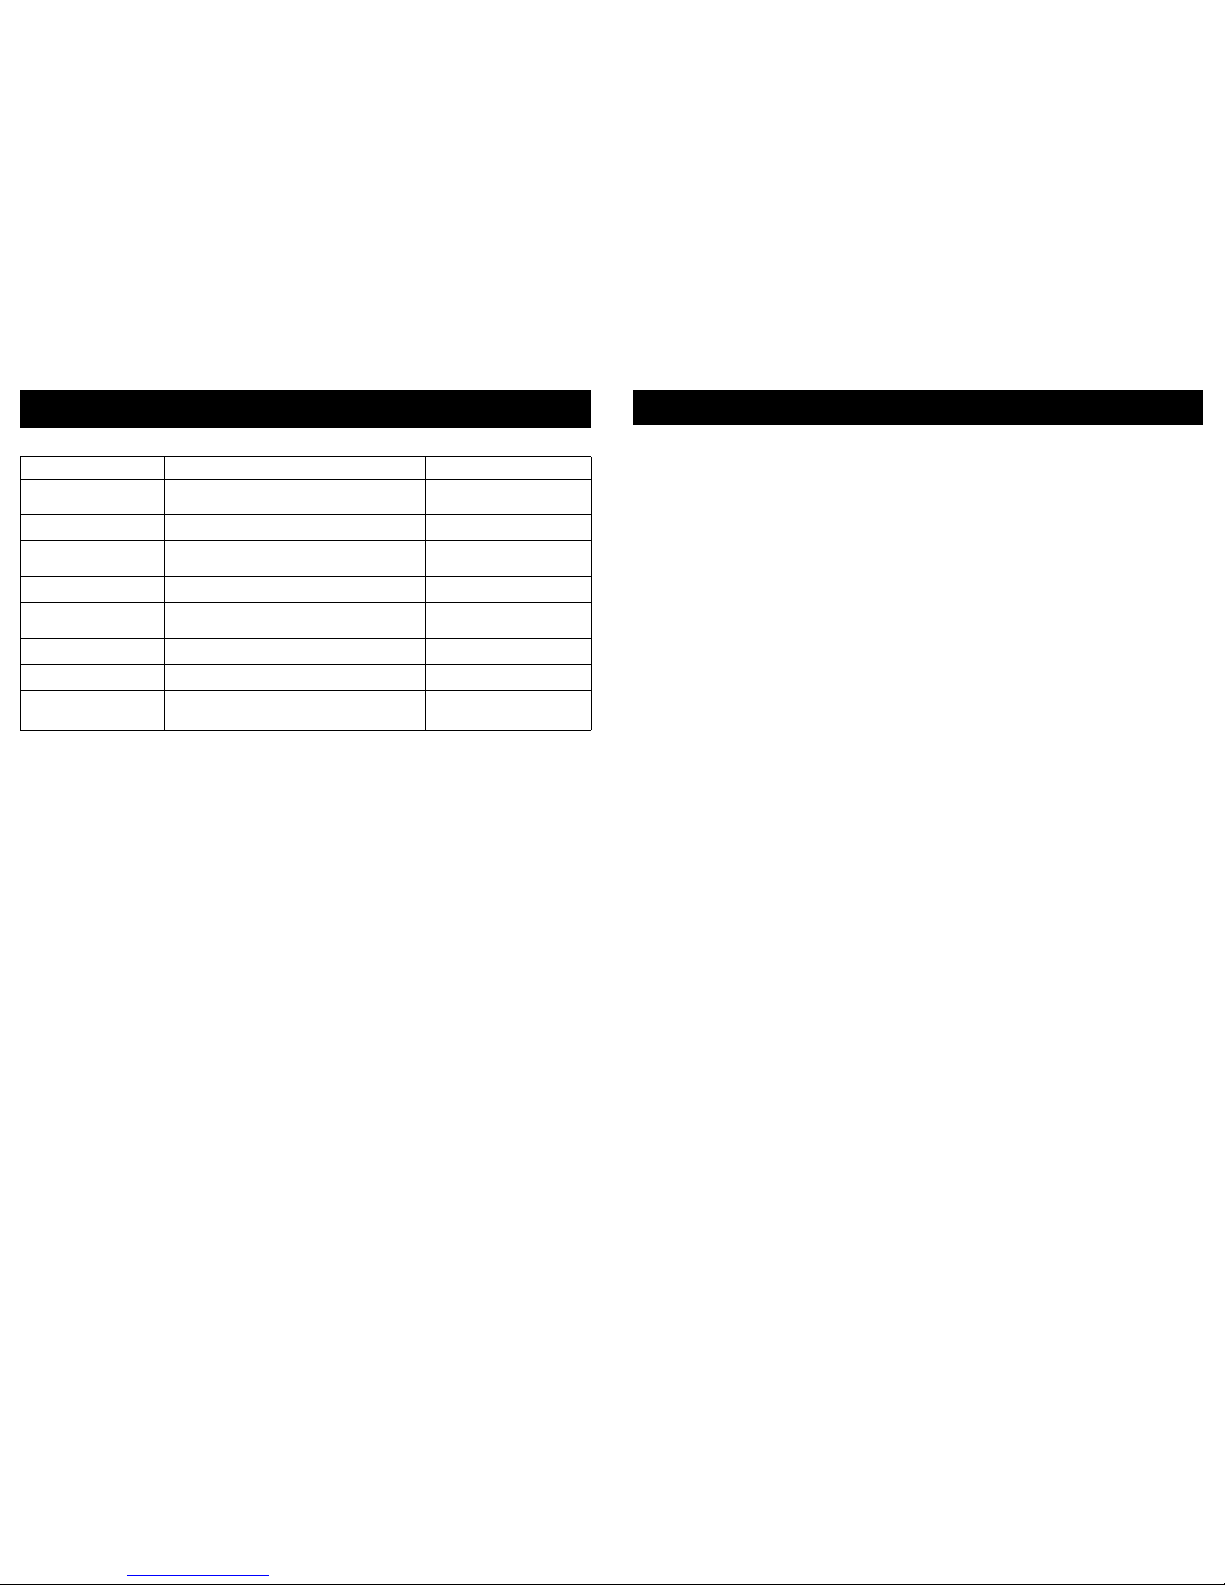
Troubleshooting:
Fault Possible cause Solution
No charging current Bad contact of power socket
Repair or change power
socket.
Initial voltage is too low. Change battery.
+ and - polarity terminals of battery are
oxidized and/or dirty.
Clean terminals.
Battery has been damaged. Replace battery.
Low charging current
+ and - polarity terminals of battery are
oxidized and/or dirty.
Clean terminals.
Battery not accepting charge Replace battery.
Battery is charged fully. Measure specific gravity
Excessive transformer
noise
Unstable position
Change position for
proper placement
WARNING:
1. Before use, carefully read the instruction manual and retain for future reference.
2. The chargemaster charger is not weather proof. So care and common sense must
be exercised if using outdoors. Do not expose to moisture.
3. Always switch off power at the mains supply before connecting or disconnecting
the battery charger & engine starter.
4. Never smoke, cause a spark or charge near an open flame. Never allow conductive materials to short circuit the charger or battery terminals.
5. Always use in a well-ventilated space.
6. This appliance is not intended for use by young children or infirm persons without
supervision and should always be used responsibly and stored in an appropriate
place to prevent misuse.
7. If the mains lead is damaged, it must be replaced by the manufacturer, an authorized service agent or a suitably qualified person in order to avoid any potential hazards.
Guarantee:
This sip battery charger is covered by a 12 month parts and labour warranty covering
failure due to manufacturers defects. This does not cover failure due to misuse or operating the machine outside the scope of this manual.
In the unlikely event of warranty claims, contact your distributor immediately. Proof of
purchase will be required before any warranty can be honoured.
3
SAFETY INSTRUCTIONS
Safety Instructions:
1. This Instruction Manual contains important safety instructions. Please keep it safe
for future reference.
2. The Chargemaster smart 16 battery charger is designed to charge 6v &12v Standard lead acid, AGM and Gel lead-acid batteries as shown in Table 1. Do not
attempt to charge batteries of other types.
3. The charger is designed to be powered from a domestic mains power outlet,
which is reliably connected to the buildings ground (earth) point. If the supply cable needs to be extended, ensure the cross-sectional area of the wire is of a sufficient size for the supply of current over the distance required.
4. If the charger is interrupted or damaged due to heavy impact etc., the battery
should be taken off charge immediately.
5. Do not dismantle the charger. If repairs are required, they should be performed
by a suitably qualified person. Incorrect reassembly may result in a fire hazard
and / or electric shock. Always disconnect the charger from any connected battery and the mains supply prior to cleaning the casing.
6. When connecting the charger to a vehicle’s battery. Always connect the battery
terminal not connected to the chassis first. The other connection is to be made to
the chassis as far away as practical from the battery and fuel line (a spark can be
generated when connecting the second clip which can ignite battery or fuel
gases). The battery charger is then to be connected to the mains supply. Once
charging is complete, disconnect the battery charger from mains supply first, and
then remove the chassis connection followed by the battery connection.
7. During charging, batteries give off some hydrogen and oxygen creating a highly
explosive mix. Ensure adequate ventilation exists and avoid sparks, smoking,
etc…
8. During battery maintenance ensure adequate clean water is available in the
event of an acid spill. The liquid inside batteries is highly corrosive therefore ensure
that it is not allowed to make contact with the skin (especially eyes). In the event
of contact, flush the area with clean water and immediately consult a doctor.
9. Lead-acid batteries store a large amount of energy. Short-circuiting the battery or
charger terminals will cause the battery to try and release this energy immediately, which can result in fire or personal injury. Prevent any metal object (or other
conductive material) from touching the + and – terminals of the charger or battery at the same time.
Page 4
4
OPERATING INSTRUCTIONS
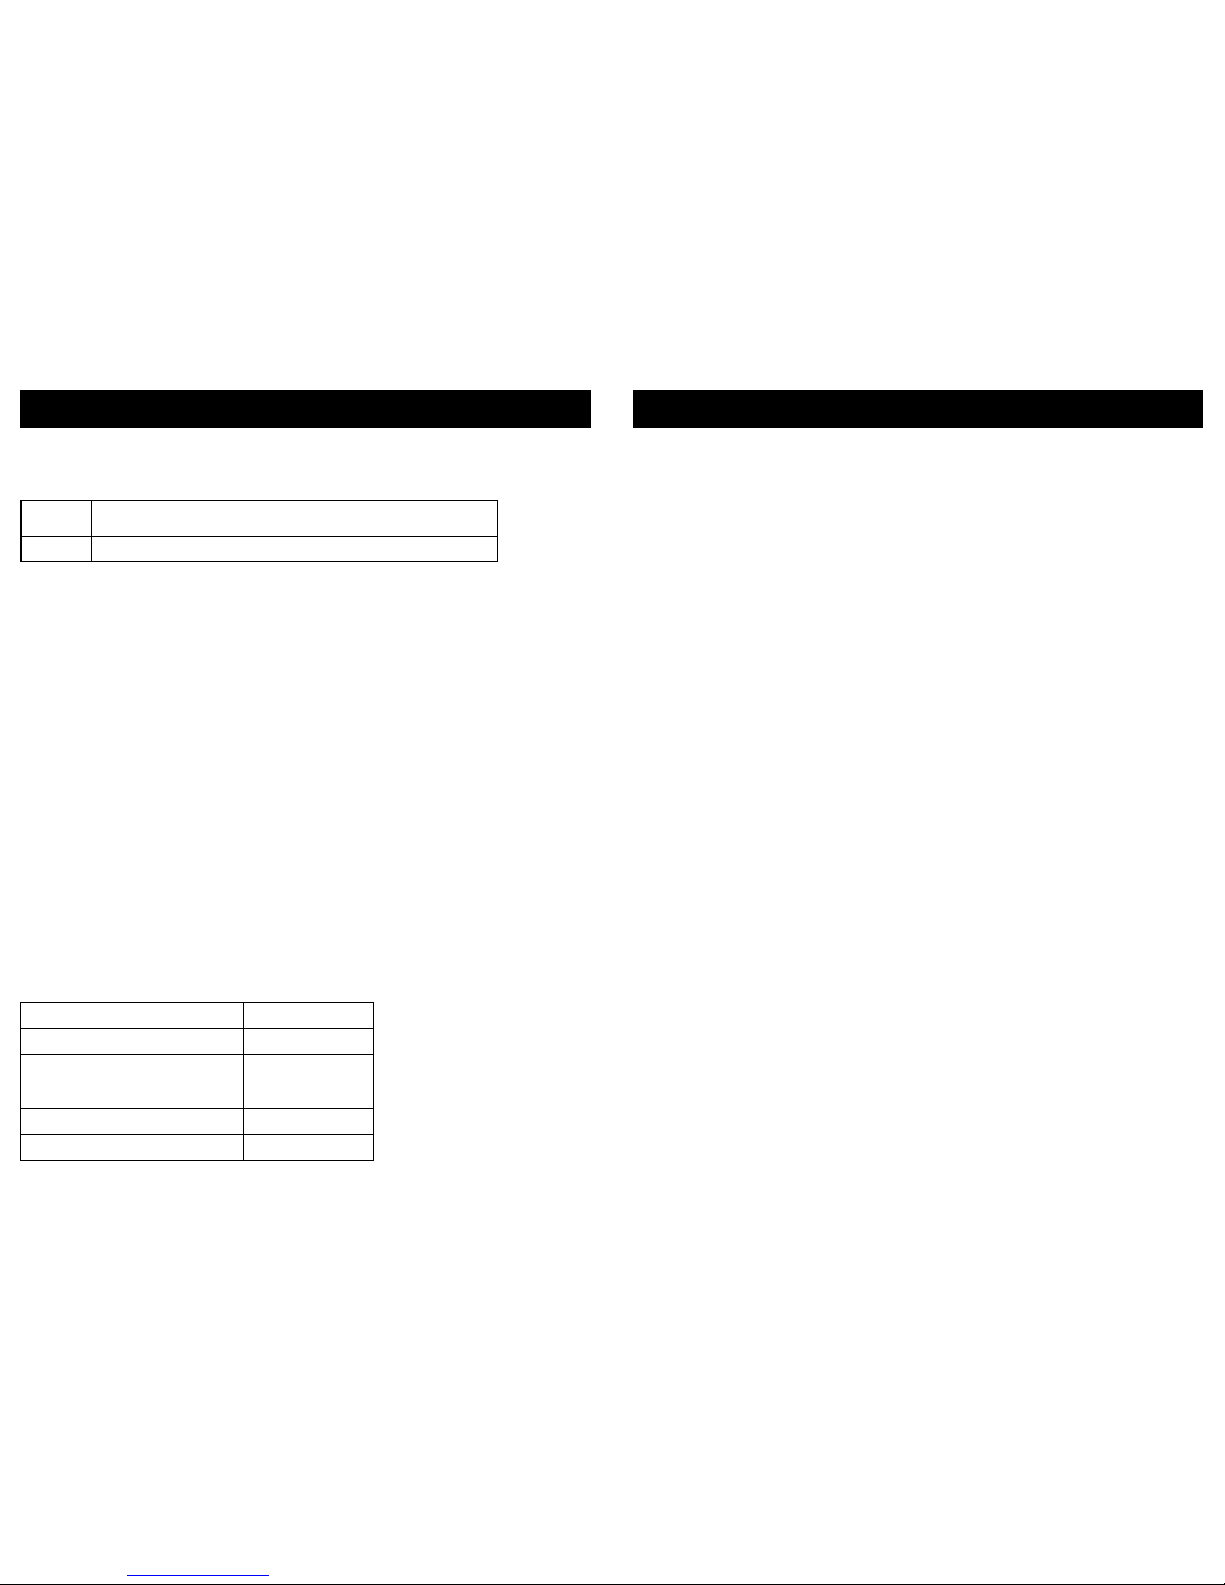
Specifications and Scope of Applicability (see table 1 below):
Table 1
Model
Current level and capacity of acid and lead-acid batteries
suitable for charging
03945 (2A) 4-30 Ah; (10A) 20-100 Ah
Functional Characteristics:
1. Secondary phase-shifting, conducting and constant-current control of transformer.
2. 3-digit 0.56” LED display indicates charging voltage, current, battery capacity
percentage and starting current.
3. The chargemaster battery charger is a smart type charger, it can identify a 6v /
12v battery, then charge accordingly. There is no 6v / 12v choice button.
4. Output short circuiting and overload protection - Output voltage monitor circuit is
set up to cut off the output current when the load is short-circuited, overloaded or
reverse polarity connected. The circuit will recover the output automatically as
soon as the load is connected correctly.
5. Indication and protection of the reverse connection of battery.
Technical Indexes:
Input voltage: 230v ±10% ~ 50Hz
Input/output current (see table 2)
Table 2
03945
Charging output current 1 2A ±10%
Charging output current 2
6.5A ±10%
(EN60335-2-29)
10A ±10% (EFF)
Charging input current (max.) 2A
Charging voltage 6v / 12v DC
5
OPERATING INSTRUCTIONS….cont
Operating Environment and Placement:
1. The charger should only be used in a well-ventilated and dry place free from direct sunlight or corrosive gas and away from sources of heat.
2. Operate the charger as far away as possible from the battery and ensure the
charger and battery are placed on a strong and stable surface.
3. Never place the charger directly on the battery or battery on the charger.
4. During charging, if the temperature of battery exceeds 40
0
C, current shall be re-
duced. If the temperature exceeds 45
0
C, charging shall be stopped. Charging
shall not be recommenced until the battery temperature reduces to safe limits.
Charging operation:
a. Connect the charger’s red clamp to the battery’s “+” terminal, connect the
charger’s black clamp to the battery’s “-” terminal.
b. Connect the mains plug to an appropriate power supply (230v ~).
c. The charger’s LED display will show the battery’s current voltage.
d. Press the “BATTERY SELECT” switch,you can choose the battery type to be
charged, Such as REGULAR lead acid, AGM or GEL.
e. Press the “FUNCTION SELECT” switch, to choose the required function.
f. Press the “CURRENT SELECT” switch to choose the required charge current.
(Such as FAST or SLOW).
g. Confirm all choices are correct, press the “ENTER” button for 3 seconds, until
the LED DISPLAY is bright; this means the charger is working.
h. When the charger is working normally, you can press “DISPLAY SELECT”, to
check CHARGING VOLTAGE,CHARGING CURRENT and BATTERY CAPACITY
PERCENTAGE.
i. When the battery is charged, the LED display will show “FULL”.
j. If the charger stops working, please press “ENTER”, if the LED DISPLAY is glittery,
it means the charger has stopped working.
 Loading...