

Page 1
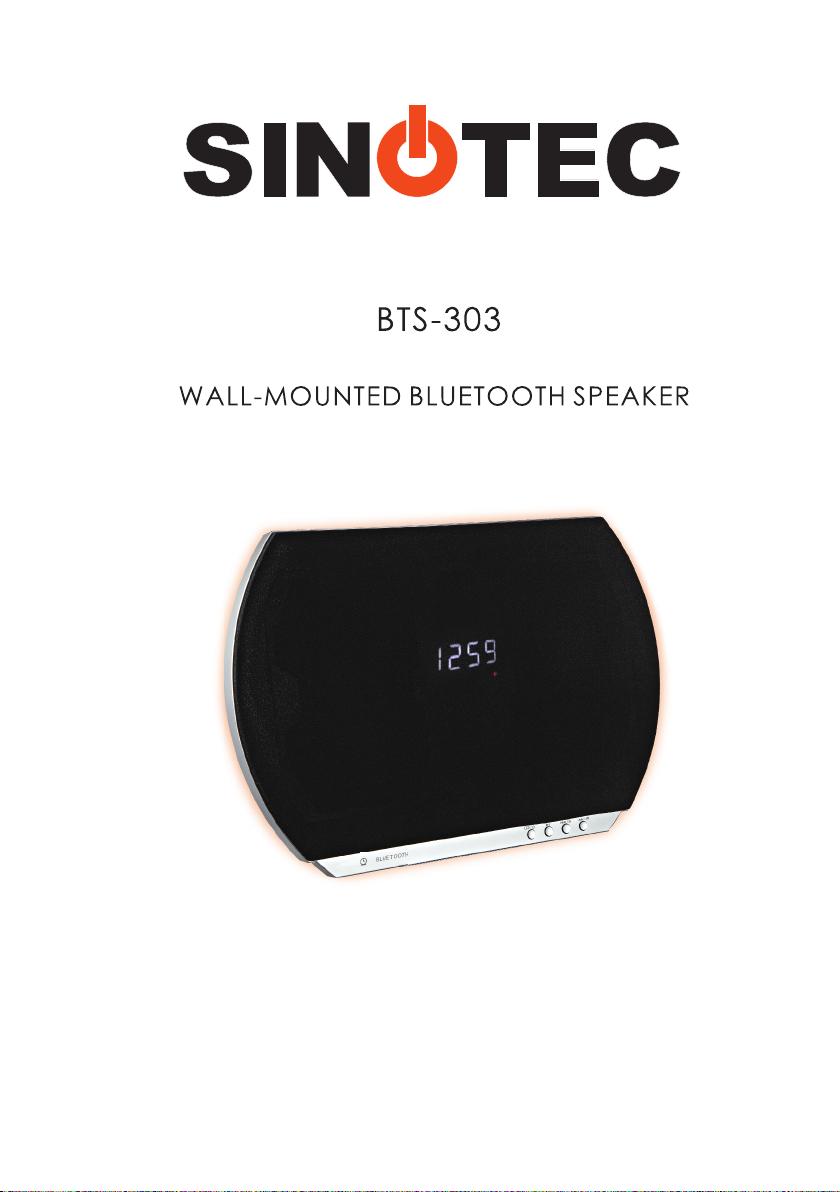
User Manual
Page 2
Contents
Safety Information
Placement methods
Panels and remote control
General operation
Operations in different modes
Trouble shooting and Specifications
..............................................................................................................1
...........................................................................................................3
................................................................................................4
.............................................................................................................5
...........................................................................................6
..................................................................................7
Accessories
User manual *1;
Remote control *1; Power adaptor *1.
Warning
Please read and understand all the warnings given in the following and those marked on
the unit. This unit has been manufactured and designed to assure personal safety.
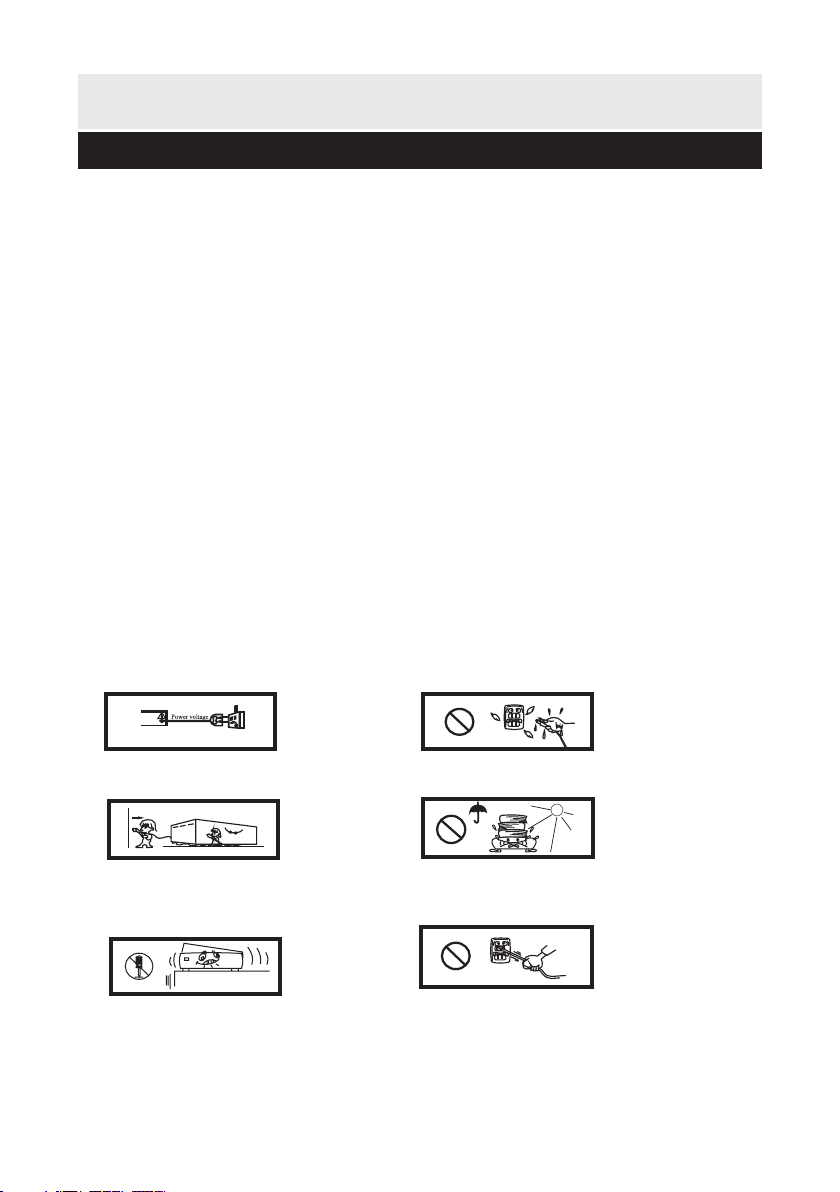
Only use the power by sign
on User Manual or system.
Keep the unit and power
plug away from water.
Unplug the set from the
outlet when you are not
using it for a long time.
Never open the cover,
avoid metals dropping in,
e.g. needle, hairpin, coin.
Avoid direct sunlight
and near heater.
Protect power cable: avoid
high pressure and standing on;
do not pull & bend excessively.
1
Page 3
Safety instructions
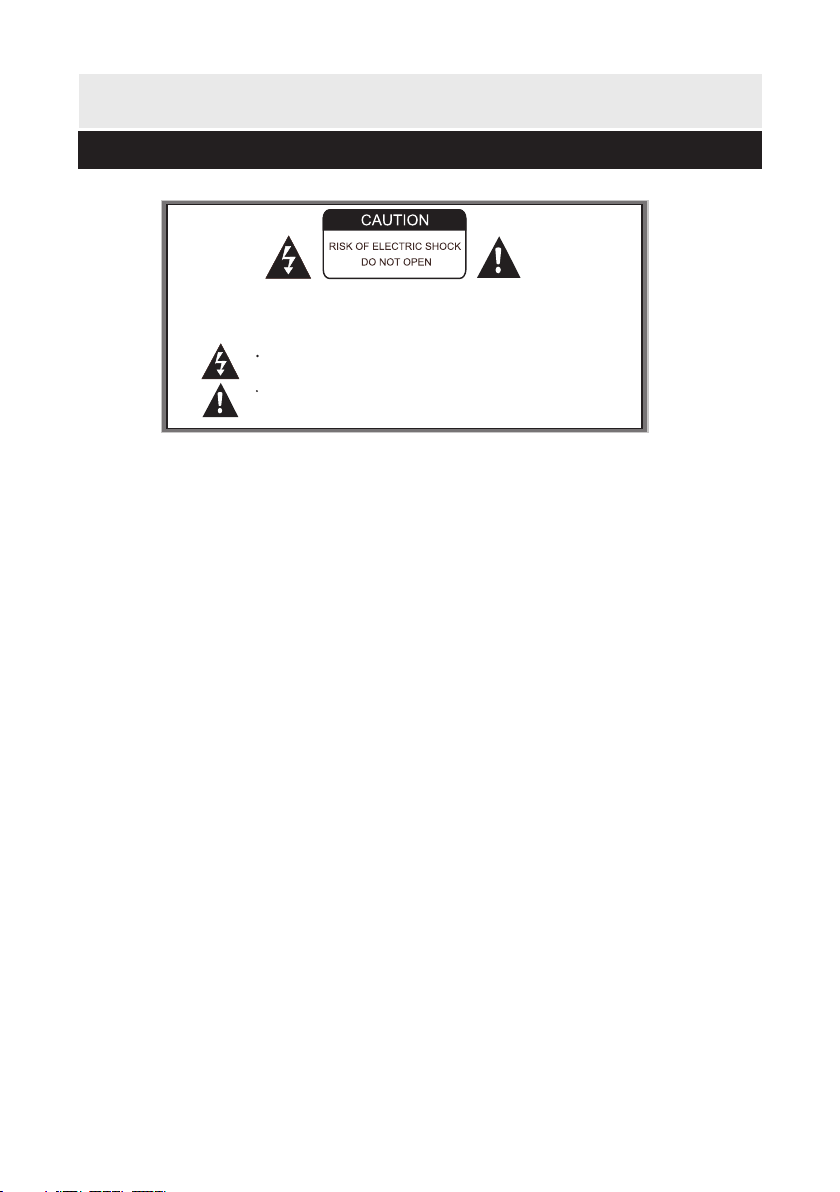
Caution: To reduce the risk of electric shock do not open
this device, there are not serviceable parts for customers.
Please refer any maintenance or repair to qualified
This sign means the existence of dangerous voltage at
the inside of the unit, which states a risk of electric shock.
This sign means that there are important instructions of
operation and handling in the manual.
1. All the safety and operating instructions should be read carefully before use.
2. The safety and operating instructions should be retained for future reference.
3. All warnings on the appliance and in the operating instructions should be adhered to.
4. Follow all instructions - All operating and use instructions should be followed.
5. Do not use this apparatus near water- The appliance should not be used near water or
moisture, such as in a wet basin or near a swimming pool.
6. Clean only with a damp cloth.
7. Do not block any of the ventilation openings. Install the unit in accordance with the
manufacturer’s instructions.
8. Do not install near any heat sources such as radiators, heat Registers, stoves, or other
apparatus, including amplifiers, that produce heat.
9. Protect the power cord from being walked on or pinched particularly at plugs,
convenience receptacles, and the point where they exit from the apparatus.
10. Only use attachments/accessories specified by the manufacturer.
11. Unplug the apparatus during lightning storms or when not in use for long periods of time.
12. Send product to a qualified service department. Servicing is required when the device
has been damaged in any way, such as power supply cord or plug is damaged.
13. Please keep the unit in a good ventilation environment.
14. These servicing manual are for use by qualified service personnel only. To reduce
the risk of electric shock, do not perform any servicing other than that contained in the
operation instructions unless you are qualified to do so.
15. The main plug is used as a disconnect device, the disconnect device should remain
readily operable.
16. This equipment is a Class II or double insulated electrical appliance. It has been
such a way that it does not require a safety connection to the electrical earth. designed in
17. The batteries (if included) should not be exposed to excessive heat such as sunlight,
fire, etc.
18. The apparatus should not be exposed to dripping or splashing and no objects filled
such as vases, shall be placed on the apparatus. with liquids,
19. To reduce the risk of fire or electric shock, do not expose to rain or moisture.
2
personnel.
Page 4
Placement methods
Method 1: Place flat on a table.
Please place the unit on a stable table, and out of the reach of children.
Be careful not to expose apparatus to liquids, fire, chemicals, rain or moisture.
Method 2: Place on a the wall.
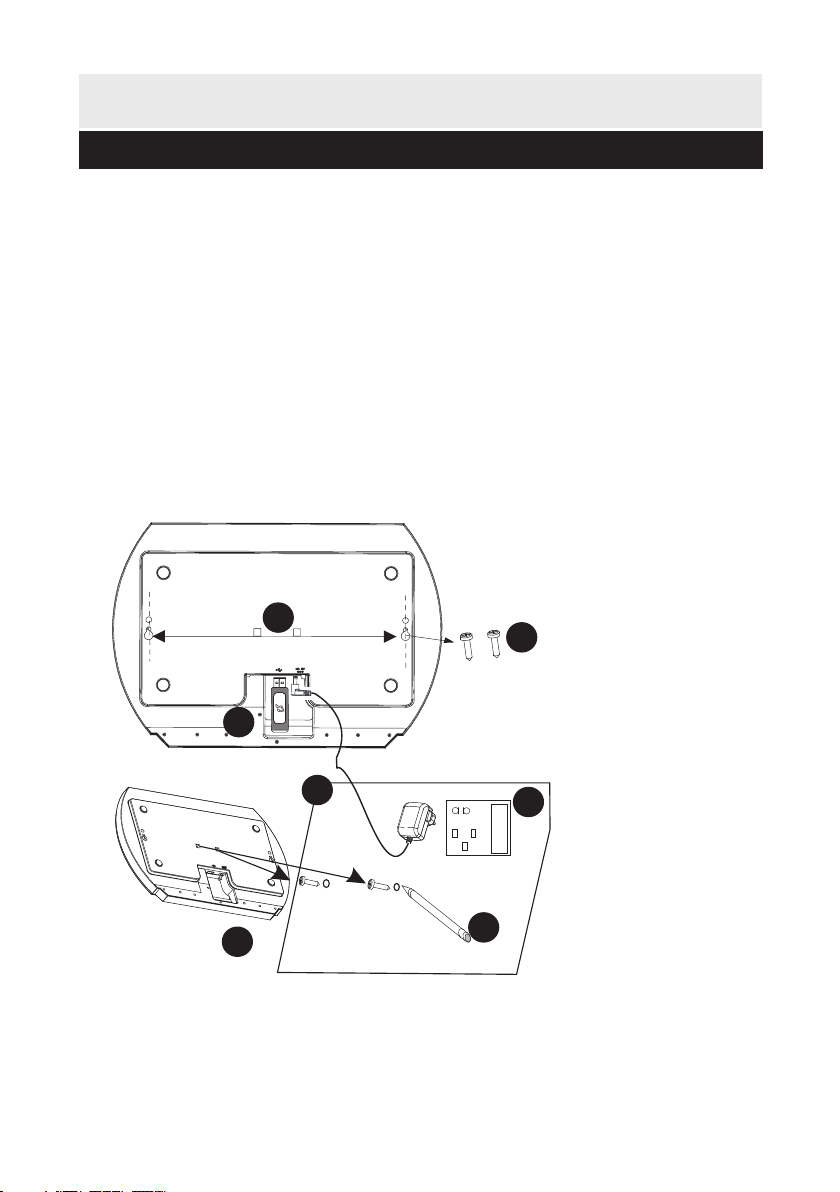
The unit can be mounted to a wall with 2 screws (not supplied). Refer to the below picture.
1. Find a wall with power supplies within the length of the power cable.
2. Insert a USB stick if you want to use the USB function.
3. Find 2 screws (not supplied) fitting the size of the mounting holes.
4. Measure the length between the mounting holes.
5. Mark the mounting holes on the wall (using a pencil).
6. Hit the screws in the wall.
7. Insert the power cable into the power socket to connect the unit to power.
4
3
2
7
6
3
5
Wall
1
ON
OFF
Page 5
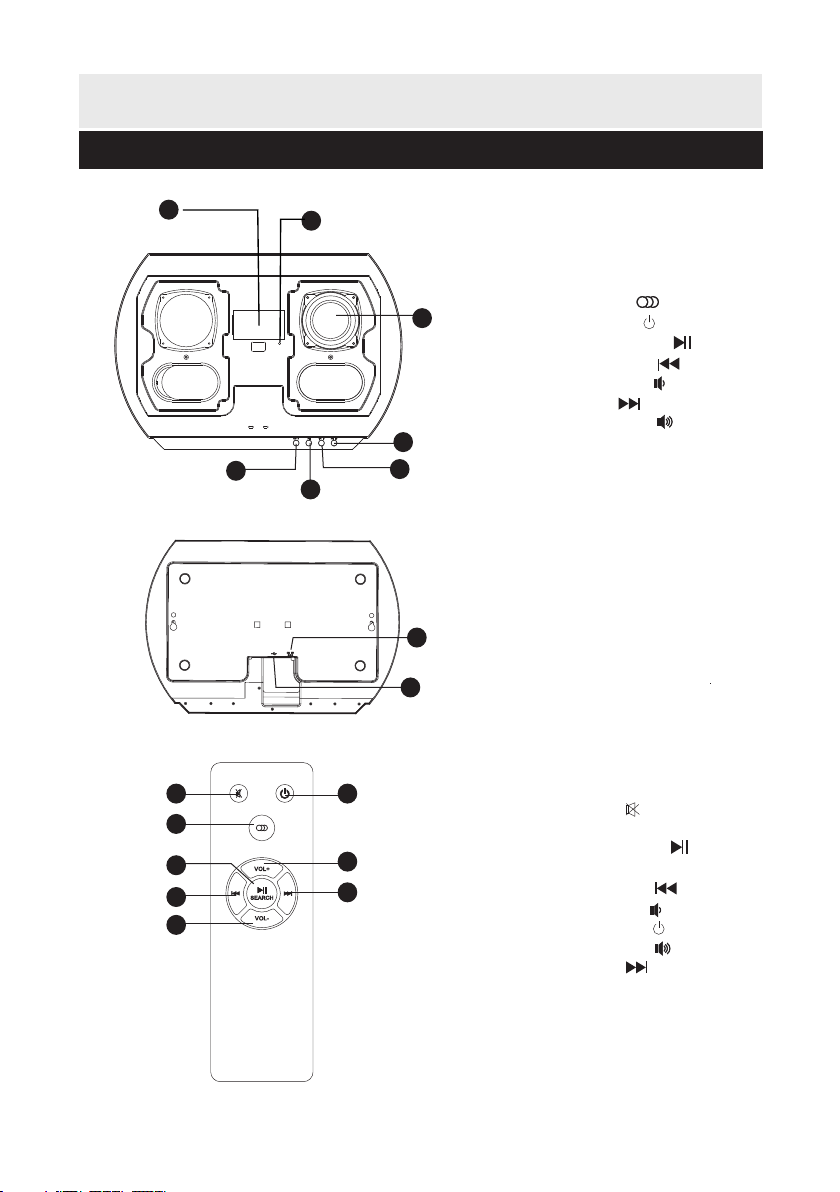
Panels and remote control
1
2
1. Display screen
2. Indicator light
3. Speaker
3
4. Source
Standby
5. Play/Pause
6. Previous
Volume-
7. Next
//
/
4
5
7
6
8
Volume+
8. Power input
9. USB port
9
10
12
13
14
11
15
16
17
10. Mute
11. Source
12. Play/Pause
Search
13. Previous
14. Volume-
15. Standby
16. Volume+
17. Next
4
Page 6

General operation
Standby mode
Press the STANDBY button to switch on the unit.
Press on remote or press and hold on the panel to put the unit into standby mode.
Switching modes
To switch between the modes: Bluetooth, USB (with USB stick inserted), and FM,
press the SOURCE button.
Adjust the volume
Press and hold the VOL+/- buttons to adjust the volume level.
Mute the sound
Press the MUTE button on the remote control to mute the sound, press again or press
VOL+/- buttons to resume the volume level.
Skip tracks
Press the or buttons to skip to the previous or next track.
Play or pause the music
Press the button to pause or resume the playback.
TIME SETTINGS OPERATION
1. Set the unit into standby mode.
2. Press and hold the button to activate the time setting and enter the time setting interface.
3. Press VOL+/- buttons to select the digits in the interface to HOUR:MINUTE.
4. Press button briefly to confirm and skip to the next digit selection.
5. When finished selecting the digits, press and hold the button to confirm the settings.
5
Page 7

Operations in different modes
FM OPERATION
1. Press the SOURCE button to enter FM mode.
2. Press and hold the / buttons on the panel to tune the frequency.
3. Press the / buttons on remote control to skip the stations.
4. Press button to search stations from low to high frequency. Press again to stop.
USB OPERATION
1. Insert the USB stick into the USB port at the back of the panel.
2. Press the SOURCE button to enter USB mode.
3. Once the USB stick is inserted, the unit will detect the files and start playing.
NOTE:
1. Depending on the amount of data and media speed, it may take longer for the unit to
read the file/s, this is not a malfunction.
2. Even though some files are format supported (Mp3), the unit may not play because of
the format compatibility.
BLUETOOTH OPERATION
1. Put your Bluetooth device (e.g. smart phone) on the 10m search range.
2. Turn on the Bluetooth function on your phone.
3. Open the Bluetooth searching interface on the phone and start searching the unit.
4. Find the device named BTS-303 from the found list.
5. Some device may ask you to select OK/YES/PAIR to pair the phone with the unit. For
some devices, the system may ask you to input the pin “0000" (four zeros) as password.
6. When the devices are paired successfully, you will hear a audible sound and the indicator
light in blue.
NOTE:
1. The unit can only be connected and play contents from one device at a time.
2. Some devices may connect immediately in pairing, some may take as long as 60 seconds
to connect, this is not a malfunction.
6
Page 8

Trouble shooting and Specification
Trouble shooting
Power supply can not be turned on
* Make sure that the power cord is fully inserted in the power outlet.
The remote control does not work
* Battery is used up.
* The front end of the remote control is not aimed at the infrared reception part of the unit.
No sound
* Make sure that the sound system is set to the correct mode.
* Turn your unit off, then back on.
The unit does not work at all
* The embedded microcomputer may have failed because of a lightning strike, static, or
other interference.
Specifications
Input voltage
Power consumption
Frequency range
Bluetooth range
Remote control range
AC~240V/50Hz
9W
87.5-108.0MHz
10 meters
7 meters
(Use only the power supplies listed in the instructions)
7
 Loading...