

Page 1

Singim SG212 Bobo Bluetooth Headset
User Manual
Page 2

Precautions
z Never expose to liquid or immerse in water, avoid excessive humidity.
z Do not attempt to disassemble the Headset or the battery case; it contains no user-serviceable parts.
z Do not drop or throw the Headset and protect it from environments that could scratch it. Use only soft
cloth to clean it.
z Do not expose the Headset to open flames nor dispose of in a fire.
z Do not allow children to play with the Headset. It contains small parts that could detach to create a
choking hazard.
z Only use the charger supplied with the Headset to charge the product to avoid risk of damage or personal
injury.
z Ensure the charger is compatible with the AC supply available before attempting to plug it in.
Introduction
The Bluetooth Headset is the first to offer changeabl e battery. Also i t is a complete audi o headset
supporting the Bluetooth headset profile. The Headset is a light, small, convenient and stylish
device providing 2-way wireless audio connectivity to other Bluetooth devices such as mobile
phones, PCs, and PDAs.
Features
z Bluetooth v1.1-compliant with headset profile.
z Changeable and rechargeable battery for uninterrupted headset use.
z Second audio output to make the music sounds more realistic.
z Easy to operate user interface
z Long talk and standby time
z Mini-sized
z Light weight
z Stylish design
Page 3
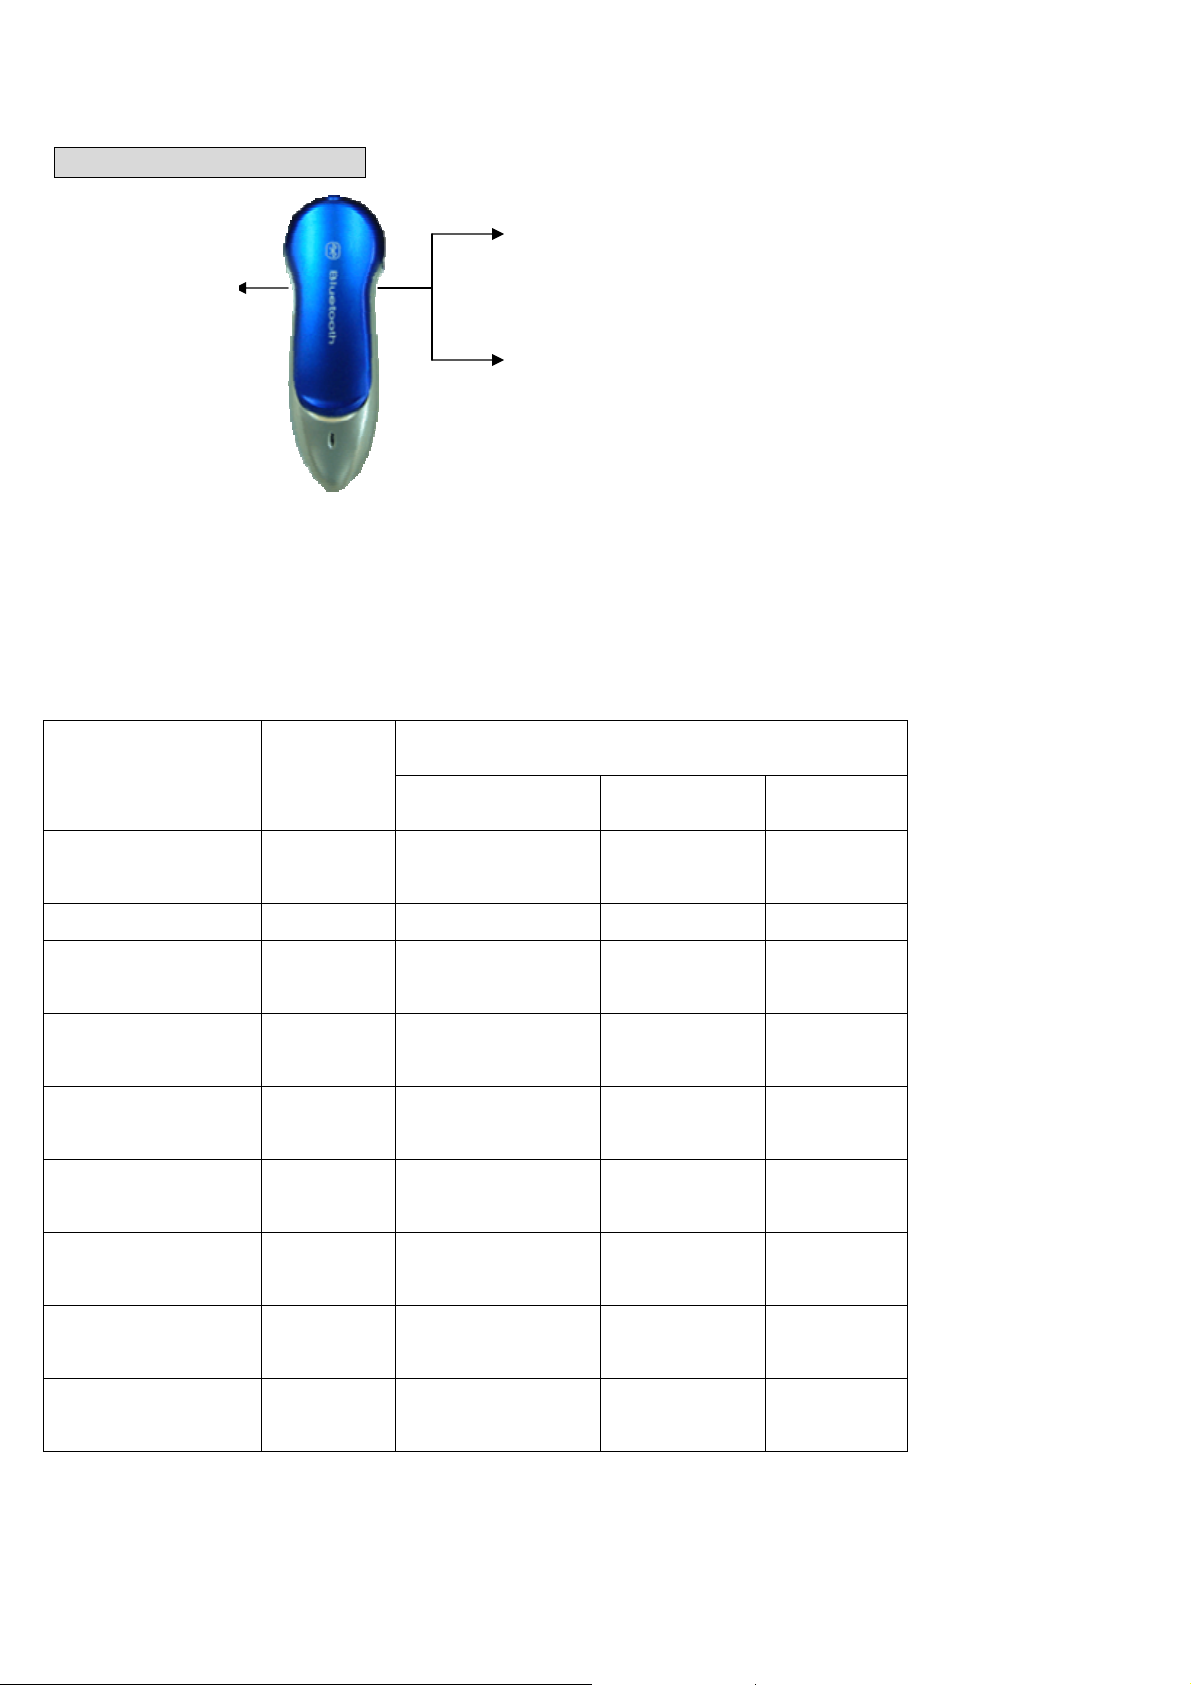
Controls and Functions
P Key:
Power On/Off
Pairing/Connecting/
Answer/End Call
V+ Key:Volume Up
V- Key:Volume Do wn
Keypad
z One push button on the left side to switch the headset on/off, to select Pairing mode, to connect with cell
phone, or to initiate, answer and end a call
z Two swit ches(in 1 button) on the right side to control receive volume
LED Indicator & Key Press
KEY PRESS
V+ Key V- Key
Mode or Status
LED
(per 3sec)
P Key
On
Before Connecting
Connecting
Connected
No Incoming Call
Talk
Volume up
Volume Down
Mute
Off
5 times
1 time
2 times
3 times
4 times
4 times
4 times
4 times
Off
Long press
(7~8sec)
Short Press
1 time
Short Press
1 time
Short press
1 time
Short press
1 time
Medium press
(2~3sec)
Medium press
(3~4sec)
Page 4

LED Indicator
LED COLOR Effect in Current Mode
OFF STANDBY PAIRING Connecting
Blue
Steady
1 time/3 sec
off
Continuous Flashing
2 times/sec 4 times/ 3 sec 4 times/ 3 sec
for 1 min
Sounds
In order to make the operation easier, the Headset generates several sounds:
◎ Switch-on tone: 2 short and high beeps
◎ Switch-off tone: 2 short and low beeps
◎ Pairing tone: Music tone
◎ Voice tag tone: Default Voi ce tag tone of cell phone
◎ Mute tone: 2 beeps every 3 sec
◎ Ring tone: Default incoming call ringing tone of cell phone
INCOMING
TALK
CALL
Page 5

Operation
Charge Before First Time Use
◎ The Headset contains a rechargeable and changeable Li-ion Battery, you can charge the battery
independently or with the Headset.
◎ The Battery will not be full charged when is it unpacked. It is recommended to place it on charge for 1.5
hours before first time use; the charging description below shows how to do this:
Step 1 Plug the travel charger into an av ailable AC supply socket and connect the travel charger with the
charging cable.
Step 2 Plug the small connector lead of the charging cable into the matching socket at the top of the battery.
(At the mean time, the red LED indicator on the charging cable will turn on)
Step 3 After 1 to1.5 hours of charging time, the red light will turn off. The battery is then fully charged.
◎ The fully charged battery can last up to 6 to 8 hours of talk time; up to 200 hours of stand-by time.
◎ After first time use, it only takes less than 1.5 hours to full-charge the battery.
NOTE When the battery is low, the blue LED indi cator will become less bright than in normal state. When
the power is run down, the indicator will turn off.
Wearing the Headset(Picture)
Switch On the Headset
Step 1 Press the P Key and hold for about 8 seconds until a switch-on tone is heard in the earpiece.
Step 2 Release the button. (The blue LED indicator will then shine for 5 times)
Switch off the headset
Step 1 Press the P Key and hold for 3 to 5 seconds until a switch-off tone is heard in the earpiece.
Step 2 Release the button. (The blue LED indicator will then stop flashing and become steady off)
Preparing the Headset For Use
Pairing and Connecting
PIN Code: The PIN code for the Headset is preset to 1234. It will needed for pairi ng.
Before the Headset can communicate, it must be paired to the companion device it will use with, such as a cell
phone. This is ensure the Headset only communicates with the device chosen by the user and not any other
Bluetooth devices in range.
Pairing information is stored by the Headset and can be changed at any time.
The exact process to pair the Headset will also depend on the device it is paired with. The user manual for t hat
device will give instructions on how to do this. In all cases, the Headset will need to be put into PAIRING mode,
which is described as follows:
Page 6

Step 1-1 Before p airing starts, please make sure that the Headset is in OFF mode. If it is not, switch it off.
Step 1-2 Press the P Key and hold for 8 seconds, the Headset will then be switched on.
Step 1-3 Keep holding the button until the Headset has been switched on for 3 seconds.
Step 1-4 If the blue indicat or start flashing fast continuously, the Headset is now in PAIRING mode.
Step 1-5 Release the button.
(If you are wearing the Headset while the Pairing is completed, a pairing tine will be heard in the
earpiece)
Step 2 Enter the Bluetooth section on your cell phone, search for the Bluetooth device, select the searched
Headset and start pairing.
Step 3 The cell phone will then ask for PIN Code for the Headset which is preset to 1234, then confirm it.
Step 4 After confirmation, the pairing music will be generated, then the Headset is ready to connect with the
cell phone.
Step 5 Press the P Key, then the Headset will be connected with the cell phone.
NOTE
a. If the Headset is not under PAIRING mode, the Headset wont be able to found by the cell phone. There fore,
please put your Headset into PAIRING mode before the cell phone start searching for the Bluetooth device.
b. If the pairing work is not be able to finished with a period of time(about 1 minute), the Headset will
automatically return to ST ANDBY mode, and repl ace the former pai ring record(if there was a former one). If so,
you may need to repeat Step 1 to 5 until the p airing work is completed.
Connecting
z After the paring is completed and before answering or initiating any calls, another press on P Key is
needed to set up the connection between the Headset and the cell phone.
z When the connecting is ongoing, the blue LED indicator will flash twice every 3 seconds. After the
connection is set up, the indicator will flash 3 times every 3 seconds.
NOTE
a. If there’s not any communication through cell phone under Connecting mode for over 2 minutes, the
Headset will automatically disconnected with the cell phone.
b. Af ter connected with the cell phone, if there’s a necessity of connecting with ot her Bluetooth device(i.e.
Bluetooth Dongle on PC), only 1 short press on the P Key is needed. However, the connection between
Headset and cell phone will be cut off. If want to reconnect with the cell phone, you may need to repeat all
the pairing and connecting procedures.
Page 7

Initiate a Call
◎ Through the cell phone:
Dial the number or choose from the phone book to initiate a call. After the line is connected, the sound will
be transferred into the Headset right away.
◎ Voice Call:
Press the P Key, waiting for the Voice call indication tone, then speak out the voice commend preset in
your cell phone to make a call.
Receive a Call
There’s an incoming call, when the Headset is:
◎ In PAIRING mode but not yet connected:
Answer the call through the cell phone first, in the mean time, press the P Key to connect the Headset
and the cell phone, then another press on the P Key to transferred the voice into the Headset.
◎ Incoming call ringing tone is heard in the earpiece: Press the P Key to answer the call.
(Blue LED indicator will shine 4 times every 3 seconds)
◎ OFF:
Please answer the call by your cell phone first. Then switch on the Headset, press the P Key to reconnect,
the voice will then be transferred into the Headset.
End a Call
When finish a call, press P Key and the call will be ended.
V olume Adjustment
Every press on the V+ Key will increase the volume for 1 level. Every press on the V- Key will decrease the
volume for 1 level.
Mute
During a call, press V+ Key or V- Key and hold for 2 to 3 seconds, the Headset will then enter MUTE mode.
The other side will then not be able to hear any sounds from your side until you unmute the Headset.
To Unmute the Headset, only needs one short press on V+ Key or V- Key.
In and Out off Range
◎ Within the range of 10 meters, unless there is any other wireless devices such a s Wireless LAN AP or
Microwave oven, or there wouldn’t be any noise.
◎ If the Headset moves out of range during a call, the connection will be terminated and the Headset will
returned to PAIRING mode. And you won’t be able to keep talking through the Headset. But you should be
able to keep talking through your cell phone.
(NOTE: When you are back into 10-meter range, you may reconnect to talk through the Headset.)
Page 8

Connect with PC or PDA
◎ PC
A Bluetooth dongle should be connected with the PC first, and set up the Bluetooth software (T he operation
guide of setting up, please check the user manual of your Bluetooth dongle) After the set-up is completed,
you may then pair and connect the PC with the Headset through the software.
◎ PDA
Only Bluetooth compatible PDA can set up a connection with the Headset. Please check the user man ual of
your PDA to see how to p air and connect.
Reset
If for any reason that the Headset remains non-function, it may be reset by the following method:
Please switch off the Headset, check if the battery is already run down. If it is, you just ne ed to charge the
battery . If not, please delete the p airing informatio n records on your cell phone, a nd re-pair an d re-connect with
the cell phone again.
FCC Statement:
This equipment complies with FCC radiation exposure limits set forth for an uncontrolled environment. End users must
follow the specific operating instructions for satisfying RF exposure compliance. This transmitter must not be
co-located or operating in conjunction with any other antenna or transmitter.
Notice: Any changes or modification not expressly approved by the party responsible could void the user’s authority to
operate the device.
CAUTION
RISK OF EXPLOSION IF BATTERY IS REPLACED BY AN INCORRECT TYPE. DISPOSE OF USED BATTERIES
ACCORDING TO THE INSTRUCTIONS.
 Loading...