

SINGER 115 User Manual

SINGER
Sewing iVtacliine
115
THE SING
COMPANY

SINGER
A Trademark of THE SINQER COMPANY
sewing machine model 115
AS THE OWNER OF THE SINGER* 115 ...
you have a completely new smooth running machine
which offers you a new world of sewing enjoyment.
TO GET THE MOST ENJOYMENT FROM
YOUR SINGER...
take advantage of the free sewing lessons to which
you are entitled. Skilled, SINGER-trained teachers
will give you personal guidance and assistance in the
fundamentals of home sewing.
SINGER SERVICE
Wherever you go you will find expert, dependable
SINGER* Service close at hand. SINGER is interested
in helping you keep your SINGER Sewing Machine in top
running condition. That is why you should always call
your SINGER SEWING CENTRE if your machine ever
requires adjustment or repair. Only from your SINGER
SEWING CENTRE can you obtain the services of a
trained SINGER mechanic and warranted SINGER*
parts.
EVERYTHING FOR THE WOMAN WHO SEWS
The answer to your sewing needs is at your SINGER
SEWING CENTRE. There you will find a wide choice
of sewing aids, notions, sewing information and services.
Look for the famous red **S’’ and SINGER trademarks
on your SINGER SEWING CENTRE and the ever ready
SINGER Service Car. Look under SINGER SEWING
MACHINE COMPANY, in phone book, for address
nearest you.
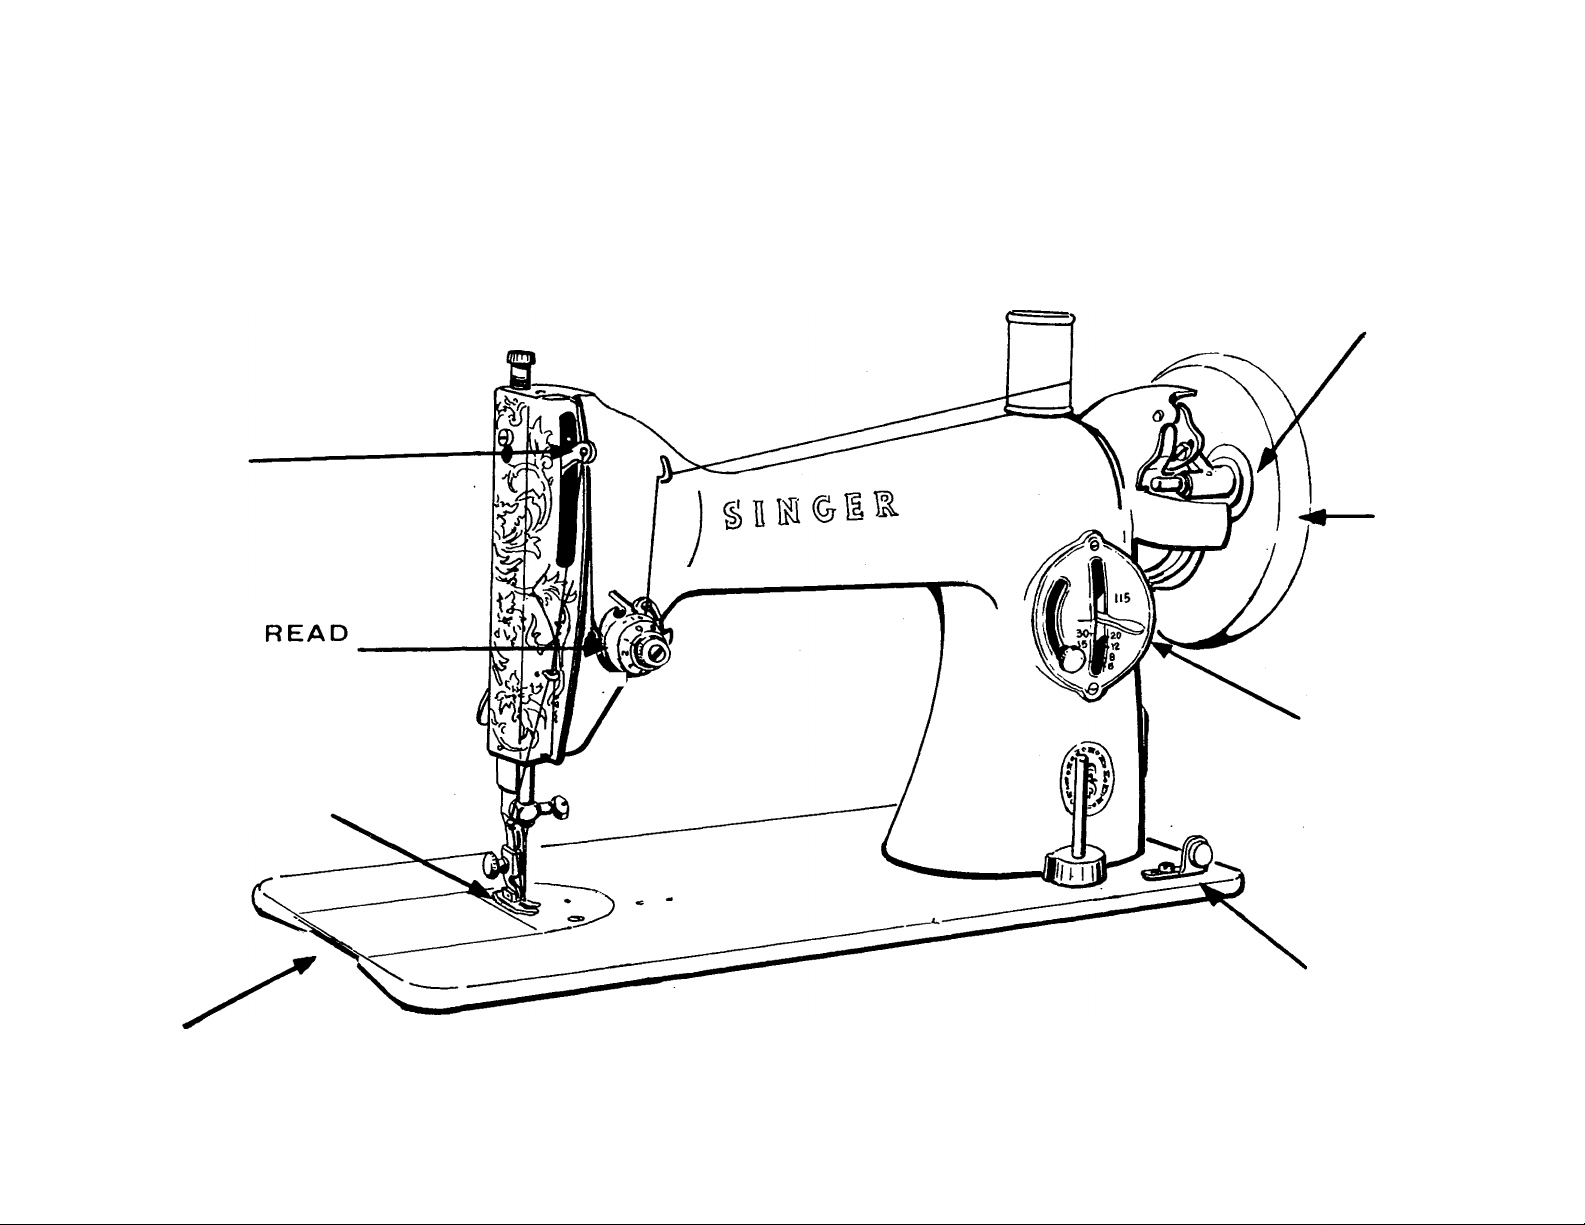
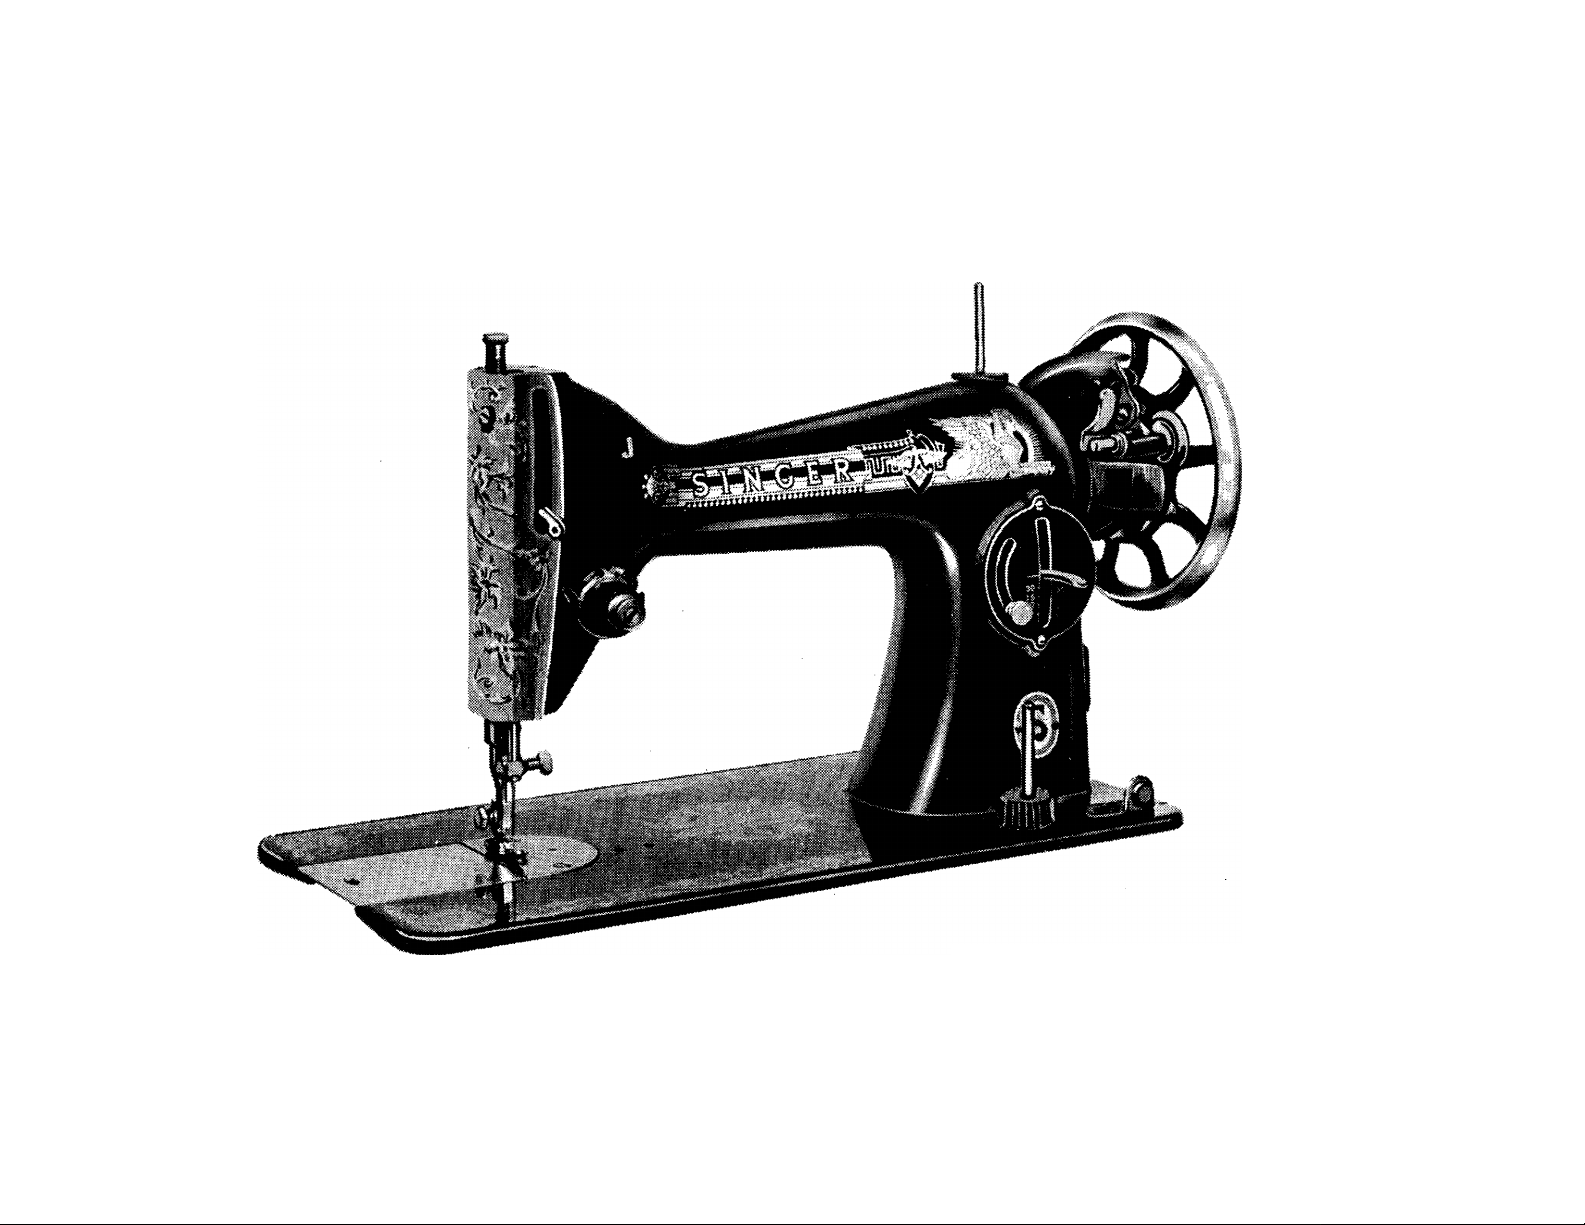
TAKE-UP
LEVER
NEEDLE TH
TENSION
PRINCIPAL PARTS OF MACHINE 115
BOBBIN
WINDER
HAND
WHEEL
STITCH
LENGTH
REGULATOR
THROAT PLATE
SLIDE PLATE
BOBBIN WINDER
THREAD GUIDE

NEEDLE AND THREAD SELECTION
The selection of thread should be based on the fabric to be stitched. The thread should
blend with the fabric in colour, fibre and size.
Silk and wool fabrics should be stitched with silk thread; cotton fabrics should be stitched
with cotton or cotton mercerised thread, etc. The thread must be of a size that will imbed
itself into the texture of the fabric. Thread that is too heavy for the fabric will remain on
the surface and become weakened by friction and abrasion when worn.
The selection of the needle should be based on both the fabric and^hread being used. The
eye of the needle must be large enough for the thread to pass freely through it. The blade
of the needle must be fine enough not to mar the fabric with too large a puncture, yet heavy
enough to pierce the fabric without binding or deflecting.
You will obtain best stitching results from your Sewing Machine if it is fitted with a
SINGER* Needle.
NEEDLES AND THREAD
This machine uses needle, Catalogue
2020 (15 x 1). Sizes 11, 14, 16, 18,
19 and 21.
For perfect stitching, select correct needle
and thread to correspond with fabric. Be
sure to use like threads for both needle and
bobbin.
NEEDLE INSERTION
6
I I
f ?
Raise needle bar to highest point by turn
ing hand wheel toward you.
Loosen needle clamp screw.
Insert needle upward into clamp as far as
it will go, with flat side of needle to right
and long groove to left.
Tighten needle clamp screw.
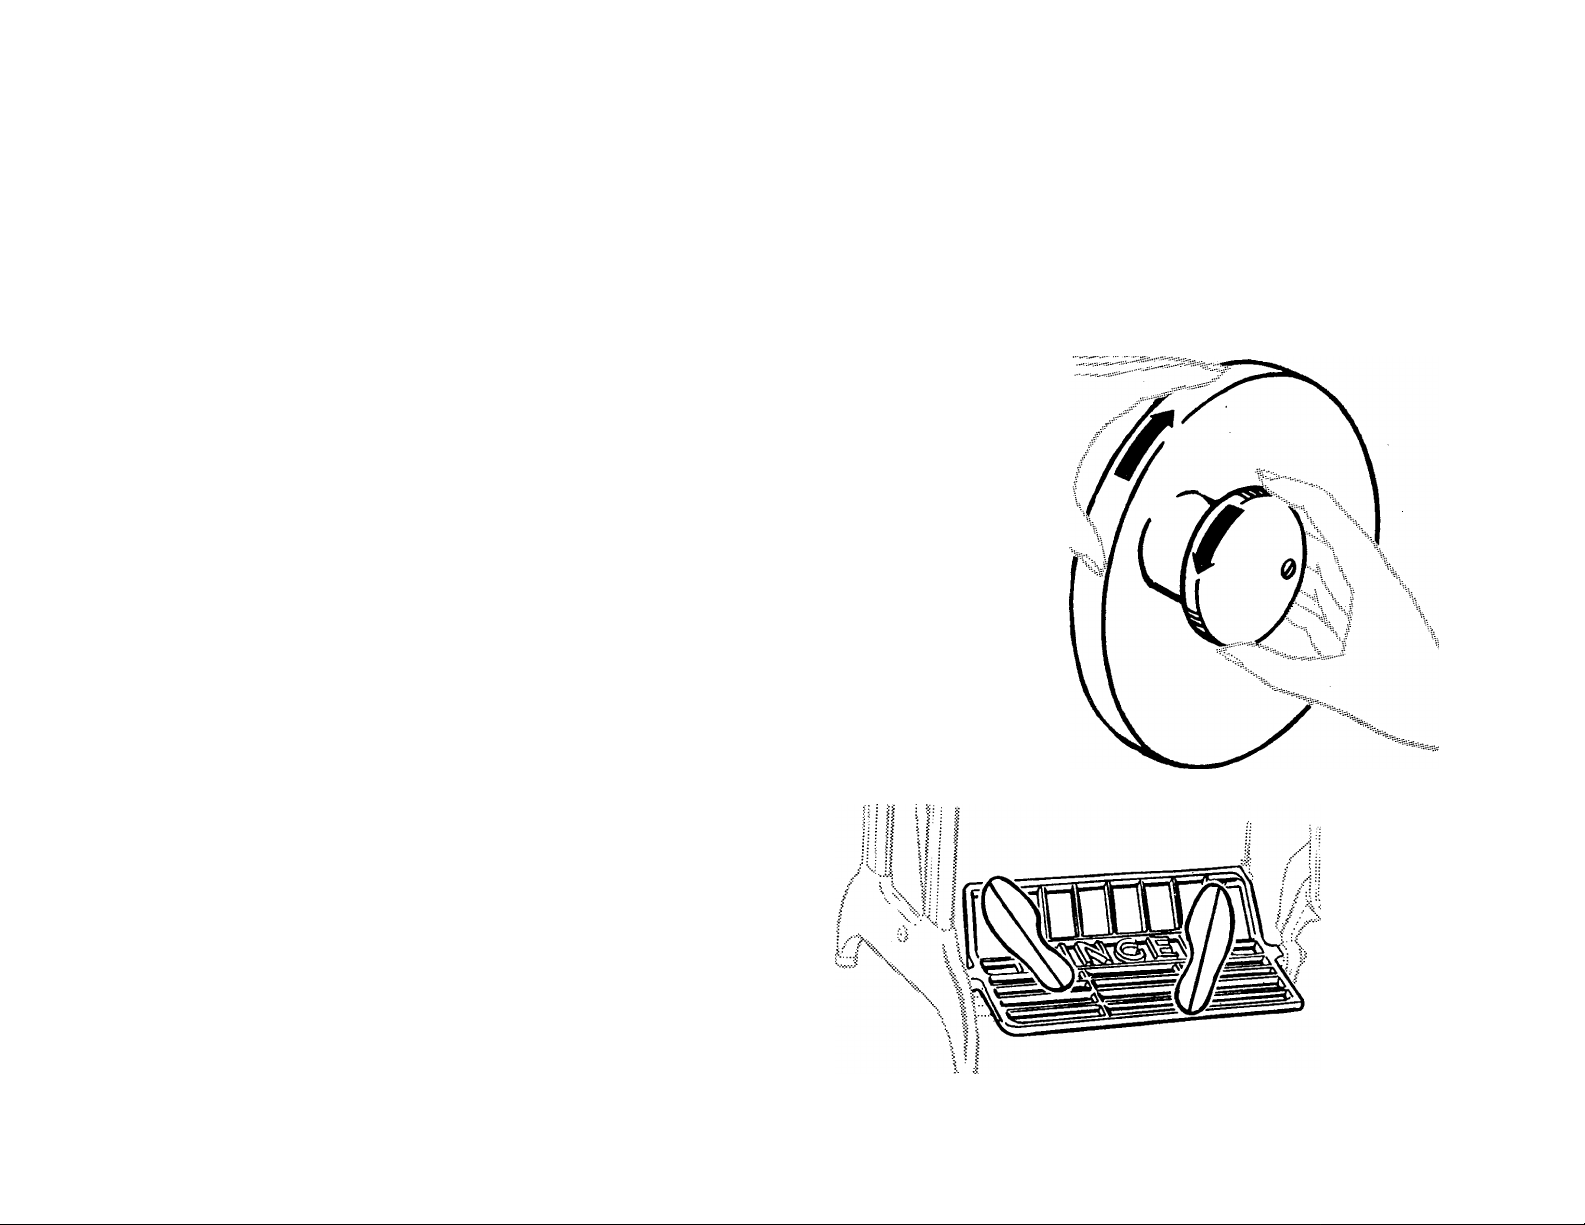
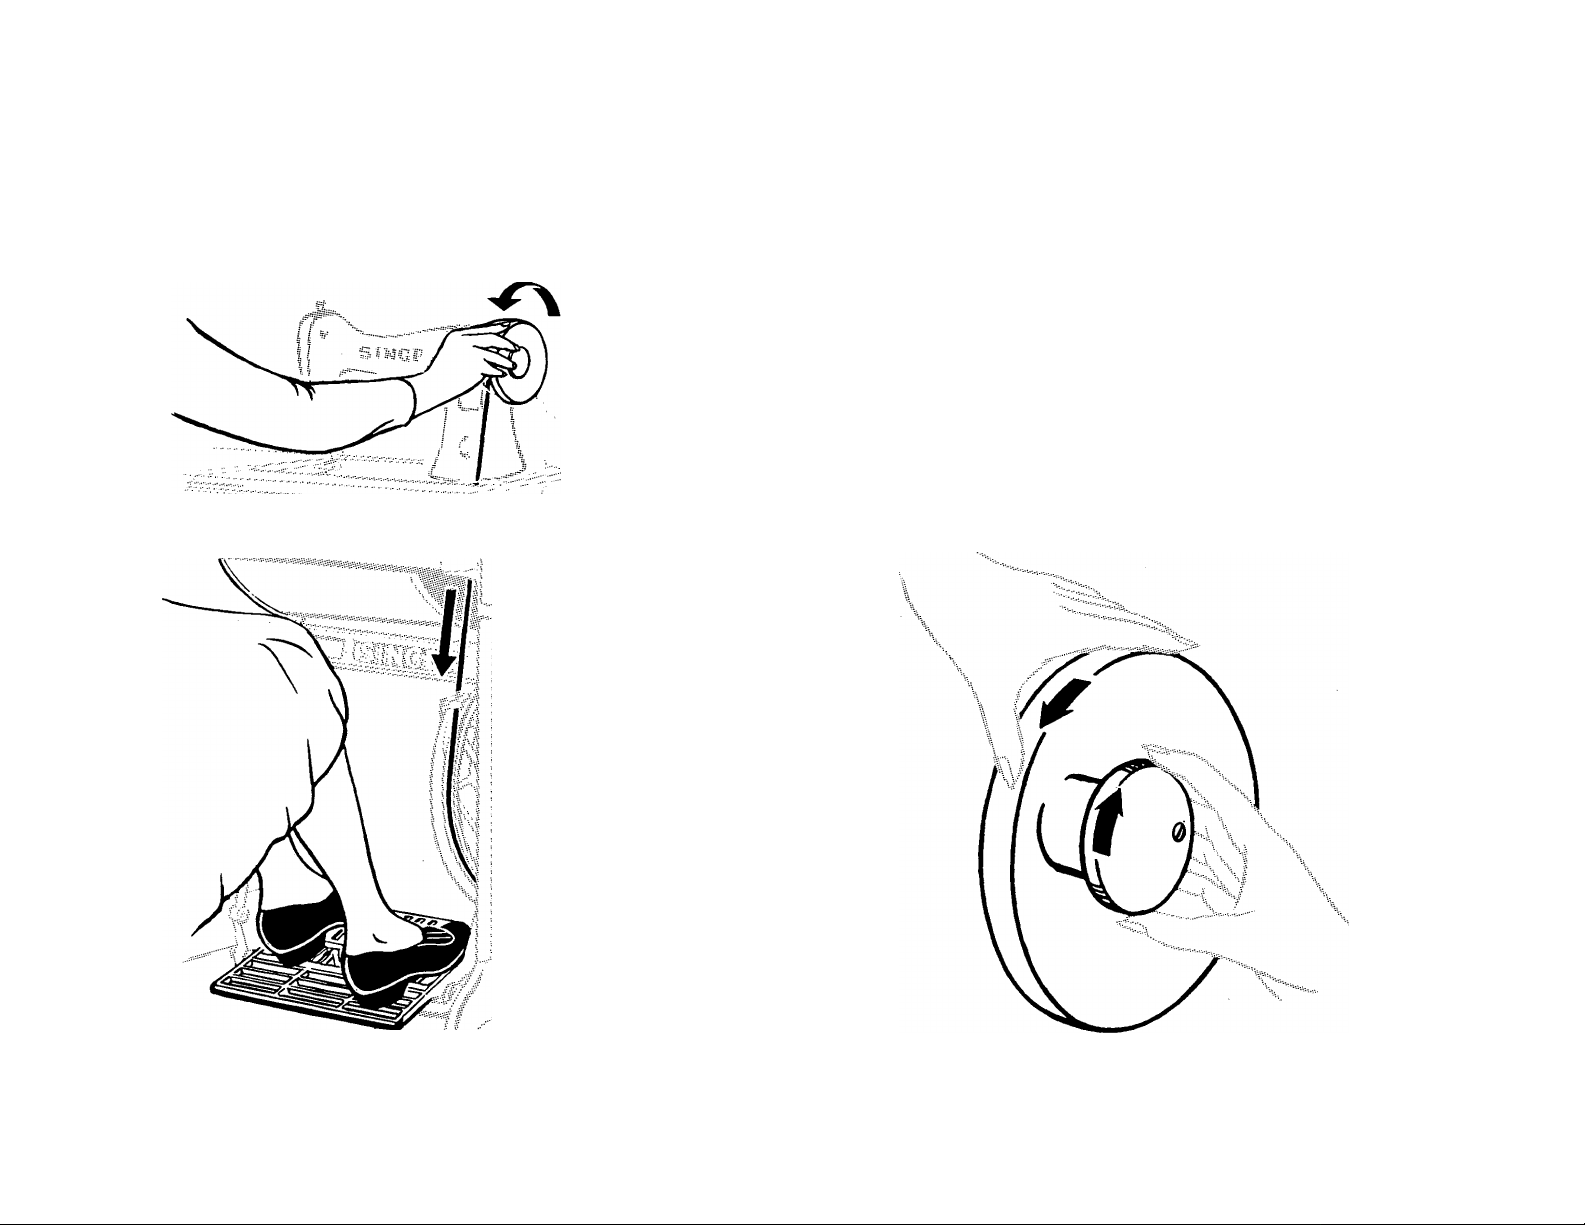
TO OPERATE THE MACHINE
Treadle Drive
Raise presser foot.
Loosen hand wheel by turning stop motion
screw over toward you.
Place both feet on treadle.
\\
'V
Treadle Drive (Cont’d)
8
TO OPERATE THE MACHINE (Cont’d)
Turn hand wheel over toward you and allow
feet to move freely and lightly with motion
of treadle.
Practise this motion until you are able to
restart machine with hand wheel turning
over toward you.
Tighten stop motion screw.
9
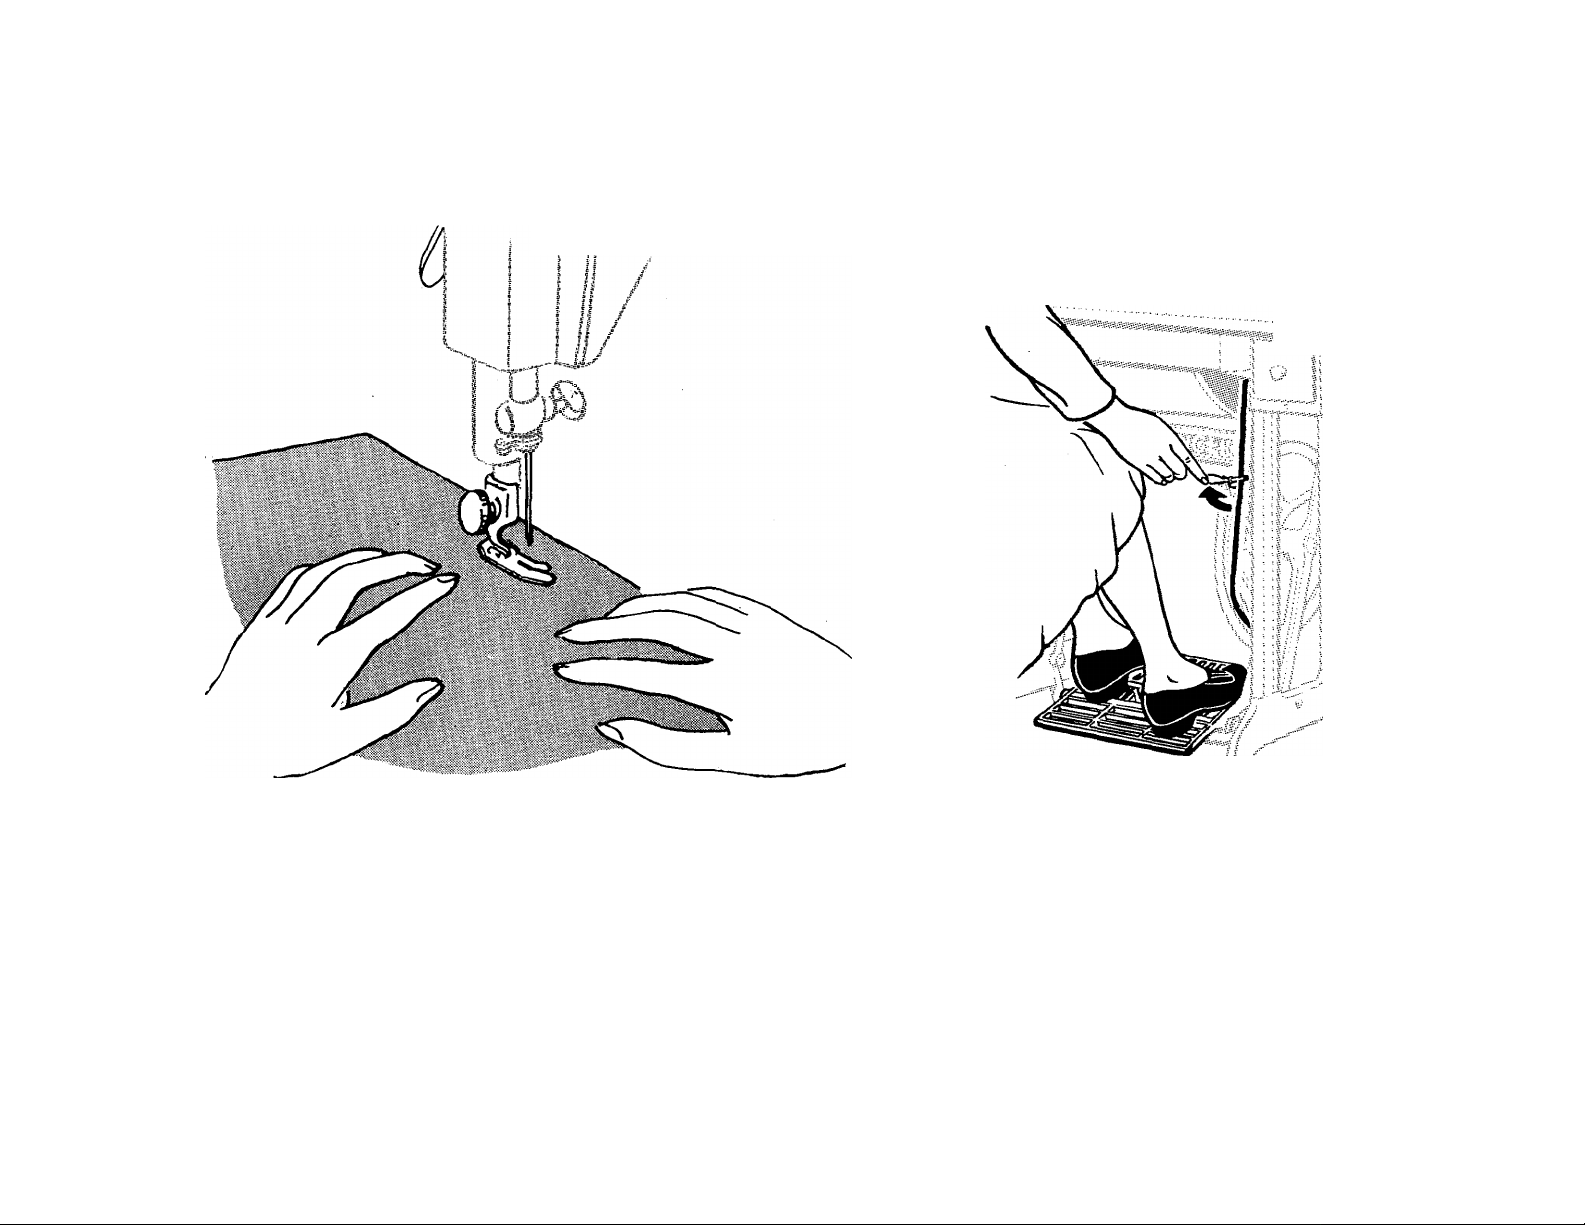
TO OPERATE THE MACHINE (Cont’d)
Belt Shifter
Place material under presser foot and
lower the presser bar.
Operate machine (without thread) until
you become accustomed to guiding the
To disengage belt, operate treadle and
move belt shifter as shown.
To engage belt, work treadle slowly with
hand wheel turning over toward you.
material.
NOTE; Belt tension should be only heavy enough to keep belt from slipping.
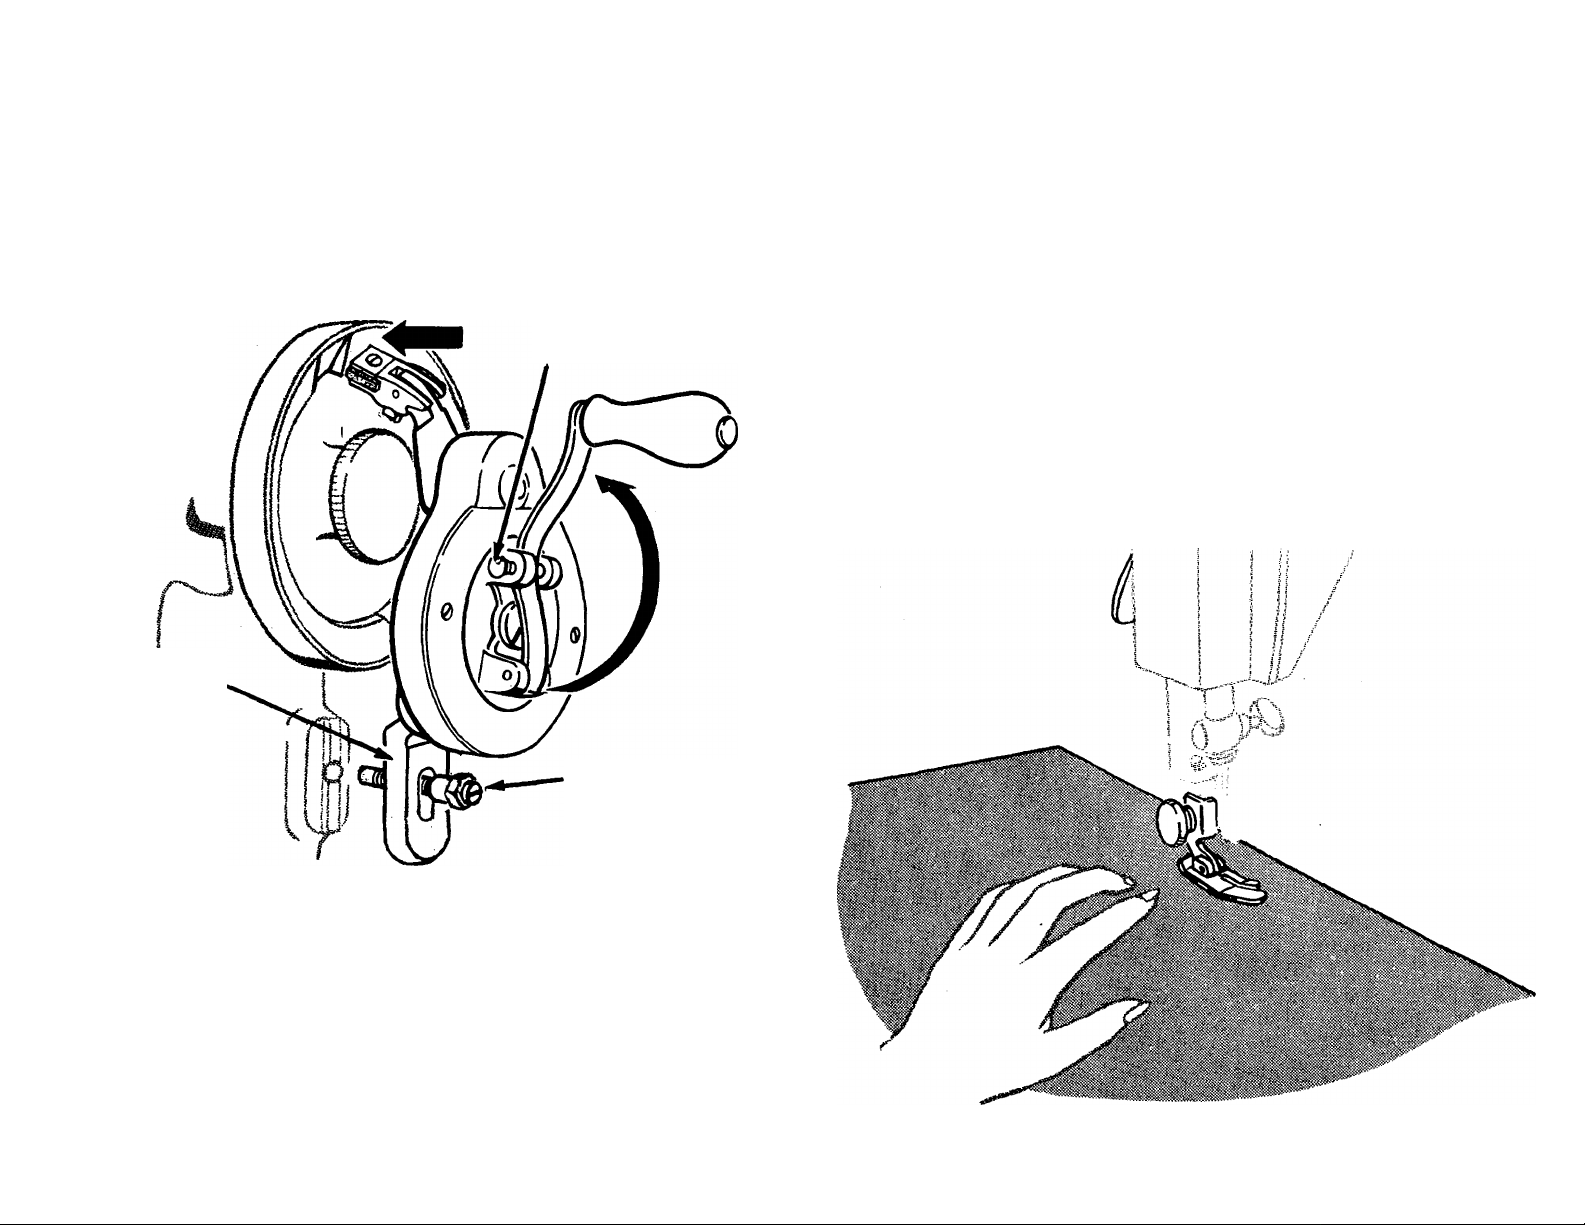
Hand Attachment
10
TO OPERATE THE MACHINE (Cont’d)
• Fasten attachment with thumb nut.
SPRING
STUD
LOCATING
BRACKET
THUMB
NUT
Pull spring stud and position hand lever in
• Place material under presser foot and lower
foot.
• Operate machine (without thread) by turning
handle over from you until you become
accustomed to guiding material with left hand.
socket.
Assemble hand attachment to machine arm
locating bracket on bracket seat, and at
same time positioning hinged finger in one
of slots in hand wheel as shown above.
11
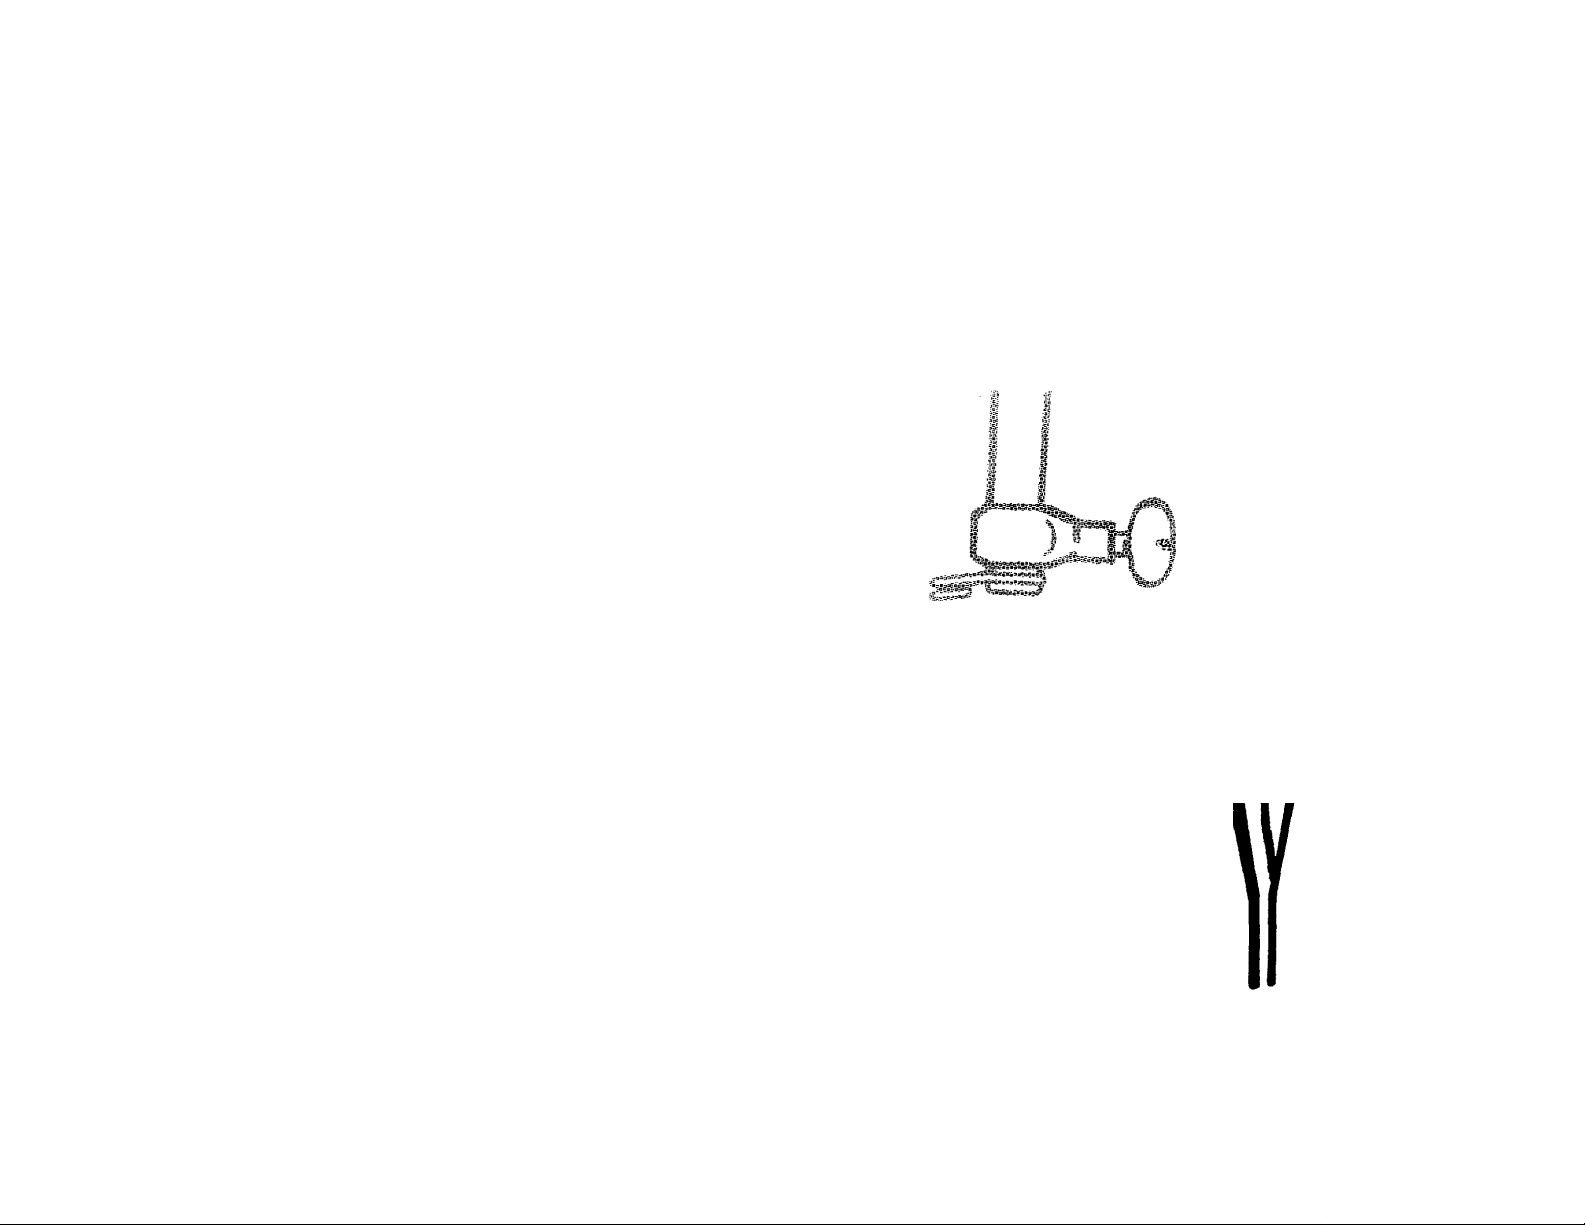
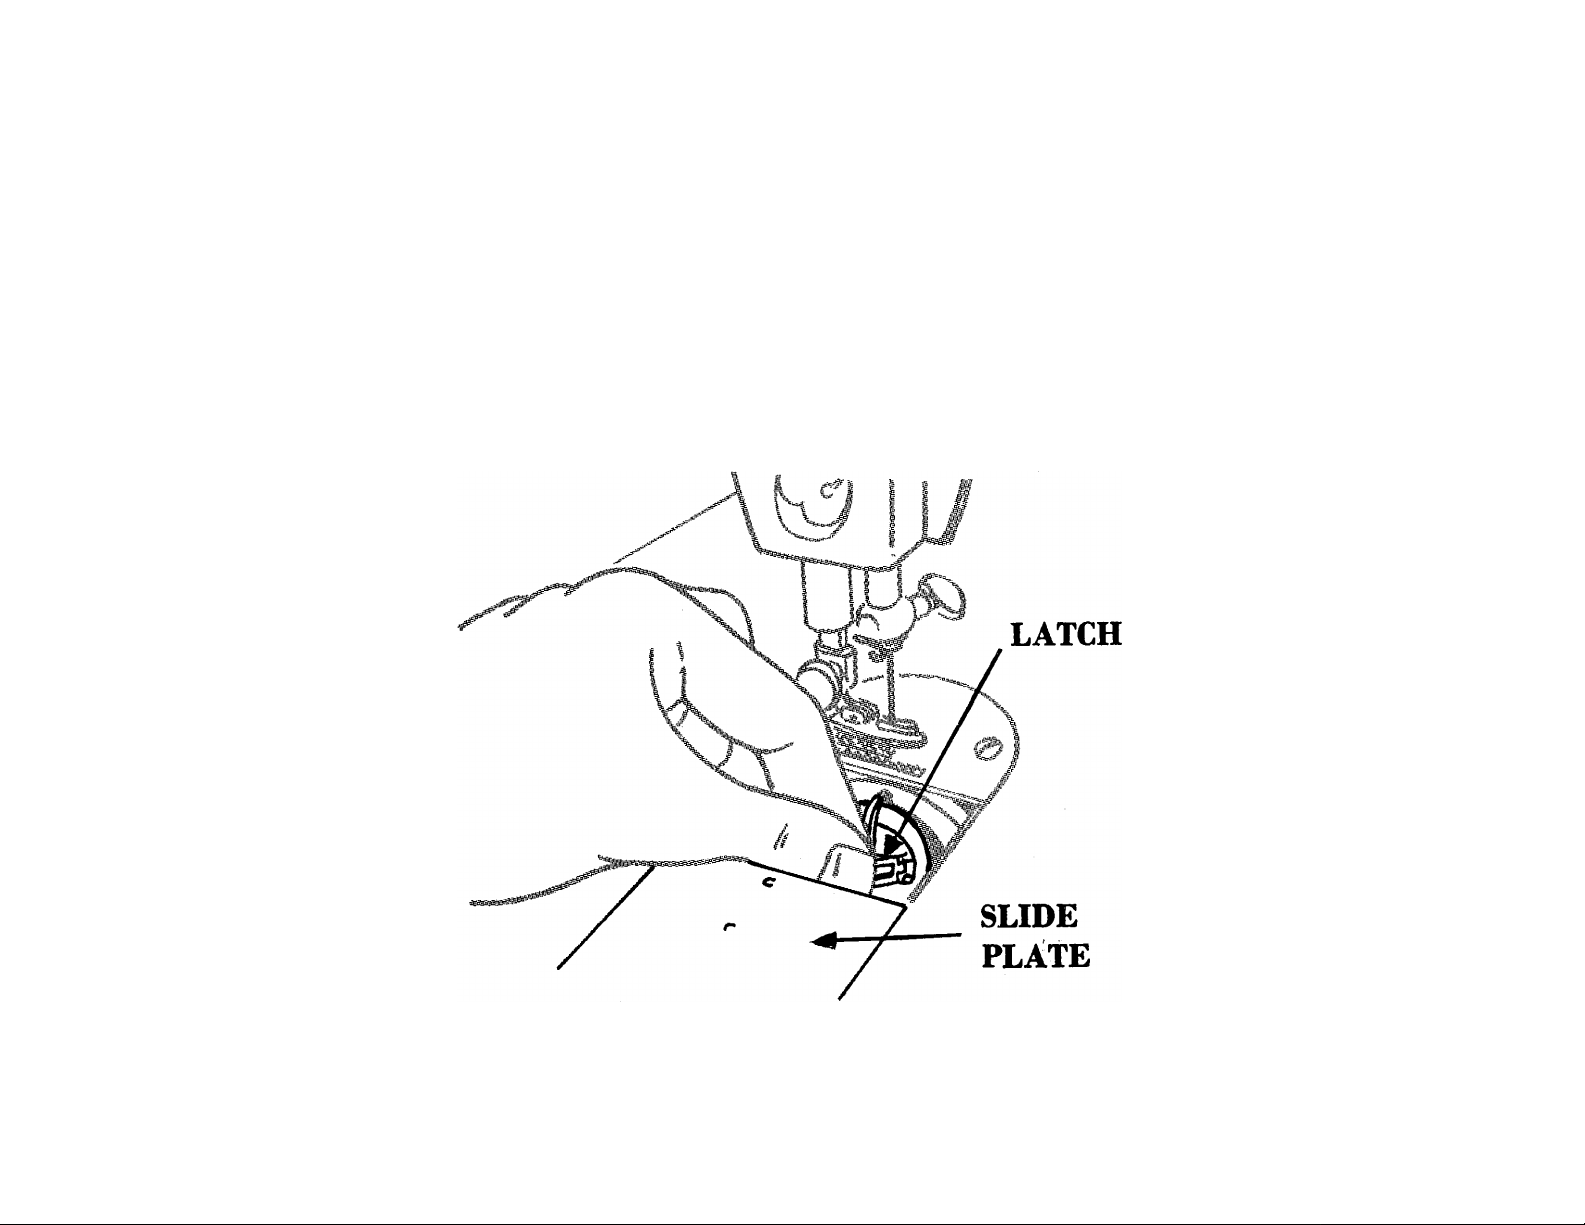
REMOVING BOBBIN CASE AND BOBBIN
Raise thread take-up lever to its highest position.
Open slide plate.
Grasp bobbin case latch and withdraw bobbin case.
Release latch and bobbin will drop out.
^_^-■■-V’
12
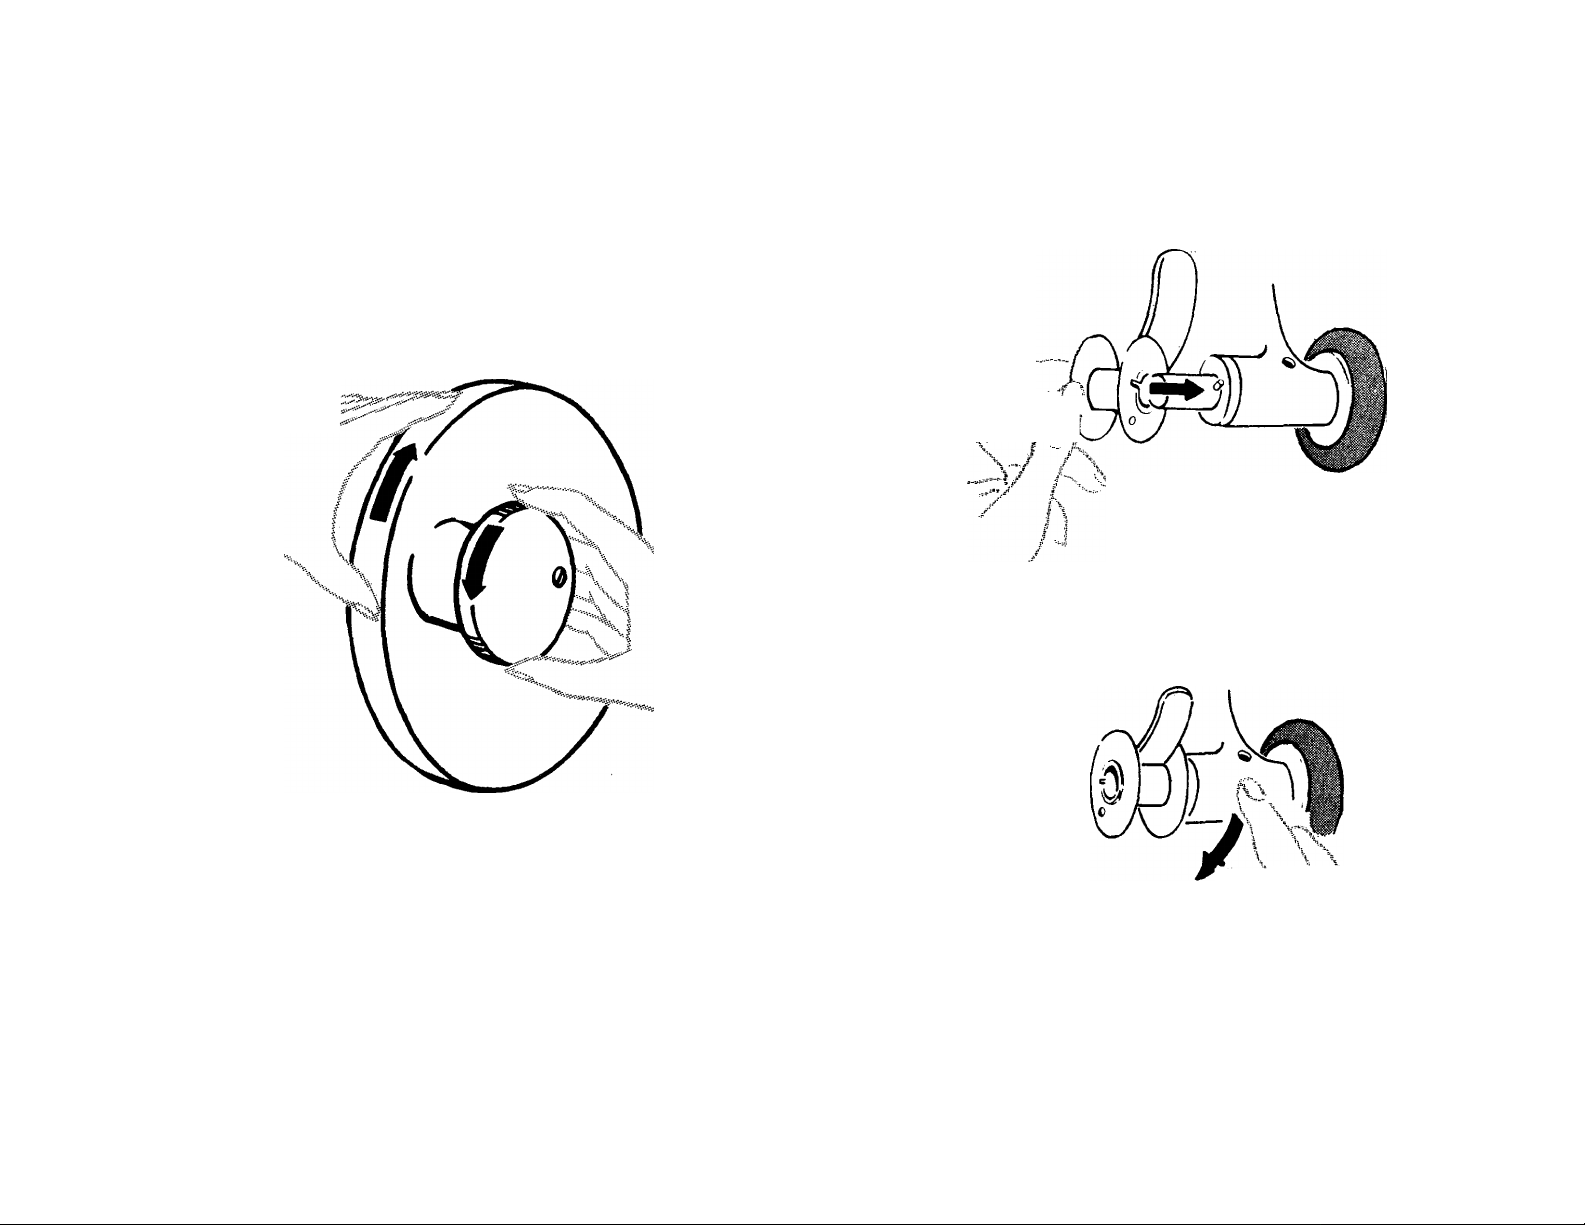
WINDING THE BOBBIN
Loosen stop motion screw with right hand.
Place empty bobbin on spindle.
\Y'\ /\ \
‘i \-'\ \ Irx
\ U
Press bobbin winder down against hand
wheel.
13
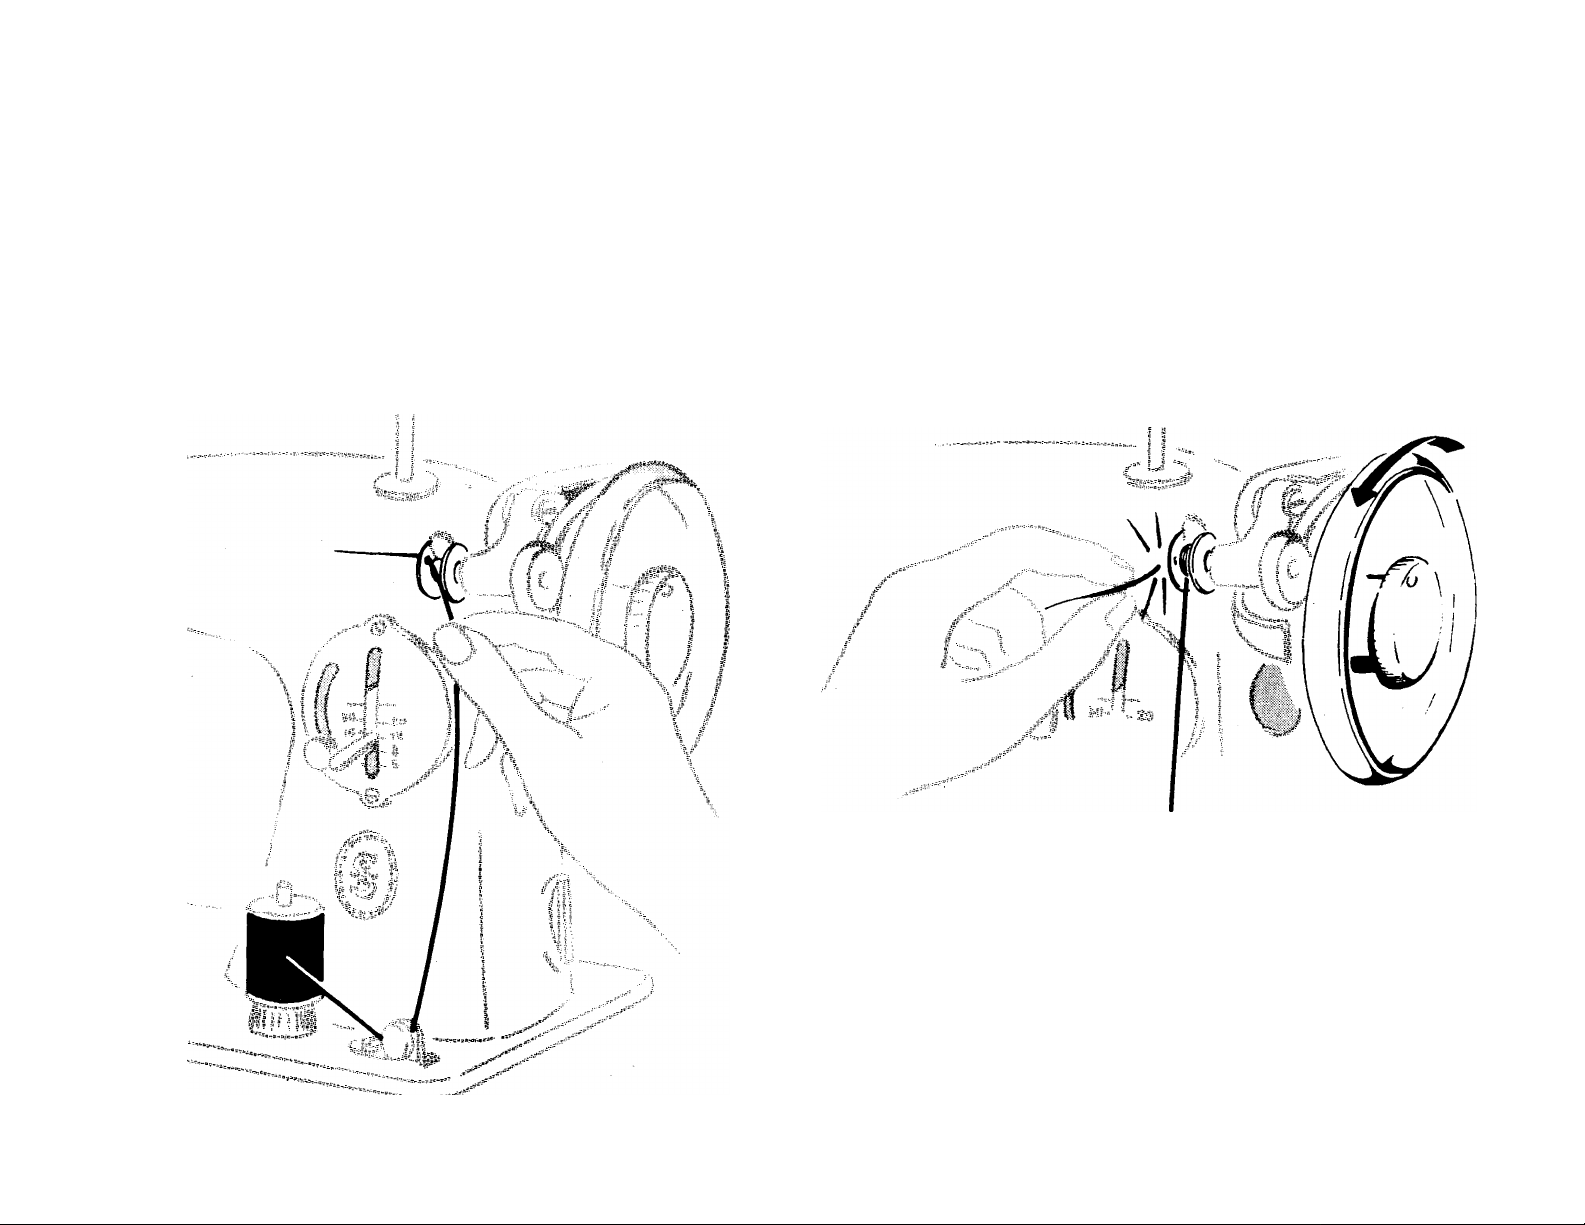
WINDING THE BOBBIN (ContM)
i
Place spool of thread on spool pin.
Thread between tension discs and through
bobbin as shown.
Hold end of thread and start machine. (End
of thread will break off after a few coils have
been wound on bobbin.)
14
WINDING THE BOBBIN (Cont’d)
When bobbin is full
I Stop machine.
I When bobbin is full the bobbin winder
will lift away automatically.
I Remove bobbin and tighten stop motion
screw.
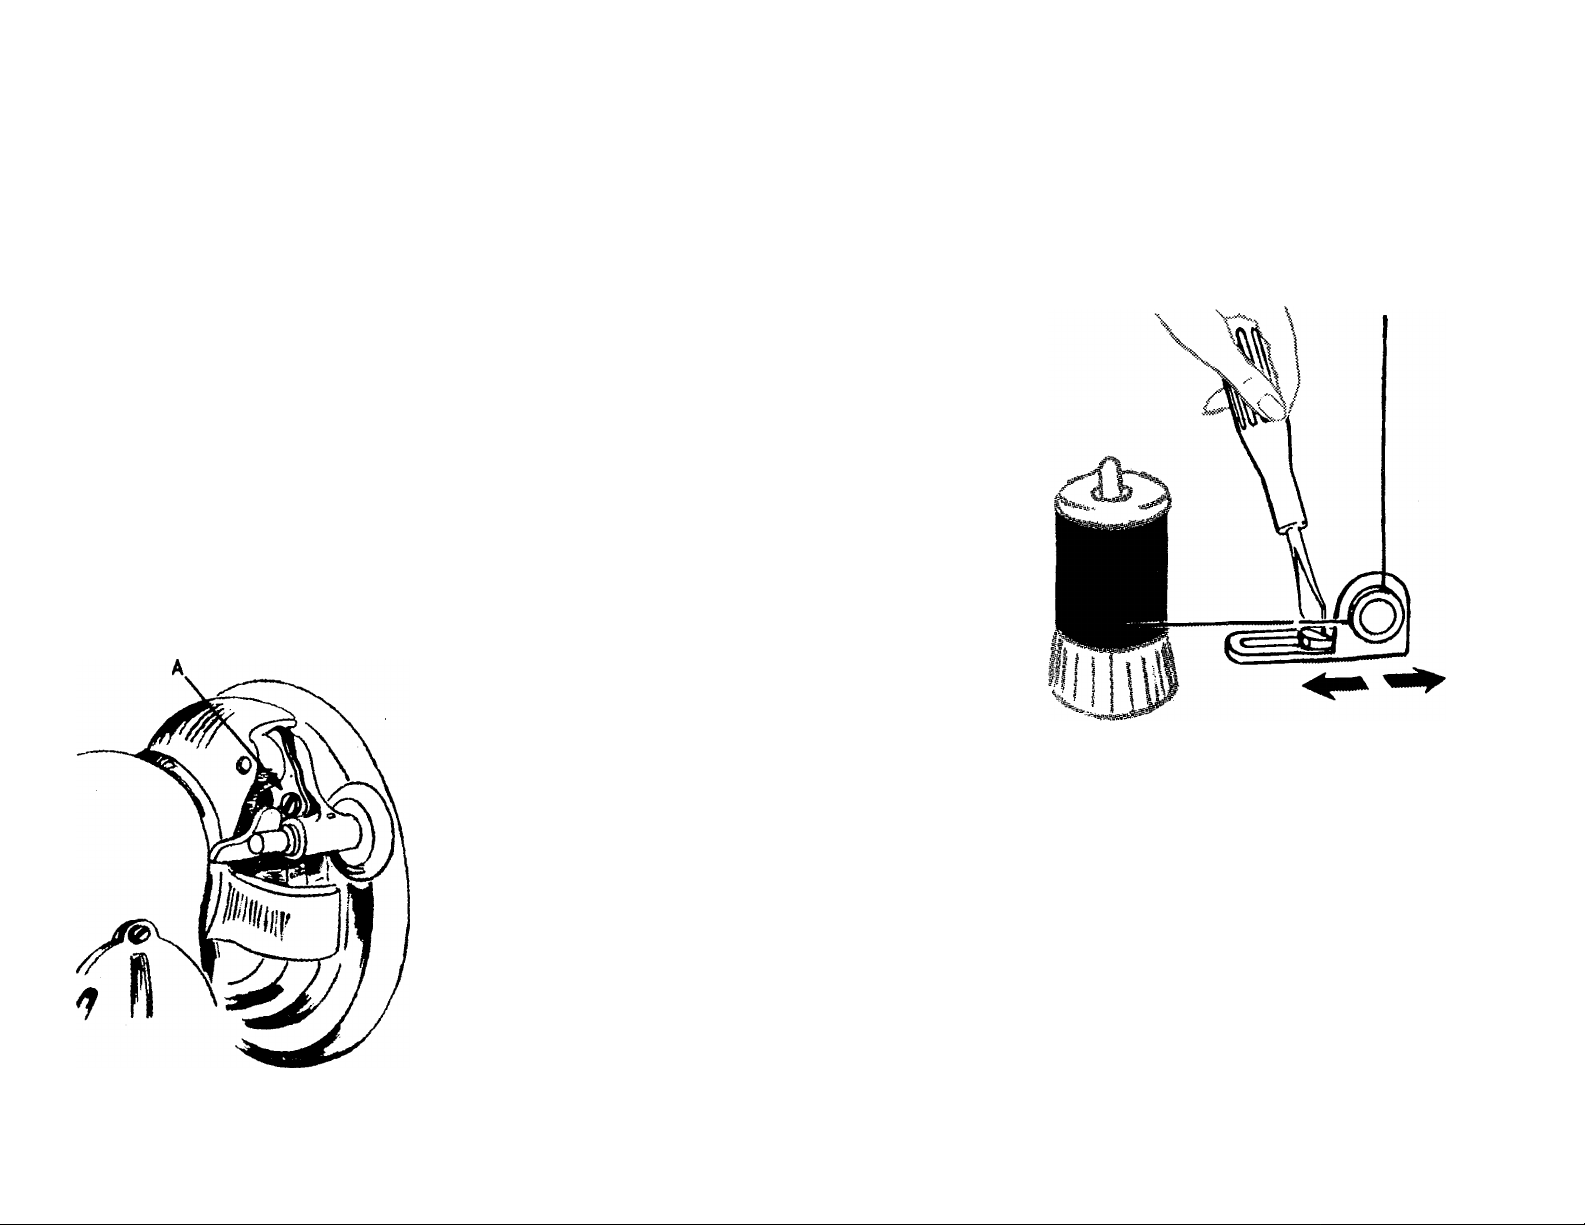
TO CONTROL AMOUNT OF THREAD ON BOBBIN
i Loosen screw which holds
stop latch to bobbin winder
frame (A).
1 Press bobbin winder frame on
handwheel for more thread
on bobbin
1 Lift bobbin winder frame for
If thread doesn’t wind evenly
Loosen screw which holds
bobbin winder tension
bracket to machine bed.
Move bracket to left if
bobbin winds high on
right; move to right if
bobbin winds high on left.
less thread on bobbin.
1 Tighten stop latch screw.
Tighten tension bracket
screw.
15
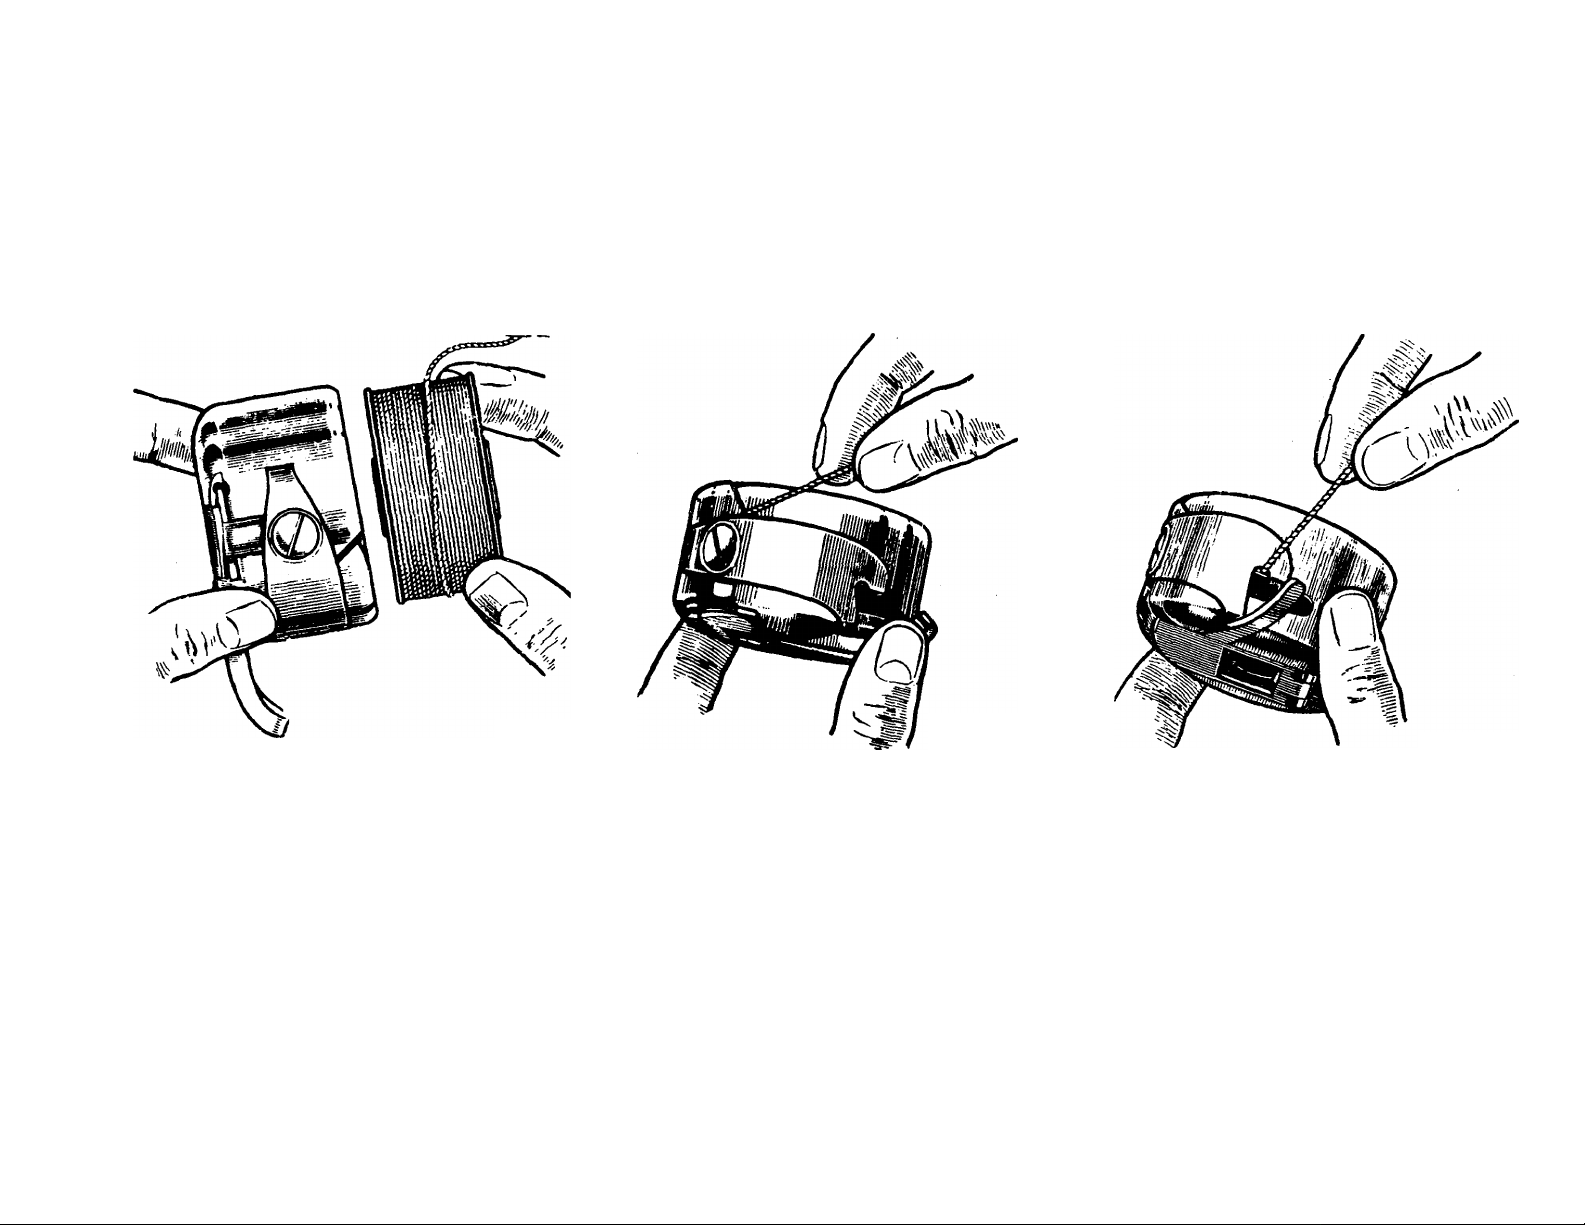
THREADING THE BOBBIN CASE
K2692
Hold bobbin case and bob
bin so that thread leads off
in direction shown above.
K2693
Place bobbin into bobbin
case. Pull thread into
slot.
K2694
Pull thread under tension
spring and into slot at
end of spring, as shown.
 Loading...