

Page 1
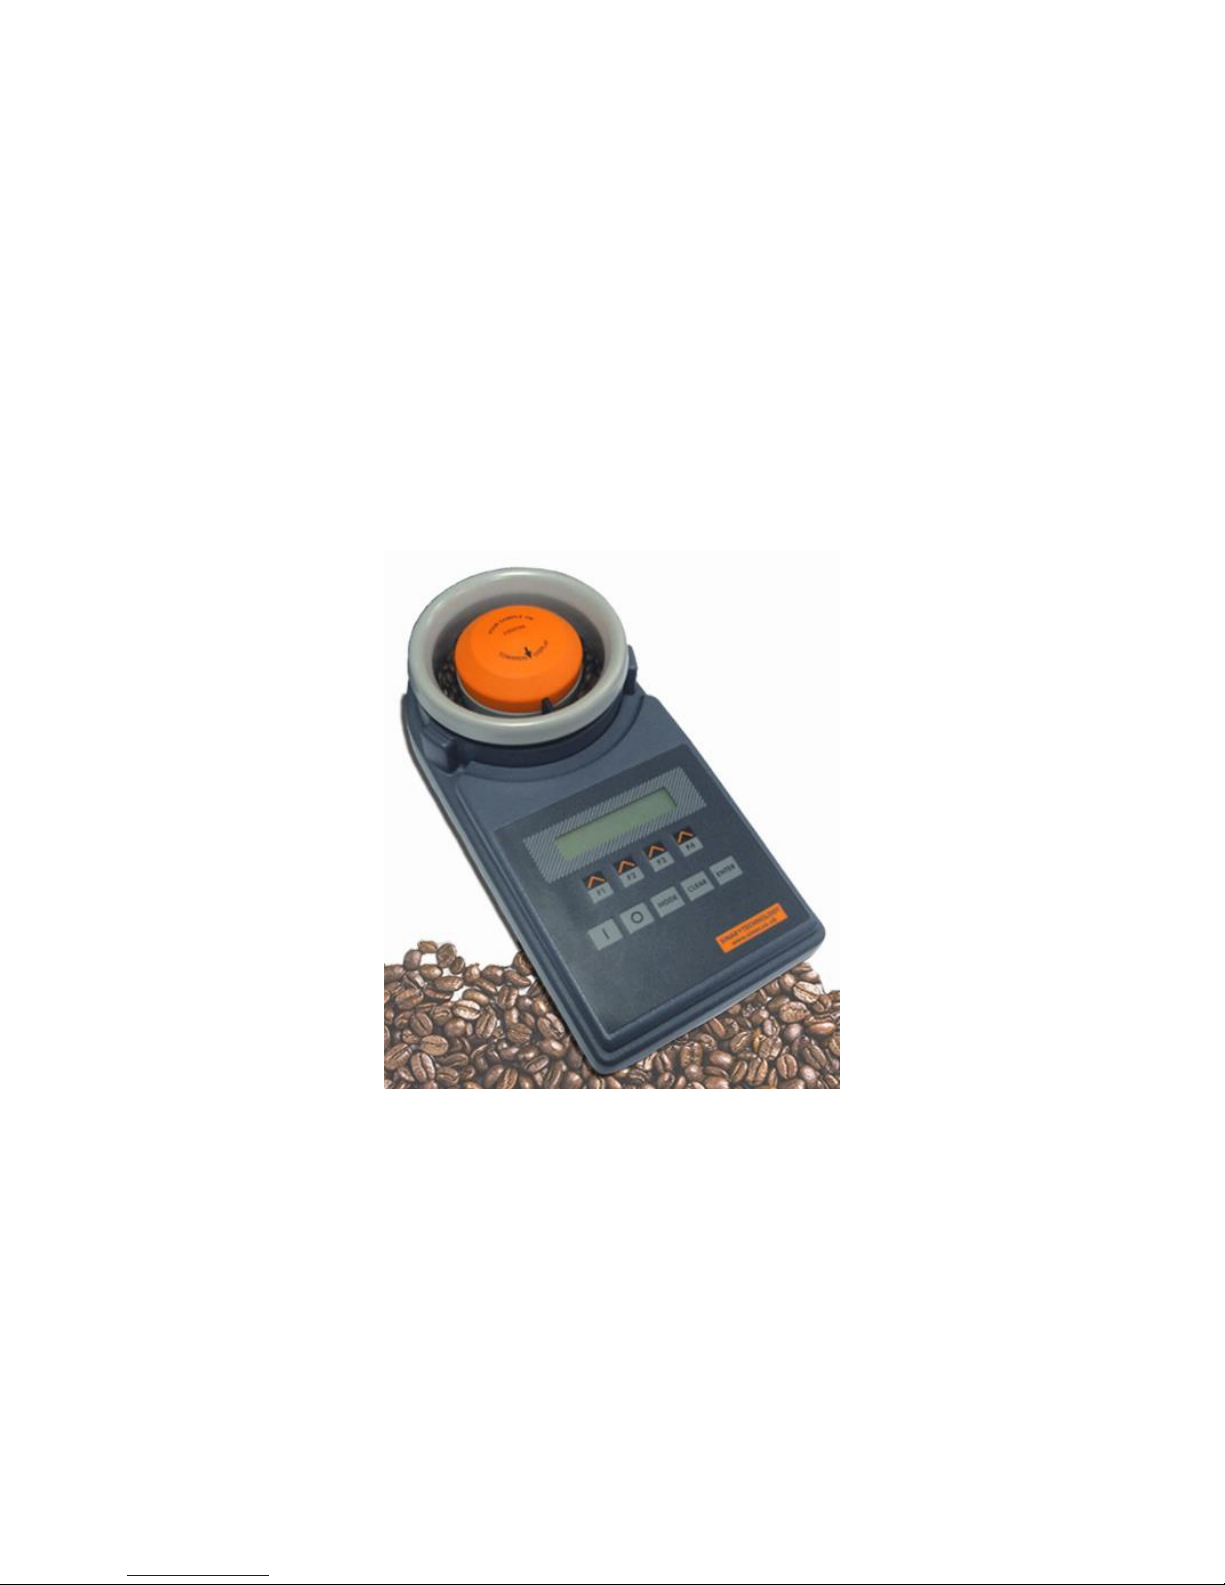
USER GUIDE
Book 1.
(Modes 0 to 1b).
Sinar Technology BeanPro Moisture Analyser.
Model 6070-BeanPro.
DOC No: 6070-BeanPro
DATE 08-06-12
ISS 2
For use with V7.7 software.
Sinar Technology
Unit 4-5 Camberley Business Centre, Bracebridge, Camberley, Surrey,
England GU15 3DP.
Tel +44 (0)208 328 0727 Fax +44 (0)1276 29941
Page 2

2
Sinar Technology BeanPro
Model 6070-BeanPro Moisture Ananlyser.
CONTENTS: Page
1.0
Introduction
3 2.0
BeanPro display and keypad layout
4 3.0
Mode 0 - Display description
5 4.0
Mode 1 - Display description
6 5.0
Mode 1b - Display description
7 6.0
Using your Moisture Analyser
8 7.0
Selecting a crop calibration
8 8.0
Loading a sample
9 9.0
Mode 0 - Taking a measurement
10 10.0
Mode 1 - Setting up a printer
11 11.0
Mode 1b - Adding a bias
13 12.0
Protected Modes
14
Appendix 1 - Batteries
15
Appendix 2 – Technical Specification
16
Appendix 3 – Error Codes
17
Page 3

3
1.0 Introduction:
Thank you for choosing the SINAR TECHNOLOGY BeanPro.
The SinarTM 6070 BeanPro Moisture Analyser houses the latest moisture measuring
technology in a compact, portable package. It has been designed to provide fast
moisture results using whole crop samples. In addition to % moisture content, the
BeanPro simultaneously measures and displays sample density in grams per litre
and sample temperature.
The BeanPro is a battery powered moisture analyser with only one operator mode
making the instrument extremely quick and easy to use.
The BeanPro can store up to twenty five different crop calibrations. Contact Sinar
Technology or your Sinar agent if your calibration requirements change.
The RS232 port on the side of the instrument can transmit time, date, moisture and
temperature data to a serial printer, data logger or PC. This data can be used to
generate your own quality assurance files.
Page 4
4
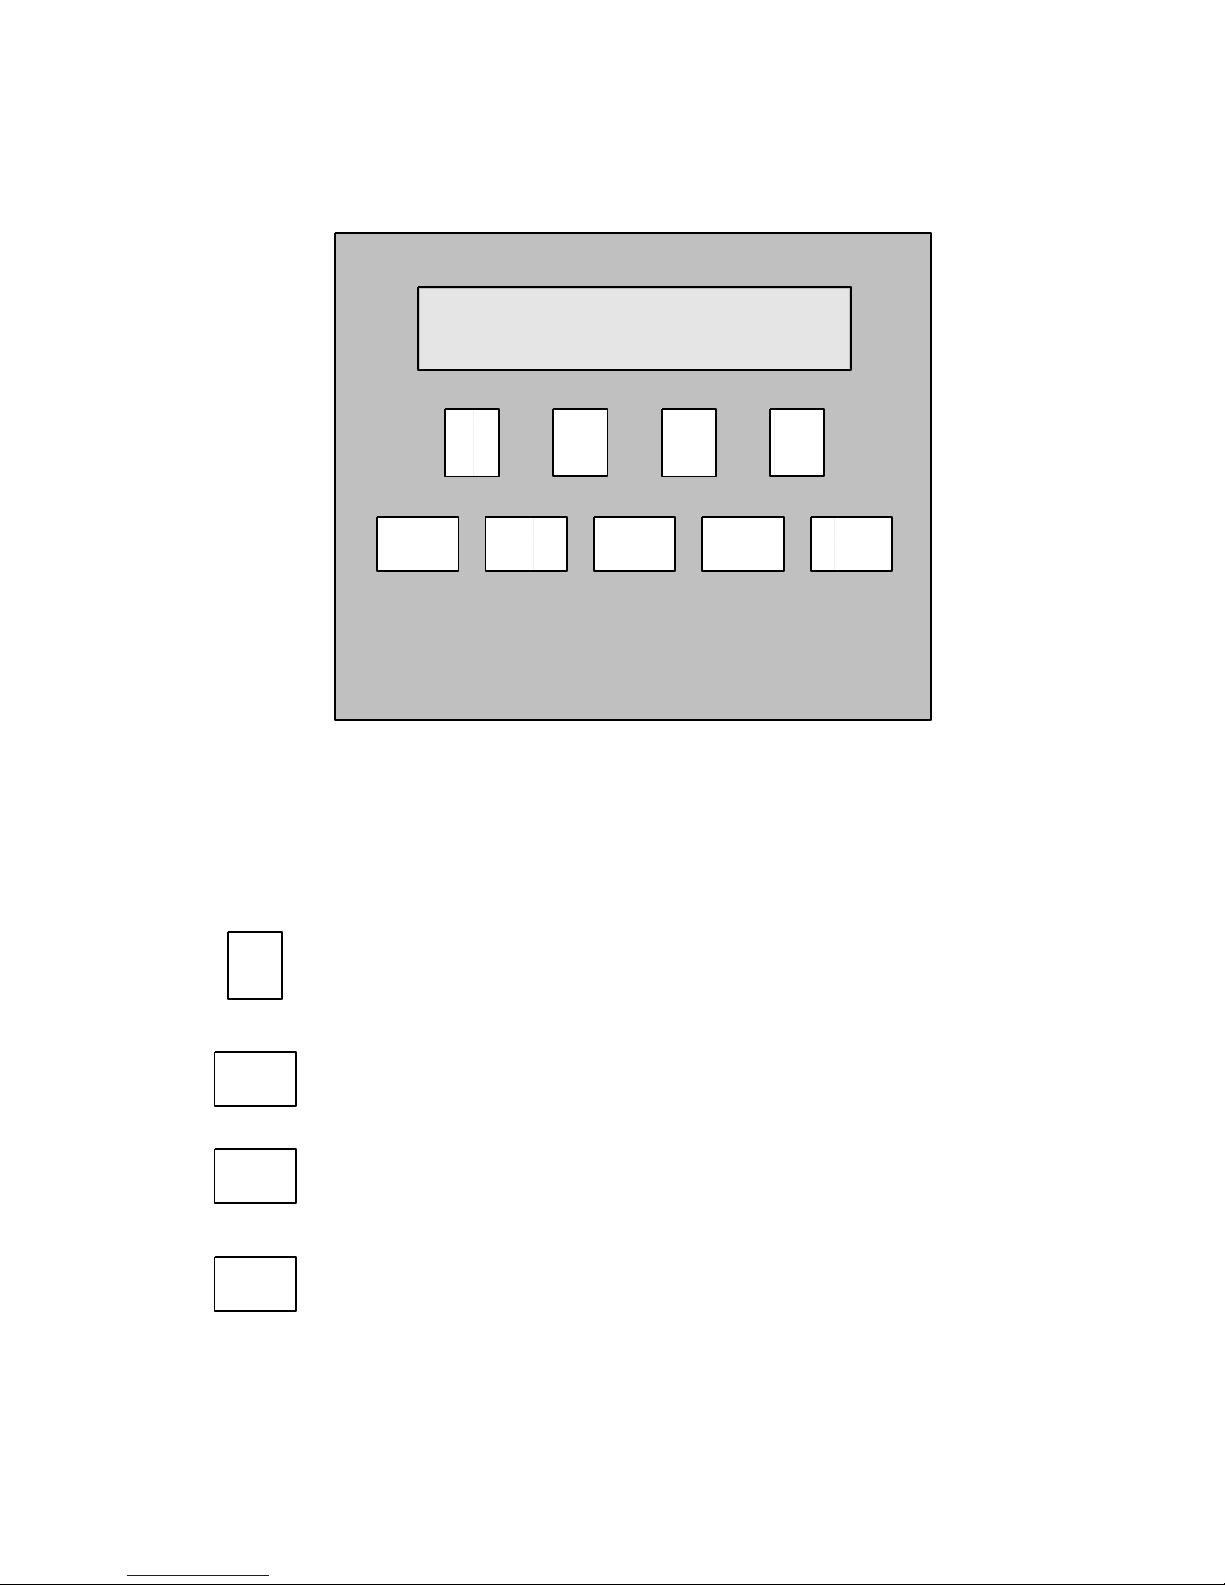
2.0 6070 BeanPro Display Layout.
BeanPro front panel layout.
Key Pad Functions.
The “F” or function keys action the command shown in the
display window above each function key.
The “MODE” key is used to step through the user modes, mode 0, 1
and 1b.
The “CLEAR” key is used to clear wrongly entered numerical data
allowing you to start again.
The “ENTER” key is used to enter all numerical data.
CLEAR
F1
ENTER
F3
F2 F4
0 Reference
0 Down
Up
Run
I O
MODE
ENTER
CLEAR
MODE
F1
Page 5

5
3.0 Mode 0, Display Description.
Mode 0 screen.
0 Reference.
Denotes that the 0 reference curve is currently selected. This curve is used when a
capacitance, (code 0) reading is required for calibration purposes.
0
Shows the number of the selected mode. Press the MODE key to step through the
modes.
Down/Up (F1 & F2).
Used to step through the crop calibrations (curves) installed in the BeanPro.
Run. (F4).
Used to take a moisture reading.
0 Reference
0 Down
Up
Run
F2 F3 F1 F4
Page 6

6
4.0 Mode 1, Display Description.
Mode 1 screen.
Printer Menu
Denotes: Printer Menu has been selected.
1
Shows the number of the selected mode. Press the MODE key to step through the
modes.
OnOff (F1).
Used to switch the printer option on or off.
Baud (F2).
Selects the communication speed (300 or 4800) between the instrument and serial
printer. The factory default setting is 300 baud.
Output (F3).
With the printer switched on, this feature allows a unique batch number to be printed
each time a measurement is taken. Once set, the number increments by 1 for each
subsequent test.
Printer Menu
1
OnOff
Baud
Temp
.
Output
F2 F3
F1
F4
Page 7

7
5.0 Mode 1b, Display Description.
Mode 1b screen.
Bias Menu.
Denotes Bias mode has been selected.
1b
Shows the number of the selected Mode. Press the MODE key to step through the
modes.
Bias (F1).
Used to alter the displayed moisture reading for a specific crop calibration.
Exit. (F4).
Used to exist and save the entered data.
Bias Menu
1b
Bias
Exit
F2
F3
F1 F4
Page 8

8
Using your Bean-Pro Moisture Analyser.
6.0 System Power Up.
Your first power up.
Press the “I” key. The BeanPro powers up in mode 0 showing “0 Reference” in the
display. Use the “Up” (F2) key to step through the crop calibrations.
Ongoing power up’s
The Bean-Pro remembers the last selected crop calibration. On power up, the BeanPro returns to the previously selected calibration.
Always check the correct crop is selected before carrying out a test.
Mode 0 screen.
Warning – Do not rotate the measuring cell anti-clockwise
while putting on or removing from the machine.
7.0 Selecting a Crop Calibration (Mode 0, F1 & F2).
Using the Down (F1) or Up (F2) key, step through the crop calibrations until the
required calibration is displayed. One key press indexes one crop position.
Mode 0 screen.
The display shows the Green Coffee Bean calibration has been selected, and its
curve number is 1.
0 Reference
0 Down
Up
Run
1 Green Coffee Bns
0
Down
CUpve
+
Up
Run
F2 F1
Page 9
9
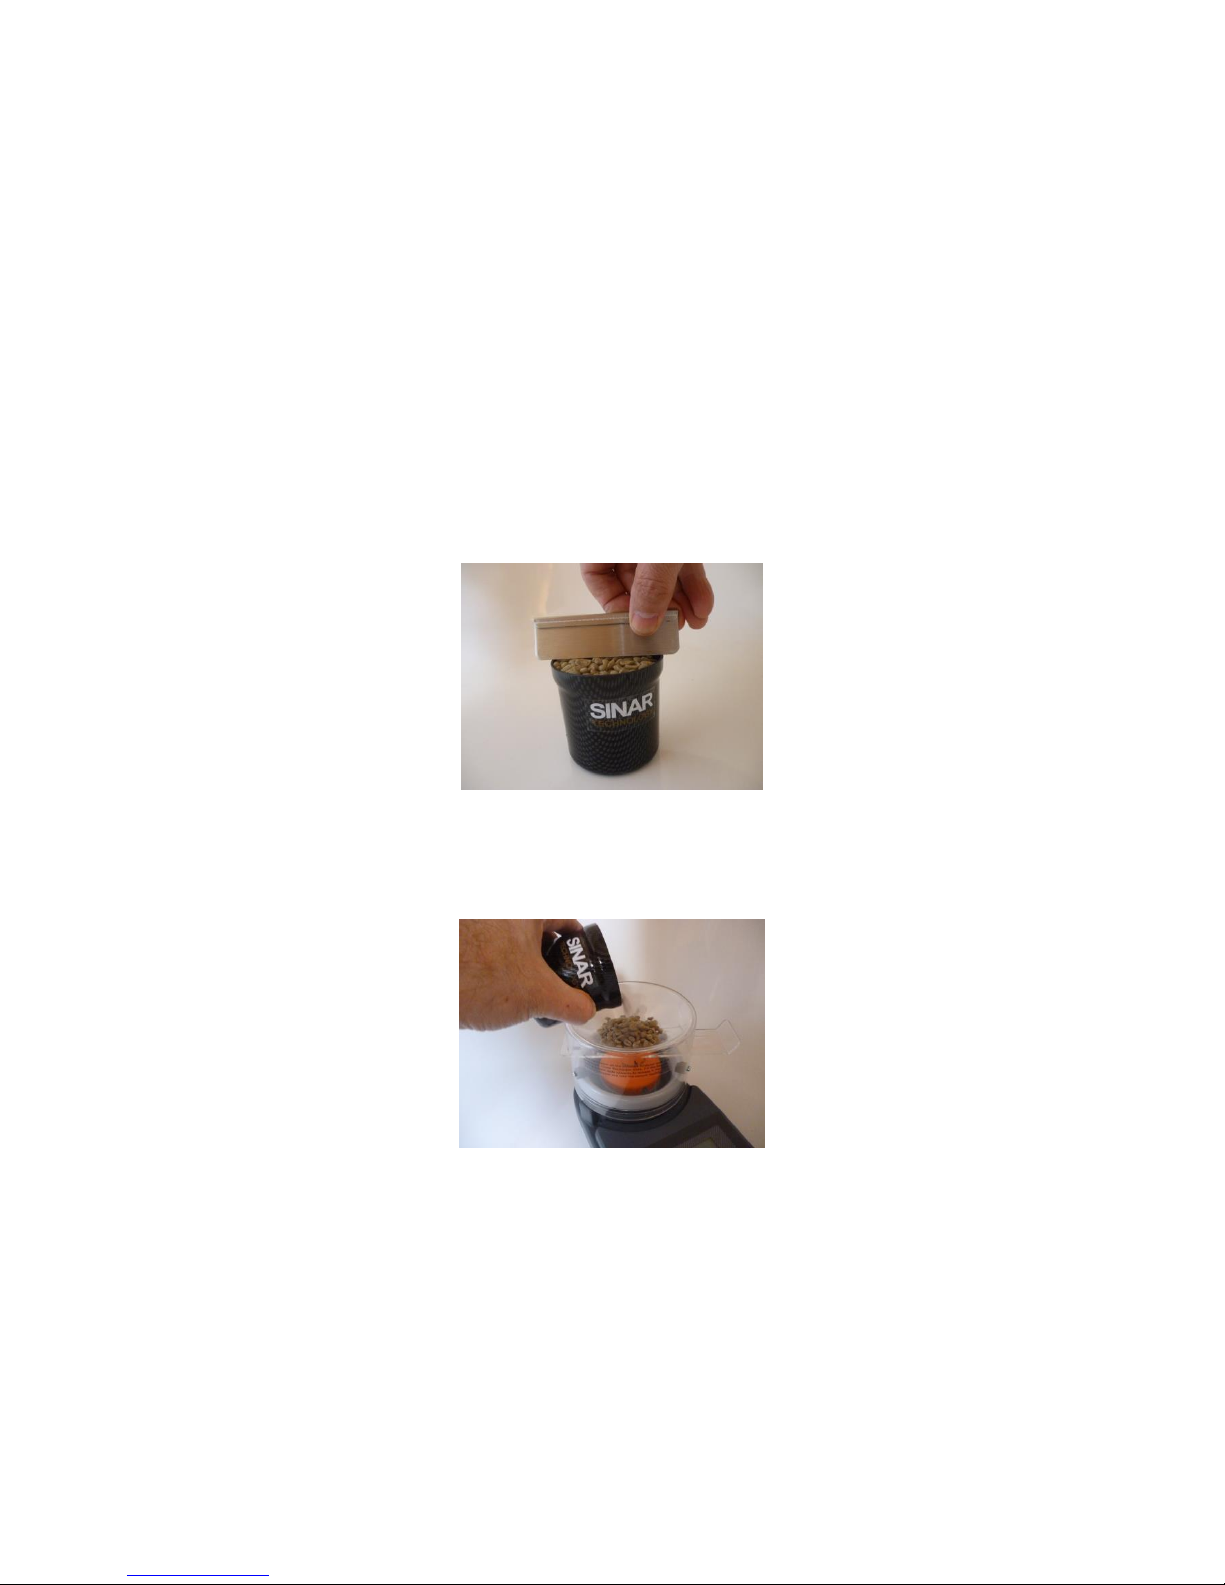
8.0 Loading the sample.
The BeanPro is supplied with –
1off Loading Hopper
1off Beaker
1off Strike off blade
We strongly recommend the use of all of the above items to achieve the maximum
accuracy from your machine.
Method:
Over fill the beaker with sample.
Strike off flush using the stainless steel wiper provided.
Place the closed loading hopper on the 3 support posts around the measuring bowl.
Pour the sample from the beaker into the loading hopper.
Steady the hopper with one hand and give an upwards tap to the slider with the
other. The slider will snap open dropping the sample into the measuring bowl.
Remove the hopper from the machine.
Page 10
10
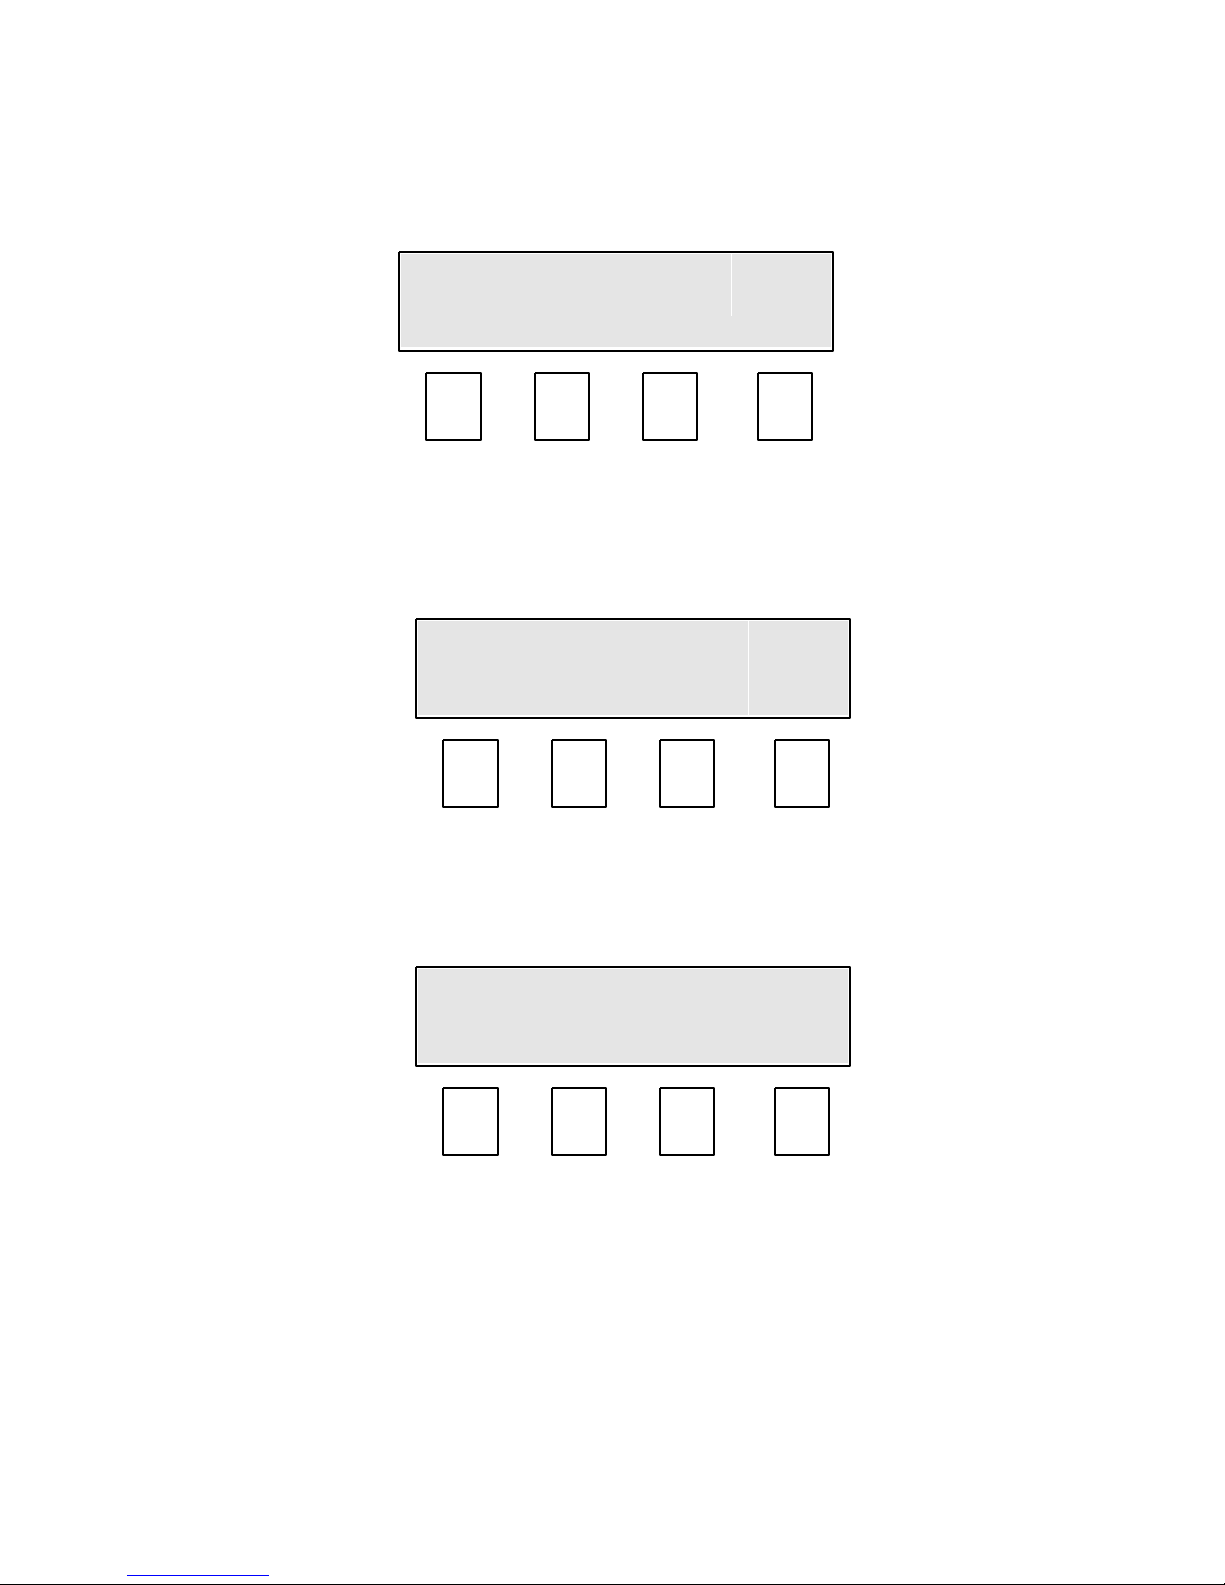
9.0 Taking a measurement. (Mode 0, F4).
With the sample loaded press and release the Run (F4) key.
Mode 0 screen.
The display will change showing the selected crop on the top line and Testing…. on
the bottom.
After approx 3 seconds the results are displayed.
To continue testing with the same crop remove the measuring bowl, empty and
replace.
Refill the measuring bowl with sample, see Section 8.
Press and release the Run (F4) key.
1 Green Coffee Bns
0
Testing……
F2 F3 F1 F4
1 Green Coffee Bns
0 Down
UP
Run
F2 F3 F1 F4
1
H20
g/l
degC
0
10.2
760
21.4
Run
F2 F3 F1 F4
Page 11
11
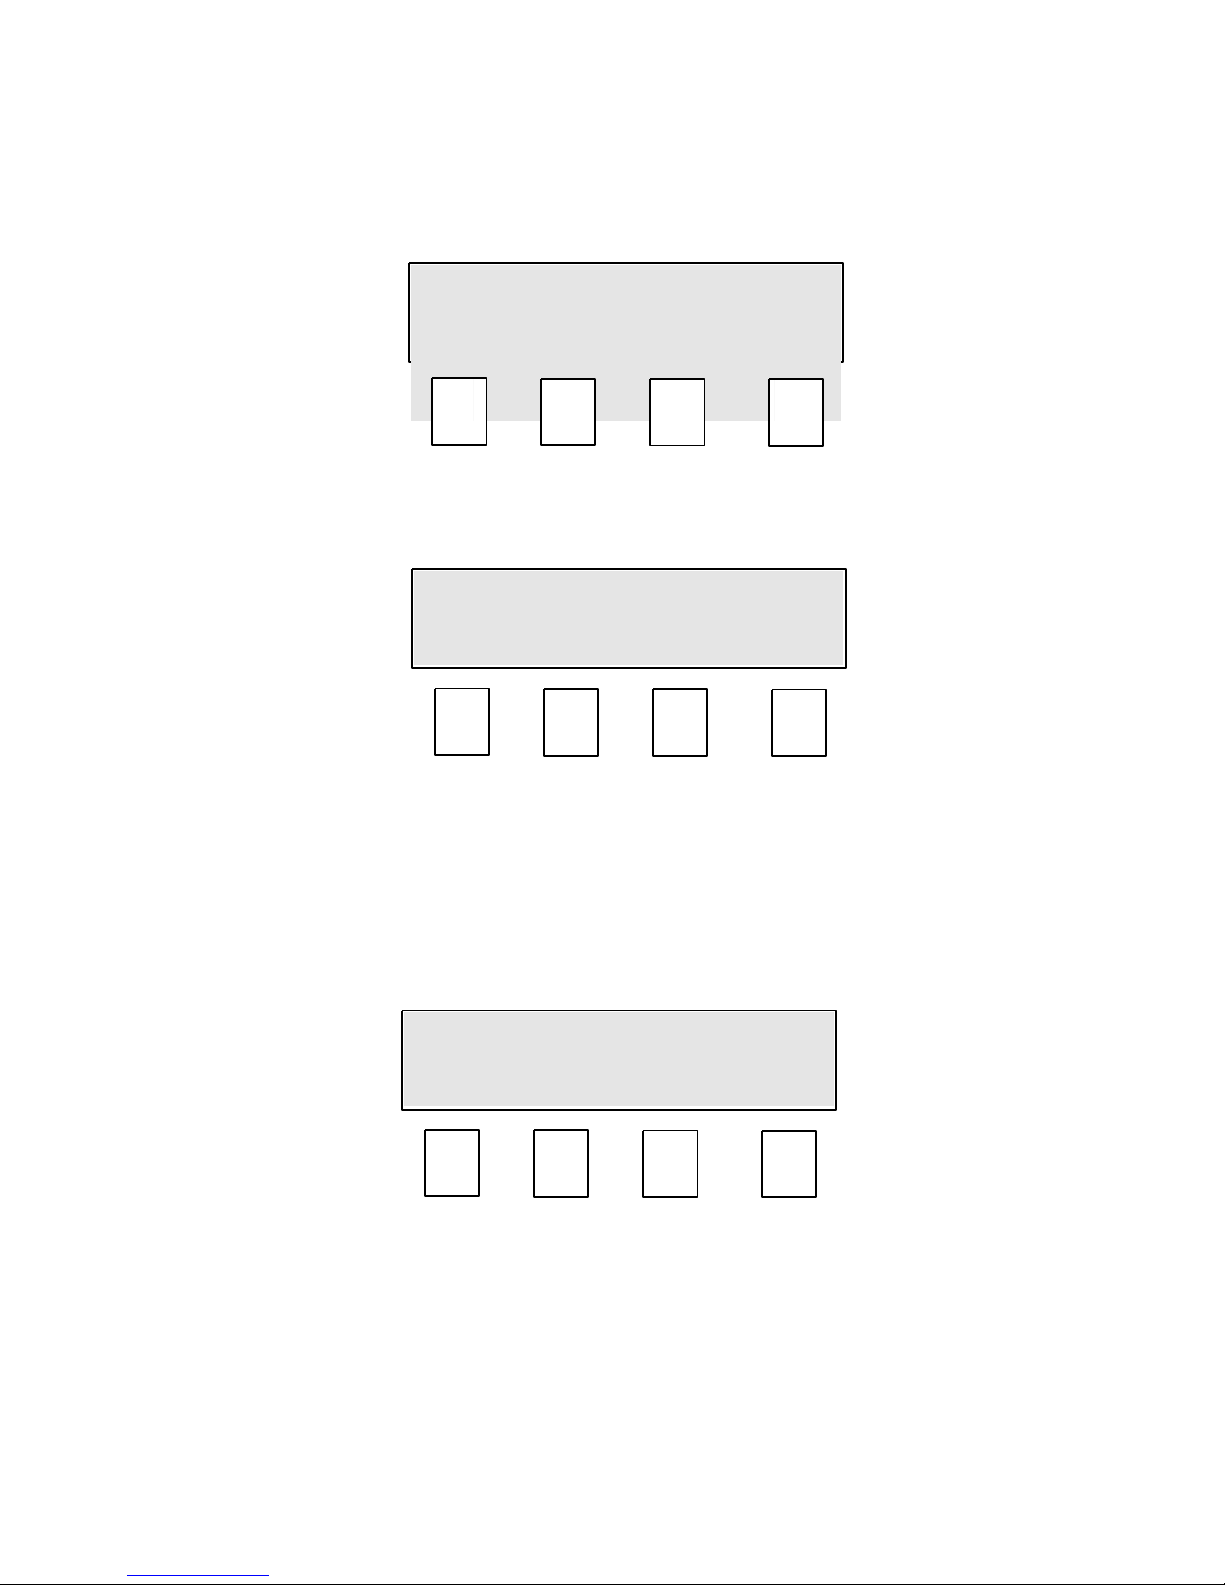
10.0 Mode 1. Printer Menu.
This mode is used to set up a printer.
By pressing OnOff (F1) the display changes to:
By selecting either On (F1) or Off (F2) the printer output can be turned on or off.
Once selected press Exit (F4) to save and exit the screen.
By pressing Baud (F2) from the printer menu the display changes to:
By selecting either 300 (F1) or 4800 (F2) the printer output speed can be selected.
Once selected press Exit (F4) to save and exit the screen.
Printer Menu
1
OnOff
Baud
Temp
.
Output
F2 F3 F1 F4
Printer Switched
On
On
Off
Exit
F2 F3 F1
F4
Baud Rate =
300
300
4800
Exit
F2 F3
F1
F4
Page 12
12
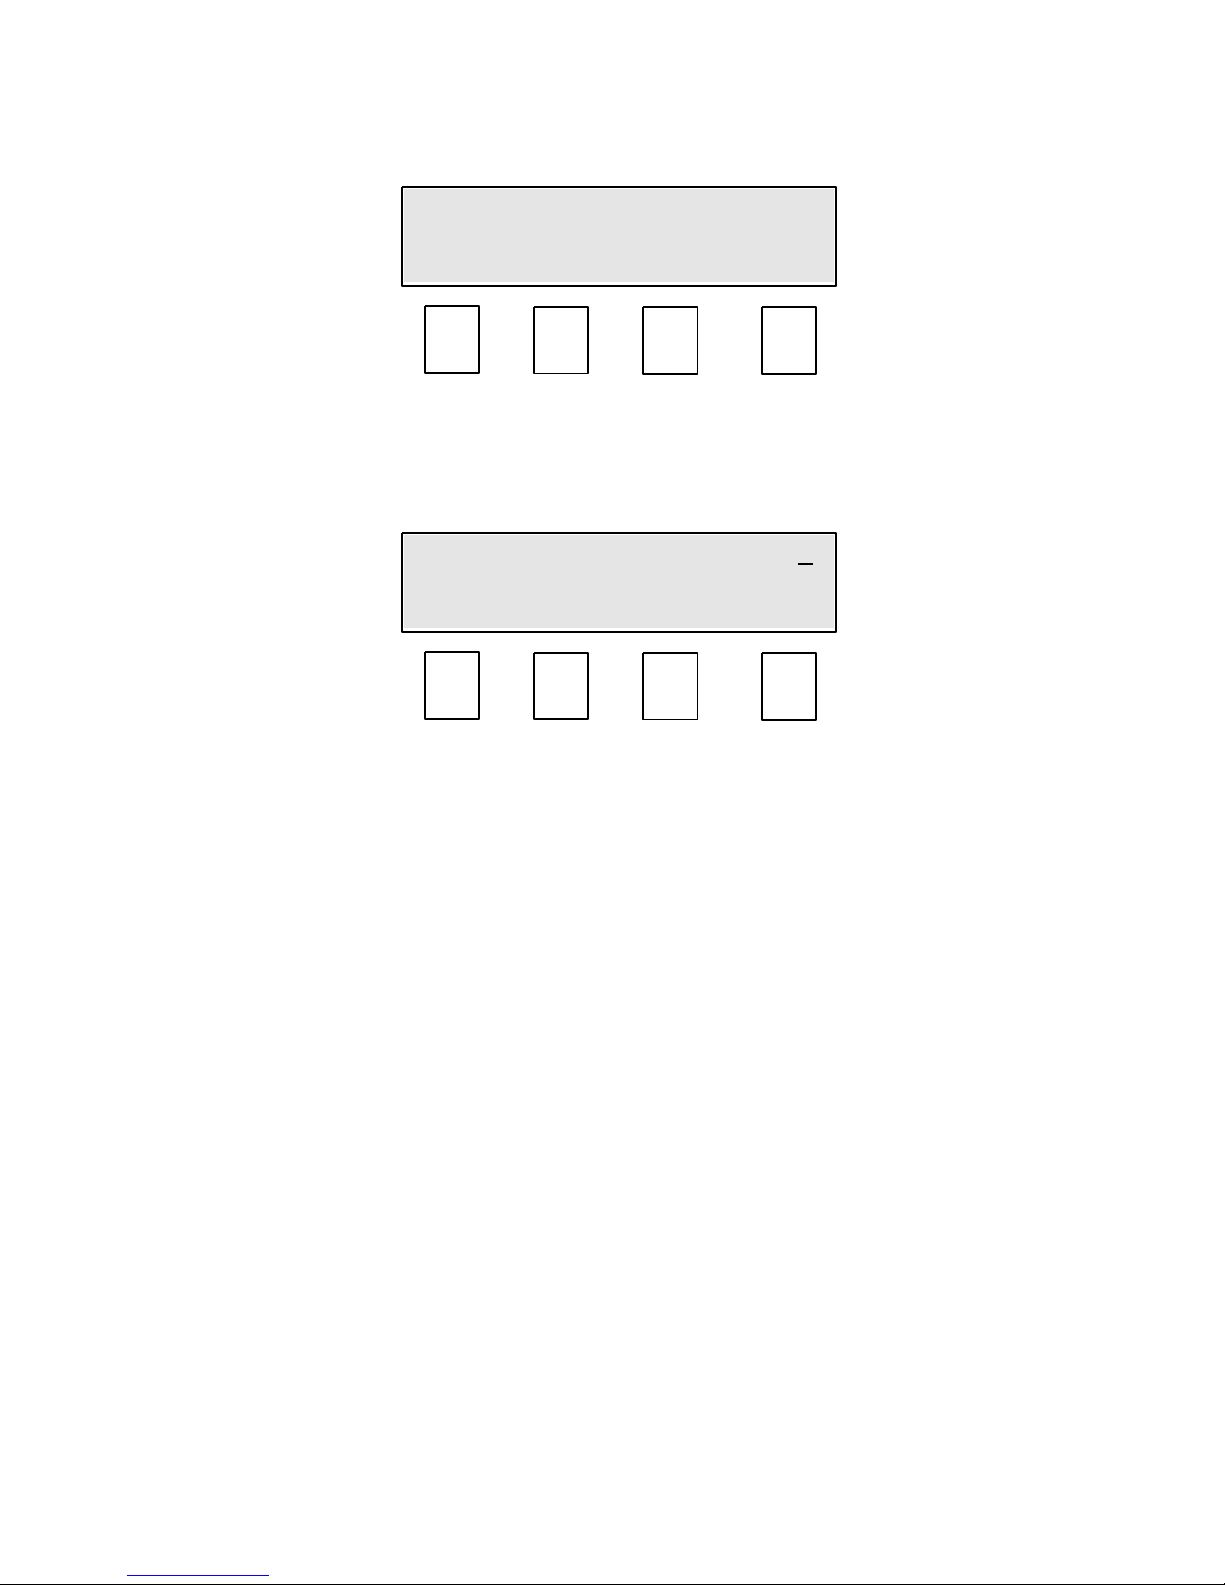
By pressing Output (F3) from the printer menu the display changes to:
By pressing Batch (F2) from the Printer Output menu the display changes to:
F1 and F2 move the flashing curser to the left or right. – (F3) and +(F4) index the
number above the flashing curser up or down.
When the correct number is displayed press the ENTER key to save and exit the
screen.
Printer Output
Batch
F2
F3 F1 F4
Select number
0001
◄ ► -
+
F2 F3 F1 F4
Page 13
13
11.0 Mode 1b, Bias menu.
The bias function is used if the moisture reading needs to be adjusted in line with the
reference method or another piece of equipment. The bias should only be used if
the readings are too high or too low by a constant amount over a varying moisture
range.
The bias menu enables you to independently enter a bias or offset to each selected
crop calibration.
By pressing Bias (F1) the display changes to:-
The display shows that calibration number 1, Green Coffee has been selected for
adjustment. This calibration selection is made in Mode 0. See Section 7, Selecting a
calibration.
All bias values will be factory set to zero on shipment.
By pressing the F1 or F2 keys the required +ve or –ve bias value can be displayed.
A positive value will increase the displayed moisture value, a negative value to
reduce it. Each press of the key increases or decreases the value by 0.1%.
When the correct bias value is displayed, press the Exit (F4) key to save and return
to Mode 1b.
Your bias value for the selected crop has now been stored.
Bias Menu
1b
Bias
Exit
F2 F3 F1
F4
1 Green Coffee
0.0%
Down
UP
Exit
F2 F3 F1 F4
Page 14

14
12.0 Protected Modes.
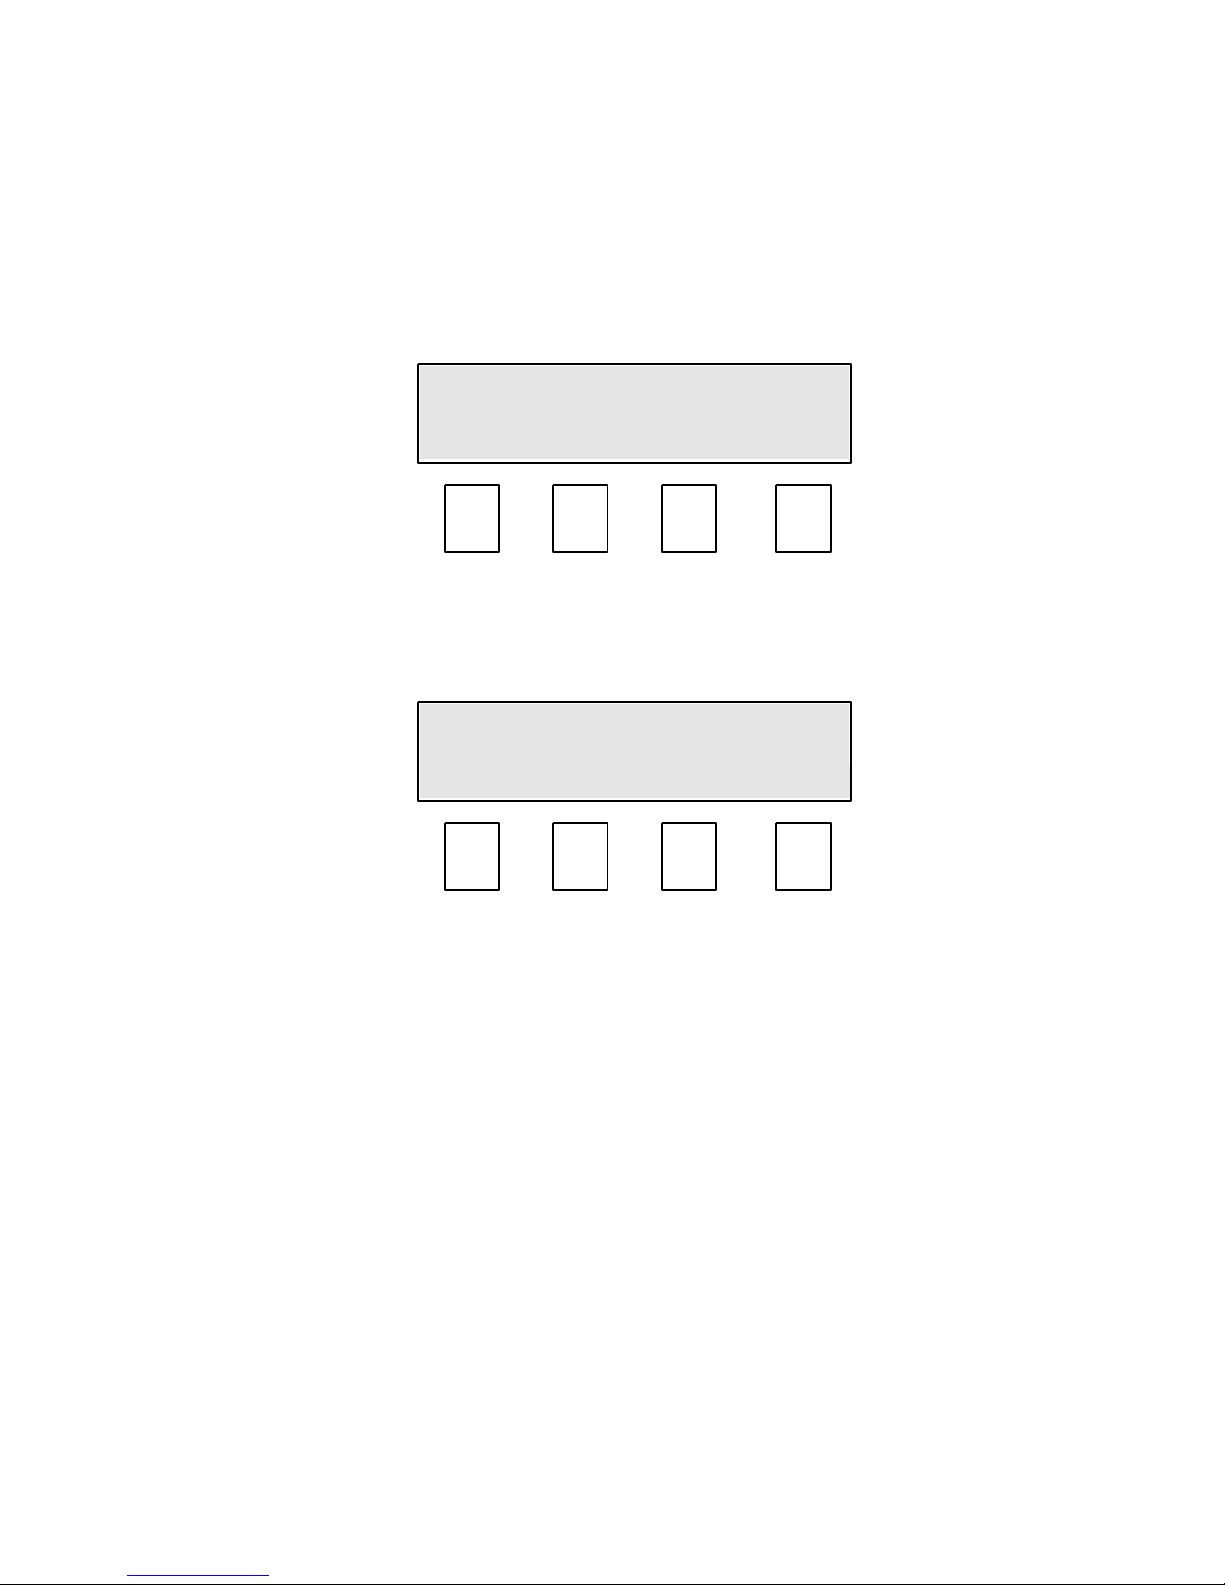
When in Mode 1b, by pressing the MODE key again the display changes to.
Followed by:
The modes beyond this point are protected by a password.
Please speak with your supervisor to gain access.
If the wrong password is entered the display changes to:
and then returns to the Mode 0 screen.
Password Required for
Higher Modes
Temp
S
e
n
s
o
r
Enter Password
000
◄ ► -
+
Sorry, wrong !
0 Reference
0 Down
Up
Run
F2 F3 F1 F4
Page 15

15
APPENDIX 1
REPLACEMENT OF BATTERIES
Battery Low indicator
Should the batteries begin to fail, a warning signal will appear when the instrument is
switched on.
* * * W A R N I N G ! * * *
B a t t e r y L o w ! ! !
To replace the batteries:
- remove the sample cell from the instrument.
- unscrew the battery cover from the underside of the instrument.
- remove the old batteries and replace with four standard 1.5V
alkaline batteries (Size C, MN 1400 or equivalent).
BE SURE TO INSERT BATTERIES THE CORRECT WAY ROUND - AS MARKED
IN BATTERY BOX - replace the battery cover and screw into position.
Important! Always use alkaline batteries. If you are not going to use the moisture
analyzer for some time, remove the batteries from the instrument.
If the optional (factory fitted) 1900-6358 12v Power Kit is fitted the correct DC
voltage to operate the FP is provided from a 115v to 240v Power supply.
Page 16

16
APPENDIX 2
Technical Specification
Dimensions: 325mm x 164mm x 120mm
Weight: 2.1kg
Construction: HD Polyurethane Foam Injection Moulding
Operating
Environment: 5°C to 40° C ; 41° to 104° F
Storage
Temperature: -20° C to +55° C ; -4° F to 131° F
Humidity: Up to 95% non condensing
Display: Alphanumeric 2 x 20 characters
Power Supply: Four C size 1.5V alkaline batteries or Optional 12v
Power Kit.
Processor: Intel 80C31 Microprocessor
Memory: 32K. EPROM and 32K. RAM
Password: Factory default - 226
Measurement 1-40% moisture, wet basis (depending on application)
Range:
Printer Output: RS232C, 300 or 4800 Baud
Accuracy: Manufactured in accordance with ISO 7700/1, OIML
International tolerances for Class 1 meters
Weight balance: Measures and corrects for weights between 115-240 grams
Temperature Thermistor sensor. The correction is software programmable
Correction:
Cell volume: 290 ml.
Page 17

17
APPENDIX 3
ERROR CODE SUMMARY
Error Code Explanation Recommended Action
Err.0 Sample weight too low Use large sample (greater than 115g)
Err.1 Sample cell not correctly Remount the sample cell firmly
mounted on to the interface
Err.2 Capacitance reading is Check hardware. If necessary,
too high (over 100) scale down capacitance by
changing byte 28
Err.3 Capacitance reading is Check hardware. If necessary,
too high at low moisture scale down capacitance by
changing byte 28
Err.4 High moisture reading at Check hardware. If necessary,
low capacitance reading this can be rectified by shifting
the calibration
Err.5 Capacitance reading is Check hardware.
too low for the calibration Check calibration curve
curve (i.e. %MC would be
negative)
Err.6 Communication error Check cable and start again
in RS232
batt Battery low indicator Replace the batteries
 Loading...