

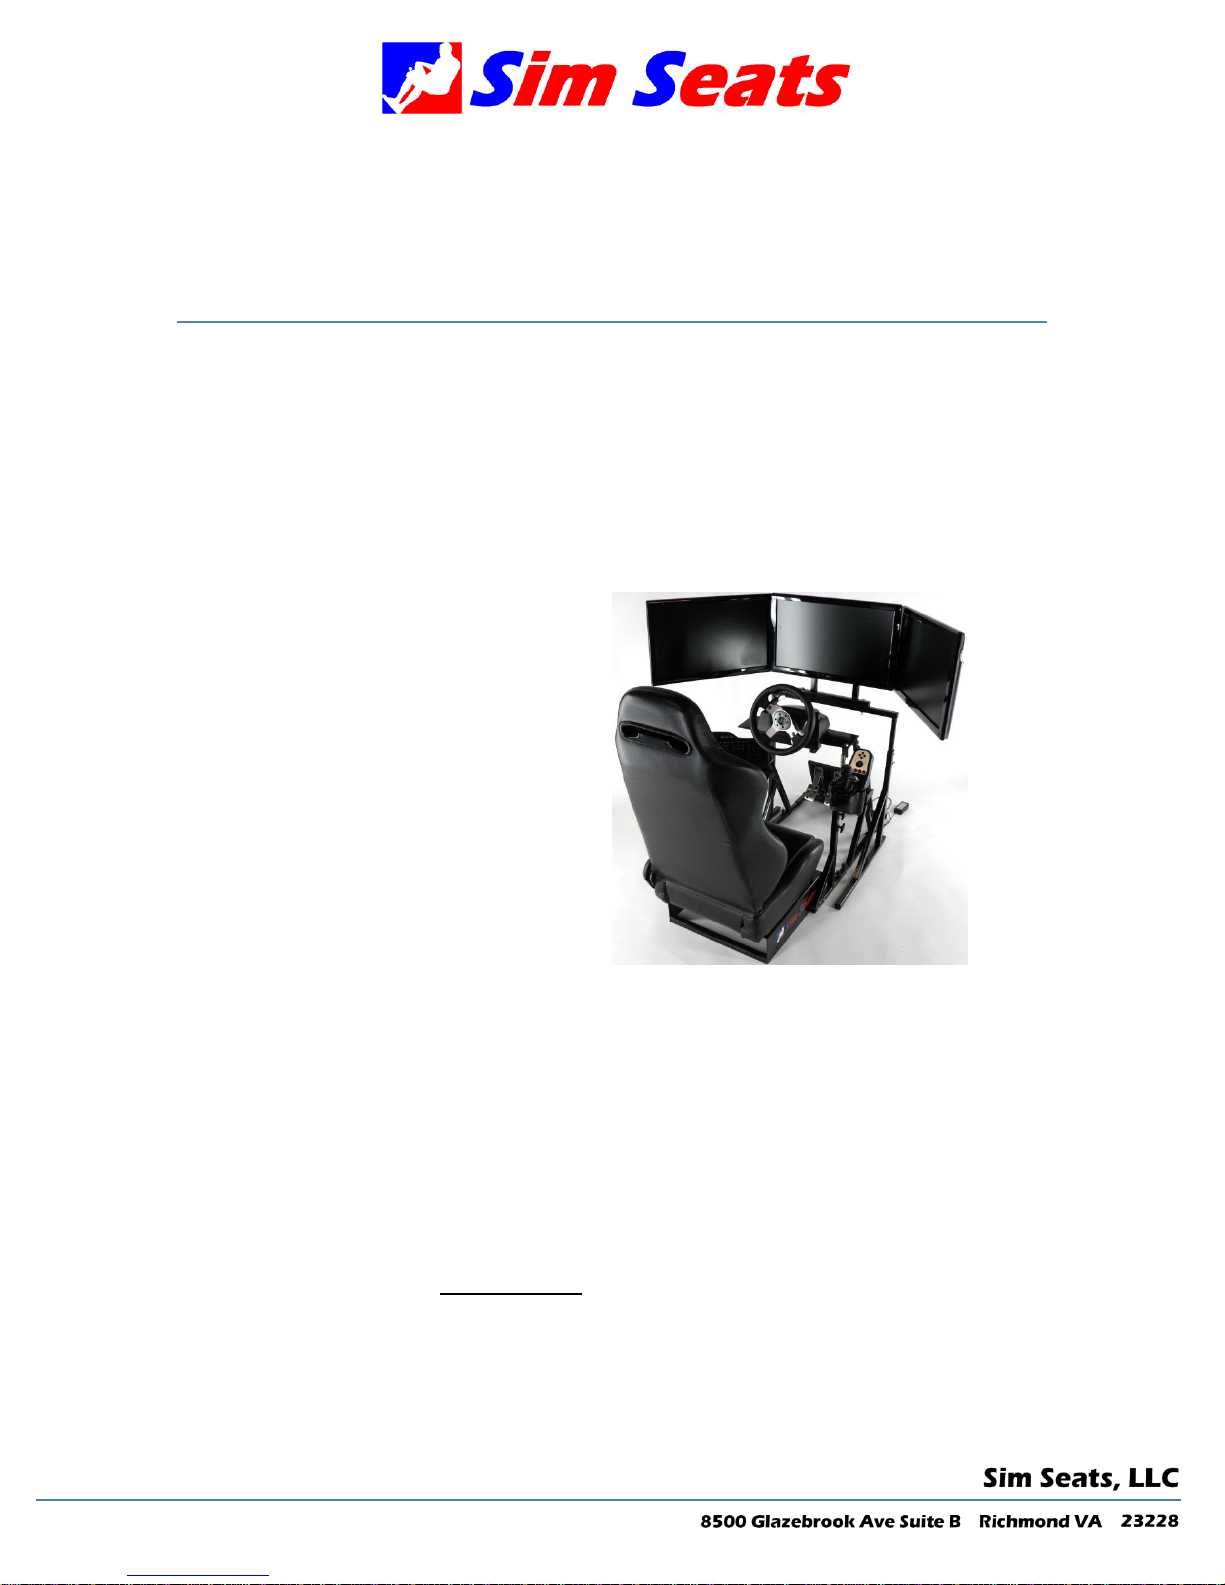
Sim Seats iRacing Pro Package V5, iRacing Pro Package Owner's Manual
Sim Seats iRacing Pro Package
Owner’s Manual
Thank you for purchasing the iRacing Pro package from Sim Seats! Please use the following
guide to get started.
Monitor st and setup:
Step 1: Check package contents to make sure all parts are enclosed:
Single monitor stand:
- Monitor stand legs (2)
- Monitor stand cross bar
- Single monitor mount
- Mounting hardware
Triple monitor stand:
- Monitor stand legs (2)
- Monitor stand cross bar
- Triple monitor mount assembly
- Side monitor mounting plates (2)
- Side monitor mount clamps (2)
- Mounting hardware
Step 2: Slide the cross bar into the left and right monitor stand legs. The long end of the
stand goes towards the driver to support angled triple monitor setups. Level the cross bar
and tighten the adjusting bolts
Step 3: Mount the single monitor mount or triple monitor mount assembly to the cross bar.
Step 4: Install the center monitor with the enclosed hardware. Assembly is complete for
single monitor mounts.
Step 5: Triple monitor mounts - Make your height adjustments before installing the side
monitors. This will make life slightly easier due to the lesser weight. Install the left and
right monitor mounting plates to your left and right monitors .
Note: The VESA mounts are offset mounted. Spin the mount 180 degrees to provide
approximately ½” of up/down adjustment of the monitor. Typically the mounts should be
installed with the bolt offset down, so that the monitor mounts slightly higher to
accommodate sag from large/heavy monitors.
Swing the monitor mount arms into their approximate final locations (this is important to
prevent the monitor stand from tipping backwards once the side monitors are installed).
Slide the monitor mounting plate with the monitor installed through the swing arm, install
the rear clamp, and tighten the rear clamp bolt. Repeat this for the other side.
Step 6: Final adjustments - The center monitor is fixed so no adjustment will be required
other than overall height adjustment. Side monitors, on the other hand, have a large
amount of adjustment. The arms will articulate to provide the appropriate angle and some
distance from center monitor adjustment. The side monitor plates allow for left to right, up
and down, and rotational adjustment. This will require some tweaking to get each monitor
positioned seamlessly. Once the positioning is complete, tighten all hardware.
SR-X Driving Simulator Setup:
Refer to the SR-X owner’s manual for the SR-X chassis setup. Mount the Logitech pedals,
wheel, and TH8 shifter. Slide the SR-X into position in between the monitor mount legs and
make adjustments to monitor height and angle as needed.
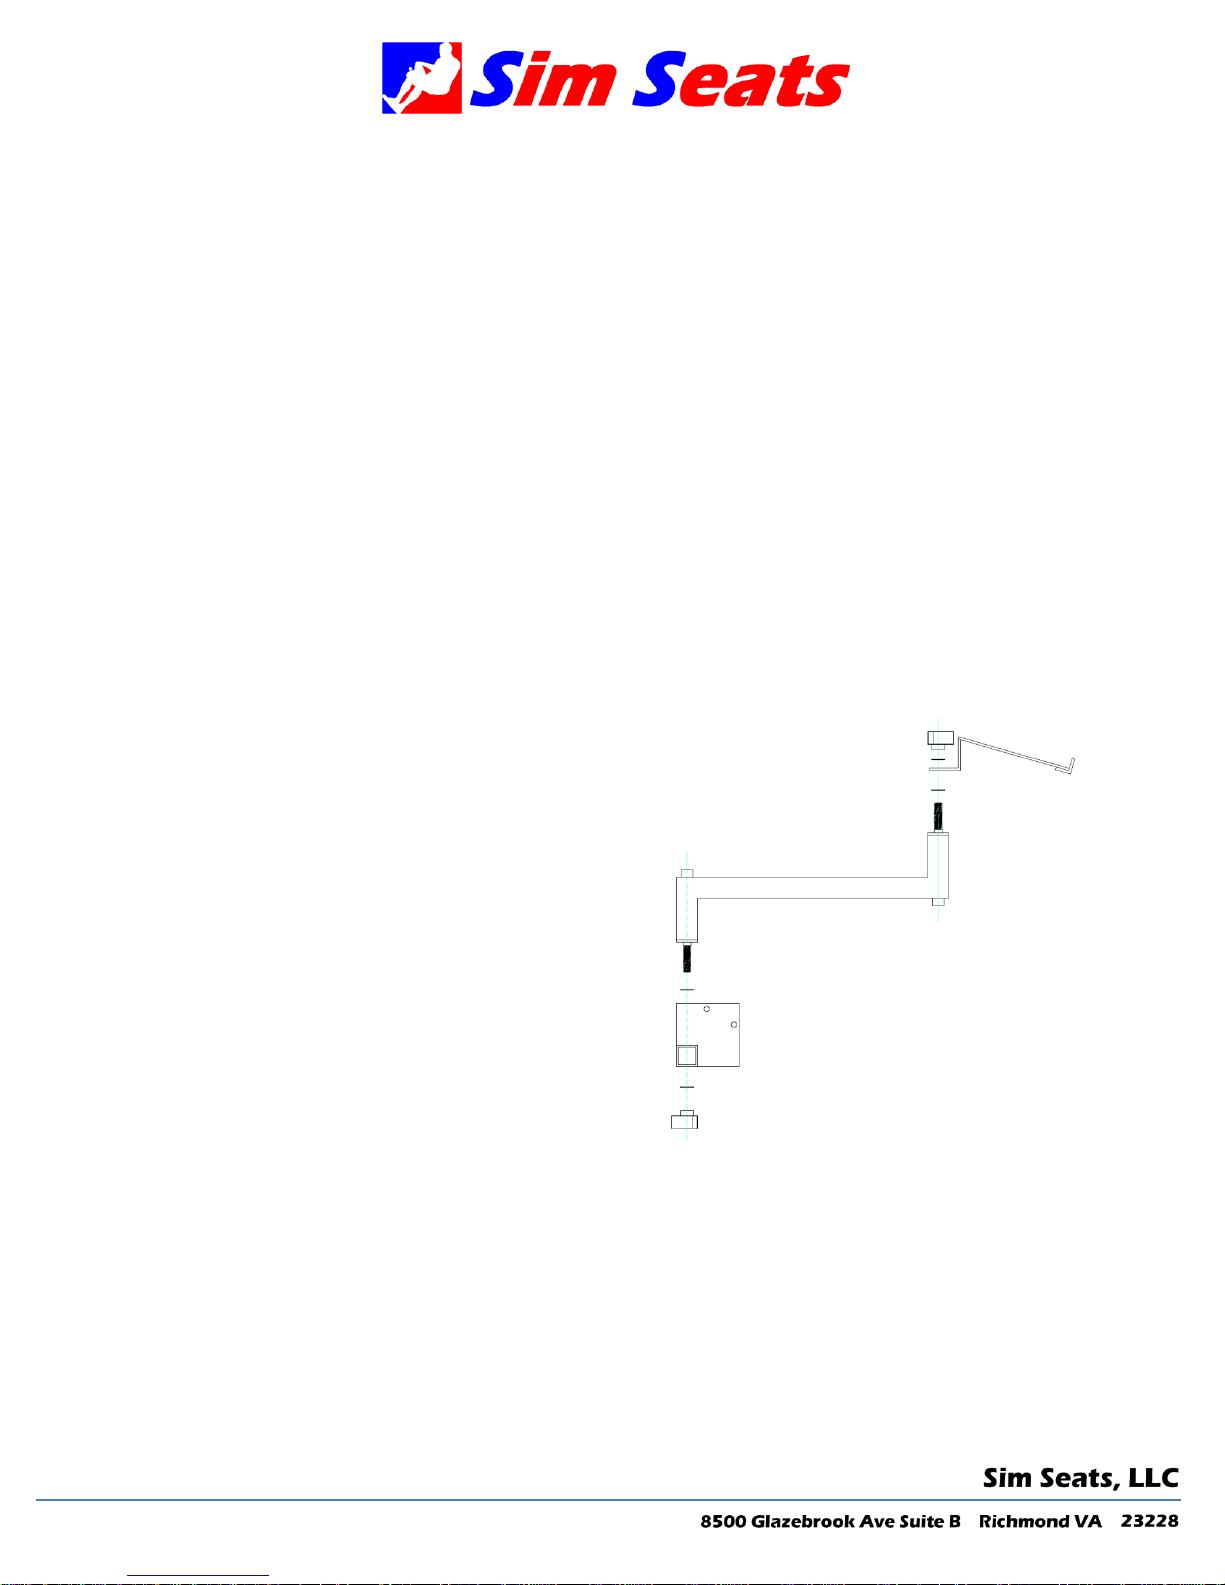
Keyboard Tray Setup :
Step 1: Install the mounting bracket to the left
side steering wheel upright using the u-bolt, ubolt plate, and nuts. Note: This keyboard tray will
only mount on the “driver’s side”. Please contact us if
you need one for the “passenger” side.
Step 2: Align the bracket so that it is straight and
tighten the u-bolt nuts.
Step 3: Install the swing arm to the bracket.
Tighten the bottom bolt.
Step 4: Install the keyboard tray to the swing arm.
Tighten the top bolt.
Step 5: Swivel the tray as needed. Install the
Logitech wireless keyboard.
Con neX™ Sp eaker Mo unts :
The ConneX speaker mounts are a set of universal speaker mounts that will support up to
5.1 sound systems. The left and right speaker mounts connect to the far left and right holes
in the monitor mount and the rear speaker mount clamps to the seat. Note: A wire control
kit is ideal for keeping the wires out of the way. For the Z506 sound system, we recommend
placing the center channel above the center monitor or below the monitor between the
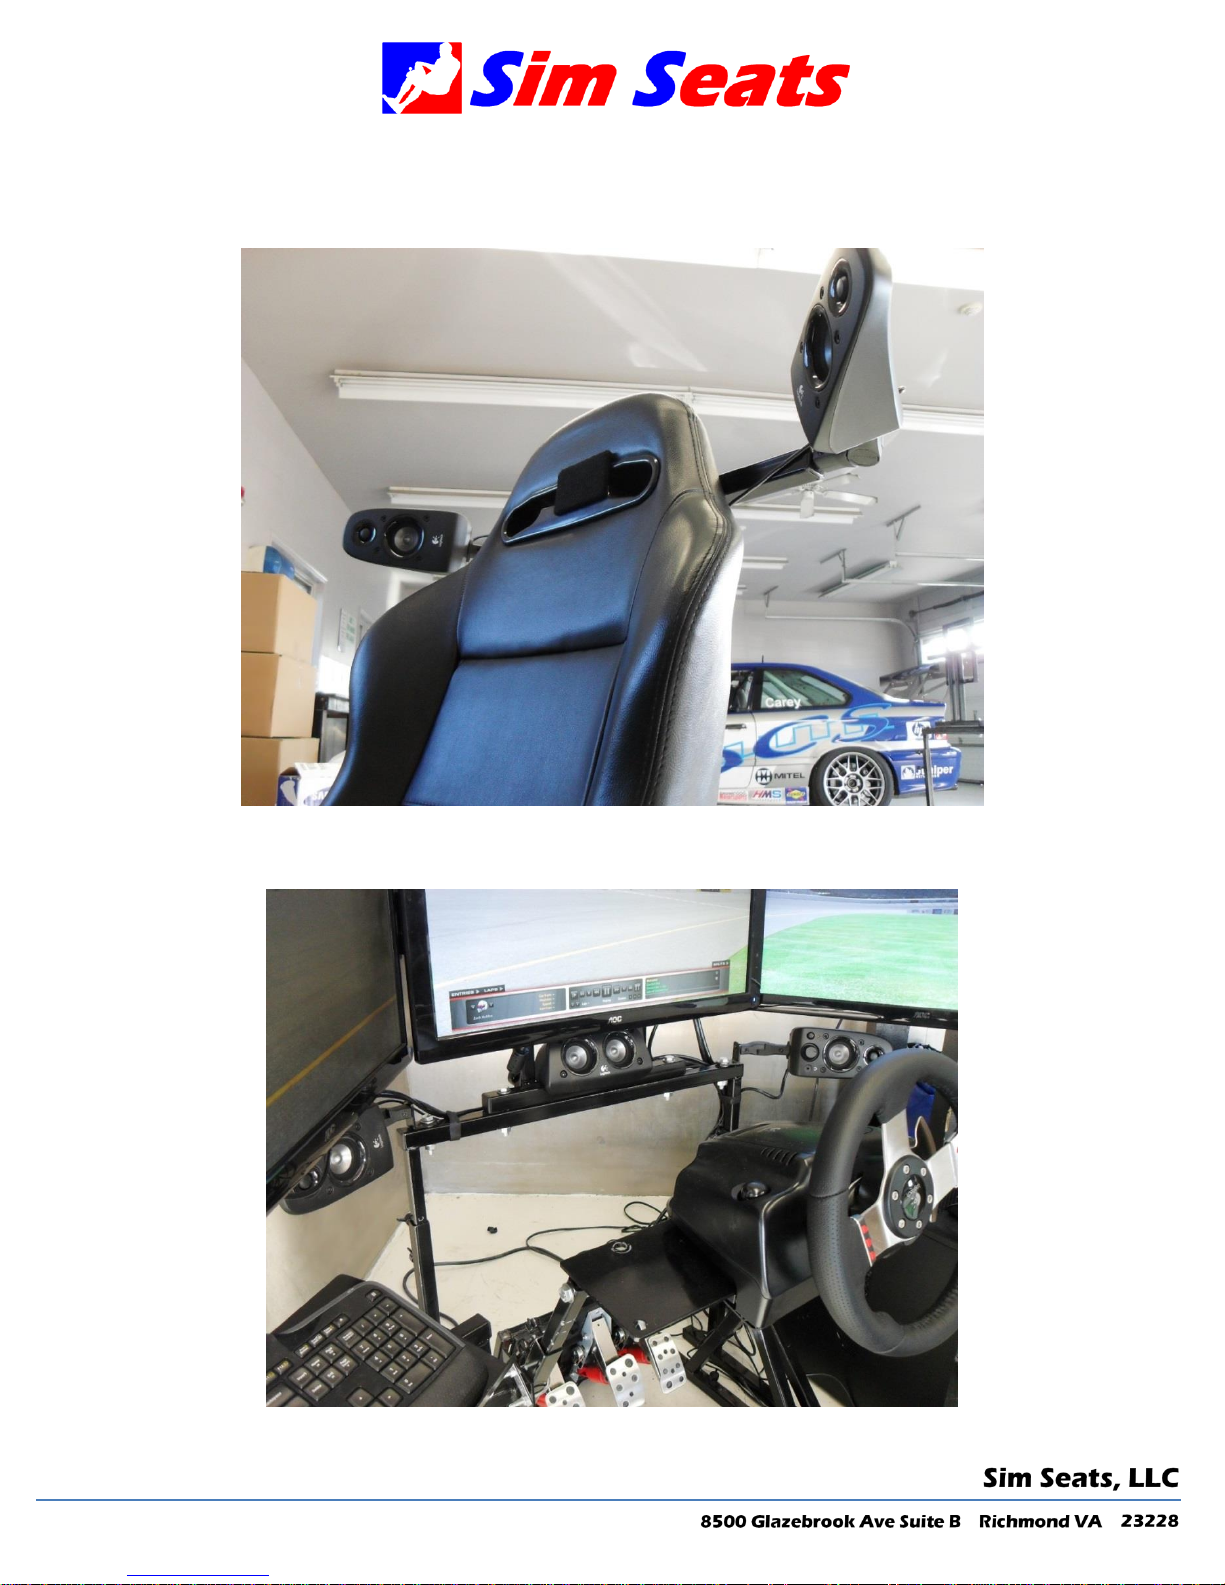
center monitors vertical support posts. For the upgraded Z906 and center monitor mount
will be provided.
Rear Speaker Mounts (Z506)
Front Speaker Mounts (Z506)
 Loading...