

SS-VEGA
Instruction Manual
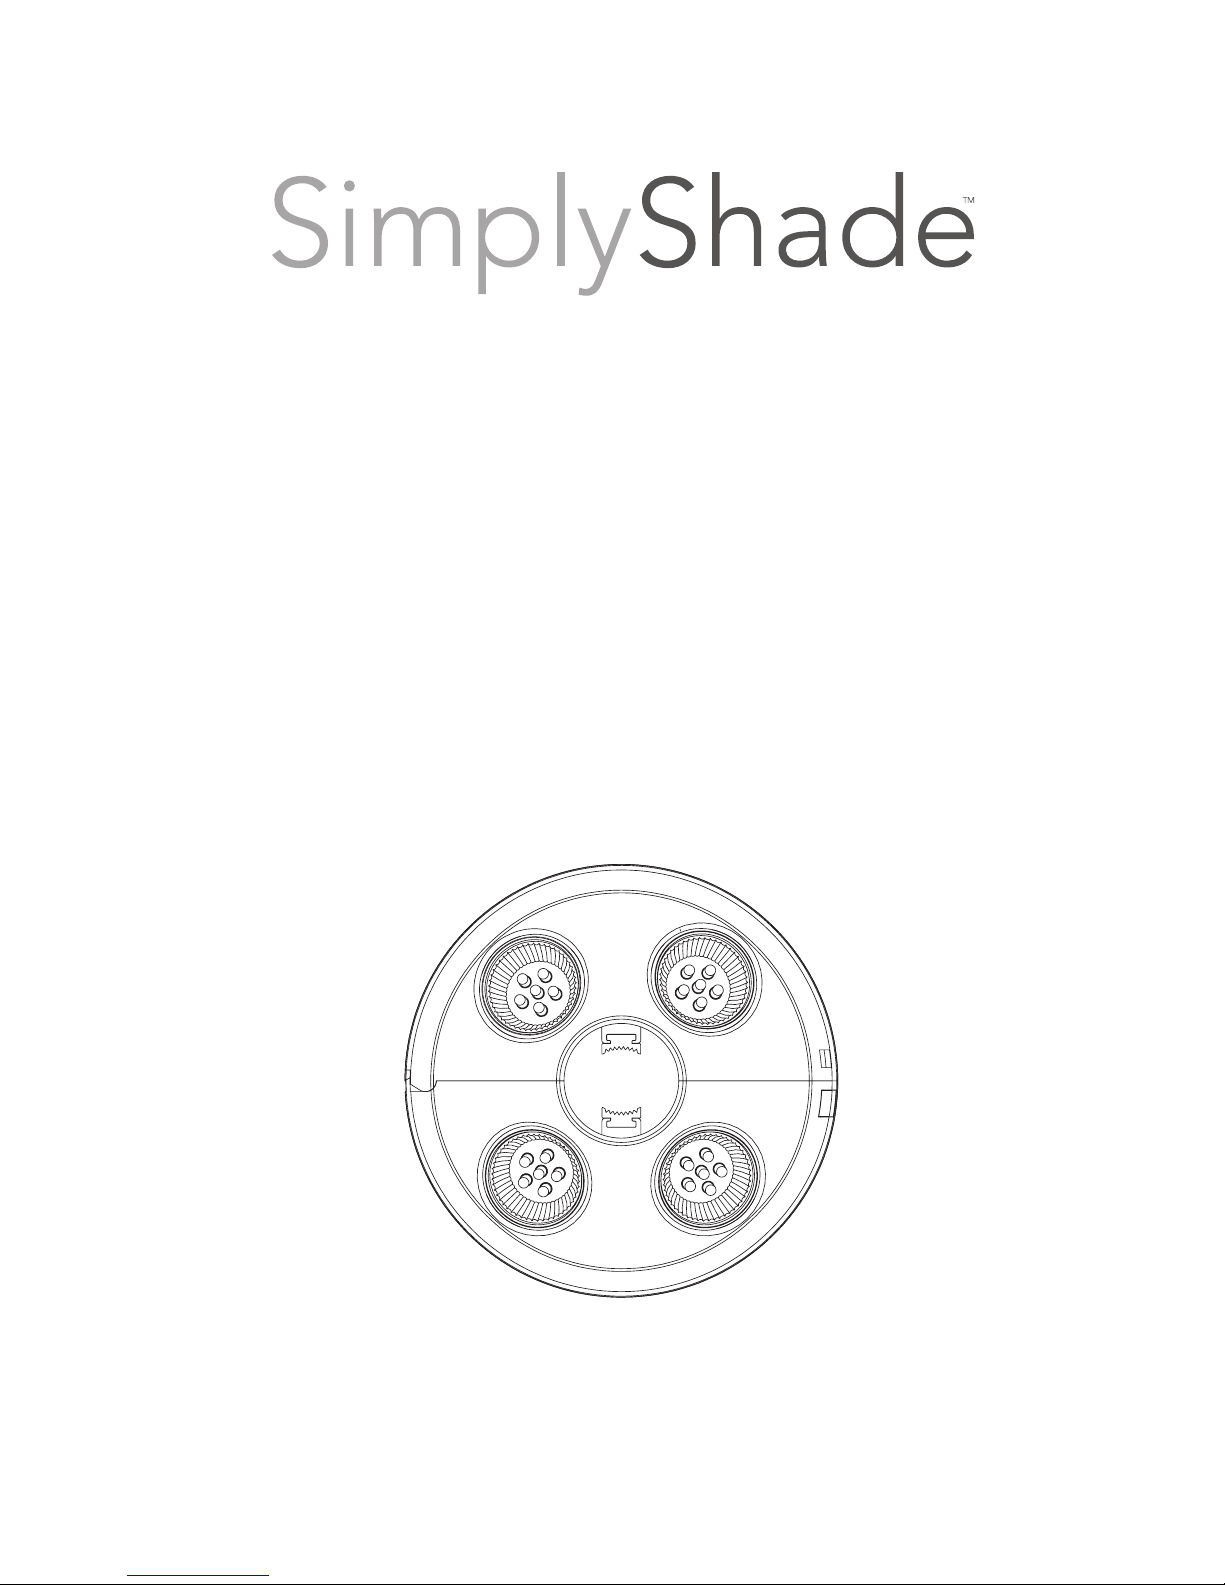
Vega
Umbrella Light
1
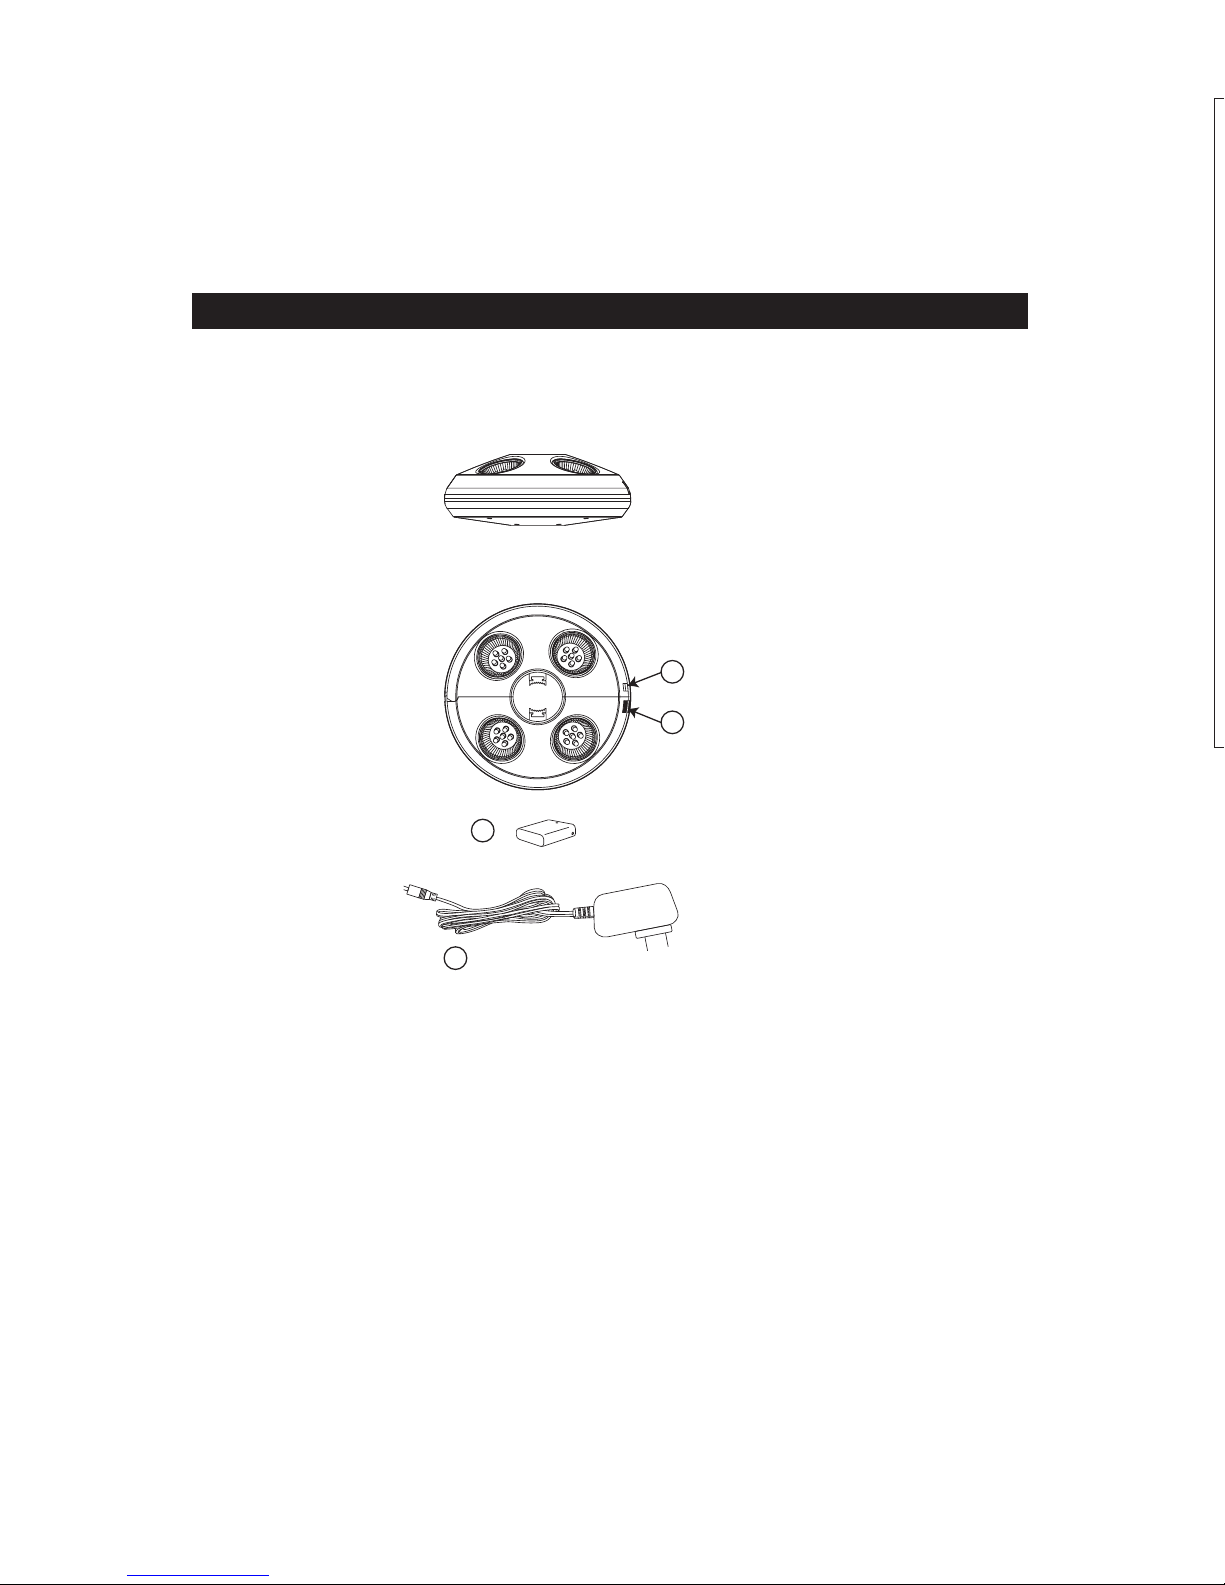
A - On/Off Button C - Battery Pack (Batteries Included)
B - Clamp Release Button D - Battery Charger (for indoor use only)
Size: 8” Diameter
Lights: 24 LED lights
AC Charger: 110V
Charge time: 6 Hrs.
(Lights up to 6-7 hrs. with a fully charged battery.)
S A F E T Y P R E C A U T I O N S :
• If unit is exposed to light moisture, light to medium rain; allow unit to air dry for
24 hours before reuse.
WARNING: The umbrella light is not waterproof. If the light is immersed in a
pool or spa or exposed to heavy rain the unit will be damaged and negate the
warranty.
WARRANTY:
The manufacturer warrants that this
umbrella, when subject to normal and
proper use, will be free from
manufacturing defects for a period of
one year from the original date of
purchase. Should any defect occur
during the specified time period, the
manufacturer will repair, replace, or
provide replacement parts, at its own
option. Limited warranty against fabric
fading, based on fabric grade. Warranty
is not transferable.
We will not warrant any claim coverage
unless both the original sales receipt and
request form are sent to us. Any items
that are returned for warranty or non
warranty purposes must be issued a
Return Authorization Number. Only
Thank you for purchasing SimplyShade’s Vega Umbrella Light.
Please remove all contents from the package, inspect and review checklist.
CAUTION: To reduce personal injury and damage to your umbrella light, read and
follow the instruction manual.
CHECKLIST
Battery Charger (1)
Battery Pack (1)
A
B
C
D
25
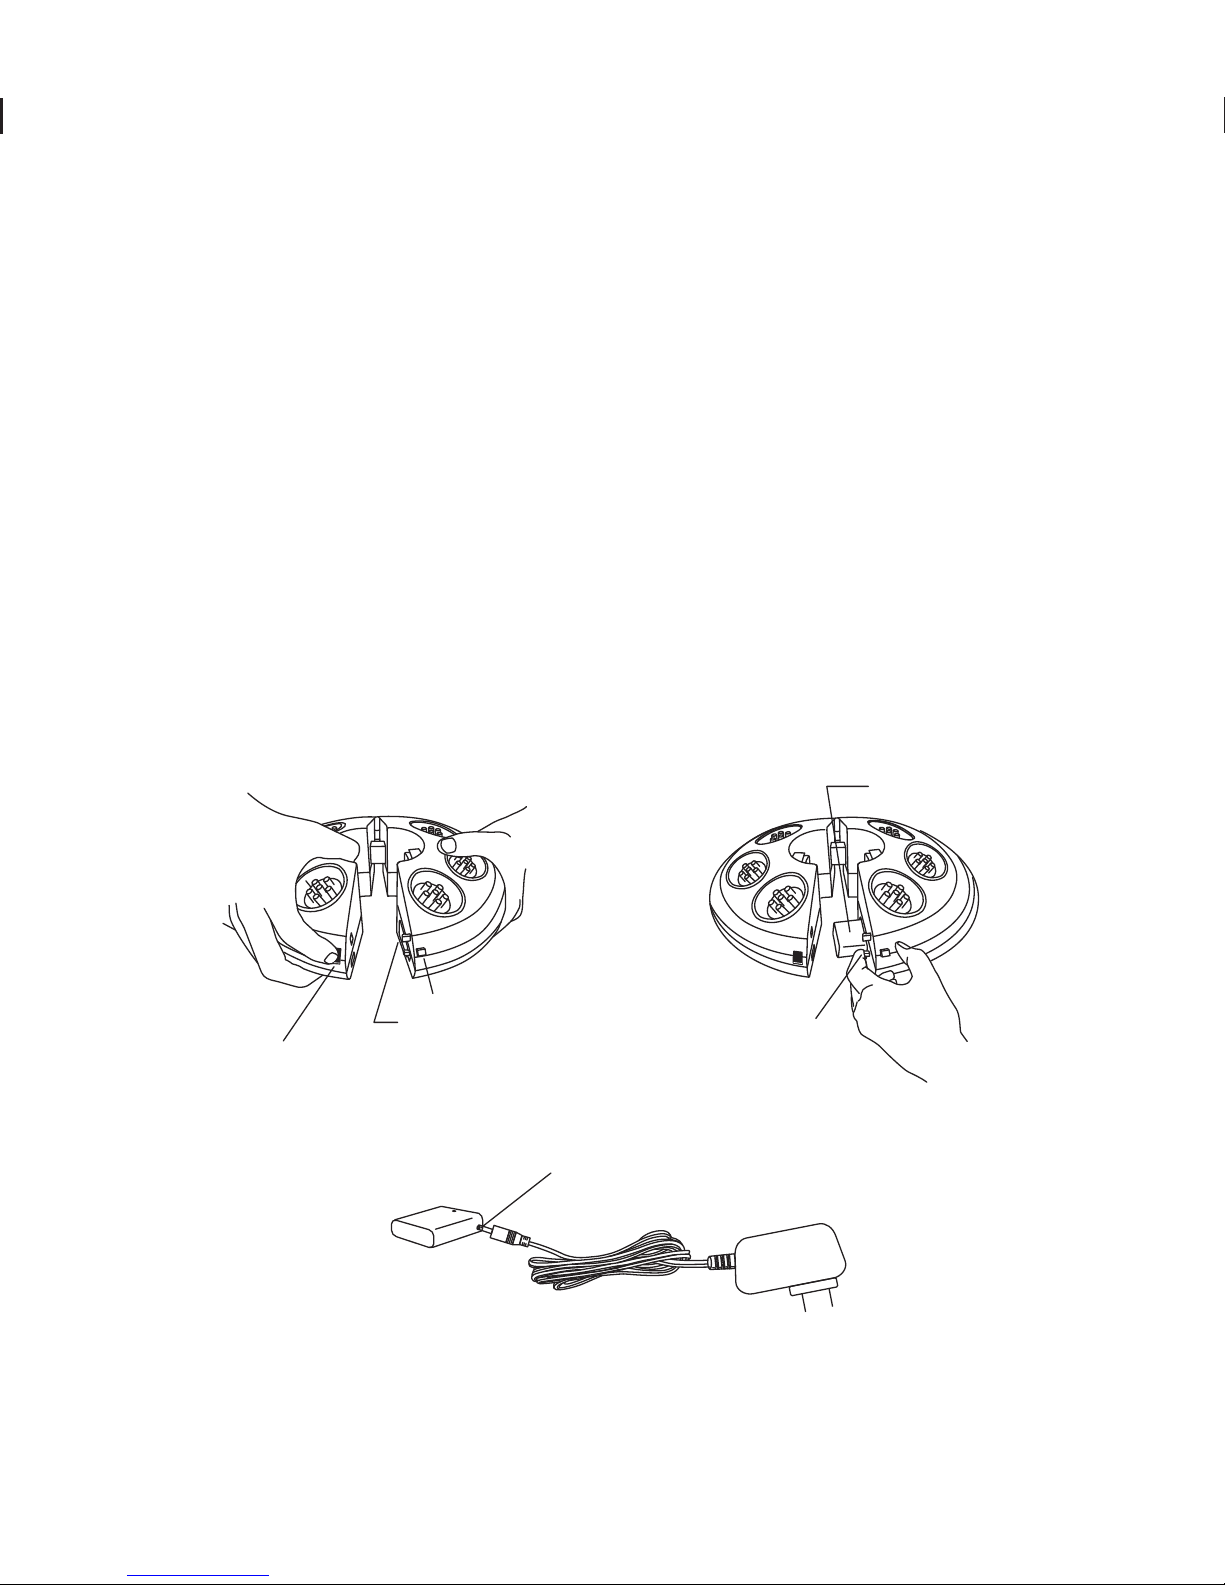
To OPEN the Umbrella Light:
Open the umbrella light by holding firmly with one hand and then depress the clamp
release button with the other hand to release the clamp lock (Fig. 1).
To CHARGE/RECHARGE the Umbrella Light:
With the umbrella light opened, slide back the battery release button to remove the
battery pack from its compartment (Fig. 2). After removing the battery pack, plug the
charger into the battery input (Fig. 3), then plug charger into 110V electrical outlet for
6 hours to fully charge. After battery charging is complete, gently slide battery pack
back into compartment until battery pack snaps into place. NOTE: Only use the
supplied battery charger, charging the light with a substitute charger may damage the
battery pack or cause overheating, which could result in personal injury and/or other
damages.
To TURN ON and TURN OFF the Umbrella Light:
Depress the On/Off button to turn on and turn off LED lights.
S T E P 1 Assembly
No assembly is required for the umbrella light however, you must fully charge the
battery prior to first use.
Battery Compartment
On/Off Button
Battery Pack
Battery
Release Button
Clamp Release
Button
Charger Input
Battery Pack
(Fig. 1) (Fig. 2)
(Fig. 3)

TWO LIGHT DISPLAY OPTIONS:
DOWNLIGHT Position:
Place the umbrella light with LED lights facing down for dining, games and
casual reading.
UPLIGHT Position:
Place the umbrella light with LED lights facing up for indirect lighting and mood
setting.
S T E P 2 Operation
To OPEN and ATTACH the Umbrella Light to Market Umbrella:
Open the umbrella light by holding the light firmly with one hand and then
depress the clamp release button with the other hand to release the clamp lock
(Fig. 4). Open up the umbrella light and clasp around the mid pole (Fig. 5). Snap
to close (Fig. 6).
Clamp
Release
Button
(Fig. 4)
(Fig. 5) (Fig. 6)

43
TWO LIGHT DISPLAY OPTIONS:
DOWNLIGHT Position:
Place the umbrella light with LED lights facing down for dining, games and
casual reading.
UPLIGHT Position:
Place the umbrella light with LED lights facing up for indirect lighting and mood
setting.
Additional Features

To OPEN the Umbrella Light:
Open the umbrella light by holding firmly with one hand and then depress the clamp
release button with the other hand to release the clamp lock (Fig. 1).
To CHARGE/RECHARGE the Umbrella Light:
With the umbrella light opened, slide back the battery release button to remove the
battery pack from its compartment (Fig. 2). After removing the battery pack, plug the
charger into the battery input (Fig. 3), then plug charger into 110V electrical outlet for
6 hours to fully charge. After battery charging is complete, gently slide battery pack
back into compartment until battery pack snaps into place. NOTE: Only use the
supplied battery charger, charging the light with a substitute charger may damage the
battery pack or cause overheating, which could result in personal injury and/or other
damages.
To TURN ON and TURN OFF the Umbrella Light:
Depress the On/Off button to turn on and turn off LED lights.
Additional Features
S T E P 1 Assembly
No assembly is required for the umbrella light however, you must fully charge the
battery prior to first use.
Battery Compartment
On/Off Button
Battery Pack
Battery
Release Button
Clamp Release
Button
Charger Input
Battery Pack
To ATTACH Umbrella Light to Cantilever Umbrella:
Loosen the light adapter built into the umbrella runner by turning counter-clockwise
(Fig. 7). After loosening, pull down light adapter post (Fig. 8) to attach the
umbrella light (sold separately).
To OPEN and ATTACH Umbrella Light:
Open the umbrella light by holding firmly with one hand and then depress the clamp
release button with the other hand to release the clamp lock. Open up the light and
clasp around the light adapter post (Fig. 9). Snap to close (Fig. 10).
To REMOVE and CLOSE light adapter:
Hold the umbrella light, depress the clamp release button to release the clamp lock.
Remove umbrella light, and gently push up the light adapter post back into umbrella
runner and tighten turning clockwise (Fig. 7).
(Fig. 7)
(Fig. 8)
(Fig. 9) (Fig. 10)

S A F E T Y P R E C A U T I O N S :
• If unit is exposed to light moisture, light to medium rain; allow unit to air dry for
24 hours before reuse.
WARNING: The umbrella light is not waterproof. If the light is immersed in a
pool or spa or exposed to heavy rain the unit will be damaged and negate the
warranty.
WARRANTY:
The manufacturer warrants that this
umbrella, when subject to normal and
proper use, will be free from
manufacturing defects for a period of
one year from the original date of
purchase. Should any defect occur
during the specified time period, the
manufacturer will repair, replace, or
provide replacement parts, at its own
option. Limited warranty against fabric
fading, based on fabric grade. Warranty
is not transferable.
We will not warrant any claim coverage
unless both the original sales receipt and
request form are sent to us. Any items
that are returned for warranty or non
warranty purposes must be issued a
Return Authorization Number. Only
upon issuance of an RA # and inspection
b
y our QC department will credit or
replacement of umbrella be issued. It is
the customer’s responsibility to pay the
freight on return products or
replacement parts. ALL RETURNED
ITEMS MUST INCLUDE THE RA#
CLEARLY WRITTEN ON THE
RETURN PACKAGE or package will be
refused by our warehouse personnel.
NOTE: Damages and failure caused by
improper use due to neglect of reasonable
and necessary care are not covered by
this warranty.
Additionally, acts of nature (including but
not limited to wind, hurricanes, tornadoes,
and storms) are not covered by this
warranty.
6

www.simplyshade.com
©2017 SimplyShade - All Rights Reserved. 6/17
 Loading...