

11.5’ Octagon / SSAG25R
Instruction Manual
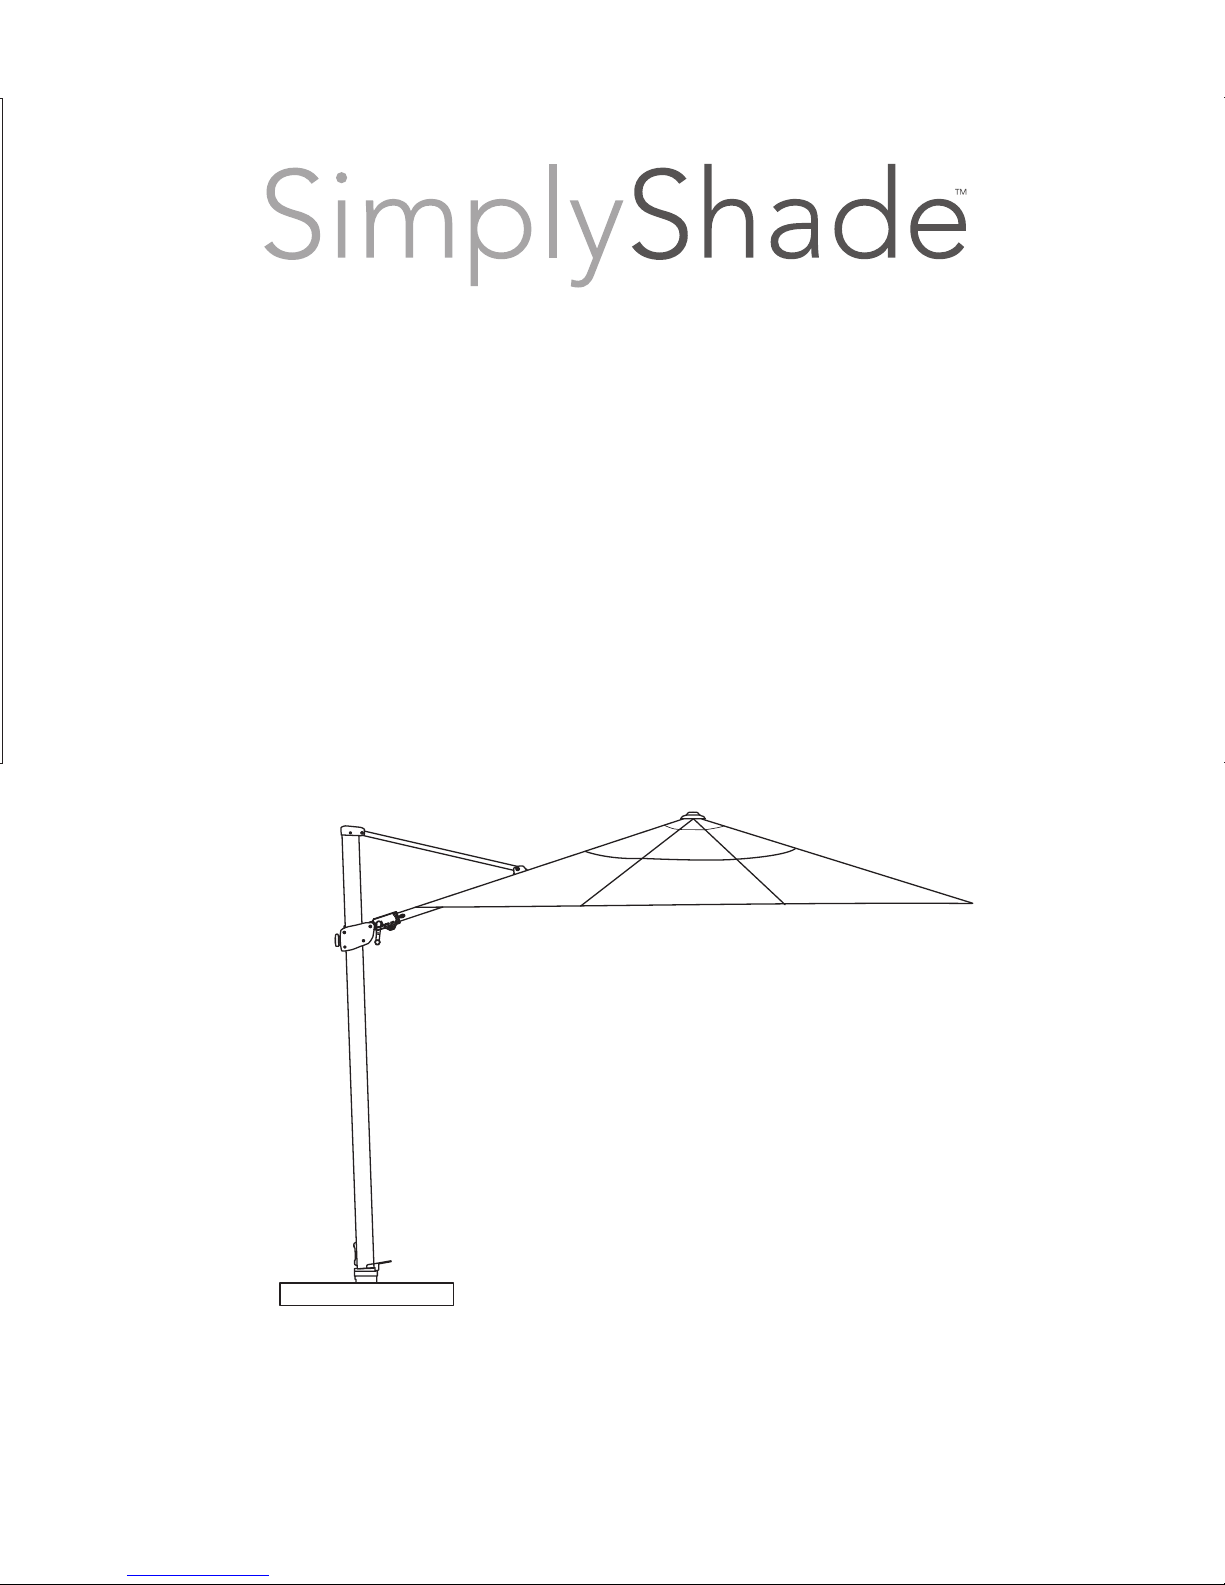
Fiji
Cantilever
E
F
G
A
B
C
D
H
8mm Hexagon Wrench
I
H
6mm Hexagon
Wrench
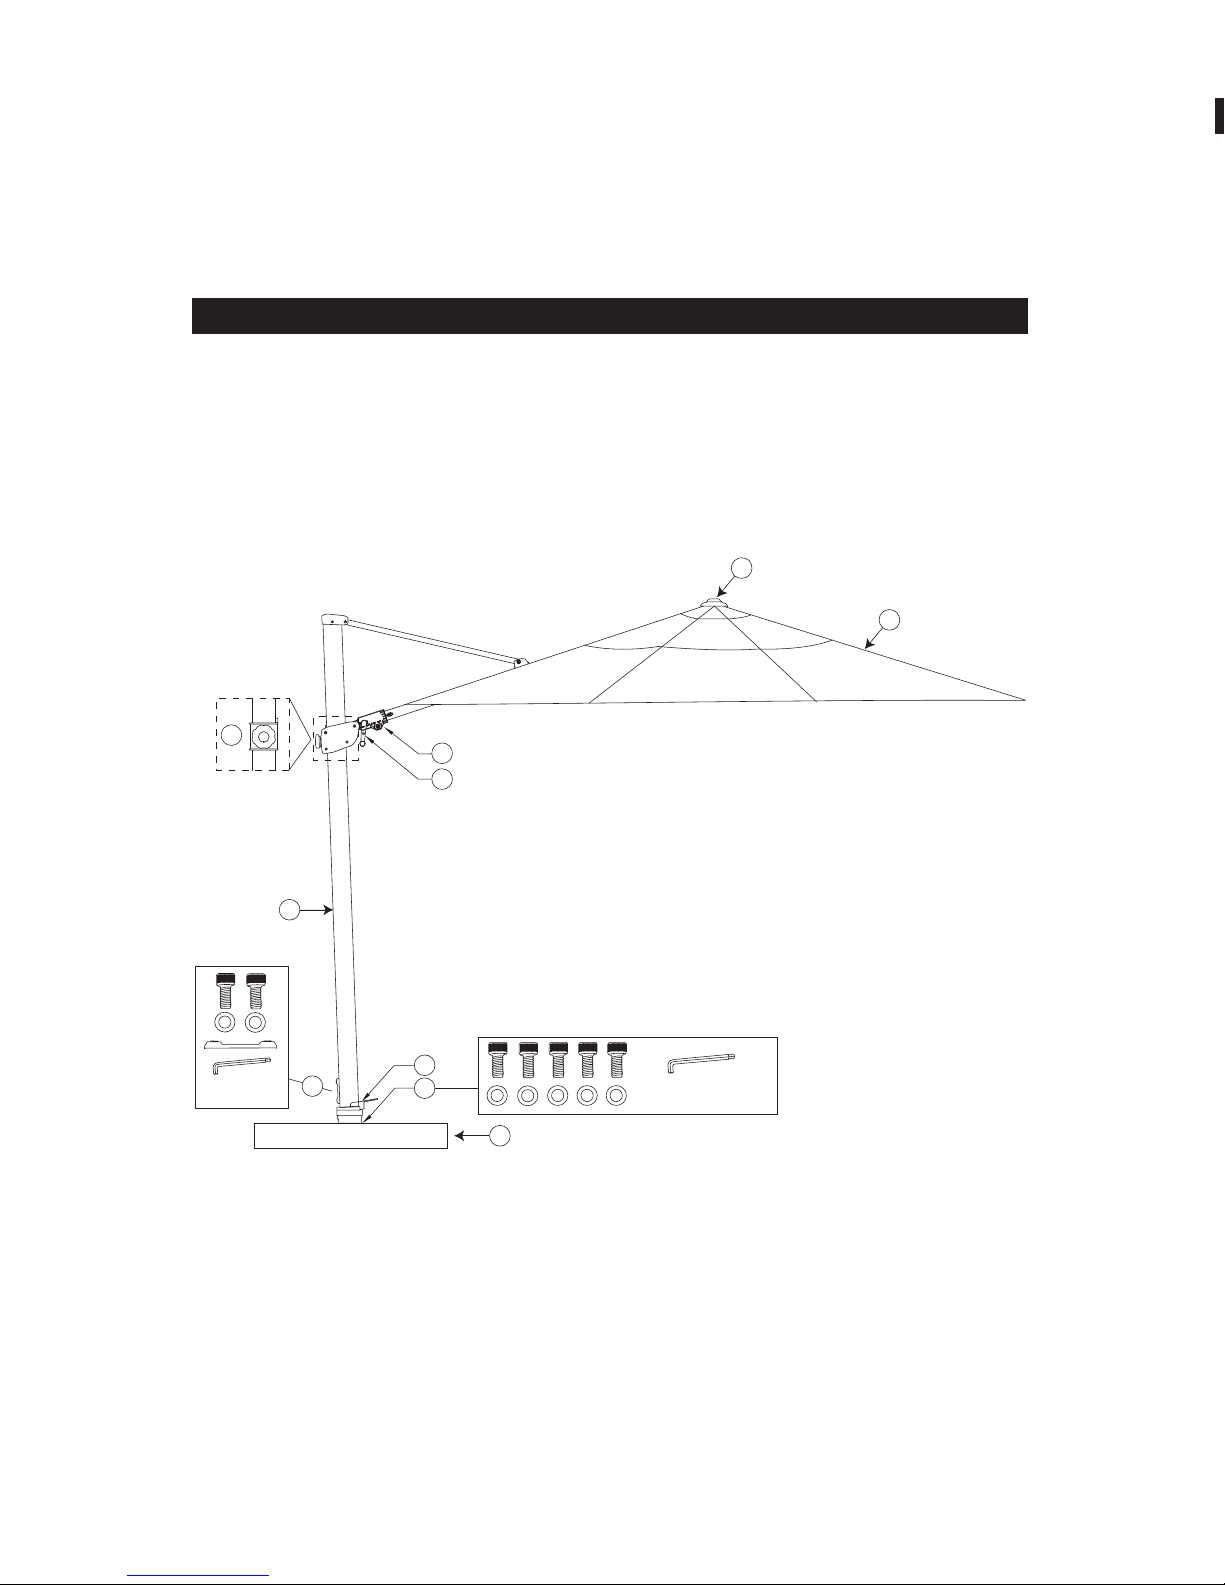
A - Canopy F - Main Frame
B - Finial G - Rotation Hub
C - Tilt Mechanism H - Hardware
D - Crank Handle I - Base (sold separately)
E - Adjustment Knob
Thank you for purchasing SimplyShade’s Fiji Cantilever Umbrella.
Please remove all contents from the package, inspect and review checklist.
CAUTION:To reduce personal injury and damage to your umbrella, read and
follow this assembly and operation guide We recommend a two-person team for
assembly and disassembly. Save information for future reference.
CHECKLIST
To ATTACH Umbrella Light:
Loosen the light adapter built into the lower hub by turning counter-clockwise
(Fig. 11). After loosening, pull down light adapter post (Fig. 12) to attach the
umbrella light (Fig. 13 and 14) (sold separately).
To REMOVE Umbrella Light and CLOSE adapter:
Remove umbrella light, and gently push up the light adapter post back into umbrella
runner and tighten turning clockwise (Fig. 11).
25
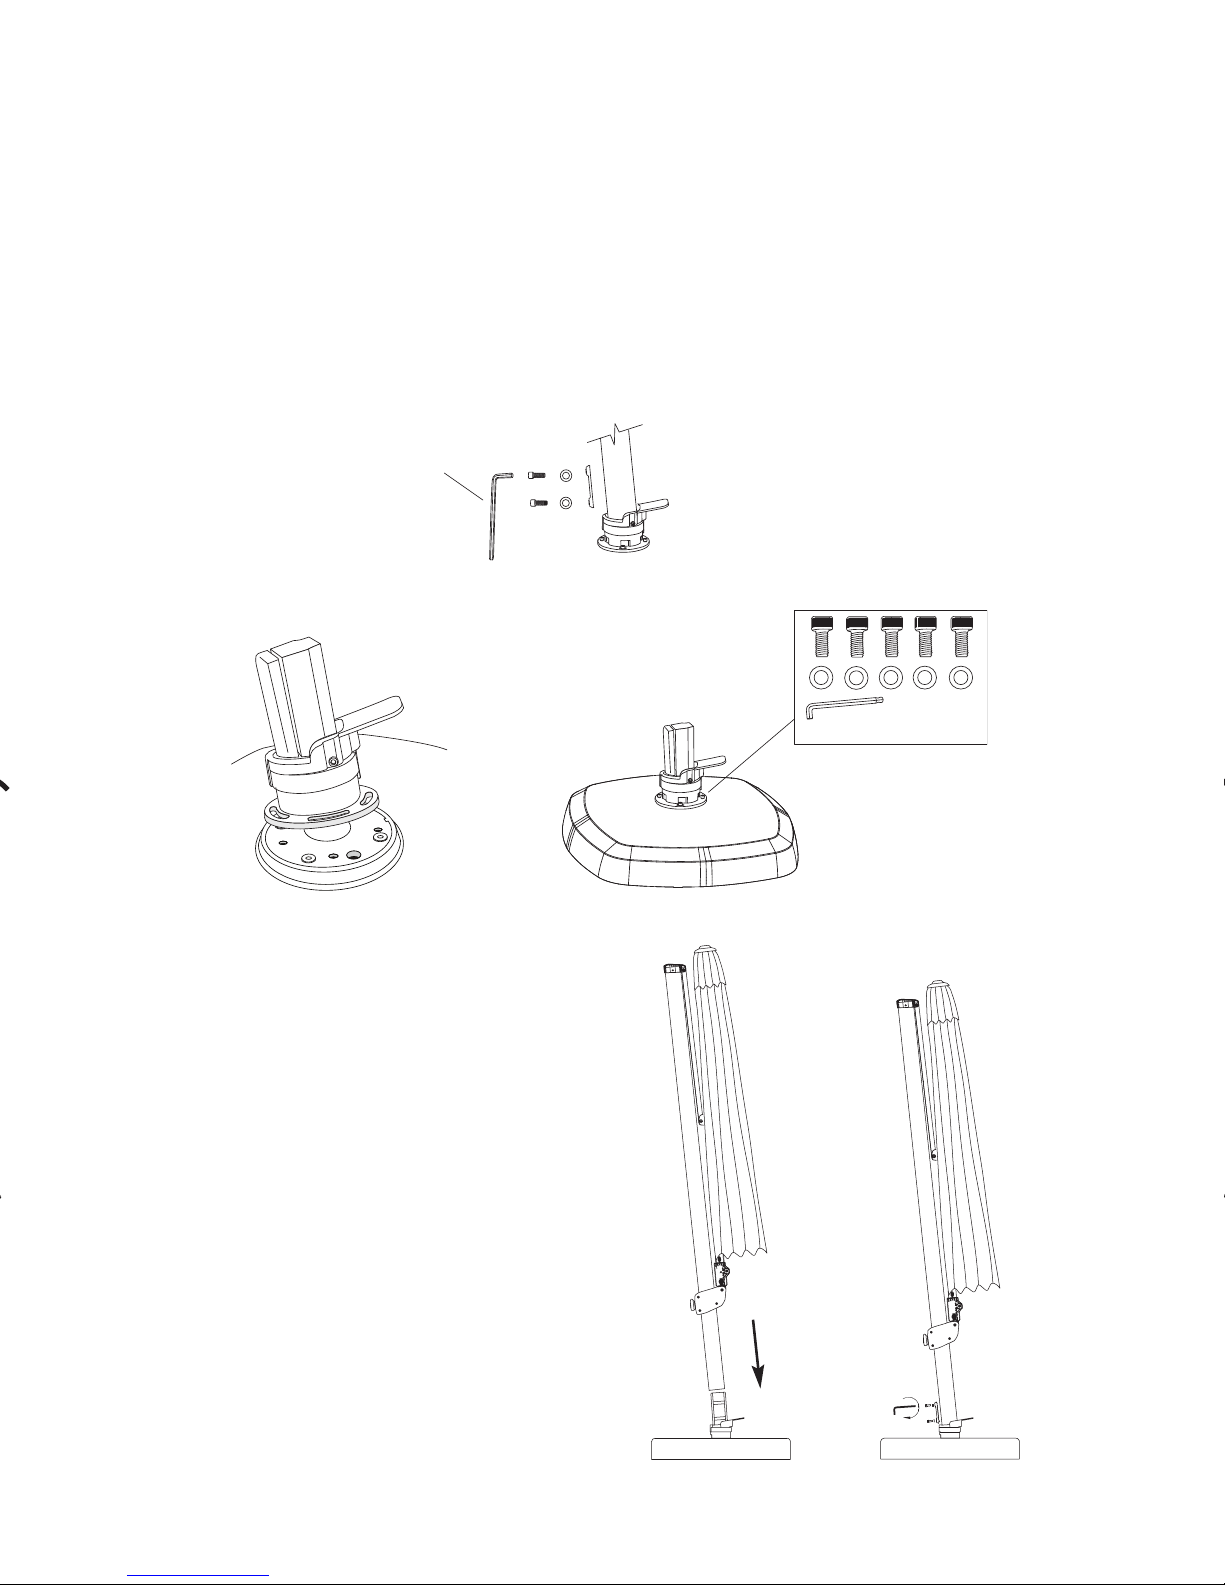
S T E P 2 Umbrella Assembly
NOTE: Two persons may be needed for the
following action.
---Lift umbrella up and insert the main frame
rotation hub (Fig. 4). Secure into place
by inserting (2) bolts and (2) washers
and tighten using 6mm hexagon
wrench.
REMOVE ALL PLASTIC PACKAGING
MATERIAL FROM ALL PARTS PRIOR
TO OPENING UMBRELLA. CHECK
UNDER CANOPY FOR PACKAGING
AROUND RIBS.
(Fig. 4)
(Fig. 1)
(Fig. 3)(Fig. 2)
NOTE: REFER TO SEPARATE MOUNT KIT OR BACARA BASE
MANUAL FOR BASE ASSEMBLY PRIOR TO PROCEEDING.
S T E P 1 Rotating Hub Assembly
If you have already installed your rotating hub onto your base, please skip to Step 2.
Remove rotating hub from the main frame by removing the (2) main frame bolts and
(2) washers (Fig. 1), set aside bolts for later use. Now, place rotating hub on base plate
(if installing onto mount kit) or inverted plate (if installing onto Bacara base) (Fig. 2) and
tighten with (5) supplied hub bolts and washers (Fig. 3). Bacara base assembly
example shown below.
6mm
H
exagon
Wrench
8mm Hexagon Wrench

(Fig. 5)
S T E P 3 Opening Canopy
In the closed position, turn adjustment knob counter clockwise and slide the
adjustment knob upward. Turn adjustment knob clockwise to tighten and
secure in place (Fig. 5).
S T E P 4 Tilting Canopy
Tilting Front to Back
Turn adjustment knob counter clockwise and slide car up and downward
until desired height and angle is reached (Fig. 8). Tighten the adjustment knob
clockwise to lock its position. We do not recommend using tilt function during
winds.
Insert crank handle into “Open/Close” socket in crank mechanism (Fig. 6). Turn crank
handle clockwise until the canopy is fully open (Fig. 7). CAUTION: Stop
turning the crank handle as soon as the umbrella canopy is completely open and the
sleeve on the umbrella center pole has reached its maximum height.
(Fig. 6)
(Fig. 7)
Tilting Left to Right
Insert crank handle into “Right/Left” socket in crank mechanism (Fig. 9). To tilt canopy
right, turn crank handle counter clockwise. To tilt canopy left, turn crank
handle clockwise.

43
S T E P 4 Tilting Canopy
Tilting Front to Back
Turn adjustment knob counter clockwise and slide car up and downward
until desired height and angle is reached (Fig. 8). Tighten the adjustment knob
clockwise to lock its position. We do not recommend using tilt function during
winds.
(Fig. 9)
(Fig. 8)
Tilting Left to Right
Insert crank handle into “Right/Left” socket in crank mechanism (Fig. 9). To tilt canopy
right, turn crank handle counter clockwise. To tilt canopy left, turn crank
handle clockwise.

S T E P 2 Umbrella Assembly
NOTE: Two persons may be needed for the
following action.
----
Lift umbrella up and insert the main frame
rotation hub (Fig. 4). Secure into place
by inserting (2) bolts and (2) washers
and tighten using 6mm hexagon
wrench.
REMOVE ALL PLASTIC PACKAGING
MATERIAL FROM ALL PARTS PRIOR
TO OPENING UMBRELLA. CHECK
UNDER CANOPY FOR PACKAGING
AROUND RIBS.
NOTE: REFER TO SEPARATE MOUNT KIT OR BACARA BASE
MANUAL FOR BASE ASSEMBLY PRIOR TO PROCEEDING.
S T E P 1 Rotating Hub Assembly
If you have already installed your rotating hub onto your base, please skip to Step 2.
Remove rotating hub from the main frame by removing the (2) main frame bolts and
(2) washers (Fig. 1), set aside bolts for later use. Now, place rotating hub on base plate
(if installing onto mount kit) or inverted plate (if installing onto Bacara base) (Fig. 2) and
tighten with (5) supplied hub bolts and washers (Fig. 3). Bacara base assembly
example shown below.
6mm
H
exagon
Wrench
8mm Hexagon Wrench
S T E P 4 360° Rotating Hub Swivel
Place your foot on the foot pedal of the rotating hub and step-on the pedal to release
rotating lock (Fig. 10). Place hands on the main frame and rotate the umbrella frame
in either direction, in 90° increments. To lock position, step off the foot pedal to
engage rotating lock.
Foot Pedal
Main Frame
Rotating Hub
360
(Fig. 10)
S T E P 5 Closing Canopy
Before closing, make sure canopy is at level position. Insert crank handle into
“Open/Close” socket in crank mechanism. Turn crank handle counter clockwise
until the canopy is closed. Turn adjustment knob counter clockwise and slide
downward until umbrella is in closed position. Tie string around canopy to secure
canopy. Cover umbrella with provided protective cover when not in use.

61
To ATTACH Umbrella Light:
Loosen the light adapter built into the lower hub by turning counter-clockwise
(Fig. 11). After loosening, pull down light adapter post (Fig. 12) to attach the
umbrella light (Fig. 13 and 14) (sold separately).
To REMOVE Umbrella Light and CLOSE adapter:
Remove umbrella light, and gently push up the light adapter post back into umbrella
runner and tighten turning clockwise (Fig. 11).
(Fig. 11)
(Fig. 12)
(Fig. 13) (Fig. 14)
Features

www.simplyshade.com
©2017 SimplyShade - All Rights Reserved. 11/17
WARRANTY:
SimplyShade warrants this product
(in residential use) to be free from
defects in original materials and
workmanship for a period of 1 year from
the date of purchase. If a defect in the
original material or workmanship
appears during the warranty period;
SimplyShade will (at its option) repair or
replace the product without charge.
Limited warranty against fabric fading,
depending on fabric.
Please contact your original authorized
SimplyShade dealer with a description
of the defect. The dealer will verify the
defect and work closely with
SimplyShade to obtain the necessary
service. In many cases, simple
problems can be solved with a
replacement part that can be shipped
directly to the dealer for professional
installation/repair.
In the event that warranted factory
service is required, SimplyShade will
assume the responsibility of the return
freight charges on warranted product for
the 1 year only.
Returned product that (upon receipt and
inspection) is deemed to be “not
covered” under our warranty, will be
shipped/billed at your expense.
This warranty gives you specific legal
rights, and you may have other rights
which vary from state to state.
NOTE: Failure caused by
unreasonable or abusive use, or failure
caused by neglect of reasonable and
necessary care are not covered by this
warranty.
Additionally, acts of nature (including but
not limited to wind, hurricanes, tornadoes,
and storms) are not covered by this
warranty.
S A F E T Y P R E C A U T I O N S :
• Close the umbrella in windy conditions or when a storm approaches.
Never allow the umbrella to flap in the wind; this could damage the canopy.
• Do not leave open umbrella unattended. If damage occurs, this is not covered
by the warranty.
• When adjusting the umbrella, make sure that no person(s) or item(s) are close to
the umbrella. This is important to prevent injury or material damage.
C A R E A N D M A I N T E N A N C E :
• When not in use, close and cover umbrella with a protective cover (sold
separately).
• Allow a wet canopy to dry opened up.
• If necessary, clean the fabric with lukewarm water, mild detergent, and a sponge.
• Wipe sliding marks on the aluminum poles with a damp cloth.
Winter Storage:
• Store in a dry, protective place.
After the Winter:
• Areas subject to turning and sliding can be treated with a non-staining lubricant
spray (silicone-based).
• Check the condition and function of the umbrella. Any defects must be repaired by
a professional.
 Loading...