


FLASH FRYER
INSTRUCTION MANUAL
SIMPLY
MING

1. Important Safeguards.......................................................... 2
2. Description .............................................................................. 5
3. Before rst use ........................................................................ 6
4. Filling the bowl........................................................................ 7
5. Loading the basket ............................................................... 8
6. Lowering the basket ............................................................. 9
7. At the end of cooking time ................................................ 9
8. Turning o the deep fryer ..................................................10
9. Table of cooking times.........................................................10
10. Filtering the oil........................................................................11
11. Cleaning the fryer..................................................................11
12. Restart/Reset function ........................................................12
13. Troubleshooting ....................................................................13
14. Recipes ......................................................................................15
TABLE OF CONTENTS
1

When using electrical appliances, basic safety precautions should always be observed, including
the following:
1. Read all instructions before using.
2. Do not touch hot surfaces. Use handles or knobs.
3. To protect against electric shock do not immerse cord, plug and fryer in water or other liquid.
4. Close supervision is necessary when any appliance is used near children.
5. Unplug from outlet when not in use and before cleaning. Allow to cool before putting on or
taking o parts, and before cleaning the appliance.
6. Do not operate any appliance with a damaged cord or plug or after the appliance malfunctions,
or has been damaged in any manner. Return appliance to the nearest authorized service facility for
examination, repair or adjustment.
7. The use of accessory attachments not recommended by the appliance manufacturer may cause
injuries.
8. Do not use outdoors.
9. Do not let cord hang over edge of table or counter, or touch hot surfaces.
10. Do not place on or near a hot gas or electric burner, or a heated oven.
11. Extreme caution must be used when moving an appliance containing hot oil or other hot liquids.
12. Always attach plug to appliance rst, then plug AC cord into the wall outlet. To disconnect, turn
control to “o”, then remove plug from wall outlet before removing breakaway cord from fryer.
13. Do not use appliance for other than intended use.
14. Be sure handles are properly assembled to fryer basket and locked in place. See detailed assembly
instructions.
15. All of the electrical elements must be assembled onto the fryer before plugging in the fryer.
16. Before use, check that your local electrical socket corresponds to the one shown on the appliance
nameplate located under the appliance.
17. Only connect the appliance to electrical sockets which have a minimum load of 15A. If the
sockets and the plug on the appliance should prove incompatible, contact a professionally
qualied technician to replace the socket with a more suitable one.
2
IMPORTANT SAFEGUARDS

18. This electrical equipment operates at high temperatures which may cause burns. Do not
touch the lter, window, metal walls or other apparent metal parts.
19. To ensure safe operation, oversized foods must not be inserted into the appliance.
20. Ensure that the lid and tank are completely dry after washing and before use.
21. Do not immerse or drain the fryer basket with lid removed when the fryer is in use.
22. The oil level must always be between the Min. and Max. markings.
23. Do not overload the basket. For safety reasons never exceed the maximum capacity.
24. Never operate fryer without oil or fat.
25. The cooking times are given as guidelines only.
26. The oil must be ltered regularly and changed after 8 to 10 uses.
27. Do not mix dierent types of fat or oils.
28. If you use solid vegetable shortening, cut it into pieces and melt it over low heat in a
separate pot beforehand, then slowly pour it into the deep fryer pot. Never pour shortening
directly into the deep fryer pot or basket, as this will lead to deterioration of the appliance.
29. Never remove the pot while the deep fryer is on.
30. Change the charcoal lter after 80 uses.
• Be sure to assemble all the parts as explained in the instructions. Place the electrical connector
properly on the appliance body to correctly assemble it.
• The oil level must always be between the min. and max. markers, stamped inside the bowl.
Check this each time prior to cooking and add some of the same type of oil if necessary to
achieve required level.
• Food must be dried thoroughly before frying. This will prevent the oil from splattering and/or
overowing and will extend the life of the oil.
• We recommend changing the oil after a maximum of 8 to 12 uses.
• Leave the fryer (and the oil within)to cool completely before ltering (3 hours).
• Always remove the anti-odor lter when washing the lid.
• Take great care when handling the food and use tongs. Gradually place the food into the hot
oil, submerge an inch at a time to prevent it from sinking immediately.
SAVE THESE INSTRUCTIONS
3

• Do not mix dierent types of oil as it may cause the oil to overow.
• Never exceed the maximum capacity
• Never place your hand above the lter opening or on the window.
• The steam and the glass window are extremely hot. Do not touch the walls of the fryer as they can
also be very hot.
• Never move the fryer while the oil is hot.
• Never move the fryer with the lid opened.
POLARIZATION INSTRUCTIONS
This appliance has a polarized plug (one blade is wider than the other). To reduce the risk of electric
shock, this plug is intended to t into a polarized outlet only one way. If the plug does not fully t
the outlet, reverse the plug. If it still does not t, contact a qualied electrician. Do not attempt to
defeat this safety feature or modify the plug in any way.
SHORT CORD
This appliance is equipped with a detachable magnetic cord designed to separate from the unit
when certain amounts of force are applied. A short power-supply cord is provided to reduce the
risk resulting from becoming entangled in or tripping over a longer cord.
WARNING: DO NOT USE AN EXTENSION CORD TO OPERATE THIS UNIT
MAGNETIC CONNECTOR
The cord is equipped with a detachable magnetic connector. The magnetic connector should be
attached directly to the fryer. THIS SHOULD BE DONE PRIOR TO PLUGGING THE CORD INTO THE
WALL OUTLET.
4
DO NOT
FOR HOUSEHOLD USE ONLY

1. Filter cover
2. Anti-odor charcoal
lter
3. Viewing window
4. Removable lid
5. Handle unlocking
button
6. Basket
7. Removable control
panel
a. power light
b. working light
c. timer knob
d. temperature knob
e. restart/reset
8. Oil Container
9. Min. and Max. oil
level markers
10. Lid opening button
11. Body
12 Carrying handles
13. Electrical connector
14. Magnetic power supply cord
5
DESCRIPTION

PREPARATION
6
Before rst use
• Remove all packaging from the
exterior and interior of the fryer.
• Make sure fryer is unplugged.
• Clean all parts (except the control
panel, anti-odor lter, electrical
connector and magnetic supply cord)
with a sponge and dish soap or put
them through the dishwasher on the
top rack.
• Thoroughly dry all parts before use.
• Do not immerse the cord, power
strip or control panel assembly in
water or any other liquid.
• Place the electrical connector, the
bowl, the control panel and the
basket back on the fryer.

7
PREPARATION
Filling the Oil Container
• Never exceed the maximum level
indicated in the bowl.
• Use oil recommended for deep frying:
vegetable oil, corn oil, canola oil, etc.
• If you use solid vegetable shortening,
cut it into pieces and melt it in a separate
pan then pour it inside the fryer (do not
melt the blocks of shortening in the
basket or in the oil container).
• Never exceed 302°F to melt the
vegetable shortening, always follow the
cooking instructions (see cooking tables
p.10).
• Put the anti-odor lter and the lter
cover into place.

PREPARATION
8
• After the oil container has been lled
with oil, close the lid, connect the
magnetic supply cord and plug in the
appliance without the frying basket.
Loading the basket
• Remove excess moisture (water and ice)
from the food.
• Fill the basket away from the deep fryer.
• Do not overll the basket.
• Reduce the quantity for frozen food.
• Place the basket in position on the edge
of the oil container and leave the handle
in the horizontal position.
• Close the lid.
•Cooking tip: Cut food into similar-sized
pieces so that they cook evenly. Avoid
using pieces that are too thick.
• Turn timer knob to on position and
power light will come on
• Set the thermostat according to the
food you are frying
(see cooking tables p.10).

PREPARATION
9
Lowering the basket
• When the oil has reached the correct temperature, the temperature light (green) will go out.
• Press the handle unlocking button and fold the
handle very slowly into its housing to lower the
basket into the oil. Plunging the basket too rapidly
in the oil may cause it to overow.
CAUTION:Always replace and close the lid before
immersing food in oil. Do not immerse or drain
food with lid removed or open.
Set the cooking time
• Set the timer to the desired time.
• The countdown starts.
• During cooking, it is normal for the temperature
light to cycle on and o.
•During cooking, you have the opportunity, without opening the lid, to raise the basket resulting in
more even cooking.
At the end of cooking time
• The timer sounds indicating the selected cooking time has elapsed.
• The timer signals the end of the cooking time
and stops the appliance at the same time.
• Lift the basket handle horizontally to raise the
basket until you hear a “click” as it locks.
• Turn the thermostat down to the lowest setting.
• Open the lid.
• Remove the basket, making sure that it comes
completely out of the oil container and the removable control panel.
• Close the lid while not in use.
• To fry a second time, correct the oil level if necessary, set the thermostat to the desired temperature then wait for the temperature indicator light
to turn on before lowering the food into the oil.
• For crispy fried food, open the lid as soon as
you have nished cooking to prevent steam from
softening the food.

10
PREPARATION
Turning o the deep fryer
• When you have nished frying. Turn the thermostat down to the lowest temperature and timer knob
to o position.
• Unplug the deep fryer from the wall outlet. WARNING: Do not use the magnetic power supply cord
to disconnect the fryer. Always disconnect the plug from the wall outlet rst to disconnect the fryer.
• Allow the oil to cool completely in the fryer (2 to 3 hours).
• Move the fryer using the carrying handles located on each side of the bottom of the unit.
TABLE OF COOKING TIMES
The cooking times are a guide only, they may vary depending on the size of the food,
the amount of food and individual preferences.
Cooking tips: For best results, use the traditional French method of frying
homemade French fries:
- rst frying at 320°F
- second frying at 375°F
Cooking times are approximate.

11
CLEANING
Filtering the oil
You may store the oil in the fryer, or in a separate airtight container.
• Do not pour used oil into the sink. Leave it to cool, and throw it away with the household waste - according to local community regulations.
• Crumbs that break away from foods tend to burn and alter the quality of the oil more rapidly. Over
time, this increases the risk of catching re. For this reason, lter the oil regularly.
Cleaning the fryer
• Do not handle the appliance without having it unplugged,
powered o and allowing it to cool (3 hours) beforehand.
• Remove the lter cover then the lter. Do not wash or wet the anti-odor lter.
• Open and remove the lid from the fryer.
• Remove the basket.
• Remove the control panel.
• Remove the oil container from the housing.
• Remove the electrical connector.
• The basket, lid, body, and oil container can be washed in the dishwasher on the top rack or imersed
in soapy water. Do not immerse the cord, power strip or control panel assembly in water or any other
liquid.
• Dry all parts thoroughly before putting them back together.
• Take time to assemble all the parts correctly.
• Place the lid back on the fryer.
• Put the anti-odor lter and the lter cover into place.
• Do not use any type of steel wool to clean magnetic contacts.
WARNING: Do not remove oil container until the unit is unplugged and has cooled.
• Remove electrical connector from the interior of the back of the fryer. NOTE: Control panel must be
removed before the electrical connector can be removed.

12
• Your appliance is equipped with an overheating safety feature if you accidentally use your fryer without oil. If the safety cut-out is activated, the appliance will shut o automatically and the power-on
light will turn o.
• In this case, unplug the appliance and let it cool.
• Then remove the control unit and press the safety cut-o RESTART?RESET at the back of the control
panel with a toothpick or similar non-metallic object after the oil container has been lled between
the Min/Max marks inside oil container.
• Plug in the appliance again.
RESTART/RESET FUNCTION

TROUBLE SHOOTING
13

14
TROUBLE SHOOTING
LIMITED ONE-YEAR WARRANTY
Congratulations on your purchase of the Ming Tsai Flash Fryer. This product is warranted to be free
from defects in material and workmanship under normal use and service for a period of one year from
the date of original purchase with receipt. The manufacturer’s obligation shall be limited to repairing or
replacing, FOB N.Y.,any part of the product that is defective. Such warranty shall not apply to damages
resulting from accidents, abuse or misuse. This warranty is valid only for rst quality goods purchased
from an authorized selling agent of IDL. 7-15
Ingenious Designs LLC • 2060 9th Avenue • Ronkonkoma, NY 11779 • (800)248-3002

RECIPES
15
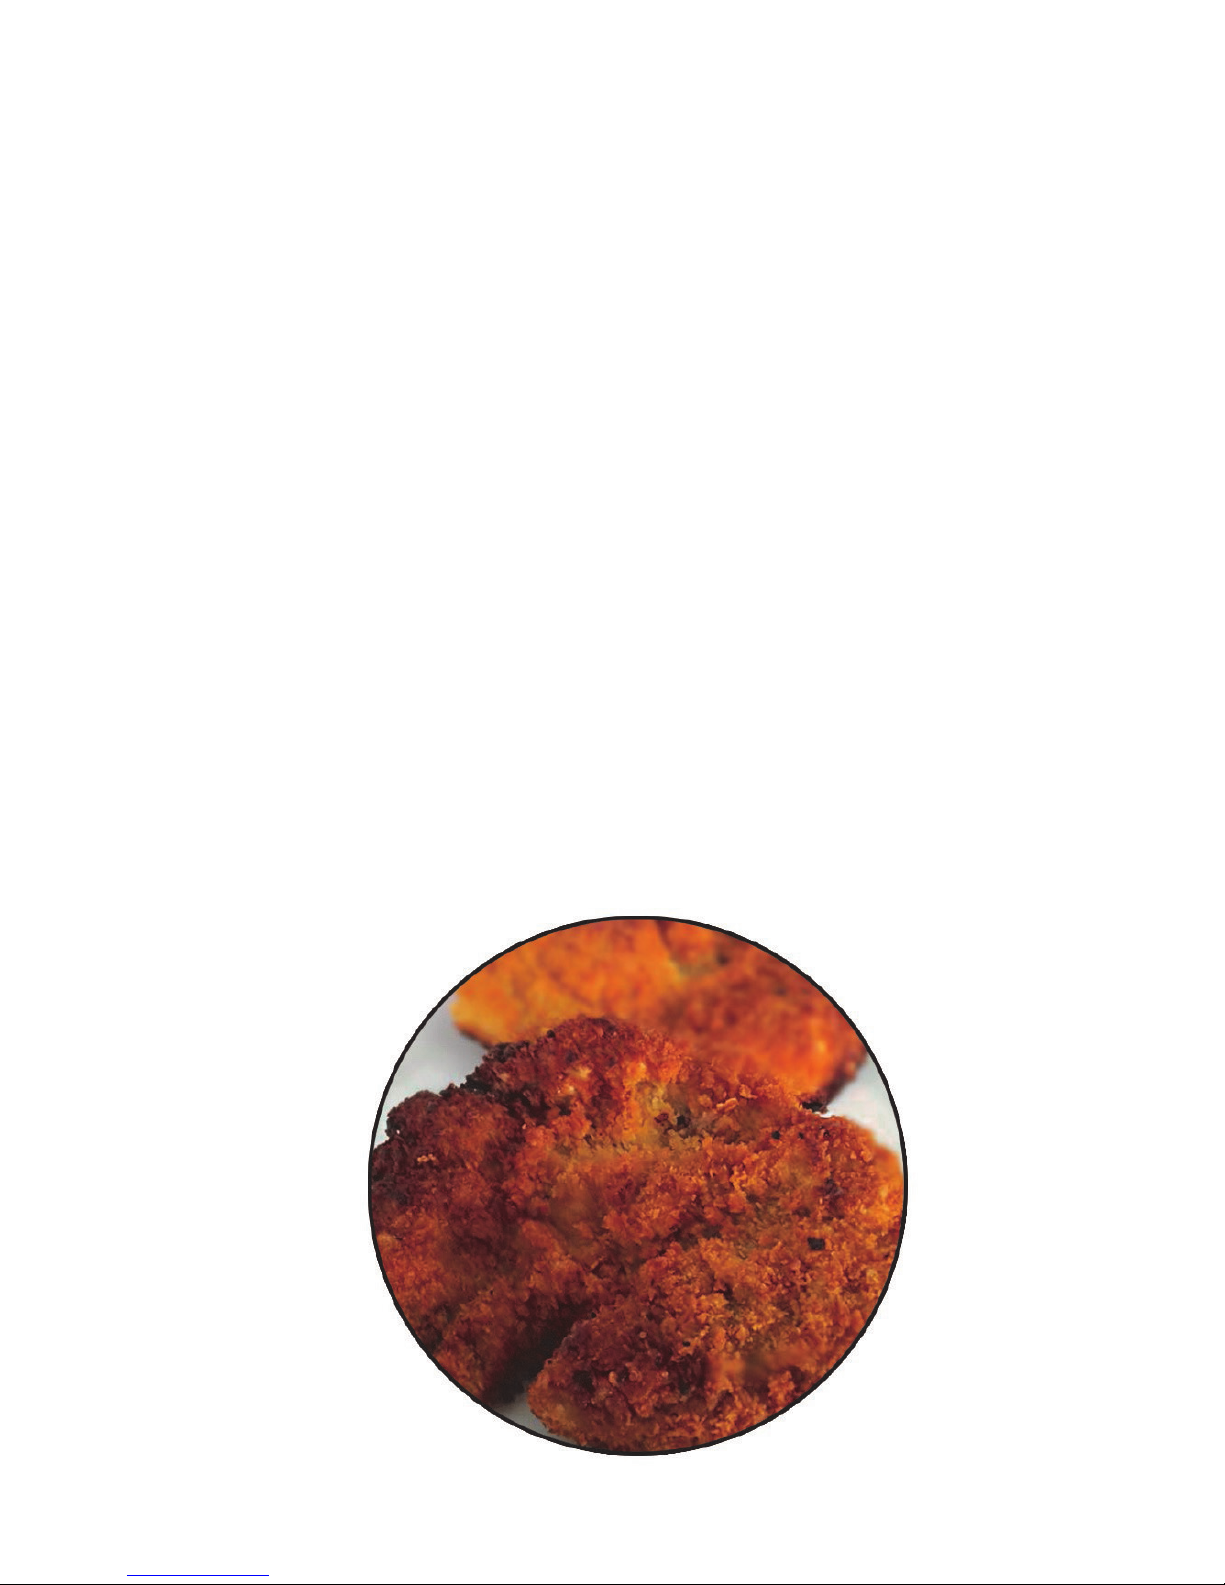
Easy Flash-Fryer Donut Bites
1 can Pillsbury™ Grands!™ Flaky Layers refrigerated biscuits (8 biscuits)
Vegetable Oil for Frying
1 cup powdered or granulated sugar
Preheat fryer to 265.
Separate dough into 8 biscuits. Using small round lid or cookie cutter, cut hole in center of each
biscuit. Using metal tongs, gently place the circles into lowered fry basket. Fry for about 4 minutes
in covered fryer, turning after 3 minutes.
Raise basket and allow donuts to drain. Top with sugar.

16
RECIPES
Parmesan Fritters
This recipe makes about 16 small fritters so if you are having a large group, consider doubling the
recipe as they are very tasty!
¼ cup butter
2/3 cup water
½ cup plus 6 teaspoons our; sifted
2 eggs; beaten
1 teaspoon chopped fresh parsley
½ cup grated Parmesan Cheese
¼ cup grated sharp Cheddar Cheese
½ teaspoon coarsely ground black pepper
Salt to taste
Preheat your fryer to 375˚.
In a large non-stick pot, melt butter over medium heat. Add water and bring to a boil.
Add the our and stir quickly with a wooden spoon until the mixture pulls away from the sides of the
pot. Reduce heat to low and vigorously beat in the eggs, a little at a time. Stir in cheeses, parsley and
salt and pepper. Continue stirring until cheese has melted.
Carefully drop walnut-sized spoonfuls of batter into the fryer, being careful not to overcrowd the basket, and fry 2-3 minutes or until pued and golden brown.

RECIPES
17
Chicken Chimichangas
3 lbs. boneless, skinless chicken breasts
3 Tablespoons chicken bouillon granules
2 cloves
2 bay leaves
2 celery ribs
2 large garlic cloves
1 teaspoon salt
5 cups water
1 large onion; thinly sliced
1 clove garlic; minced
2 Tablespoons Olive Oil
14-oz. Jar chopped pimento; drained
1 4.5-ounce can diced green chilies
½ teaspoon cumin
¼ teaspoon chili powder
1 cup shredded Cheddar Cheese
1 cup shredded Monterey Jack Cheese
Salt and pepper to taste
8 large our tortillas
2 cups sour cream (optional)
1 cup guacamole (optional)
2 cups shredded Cheddar cheese (optional)
Shredded lettuce (optional)
1 large tomato; chopped (optional)
Fresh Salsa (optional)

18
RECIPES
Combine the chicken, bouillon, cloves, bay leaves, celery ribs, garlic, salt and water in a large stockpot.
Cook over medium heat 1 – 1 ½ hours or until chicken is tender. Remove from heat and let stand
until cooled. Remove chicken from liquid and chop.
Sauté minced garlic, onion and olive oil in a skillet, over medium heat, until onions are tender. Add
the chicken, pimentos, chopped chilies, cumin, chili powder, salt and pepper to taste. Simmer over
low heat for 10 – 15 minutes. Remove from heat and stir in 1 cup shredded Cheddar and 1 cup shredded Monterey Jack cheese.
Preheat fryer to 375˚.
Heat a skillet with 2 inches water until boiling
To assemble, make one at a time in the following manner:
Use tongs and lower a tortilla into water and quickly turn it over and then remove to a work surface;
tortilla should only be in water for 10 seconds!
Spread about ½ cup chicken mixture horizontally across middle of tortilla leaving about 1 ½ - 2 inches
on each side. Fold the bottom of the tortilla up, fold in the sides and roll it tightly. Place, folded side
down on a non-stick surface.
Repeat this procedure for the remaining tortillas and lling.
Using a large slotted spoon, carefully lower the lled tortillas into the lowered basket of your fryer. Do
not over crowd! You may be only able to fry 2 or 3 at a time!
Fry 3 – 4 minutes or until tortilla is light brown and crispy. Drain on paper towels.
To Serve: Remove toothpicks and place 1 or 2 Chimichangas on a plate. Top each with ¼ cup shredded cheese, ¼ cup sour cream and 2 Tablespoons guacamole. Surround with shredded lettuce and
chopped tomato. Serve immediately!
Have a bowl of fresh Salsa on the table to pass around if desired.

RECIPES
19
Southern-Fried Chicken
3 lbs. Chicken pieces; bone-in
8 cups cool water
2 Tablespoons salt
1 ½ cups our
2 teaspoons salt
1 teaspoon paprika
½ teaspoon ground black pepper
Wash chicken and place into 8 cups water with 2 Tablespoons salt.
Allow to soak for 30 minutes. Drain water and pat chicken dry.
Preheat your fryer to 340.
Place our and seasonings into a large zip-close baggie. Add chicken, 2-3 pieces at a time, to baggie and toss to thoroughly coat chicken pieces. Allow to sit 5 minutes and then toss again.
When fryer temperature indicator light goes out, remove lid and lower basket. Using long tongs,
gently place chicken, one piece at a time, into the oil. Do not overcrowd the fryer. You may have to
cook the chicken in two batches.
Cover fryer and cook for 13-15 minutes or until done. Raise lid and allow draining 30 seconds. Place
chicken onto paper towel to remove any excess oils. Repeat with remaining chicken.
20
RECIPES
Crispy Pork Chops
6 thin cut, bone-in pork chops (about 1- 1 ½ pounds)
1 ½ cups our
1 teaspoon salt
1 teaspoon coarse ground black pepper
Oil for frying
Pre-heat your fryer to 375˚. Insert and lower the basket.
Wash and pat dry the pork chops.
Place the our, salt and pepper into a large zip-top bag and toss until mixed.
Place the pork chops into the bag and toss until well coated. Remove from bag and place, in a single
layer on a plate. Let them sit 10 minutes or until fryer is preheated.
Working with one chop at a time, put back in baggie and re-toss in the our. Using long tongs remove the chop from the baggie and shake o any excess our. Drop directly into the lowered fryer
basket.
Repeat with remaining chops but, do not over crowd the fryer; you may only be able to fry 3 at a time
depending on the size of your fryer.
Fry for 4-5 minutes or until golden brown.

RECIPES
21
Fried Oyster Po’ Boys
1 pint shucked oysters; drained, washed and
drained again
¾ cup our
¾ cup yellow cornmeal
1 teaspoon salt
½ teaspoon cayenne pepper
Preheat your fryer to 340˚.
Combine the our, corn meal, salt, pepper and cayenne pepper in a large zip-top bag.
Gently pat dry the washed oysters and put them in with the breading mixture. Toss to coat.
Lower the fry basket into the hot oil. Using tongs gently remove the oysters from the breading and
shake o the excess. Drop the breaded oysters, one at a time, into the hot oil; you may have to fry in
batches so as not to overcrowd the fryer. Shake the basket to prevent them from sticking together
or to the bottom of the basket.
Fry for 2-3 minutes or until lightly browned. Drain on paper towels.
Split the hoagie rolls lengthwise and spread 1-2 Tablespoons tartar sauce or seafood sauce on each
side. Place the oysters in the center and top with shredded lettuce and tomato slices.
¼ teaspoon fresh ground black pepper
Oil for frying
2 soft hoagie rolls
1 tomato; sliced
1 cup shredded iceberg lettuce
Tartar sauce or seafood sauce

22
RECIPES
English Battered Fish
3 pounds white sh llets
1 cup all-purpose our
Oil for frying
Wash your sh llets and while they are still moist, lightly our and set them on a wire rack to dry.
When they are dry, dip one piece at a time into the batter described below and fry in a pan for
4 minutes per side or in your fryer at 340º for 7-8 minutes.
Remove from oil and drain on a paper towel.
Fish Batter
2/3 cup at beer
1/3 cup lemon juice
1 egg
½ cup self-rising our
Salt and pepper to taste
Mix the beer (any brand), lemon juice and self-rising our in a largemixing bowl with a wire whisk.
Whip the mixture until completely mixed. Let stand at room temperature for 10 minutes before using.
 Loading...