

Simple Motors Kit 17, Kit 16 Assembly Instructions Manual
Assembly Instructions: Kit #17
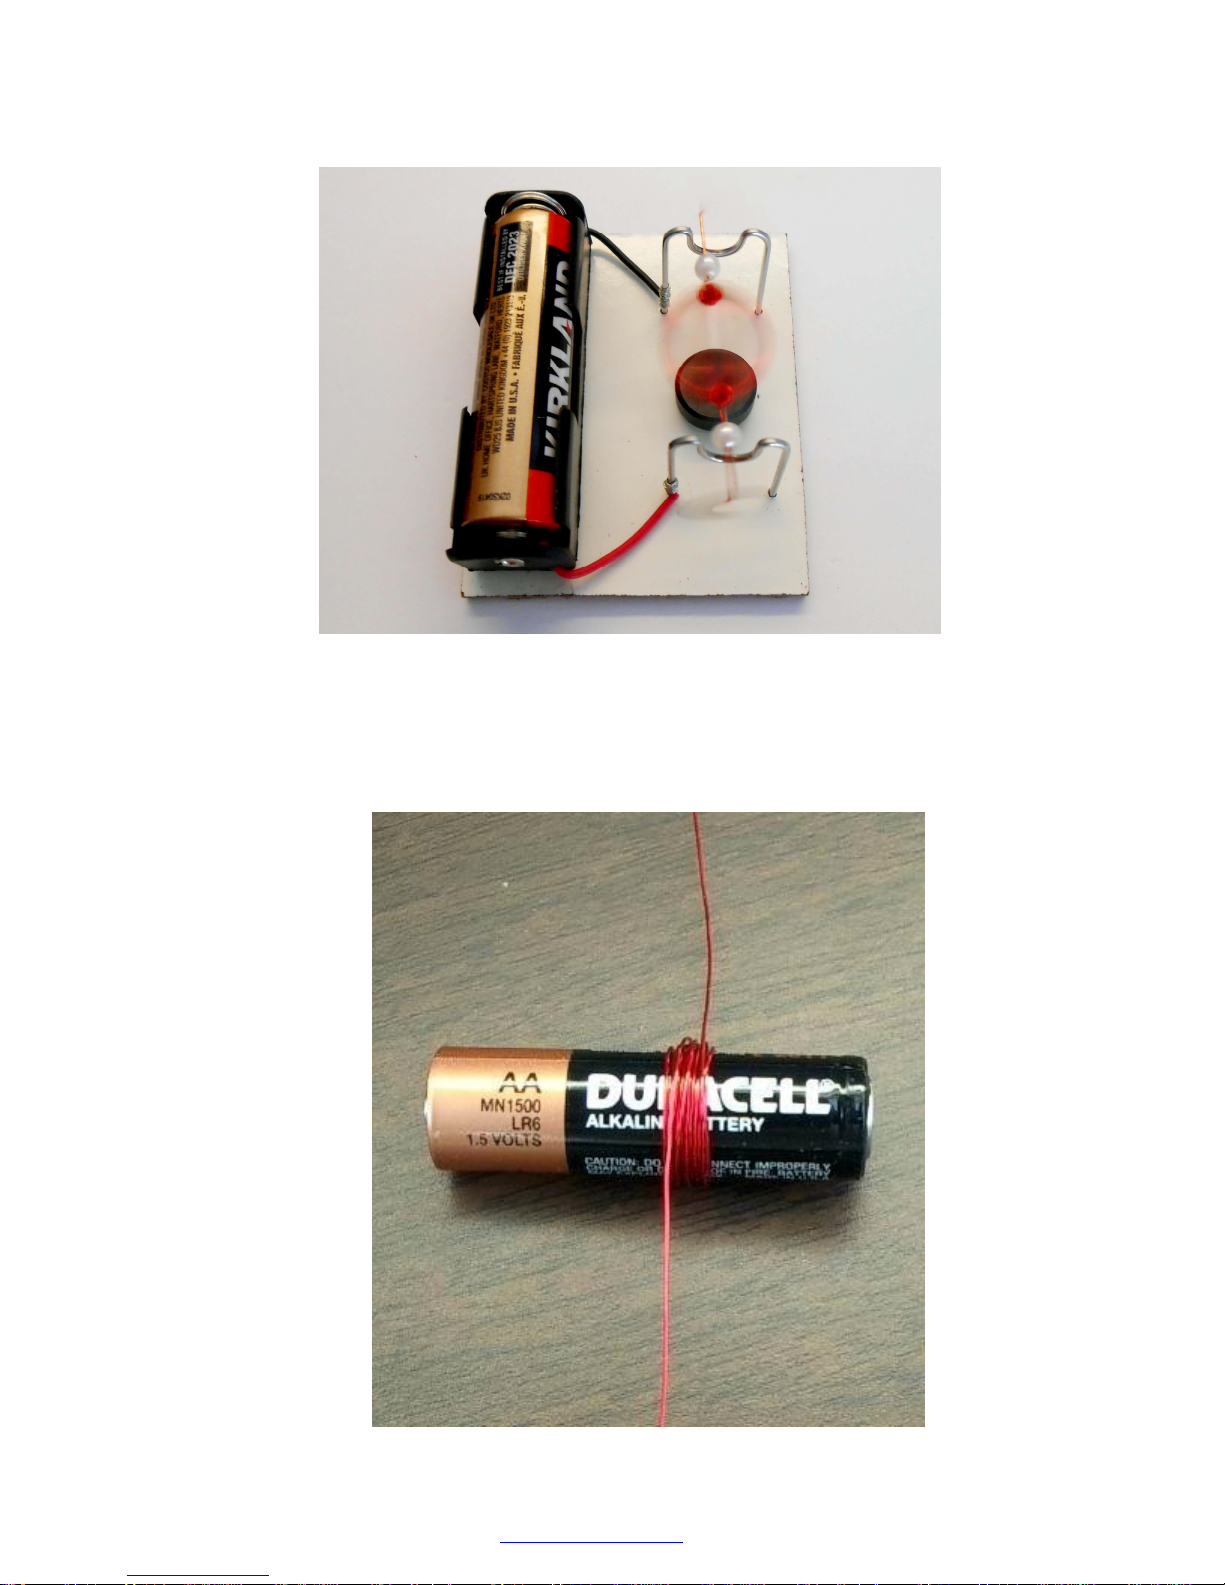
Conventional Brushed Motor
1. Leave about 3" (7-8 cm) and wind the wire 10-20 times around the AA battery. You do not
have to be neat as some randomness does not affect the motor performance and may help
the coil to hold its shape better. Leave 3" (7-8 cm) at the other end of the coil.
Assembly instructions for kit #17 1
All rights reserved. 2014 Simple Motors, LLC ♦ www.simplemotor.com ♦
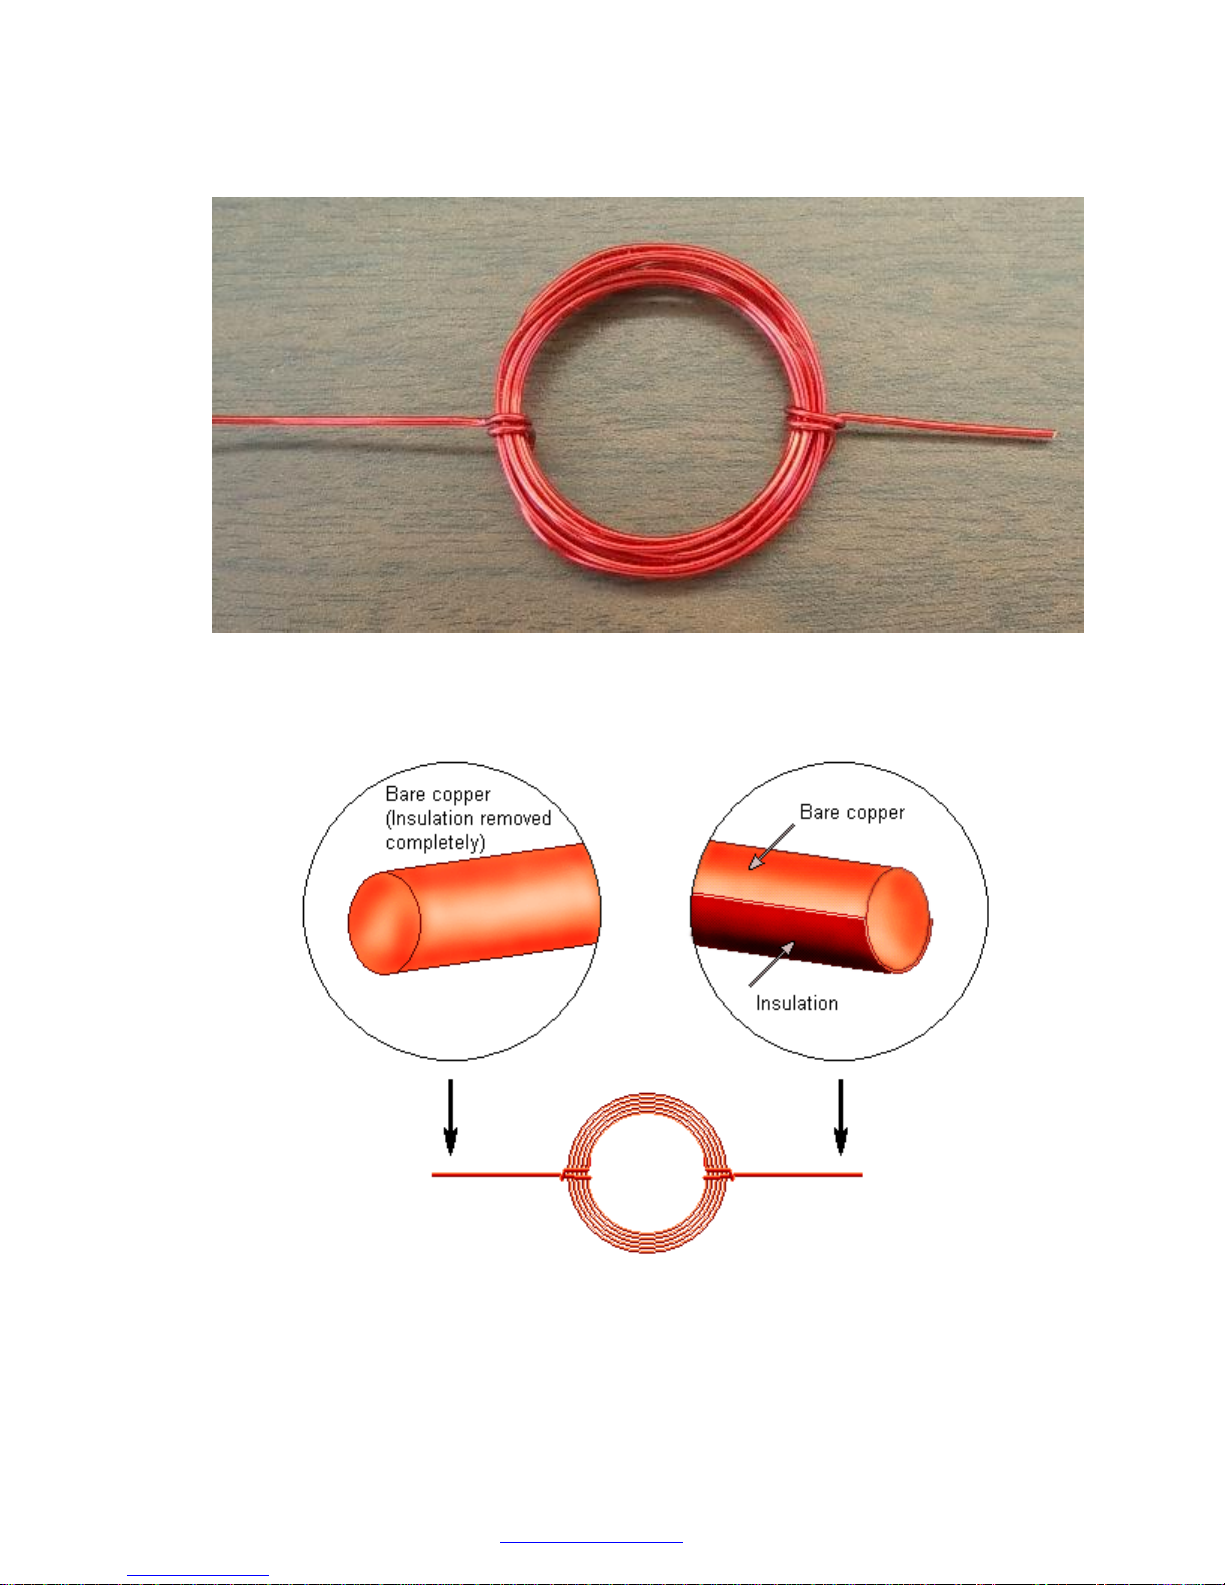
2. Carefully remove the battery and wrap the ends around the coil 2-3 times to hold the coil
together with both ends extending perpendicular to the coil as shown below. The ends
should be aligned in a straight line to form a good axle. This step requires a lot of accuracy
because the balance of the coil is extremely important.
3. Strip off the insulation compl etely at one end and only half of it at the other. This step is
very im porta nt, try to be very a ccura te.
The following picture shows how to remove the insulation using the knife. Do not scratch
the table - put a piece of cardboard or similar material on it. Hold the coil in vertical position
with one of the ends lying on the surface and remove the insulation by moving the knife in
the direction shown with the arrow. Hold the blade of the knife in vertical position. You will
need to rotate the coil slightly in both clockwise and counterclockwise directions to remove
half of insulation, and rotate the coil 360° to remove the insulation completely from the
other end. Apply only a slight pressure or you may cut the wire end off.
Assembly instructions for kit #17
All rights reserved. 2014 Simple Motors, LLC ♦ www.simplemotor.com ♦
2
 Loading...