

Page 1
Warranty Rigging Manual ICON 2010
Simmer sails and accessories are guaranteed against manufacturing and material defects according to regulations in
the country where it is purchased. The guarantee is only valid when the problem originates from recreational sailing on
water. Normal wear and tear is not guaranteed. Check for exact terms with your local dealer.
Please ll in the warranty card and return it to the distributor in your country.
Warranty Registration Card for ____ year(s)
Sail model and size: ___________________________
Purchased: _______Dealer:________________City:_________________
Your name and address:
______________________________________________________________________________________________
____________________________________________________________________________________
______________________________________________________________________________________________
____________________________________________________________________________________
Dealer stamp and signature:
Maintenance
Do not use abrasives, harsh chemicals or solvents to clean your sail. For long term storage clean your
sail thoroughly with warm water and mild soap, rinse well, and dry completely.
Avoid sharp and abrasive surfaces.
Stop using your sail in case of puncture. In emergency temporarily repair with thick, nonstretch tape.
To get maximum performance and lifespan from your Simmer sail, do not leave exposed to UV light for extended
periods of time, all lms degrade much rapidly.
-
-
-
-
3.4
3.7
4.0
4.2
4.5
4.7
5.0
5.3
5.6
5.9
6.2
Page 2
Trouble Shooting Guide
The most common rigging problem is insufcient downhaul. It is better to start with a little too much,
and then test the sail with gradually less downhaul until you nd the setting that is right for you.
Always re-check and adjust your outhaul when the downhaul setting is changed.
Use the outhaul to control the draft depth, and overall power in the sail.
Do not over outhaul your sail in high wind. It is necessary to maintain depth of foil for draft stability.
An over outhauled sail will feel at and unstable.
A stiffer than recommended mast will make a sail more powerful, and a softer than recommended
mast will make a sail less powerful.
Every sailor has different preferences, so take the time to try several
different downhaul and outhaul settings on the water.
This exercise will improve your sailing!
More Tips
-
-
-
-
-
-
-
We measure the luff lengths of the sail from the top of the head
cap as it sits just above the sleeve top, to the bottom of the tack
tting. We are always striving to make the sail specs as accurate as possible, but the nal settings for the sail should always
be decided by on the water performance.
Technical Specications
Unroll sail starboard side up (as pictured at right).
Set your boom and mast base to proper lengths,
as indicated on the sail.
Slide the mast up the mast pocket.
Tip: Keep the battens above and below the boom cut out
close together as you work the mast in to the sleeve- this
will make sliding the mast in a lot easier.
Make sure that the mast is properly together.
Set adjustable head to shortest possible setting, then t cap over
mast.
Fully downhaul your sail until the leech goes loose 1/4 of the
way into the sail body between the top and the second batten.
Due to a new luff curve the 2010 sails have a tighter leech even
when the correct downhaul is applied. Downhaul the sail to the
recommended luff length, making sure your leech is loose as
described in the diagram to the right. Make sure that the tack pulley
is within 2-3cm of the downhaul cleat. Tip- Always use as little mast
extension as possible.
Attach the boom to desired height.
Thread your outhaul and tension to prescribed length. This should
be about 2-4cm of positive tension from the neutral position.
Tip: Your boom end should always be with 2cm of the nal outhaul
position.
Finally, tension all battens until all vertical wrinkles
through the batten pockets disappear.
Tip- Proper batten tension is crucial for top performance,
but it is important not to over-tension the battens. An
over-tightened batten will ”S” bend, negatively effecting
performance.
For further rigging instructions check out our online rigging video´s
available at: www.simmerstyle.com
1.
2.
3.
4.
5.
6.
7.
8.
9.
Release outhaul completely.
Release the downhaul completely, and remove the mast
base extension. The cams will pop off the mast on their
own at this stage.
Detach boom from mast.
Remove mast from sail.
Tip- Slide the battens above and below the boom cutout
together to reduce tension on the mast, and remove the
mast with a spinning motion.
Roll the sail tightly for storage, starting at the head and
rolling all the way to the tack.
After basic rigging is accomplished, ne tuning the sail to
suit your particular style can be done. Simmer Style designer
Tomas Persson offer this tuning advice-
”Using the basic rigging instructions as a starting point, you
can now ne tune the sail to t your specic needs. The single
most important rigging factor for performance is downhaul tension.
You must get the correct amount of downhaul on the sail for top
performance. An under-downhauled sail will feel heavy and have a
tendency to pitch you forward. Correct downhaul tension will prevent
this. The great thing is- once you have the correct downhaul
it works for every wind strength- you can set it and forget it.
Different conditions may require different power settings,
and this is the function of the outhaul.
If you are sailing at water and small chop, try a little less
outhaul to really power up the sail. If you are sailing in
heavy swells or breaking waves, or just want to make the
sail as maneuverable as possible, try adding a bit of outhaul.
This will make the sail more neutral for turns, tricks and
transitions. The power of the sail can be changed greatly by
adjusting the outhaul just 2cm. Try changing the setting 1cm at a
time, and check out the result on the water. This is the best way to
nd the setting.”
1.
2.
3.
4.
5.
Rigging
De-Rigging
Fine Tuning
Due to a new luff curve the 2010 sails
have a tighter leech even when the correct
downhual is applied.
LUFF
HEAD
LEECH
CLEW
NOTE!
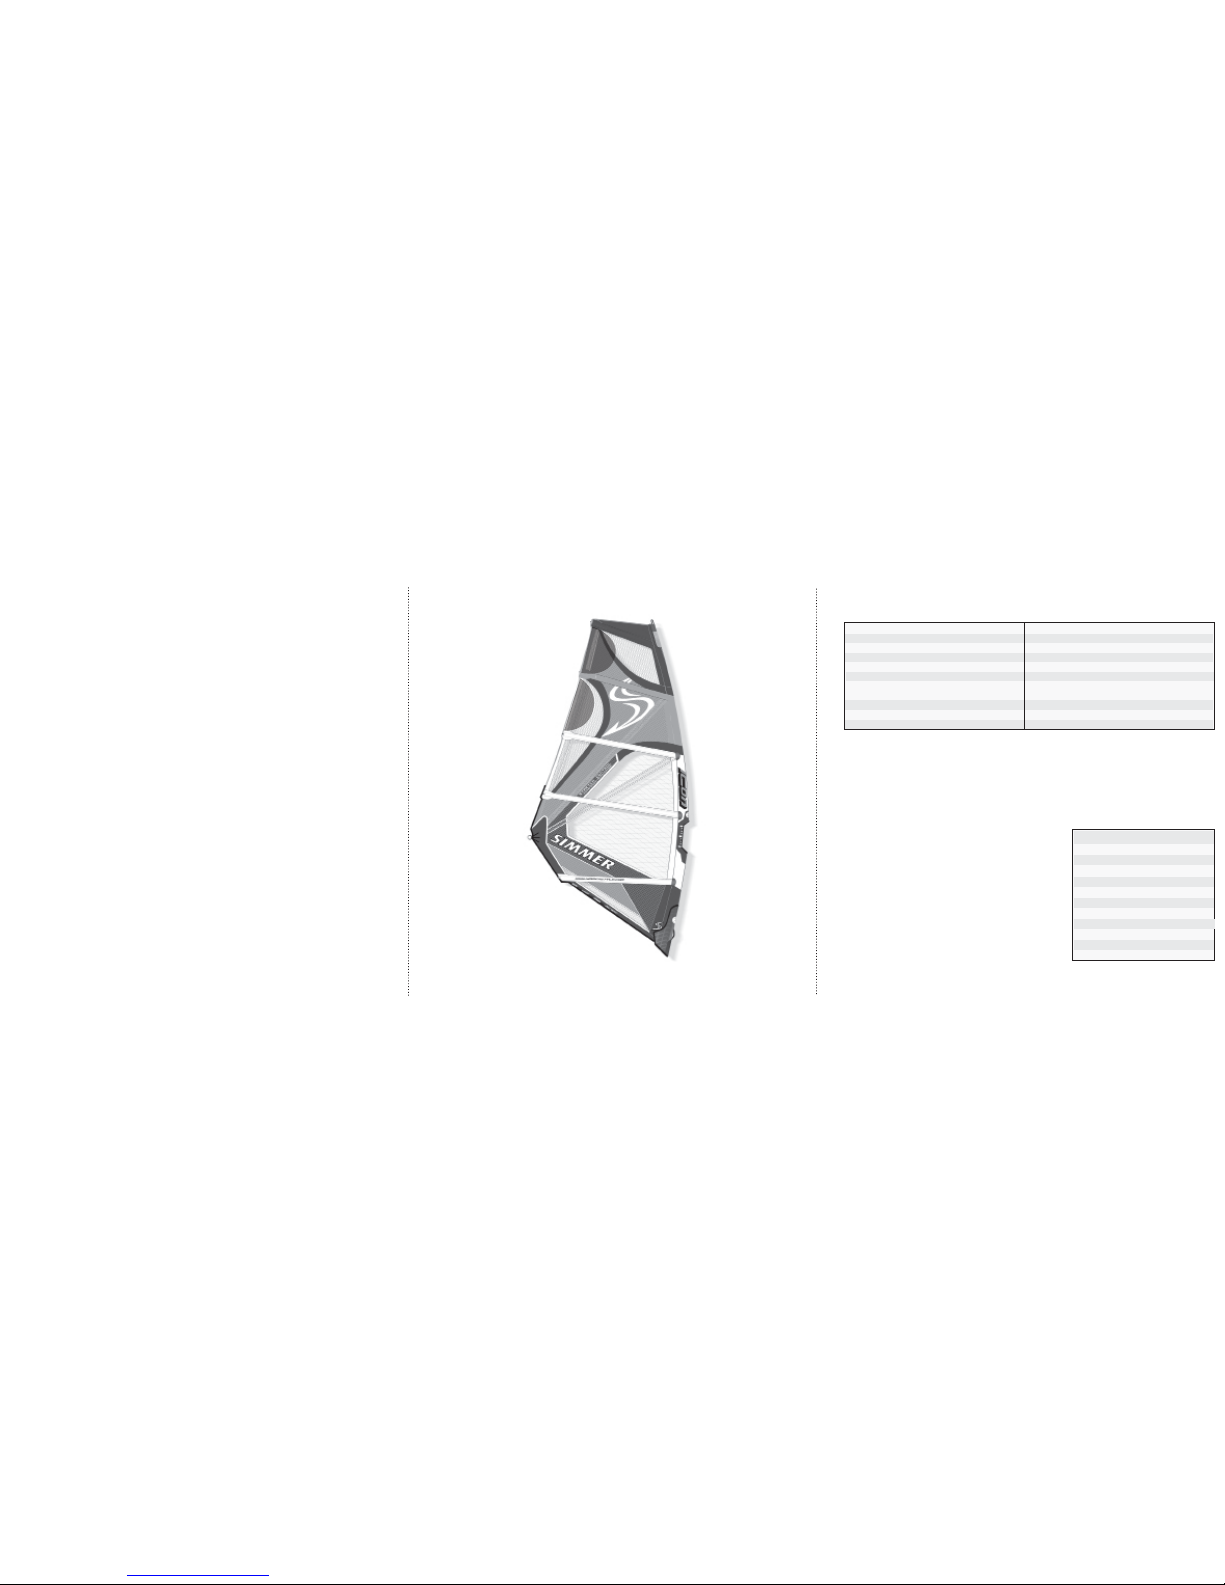
The shadowed area indicates leech
looseness after the correct down-
haul and outhaul are applied.
Tip: Apply less downhaul to
larger sail sizes.
PROBLEM
The sail feels heavy
Wrinkles in the boom area
Leech is excessively loose and noisy
Leech is tight and not twisting correctly
Sail feels at and powerless
The sail has a lot of back hand pressure
Wrinkles around the batten pockets
Battens are making an S-shape
The foot of the sail is loose
SOLUTION
Add downhaul tension
Add downhaul tension or reduce outhaul tension
Reduce downhaul tension
Add downhaul tension
Reduce outhaul tension
Reduce outhaul tension and/or increase downhaul
tension and/or move harness lines back on the boom
Increase batten tension
Reduce batten tension
Increase outhaul, or make sure the tack of the sail is pulled
SIZE BOOM LUFF MAST
PRO PERFORMANCE MAST: RDM10
RECOMMENDED MAST: RDM8
SECOND MAST CHOICE: RDM6 or SC6
3.4 135 353 340/15
3.7 140 370 370/17
4.0 145 384 370/17
4.2 152 392 370/17
4.5 154 402 400/19
4.7 159 411 400/19
5.0 169 418 400/19
5.3 175 424 400/19
5.6 181 434 430/21
5.9 184 448 430/21
6.2 190 453 430/21
FIND RIGGING VIDEOS ONLINE AT: www.simmerstyle.com/support/
 Loading...