

Sima CT-1 User manual
90-day Limited Warranty
Sima Products Corporation warrants this product against defects in materials and
workmanship for a period of 90 days from the date of purchase. During the
warranty period, the product will be repaired or replaced at Sima’s option. Mail the
enclosed product registration card within ten days of the original purchase.
Conditions
Ship your unit, freight pre-paid, including a copy of your sales receipt and a
description of problem to:
Sima Products Corporation
Attn: Customer Service
140 Pennsylvania Ave.
Bldg. #5
Oakmont, PA 15139
This warranty is void if any defects are caused by abuse, misuse, negligence or
unauthorized repairs.
All liability for incidental or consequential damages is specifically excluded. Some
states do not allow for the exclusion or limitation of incidental or consequential
damages, so the above limitation or exclusion may not apply to you. This warranty
gives you specific legal rights and you may have other rights, which vary from state to
state.
Optional Accessories available from Sima Products:
RCA style video cable
•
RCA style audio and video cable
•
S-video cable
•
Digital Video Enhancer
and Duplicator
Model CT-1
Sima Products Corporation
140 Pennsylvania Ave Bldg #5 Oakmont, PA 15139
800-345-7462 www.simacorp.com
e-mail us at custserv@simacorp.com
© 2003 Sima Products Corporation PN21677
User Manual
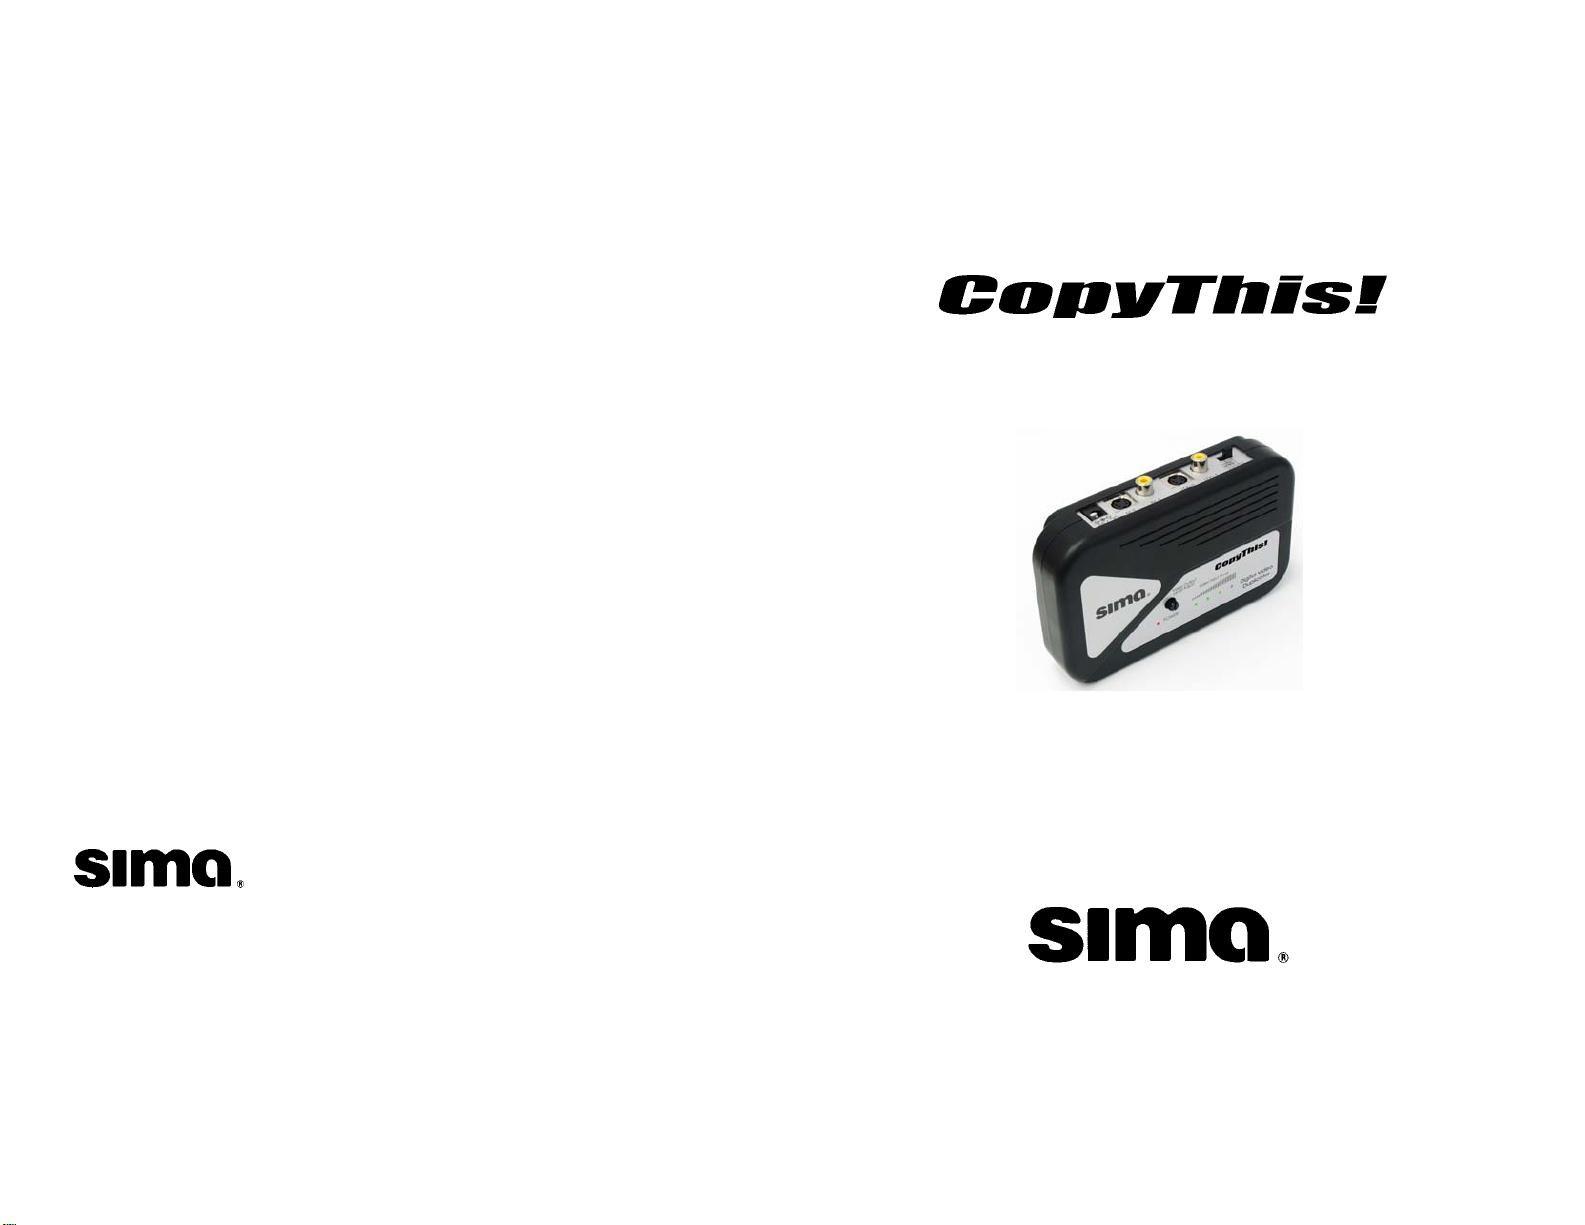
Sima’s CopyThis! (Model CT-1)
will automatically enhance the
quality of the home video you are
duplicating.*
This package includes:
1 CopyThis! Unit (Model CT-1)
1 7.5V, 300 mA adapter
1 RCA style Video Cable
This Instruction Manual
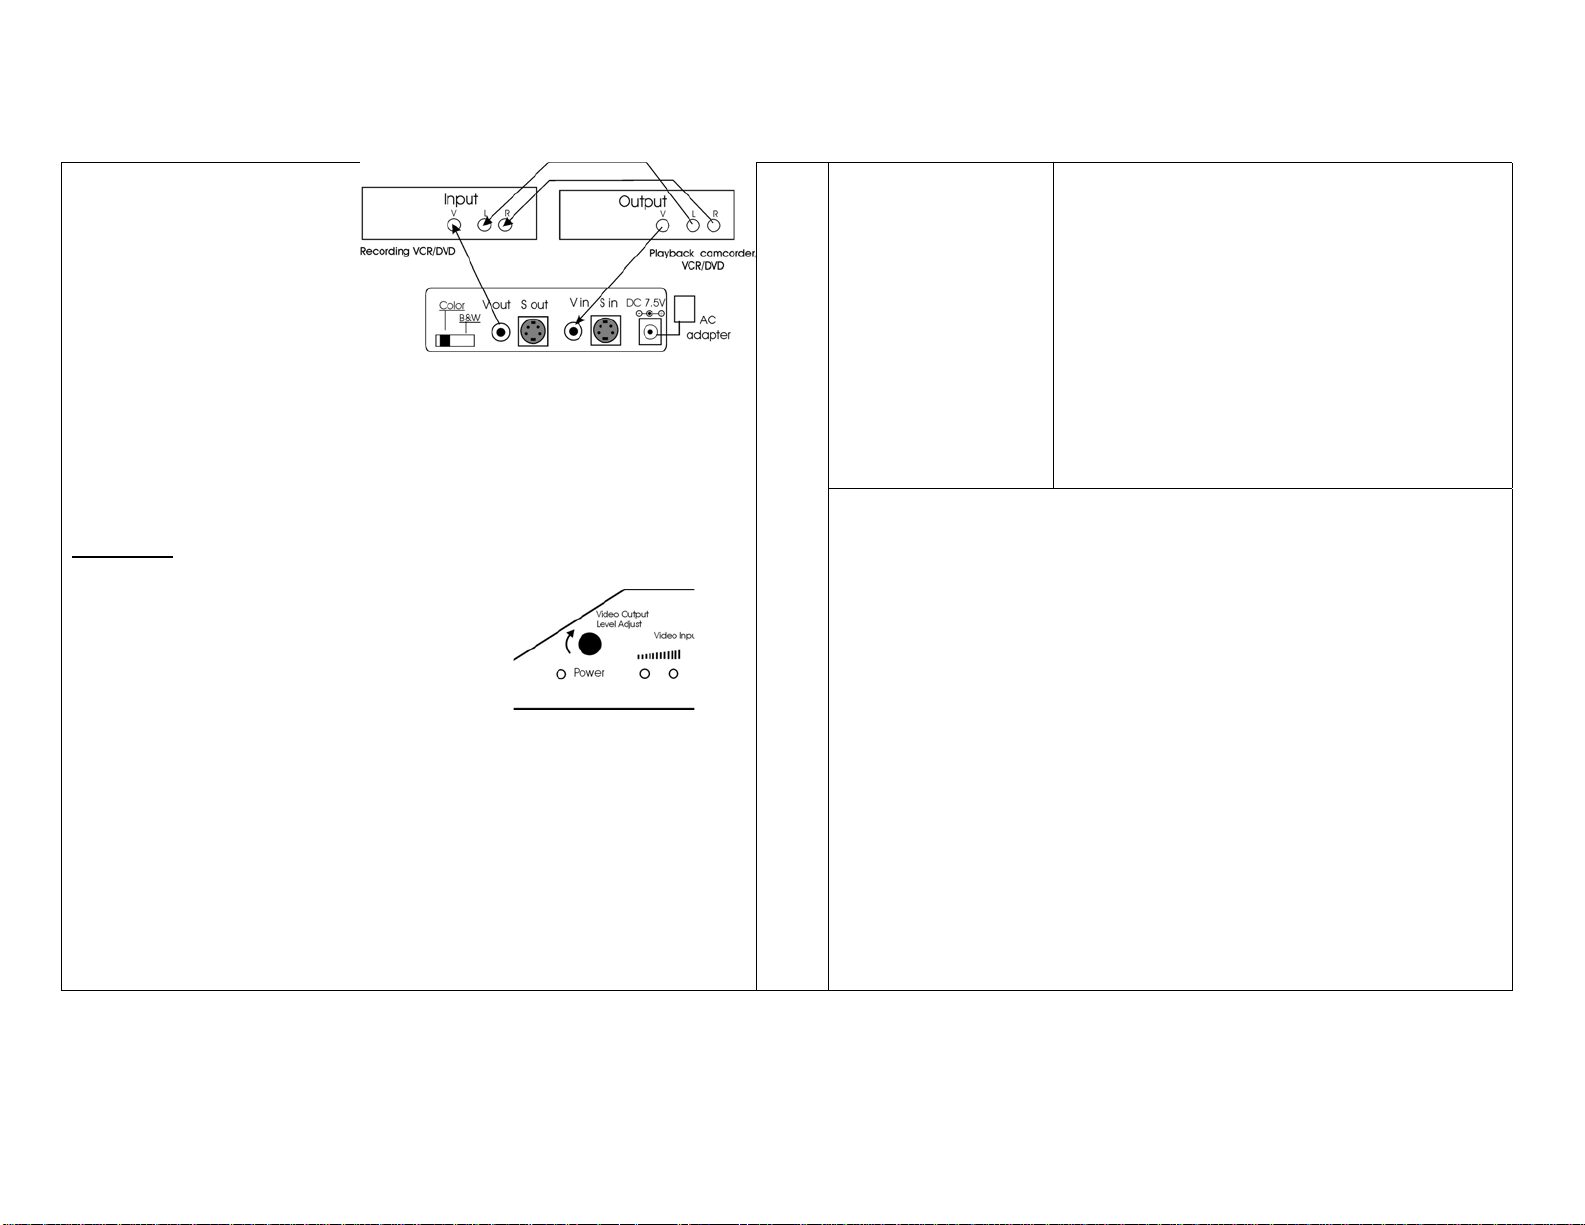
Connection: CopyThis! should be connected between your playback camcorder,
VCR or DVD and the recording VCR or DVD as shown in Fig. 1. Only the video
cables are to be connected to CopyThis!. Audio cables should be connected directly
between the playback and recording units. With Hi-8 or S-VHS capability, connect
your S-video cables to CopyThis!.
Operation:
Select A/V input on your recording VCR and press
-
RECORD. Then press PLAY on your playback device.
Note on AV Input Modes:
VCR’s have at least one AV input mode; many have
more than one. There will be a switch or button on
the VCR that will toggle between the Tuner Mode
and AV Modes. Manufacturers use different names
to identify the AV Mode: External Mode (EXT),
Auxiliary Mode (AUX) or Line Input. (L1, L2 etc.) Consult the VCR’s user manual to
identify the AV Mode for your unit.
B & W - CopyThis! can also give your home videos an old-time look by eliminating
color and creating black and white video. Slide the switch located on the rear panel,
from color to black and white to achieve this effect. Note: Some color flashing may
occur with some video sources.
Video Output Level – You can manually adjust the video output level by turning the
Video Output Level Adjust knob on the front panel. Increase the brightness of the
video output level by turning the knob as needed. Leave in center position for
normal video
Video Input Level Lights – These lights indicate the video level of the input signal.
It is normal for the lights to fluctuate on different scenes or tapes.
Fig.1
All
Fig. 2
No picture
Device does
Not operate
FCC Information
This equipment generates and uses radio frequency energy and if not installed and used
properly, that is, in strict acceptance with the manufacturer’s i nstructions, may cause
interference to radio and television reception. It has been type tested and found to comply
with the limits for a Class B computing device in accordance with the specifications in
Subpart J of Part 15 of FCC Rules, which are designed to provide reasonable protection
against such interference in a residential installation. However, there is no guarantee that
interference will not occur in a particular installation. If this equipment does cause
interference to radio and television reception, which can be determined by turning the
equipment off and on, the user is encouraged to try to correct the interference by one or more
of the following measures:
* Re-orient the receiving antenna
* Relocate this equipment with respect to the receiver
* Move this equipment away from the receiver.
* Plug this equipment into a different outlet so that this equipment and receiver are on
different branch circuits.
If necessary, the user should consult the dealer or an experienced radio/televisi on
technician for additional suggestions. The user may find “How to Identify and resolve
Radio/Television Interference Problems” prepared by the FCC helpful. The booklet is
available from the U.S. Government Printing Office, Washington, DC 20402, Stock No. 004000-00345-4
* Notice: Use of this product for unauthorized duplication of copyrighted
material from DIVX, DVD, VHS or other media is prohibited under the federal
copyright laws unless the copy qualifies as a fair use under Copyright Laws.
Are Video Input lights on? If not, there is no video
•
input signal.
Has correct mode (AV, Line, Tuner, etc.) been set
•
on the VCR or DVD
Correct connecting cable?
•
Have the RCA cables been mixed up at the input
•
and output of the VCR/DVD?
Be sure inputs and outputs are of the same type –
•
composite to composite or s-video to s-video
Is the Power light on? If not, there is no power.
•
Is the connecting cable of the plug-in adapter
•
damaged?
 Loading...