

Silicon Laboratories Finland WT32AE User Manual
Foreword
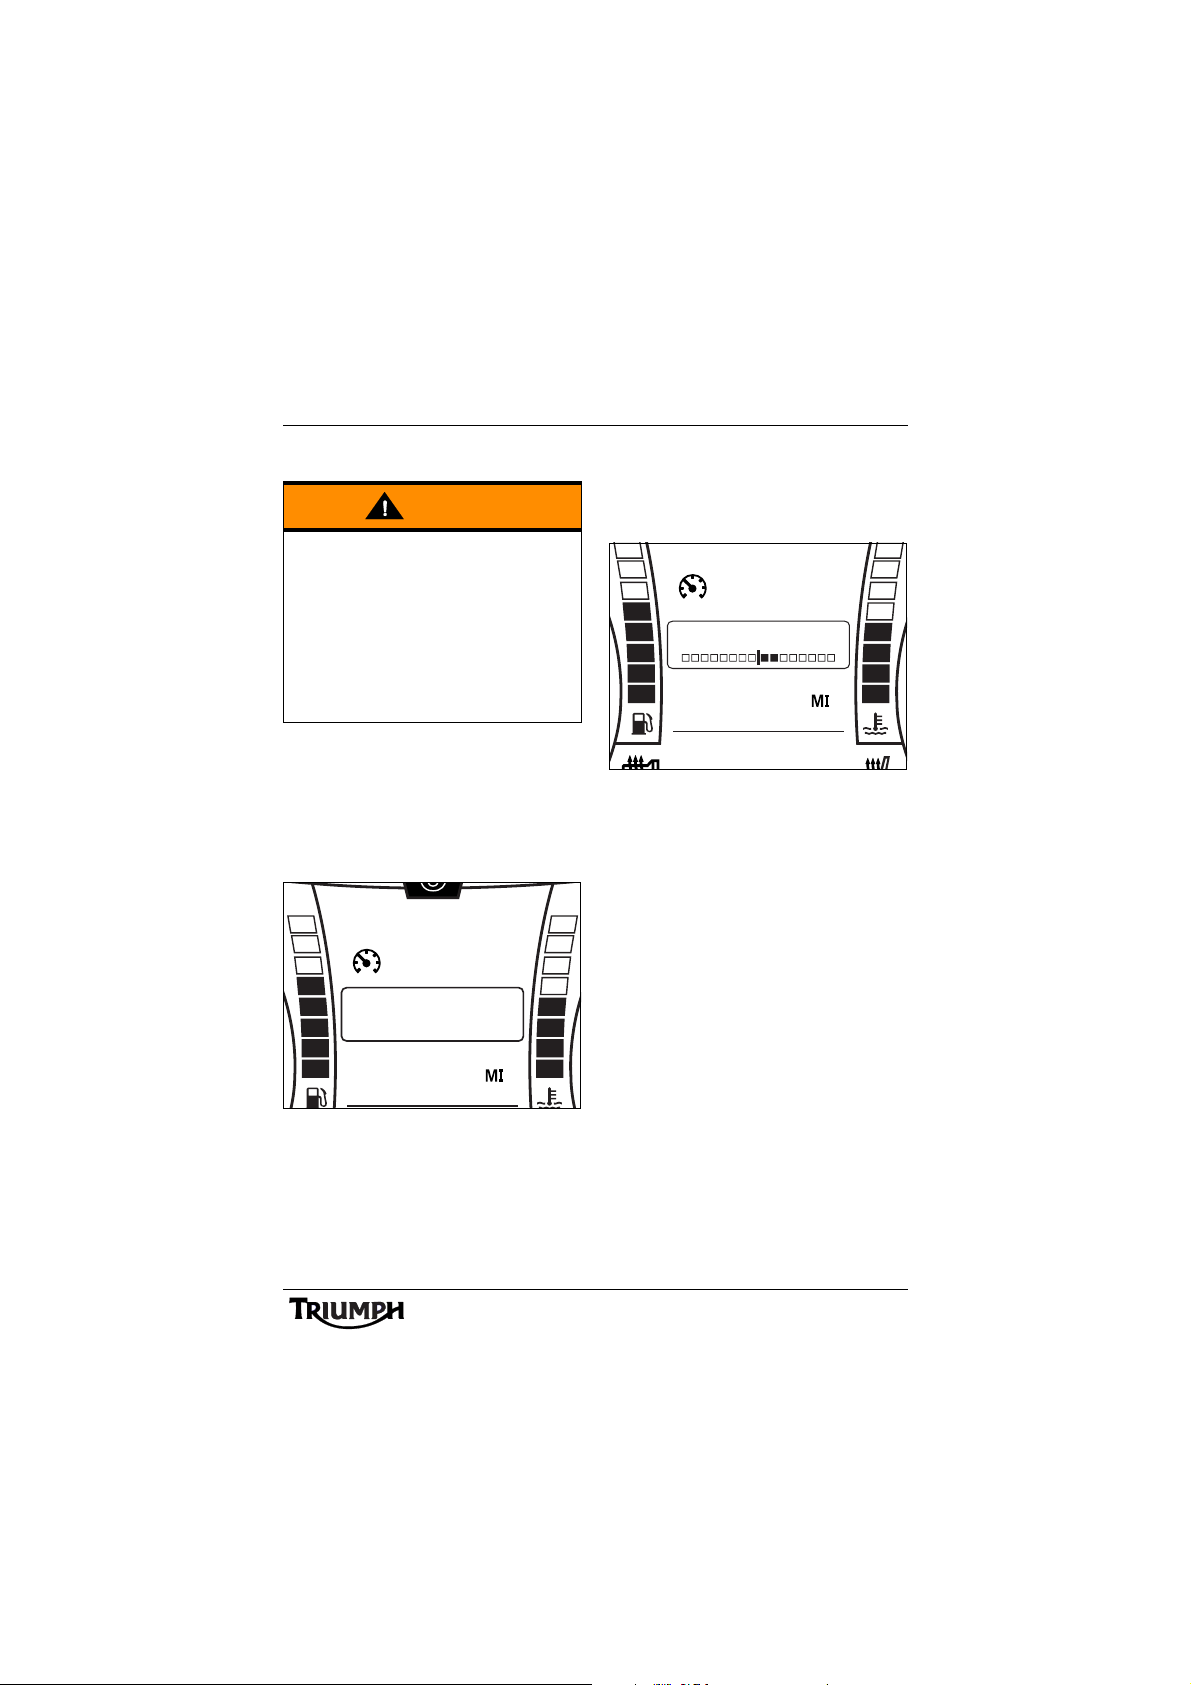
Warning
Caution
FOREWORD
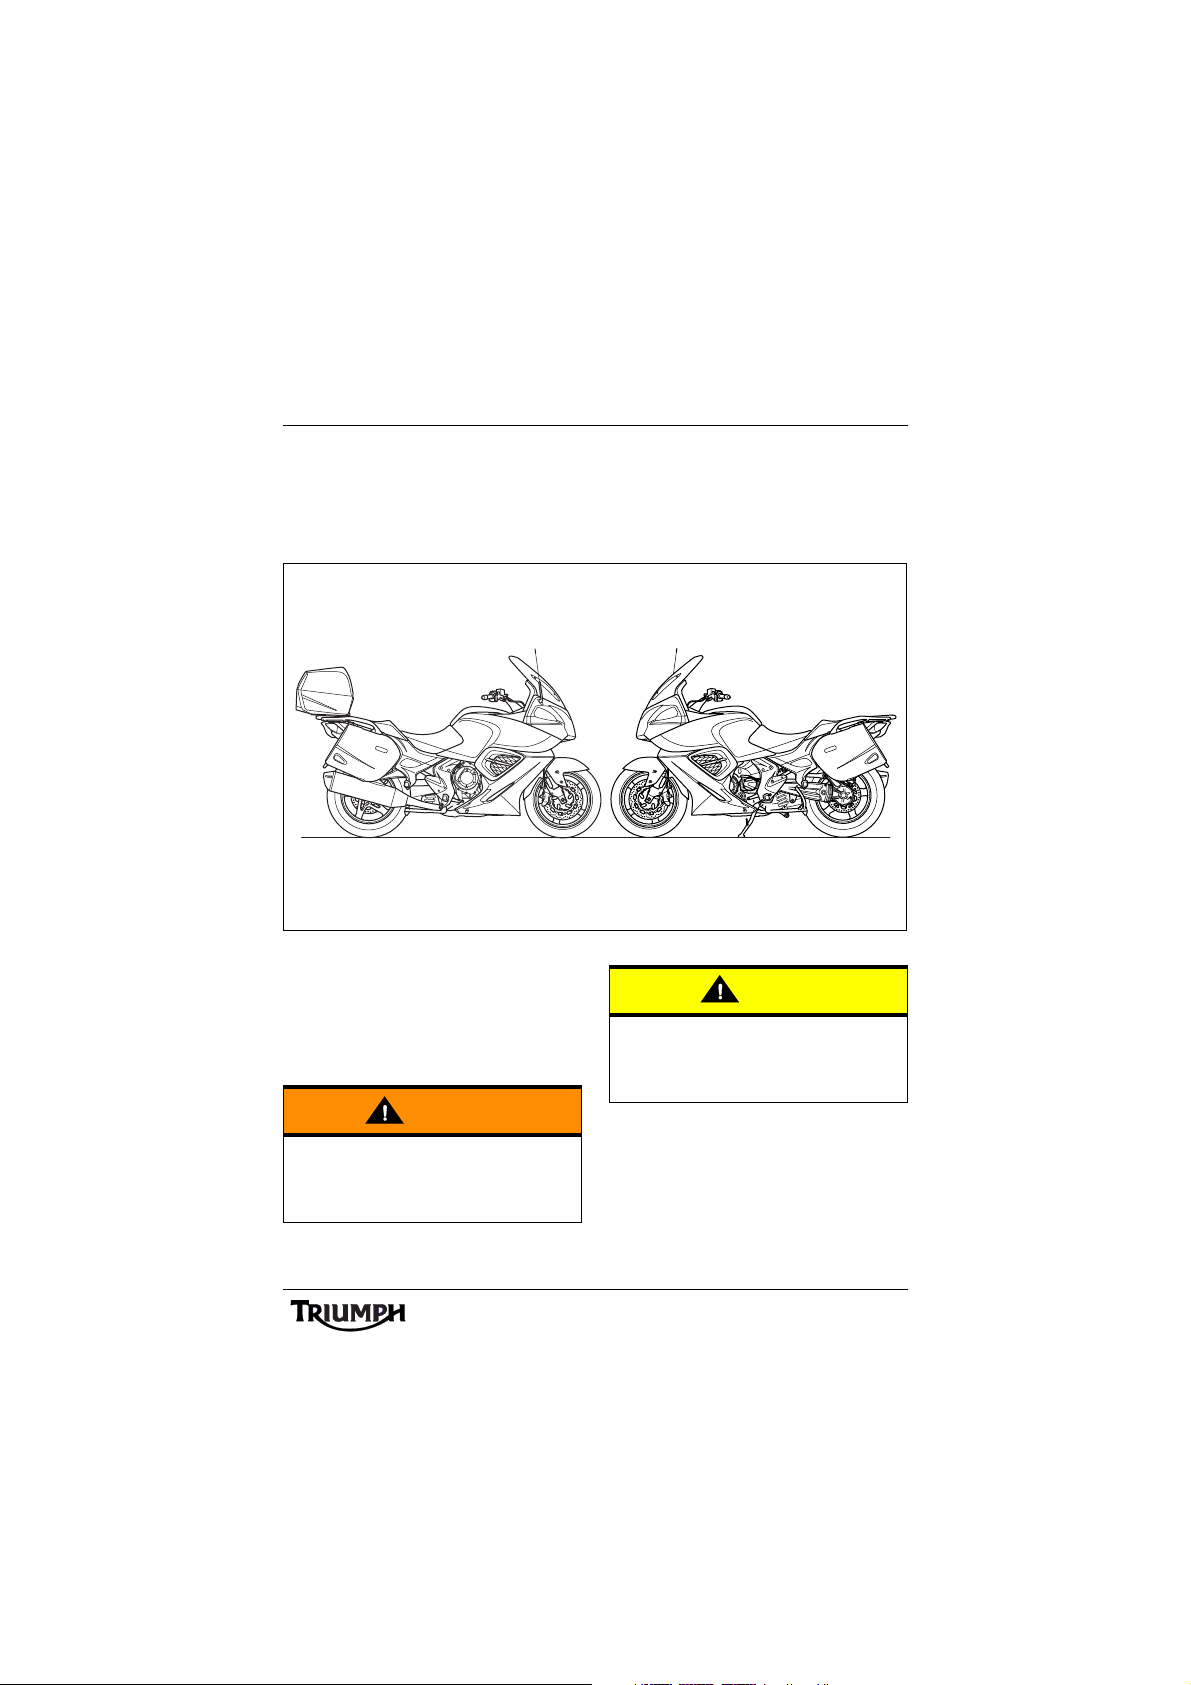
This handbook contains information on the Triumph Trophy SE Audio System. Always store this
Audio System Handbook with the motorcycle and refer to it for information whenever
necessary.
Warnings, Cautions and
Notes
Throughout this Audio System Handbook
particularly important information is
presented in the following form:
This caution symbol identifies special
instructions or procedures, which, if not
strictly observed, could result in damage to,
or destruction of, equipment.
This warning symbol identifies special
instructions or procedures, which if not
correctly followed could result in personal
injury, or loss of life.
Note:
• This note symbol indicates points
of particular interest for more
efficient and convenient operation.
1
Foreword
Warning
Audio System Handbook
Thank you for choosing a Triumph
motorcycle. This motorcycle is the product of
Triumph's use of proven engineering,
exhaustive testing, and continuous striving for
superior reliability, safety and performance.
Please read this Audio Handbook before
riding in order to become thoroughly familiar
with the correct operation of your
motorcycle's audio controls, its features,
capabilities and limitations.
This handbook is also available from your
local dealer in:
•Dutch;
• French;
•German;
• Italian;
• Japanese;
•Spanish;
•Swedish.
FCC and Industry Canada
Compliance Statement
This device complies with FCC Rules Part 15
and Industry Canada RSS-210 (Rev. 7).
Operation is subject to the following two
conditions:
• This device may not cause harmful
interference;
• This device must accept any
interference received, including
interference that may cause
undesired operation.
Changes or modifications to the device could
void the user's authority to operate the
equipment.
This audio system handbook, and all other
instructions that are supplied with your
motorcycle, should be considered a
permanent part of your motorcycle and
should remain with it even if your
motorcycle is subsequently sold.
All riders must read this audio system
handbook and all other instructions which
are supplied with your motorcycle, before
riding, in order to become thoroughly
familiar with the correct operation of your
motorcycle's audio controls, its features,
capabilities and limitations. Do not lend
your motorcycle to others as riding when
not familiar with your motorcycle's
controls, features, capabilities and
limitations can lead to an accident.
Tal k t o Tri um ph
Our relationship with you does not end with
the purchase of your Triumph. Your feedback
on the buying and ownership experience is
very important in helping us develop our
products and services for you. Please help us
by ensuring your dealership has your E-mail
address and registers this with us. You will
then receive an online customer satisfaction
survey invitation to your E-mail address
where you can give us this feedback.
You r Tr ium p h Team .
2

Foreword
Information
The information contained in this publication is based on the latest information available at the
time of printing. Triumph reserves the right to make changes at any time without prior notice, or
obligation.
Not to be reproduced wholly or in part without the written permission of Triumph Motorcycles
Limited.
© Copyright 09.2012 Triumph Motorcycles Limited, Hinckley, Leicestershire, England.
Publication part number 3852490 issue 1.
Table of Contents
This audio handbook contains a number of different sections. The table of contents below will
help you find the beginning of each section where, in the case of the major sections, a further
table of contents will help you find the specific subject required.
Foreword . . . . . . . . . . . . . . . . . . . . . . . . . . . . . . . . . . . . . . . . . . . . . . . . . . . . . . . . . . . . . . . . . . . 1
Parts Identification . . . . . . . . . . . . . . . . . . . . . . . . . . . . . . . . . . . . . . . . . . . . . . . . . . . . . . . . . . . . 4
Basic Operation . . . . . . . . . . . . . . . . . . . . . . . . . . . . . . . . . . . . . . . . . . . . . . . . . . . . . . . . . . . . . . 5
Radio - All Markets Except USA and Canada . . . . . . . . . . . . . . . . . . . . . . . . . . . . . . . . . . . . . . 13
Radio - USA and Canada Only . . . . . . . . . . . . . . . . . . . . . . . . . . . . . . . . . . . . . . . . . . . . . . . . . 21
External Media Players and Telephone . . . . . . . . . . . . . . . . . . . . . . . . . . . . . . . . . . . . . . . . . . . 31
Bluetooth® Setup . . . . . . . . . . . . . . . . . . . . . . . . . . . . . . . . . . . . . . . . . . . . . . . . . . . . . . . . . . . . 43
Specifications . . . . . . . . . . . . . . . . . . . . . . . . . . . . . . . . . . . . . . . . . . . . . . . . . . . . . . . . . . . . . . . 49
3
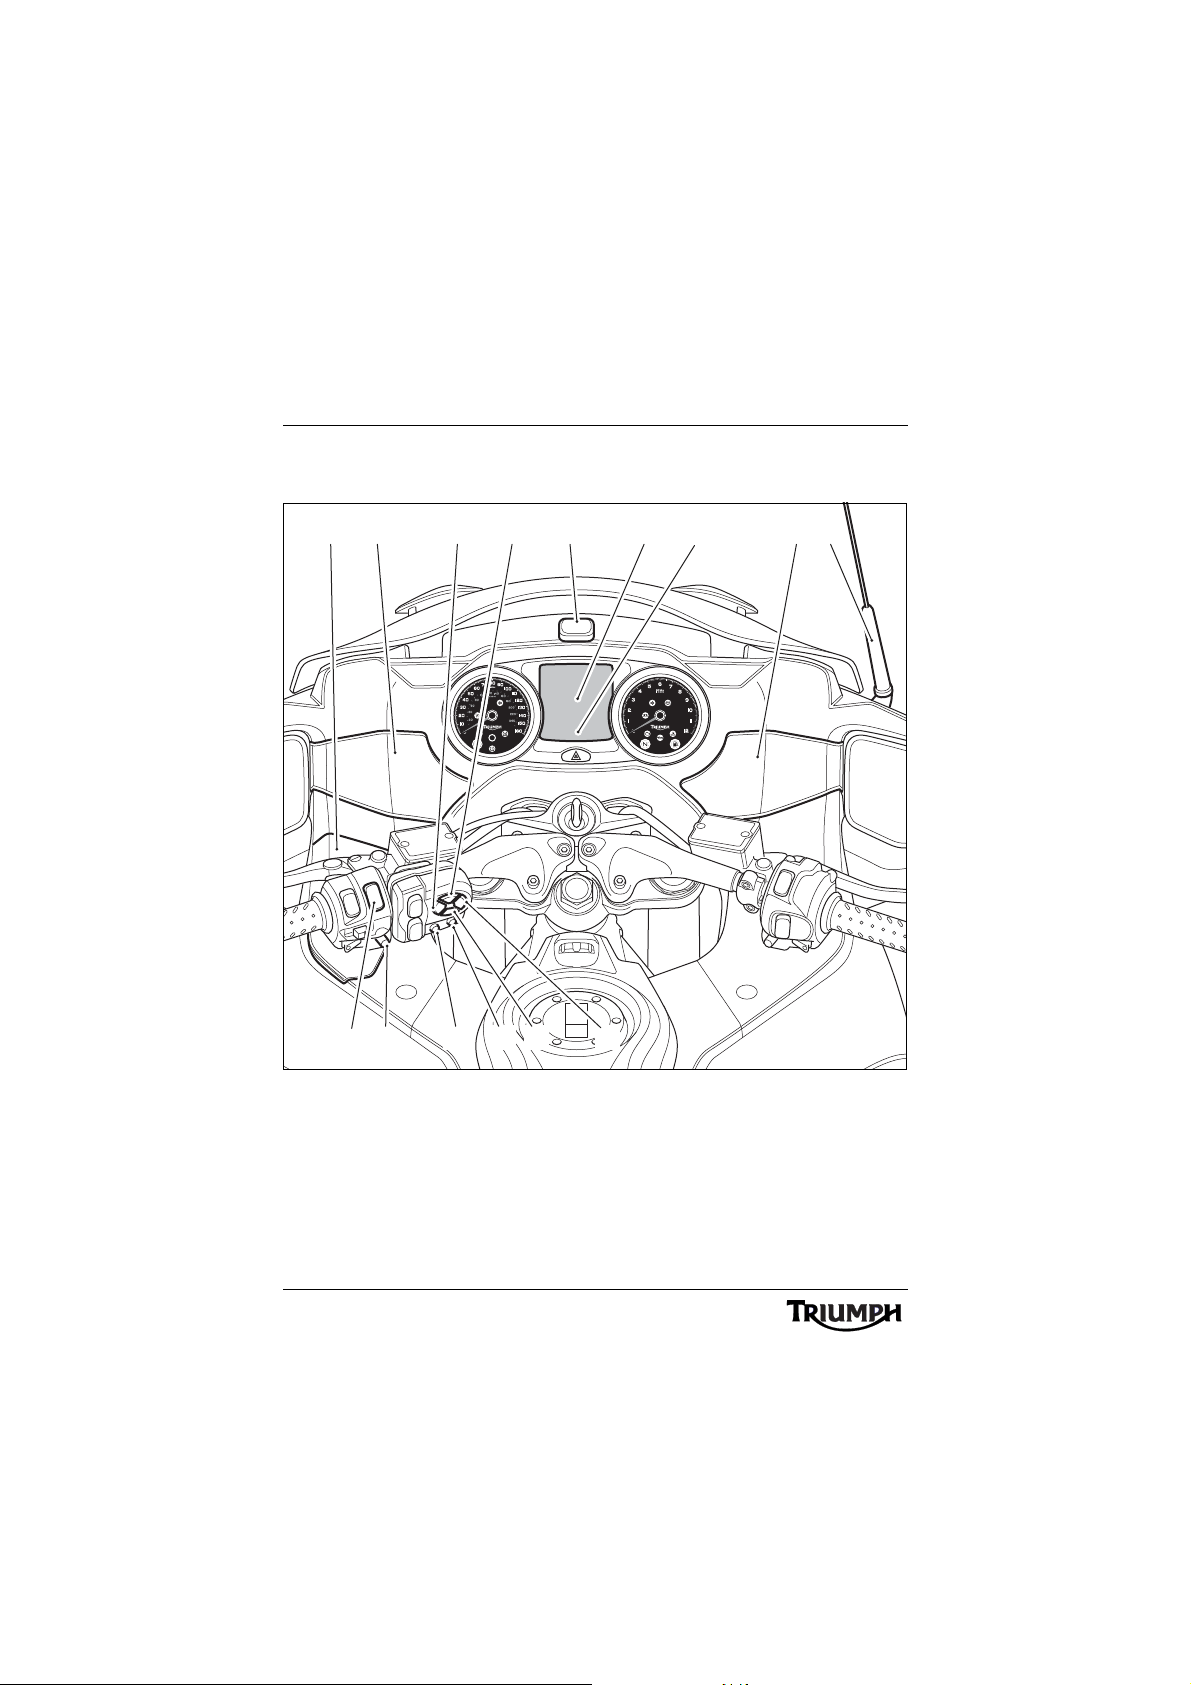
Parts identification
2 4 5 63 8
12
14
15
10
91
chsc
11
13
7
PARTS IDENTIFICATION
1. U S B c o n n e ct or (i n cockpit stowage
box)
2. Left hand speaker
3. Tuning down (T-) button
4. Volume up (V+) button
5. XM antenna (North American and
Canadian models only)
6. Instrument central display area
7. Instrument lower message area
4
8. Right hand speaker
9. Antenna (FM/AM)
10.Tuning up (T+) button
11. Volume down (V-) button
12.Mode/Menu button
13.Preset button
14.Instrument select button
15.Instrument scroll button

Basic Operation
BASIC OPERATION
Table of Contents
Audio Switch Unit Layout . . . . . . . . . . . . . . . . . . . . . . . . . . . . . . . . . . . . . . . . . . . . . . . . . . . . . . 6
Switching On the Audio System . . . . . . . . . . . . . . . . . . . . . . . . . . . . . . . . . . . . . . . . . . . . . . . . . 6
Switching Off the Audio System . . . . . . . . . . . . . . . . . . . . . . . . . . . . . . . . . . . . . . . . . . . . . . . . . 7
Low Voltage Power Off. . . . . . . . . . . . . . . . . . . . . . . . . . . . . . . . . . . . . . . . . . . . . . . . . . . . . 7
Adjusting the Volume . . . . . . . . . . . . . . . . . . . . . . . . . . . . . . . . . . . . . . . . . . . . . . . . . . . . . . . . . . 8
Muting the Volume . . . . . . . . . . . . . . . . . . . . . . . . . . . . . . . . . . . . . . . . . . . . . . . . . . . . . . . . . . . 8
Audio Settings . . . . . . . . . . . . . . . . . . . . . . . . . . . . . . . . . . . . . . . . . . . . . . . . . . . . . . . . . . . . . . . 9
Adjustment Range. . . . . . . . . . . . . . . . . . . . . . . . . . . . . . . . . . . . . . . . . . . . . . . . . . . . . . . . . 9
Audio Adjustment . . . . . . . . . . . . . . . . . . . . . . . . . . . . . . . . . . . . . . . . . . . . . . . . . . . . . . . . . 9
5
Basic Operation
P
M
chsb
1
7
5
2
3 4
68
RADIO 1
FMP2AF TA RG
97.9
EON ST
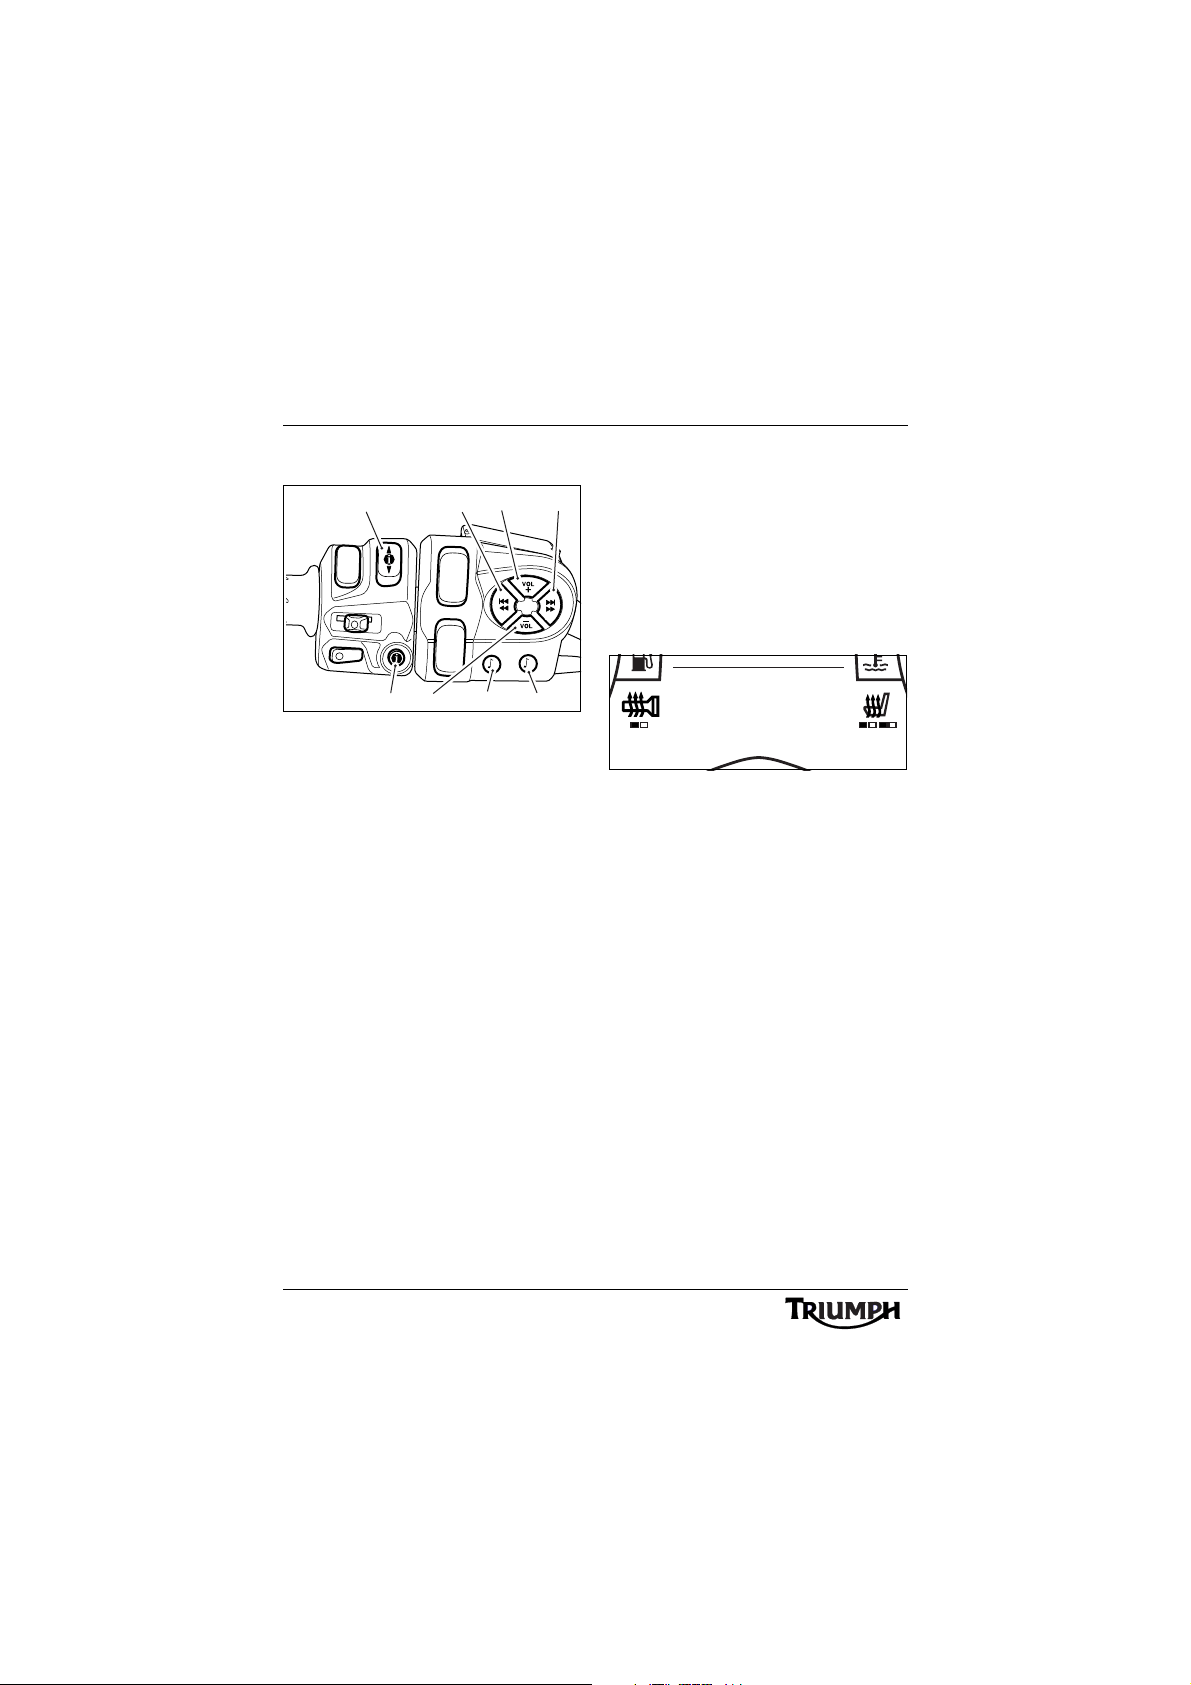
Audio Switch Unit Layout
1. Instrument scroll button
2. Tuning down (T-) button
3. Volume up (V+) button
4. Tuning up (T+) button
5. Mode/Menu button
6. Preset button
7. Volume down (V-) button
8. Instrument select button
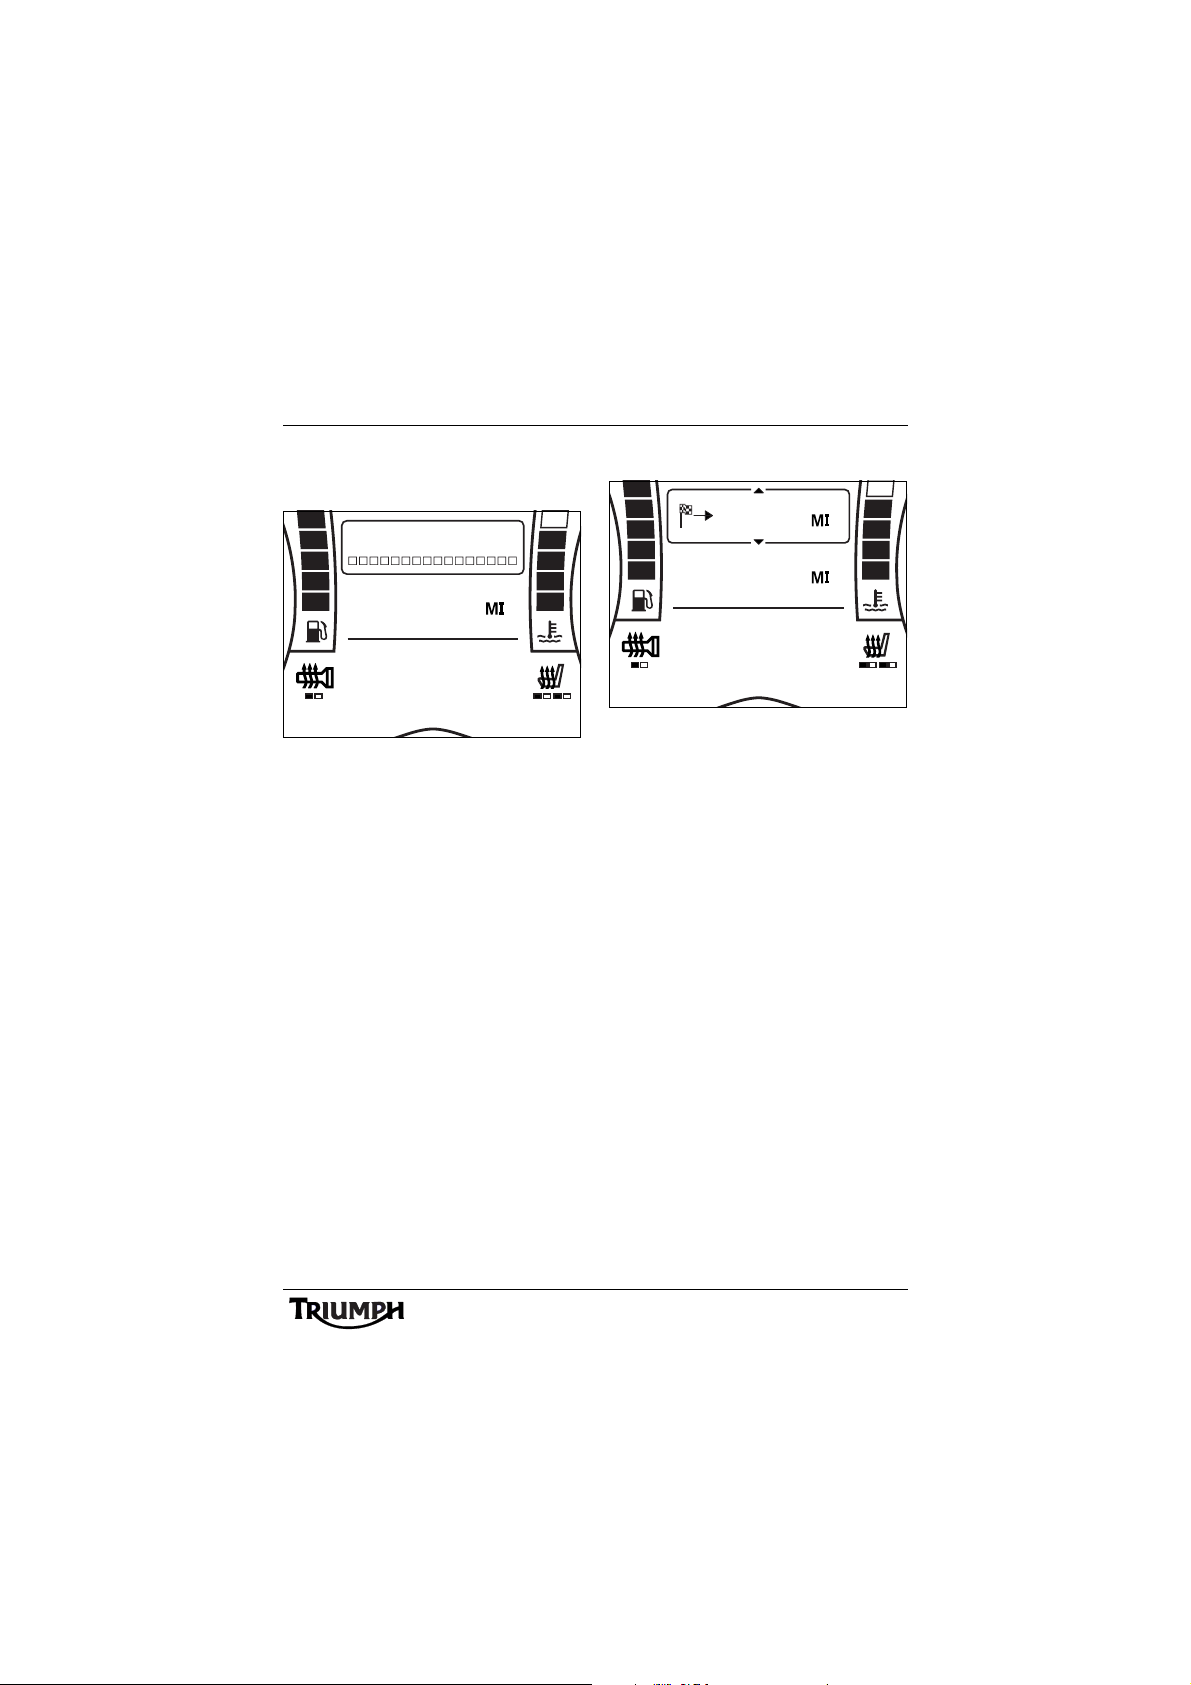
Switching On the Audio
System
With the motorcycle ignition on, pressing
either the VOL+ or Mode/Menu buttons on
the audio switch unit will turn the audio
system on.
The instruments will display the current audio
source (FM radio, XM Satellite Radio
USB etc.) in the lower display area.
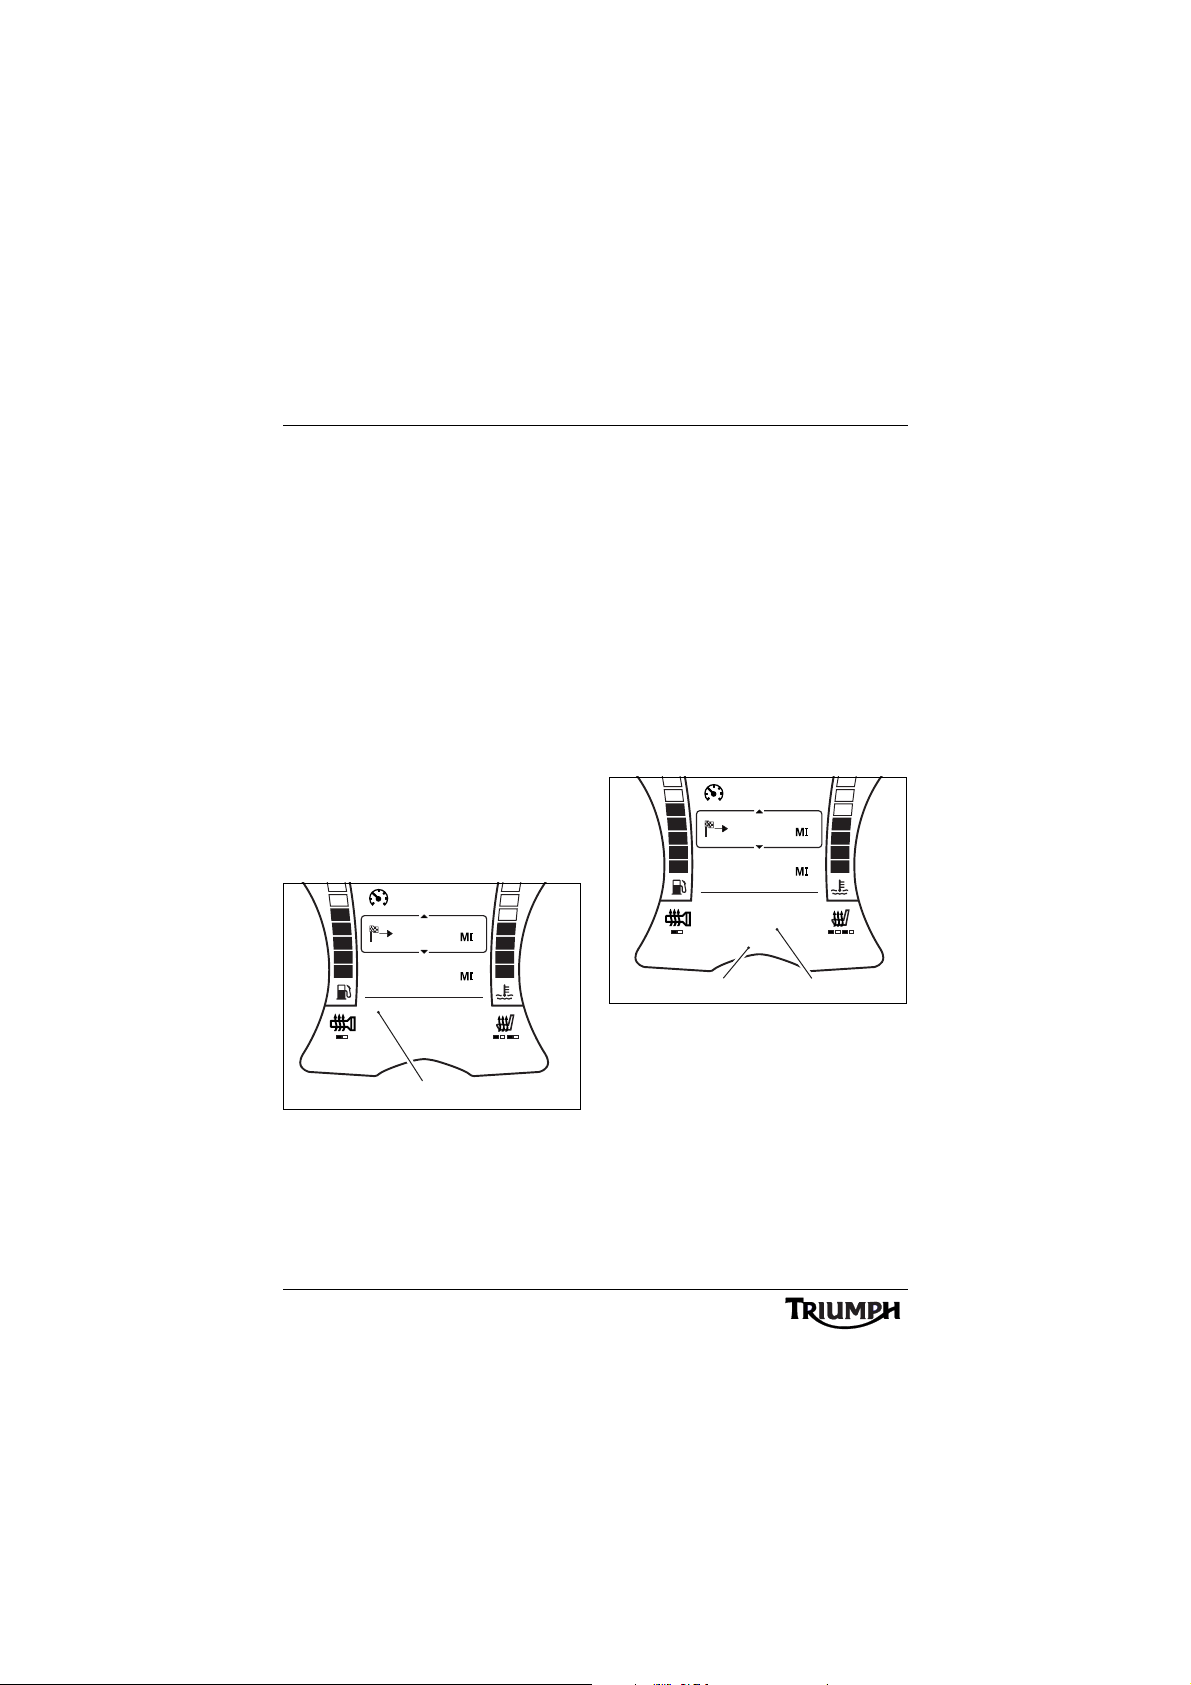
Audio Source - FM Shown
The audio system will return to the same
audio source and volume set before it was
turned off.
The audio system will also be turned back on
when the ignition is turned on, provided it
was on prior to the ignition being turned off.
®
, iPod,
6
Basic Operation
1892
ODO
VOLUME 0
RADIO OFF
1892
ODO
144.2
LOW VOLTAGE
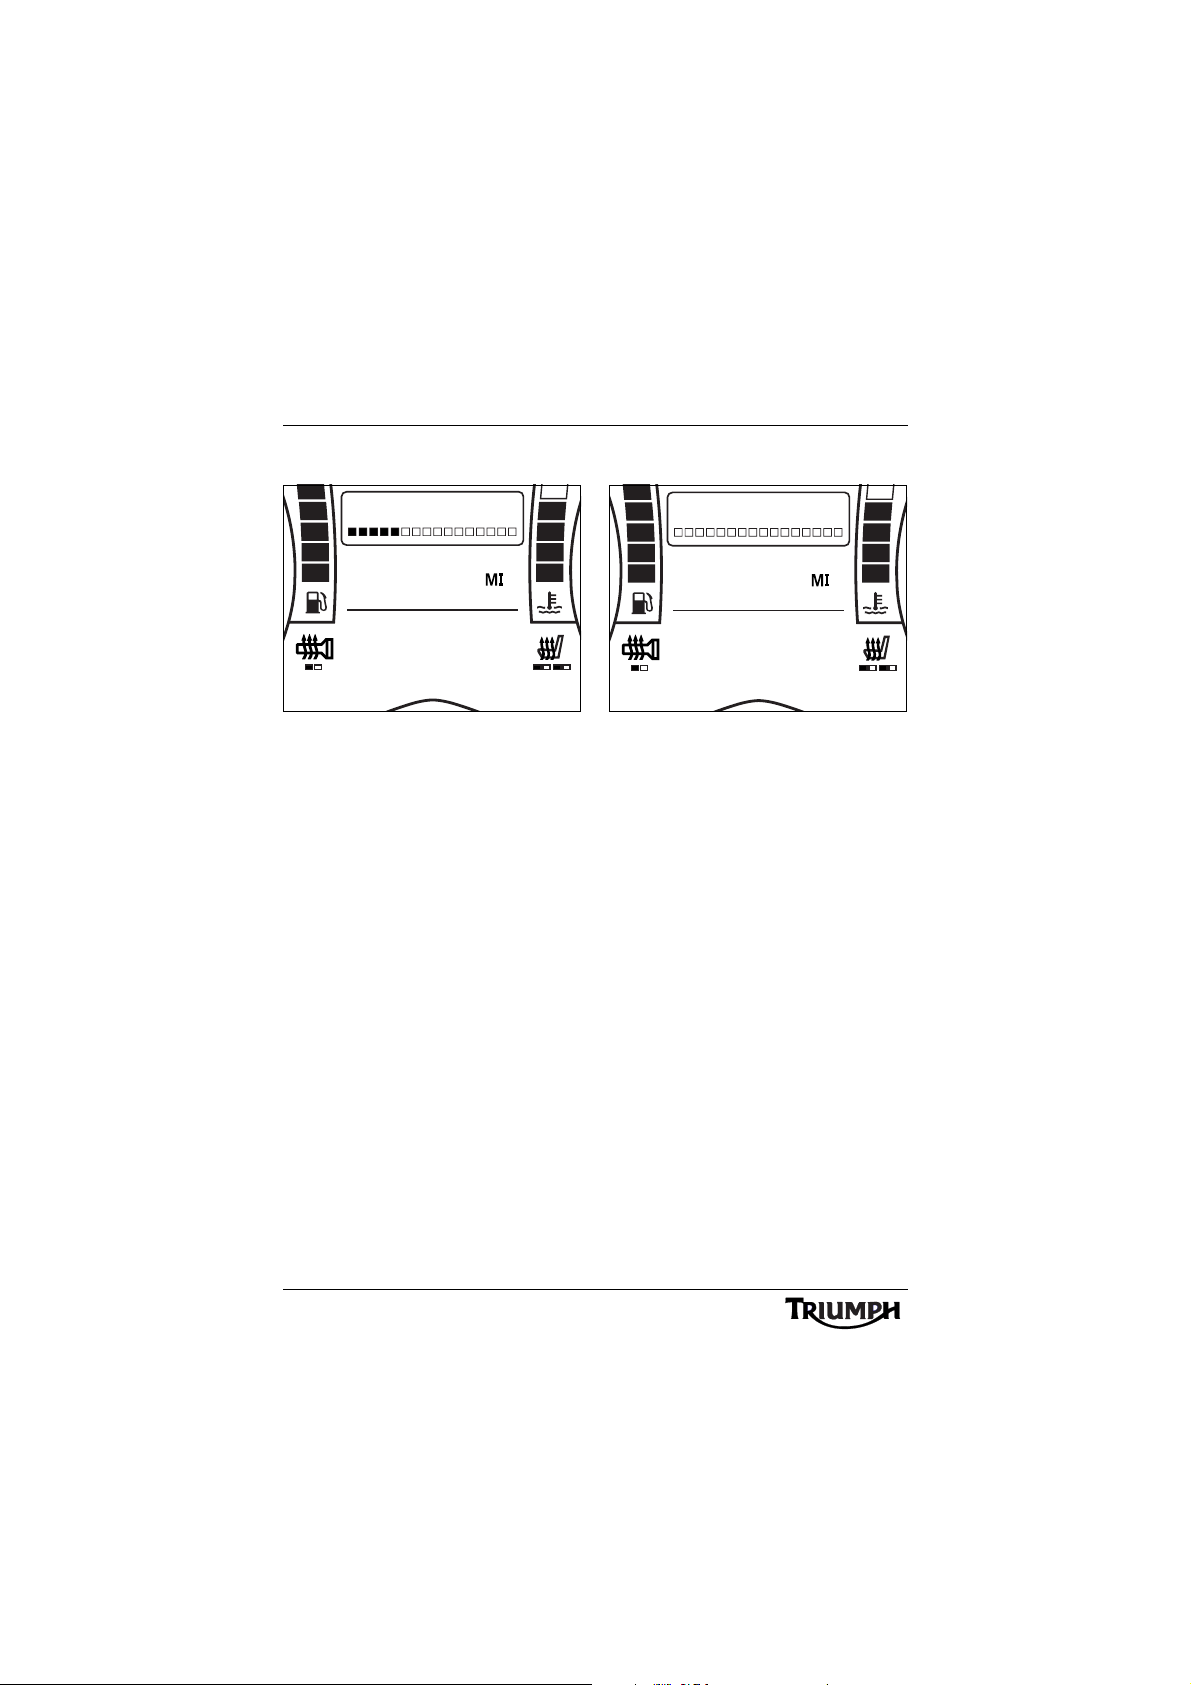
Switching Off the Audio
System
Radio Off
Press and hold the VOL- button on the audio
switch unit.
The audio will first MUTE (see page 8) and
then turn off.
The instruments will display RADIO OFF in
the lower display area.
The audio system will also be turned off
when the ignition is turned off.
Low Voltage Power Off
Low Voltage Power Off
The on-board electronics will determine if the
battery is sufficiently charged to power the
audio system; if the battery voltage drops too
low the audio system will be turned off and
the instruments will display LOW VOLTAGE
in the lower display area.
Under these circumstances the audio system
can be turned on again once the battery has
been recharged or the engine has been
started.
7
Basic Operation
1892
ODO
VOLUME 10
RADIO 1
FMP2AF TA RG
97.9
EON ST
1892
ODO
VOLUME 0
MUTE
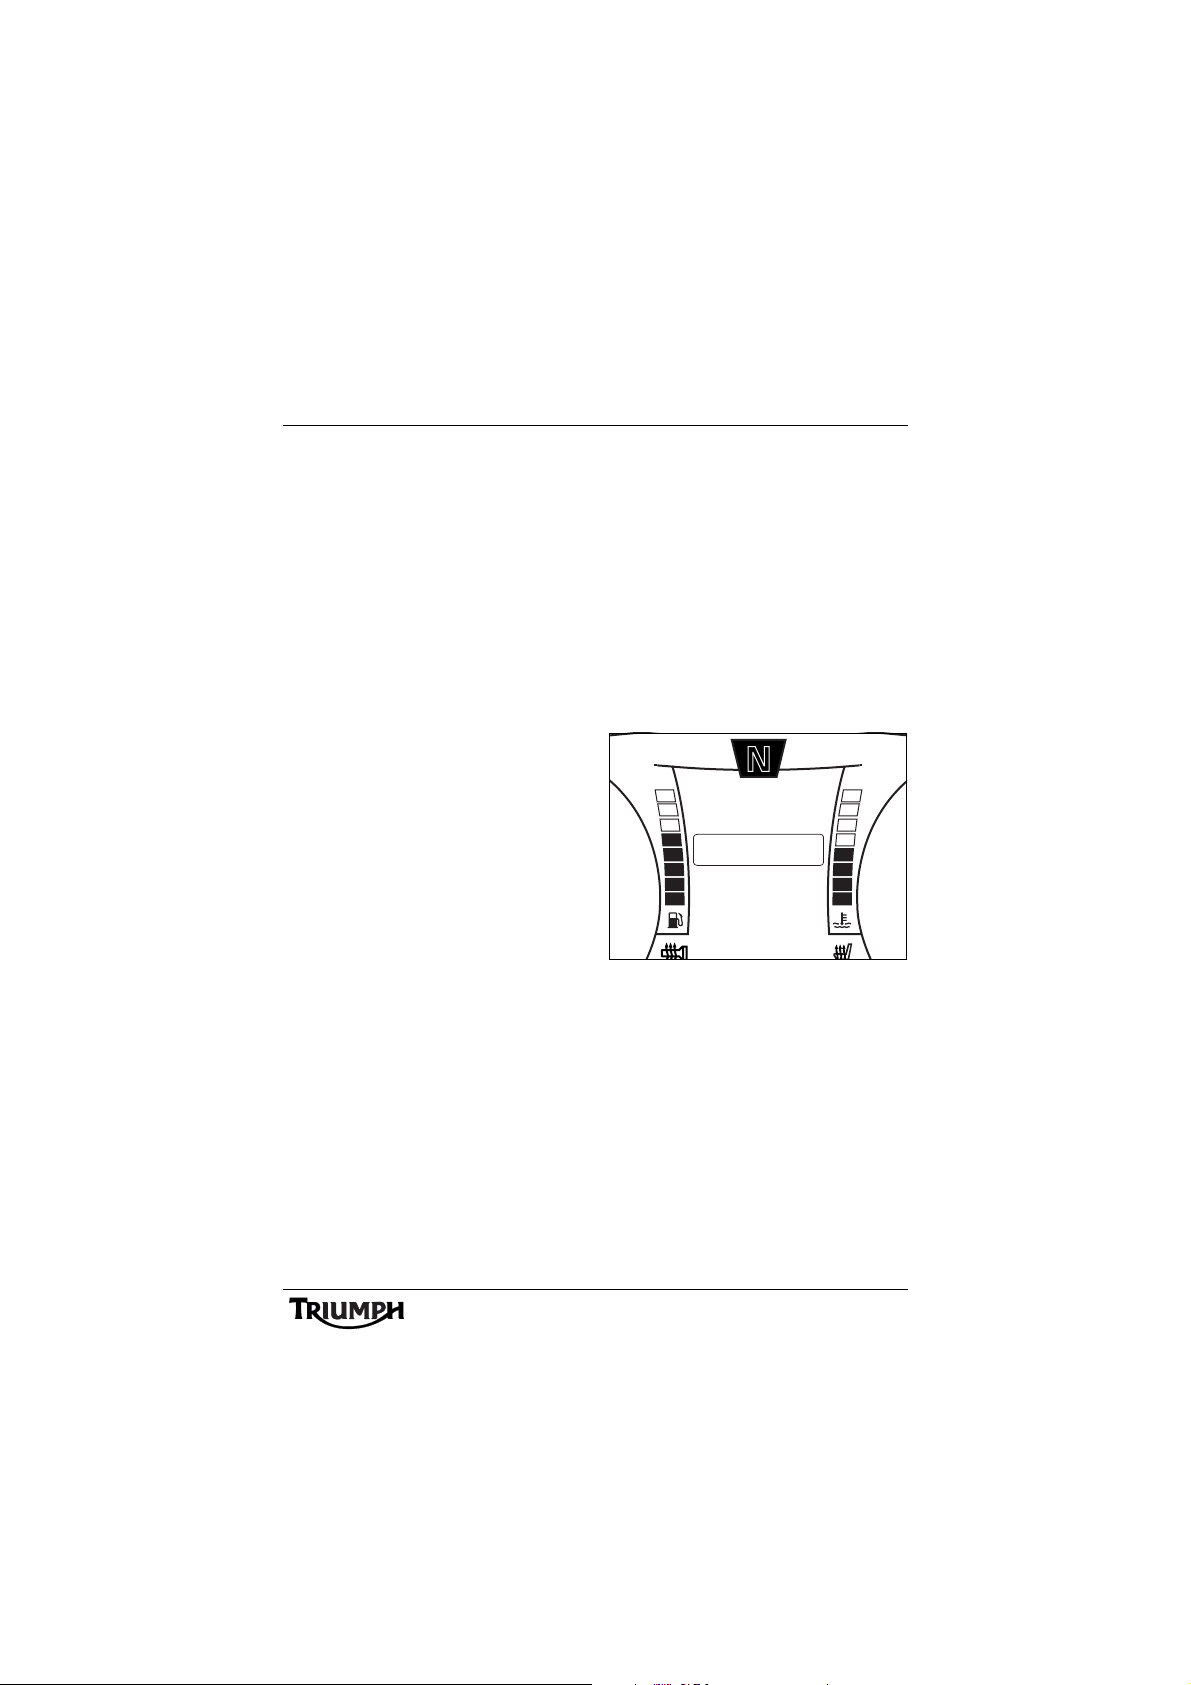
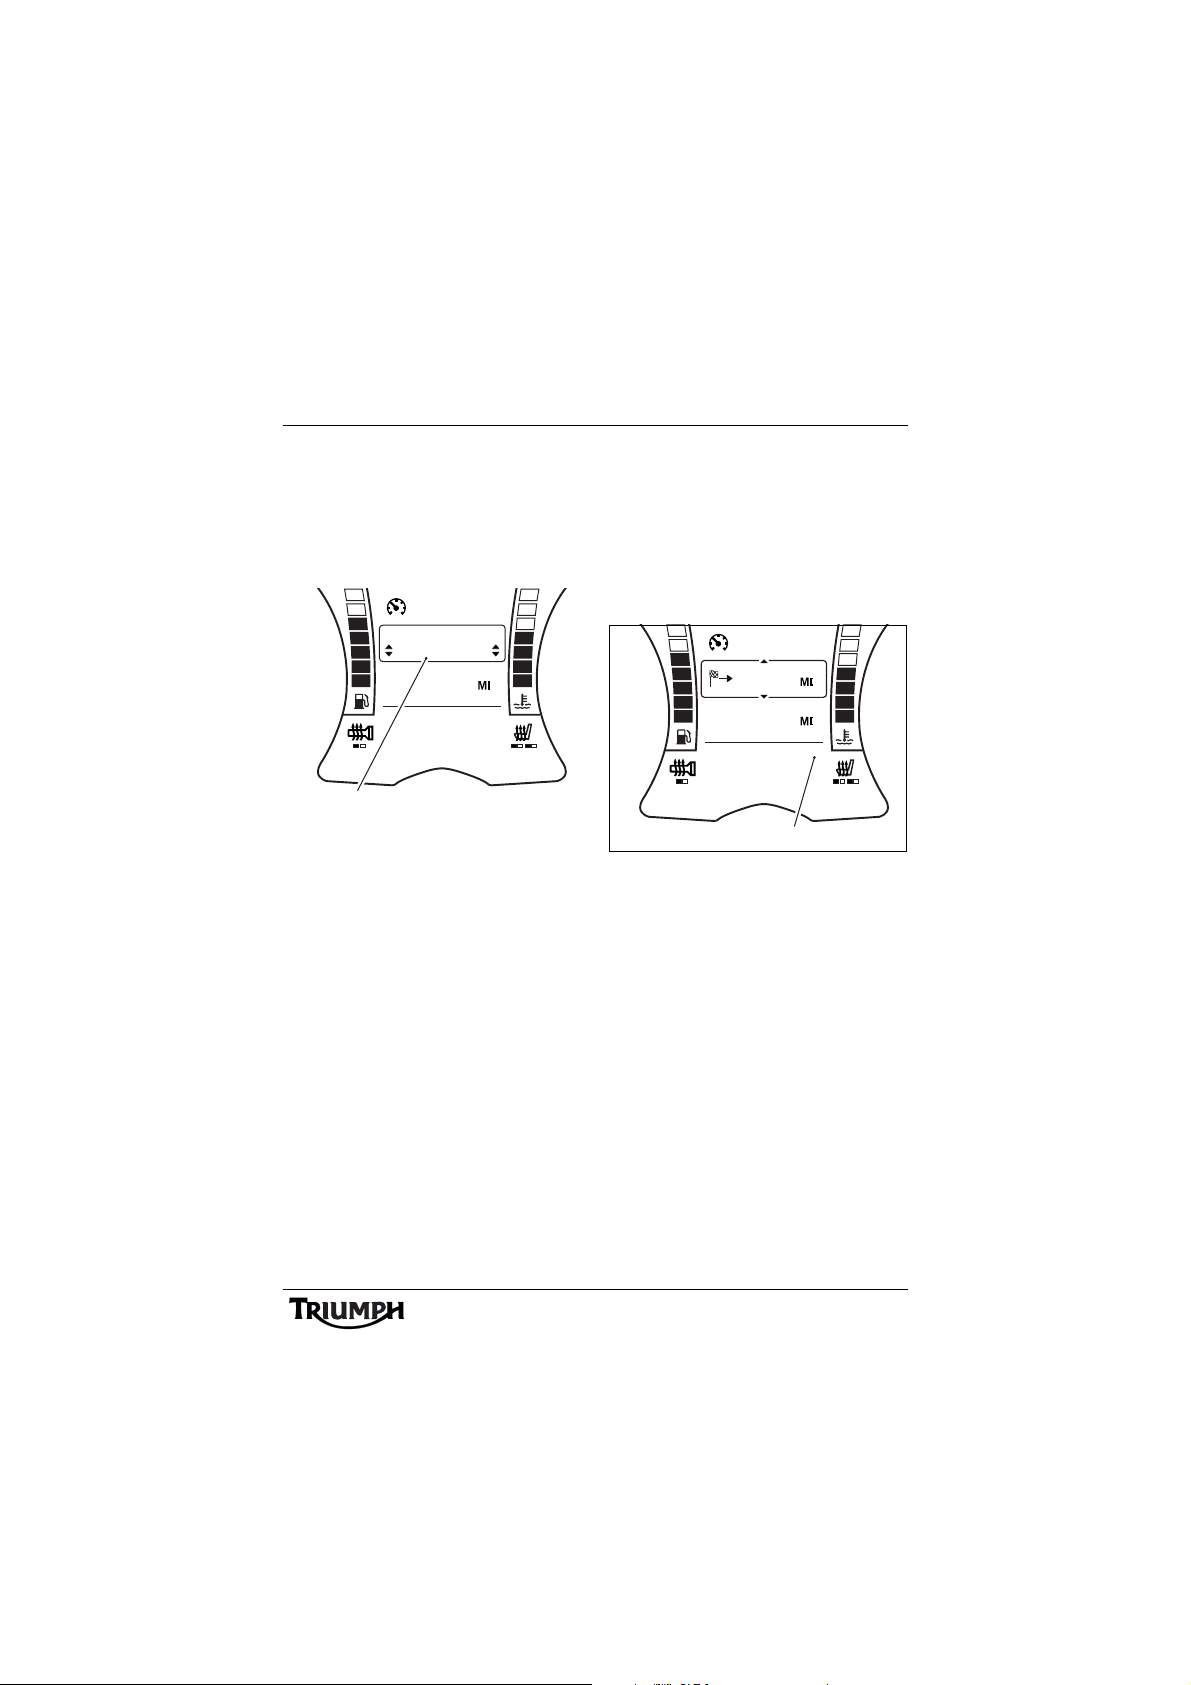
Adjusting the Volume
Volume Adjustment
Press the VOL- button to decrease the
volume and VOL+ to increase the volume.
The central display area on the instruments
will show the volume set as shown above.
Muting the Volume
Volu m e M u t e
Press and hold the VOL- button on the audio
switch unit until the VOLUME display on the
instruments reaches zero.
The instruments will display MUTE in the
lower display area.
Pressing either the VOL+ or Mode/Menu
buttons on the audio switch unit will return
the volume to its previous level.
8
Basic Operation
10:08
N
22°C
SOURCE SETUP
EXIT
BLUETOOTH
AUDIO SETTINGS
AUDIO SETUP
Audio Settings
Adjustments are provided for Bass,
Mid-range and Treble, Automatic Volume
Control (AVC) and Audio Output (speakers
or headsets).
Adjustment Range
Bass, Mid-range and Treble
Bass, Mid-range and Treble all have an
adjustment range of plus or minus eight
steps.
Automatic Volume Control (AVC)
Automatic Volume Control (AVC) has four
settings - off, low, medium or high. The audio
system will adapt the audio volume to the
speed of the motorcycle based on the level
set.
The higher the level; the greater the volume
increase for a given speed.
Audio Output
Audio Output has two settings; SPEAKERS or
HEADSETS. Speakers will play all audio
output through the motorcycle speakers,
headsets will play all audio output through
Headset 1 and/or Headset 2, provided they
are correctly paired and connected (see
page 44).
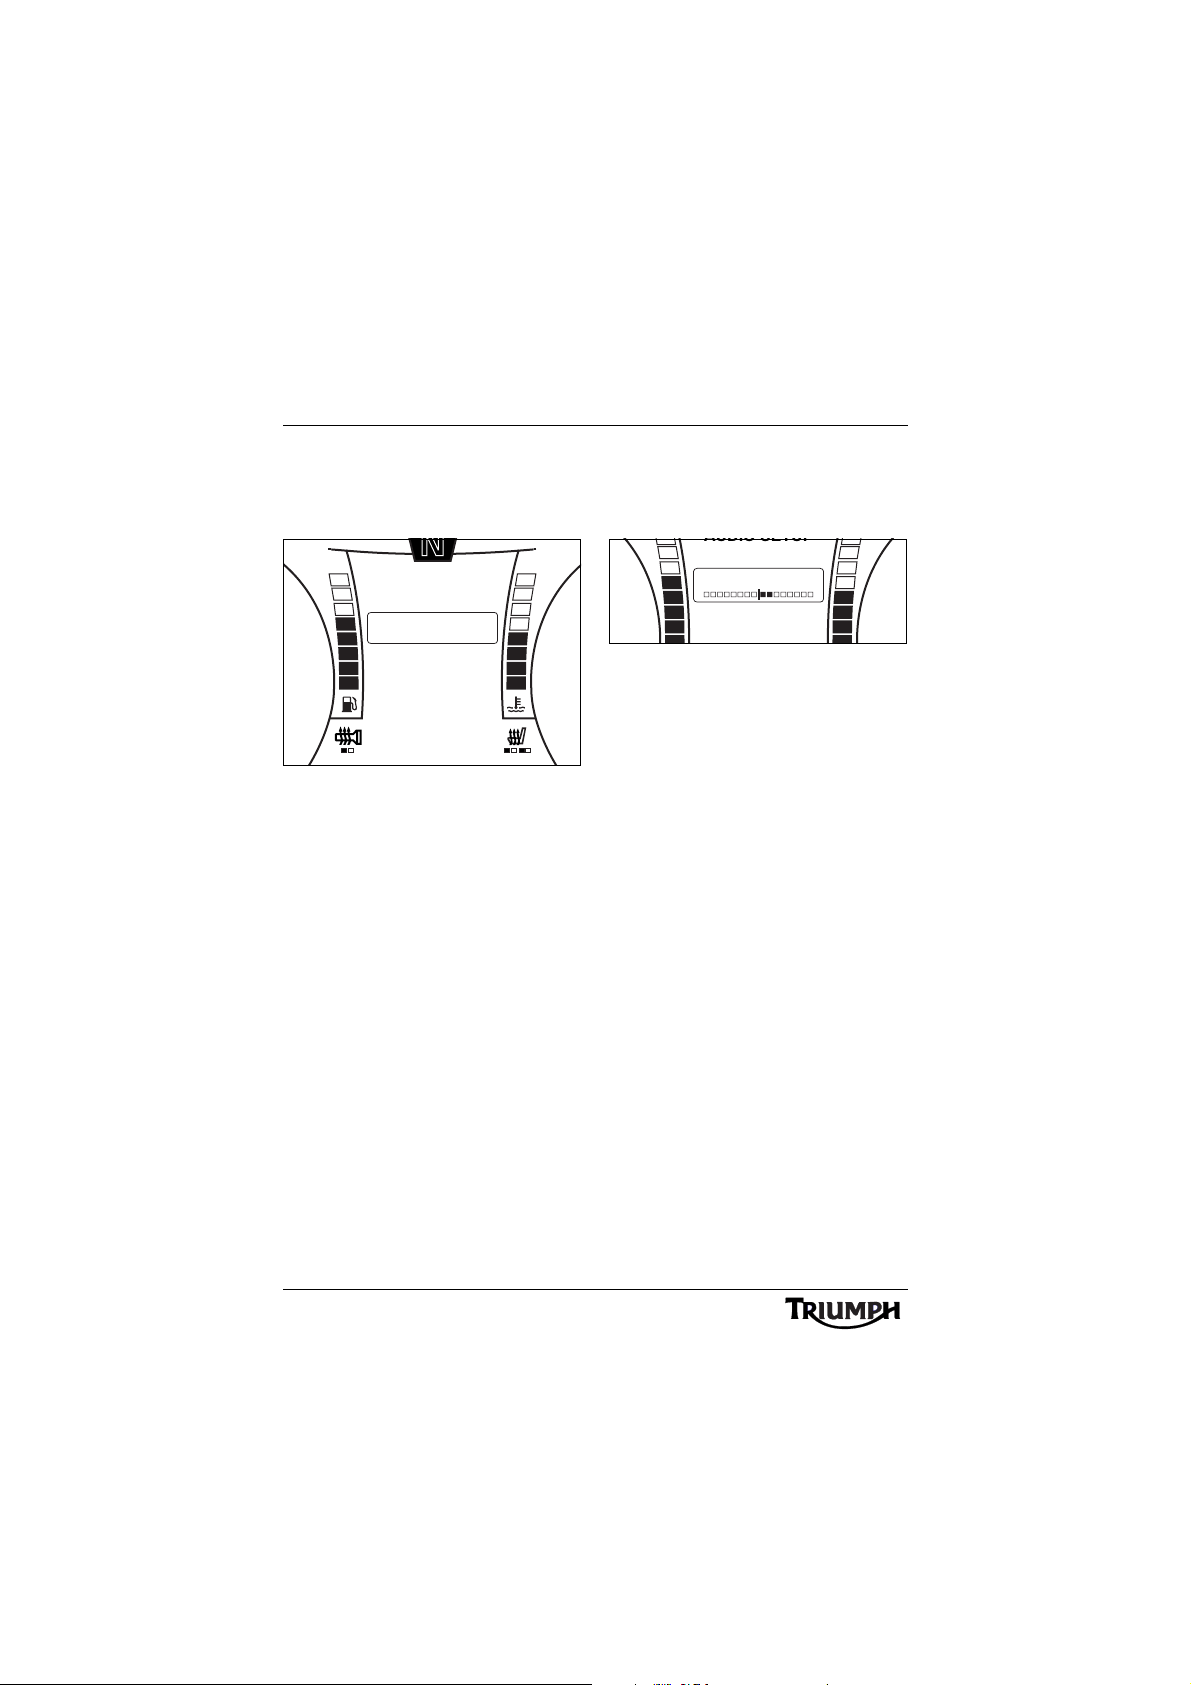
Audio Adjustment
The adjustment method is different,
depending on the speed of the motorcycle.
The two adjustment methods are described
below:
Motorcycle Stationary
To access the AU DIO SETUP menu:
1. With the motorcycle stationary, press and
hold the MODE/MENU button on the
audio switch unit until AUDIO
SETTINGS is highlighted in the display
screen.
Audio Settings Screen
9
Basic Operation
10:08
N
22 C
MID RANGE
EXIT
TREBLE
BASS
AUDIO SETUP
AVC
AUDIO OUTPUT
MID RANGE
EXIT
BASS
AUDIO SETUP
- +
2. Press and release the SCROLL button
until AUDIO SETUP is highlighted. Press
the SELECT button to enter the menu
item.
Audio Setup Screen
3. Press the SCROLL button up or down to
highlight each item and press the
SELECT button to display the
adjustment.
4. Press the SCROLL button up or down to
make the adjustment and press the
SELECT button to save and exit that
adjustment.
Audio Adjustment (Bass
Adjustment Shown)
The display will scroll through in the following
order:
•BASS;
• MID RANGE;
•TREBLE;
• AVC (Automatic Volume Control);
•AUDIO OUTPUT.
The display will return to AUDIO SETUP
once adjustments have been made.
To exit the AUDIO SETU P menu, select EXIT
and press the SELECT button.
The menu will automatically exit after 300
seconds of inactivity.
10
Basic Operation
Warning
TRIP 1
MPH
62
6
1892
ODO
iPod CATEGORY
TRIP 1
MPH
62
1892
ODO
BASS
- +
FMP2AF TA RG
Motorcycle Moving
Any adjustments made to audio system
settings when the motorcycle is moving
must be carried out only when it is safe to
do so.
Making adjustments to audio system
settings while travelling at high speed,
during cornering or braking, or in heavy
traffic or poor visibility, may result is loss of
motorcycle control and an accident.
To access the audio settings:
1. Press and hold the MODE/MENU
button on the audio switch unit until iPod
CATEGORY (see page 35) is displayed
in the centre of the instrument display
screen.
Audio Adjust (Motorcycle
Moving)
2. Press and release the SCROLL button
until the desired audio setting is
displayed. Press the SELECT button to
enter the menu item.
3. Press the SCROLL button up or down to
make the adjustment.
4. Press the MODE/M ENU button to save
the adjustment and exit.
Audio Adjustment (Bass
Adjustment Shown)
The display will scroll through in the following
order:
• iPod CATEGORY (see page 35);
•BASS;
• MID RANGE;
•TREBLE;
•AUDIO OUTPUT;
•EXIT.
To exit the menu, select EXIT and press the
SELECT button.
The menu will close automatically after 30
seconds.
The display will return to the previously
selected Trip Computer once adjustment has
been made.
11

Basic Operation
This page intentionally left blank
12

Radio
RADIO
All Markets Except USA and Canada
Table of Contents
Selecting the Source or Waveband . . . . . . . . . . . . . . . . . . . . . . . . . . . . . . . . . . . . . . . . . . . . . . .14
Finding and Saving Radio Stations . . . . . . . . . . . . . . . . . . . . . . . . . . . . . . . . . . . . . . . . . . . . . . .14
Search for a Radio Station. . . . . . . . . . . . . . . . . . . . . . . . . . . . . . . . . . . . . . . . . . . . . . . . . . .14
Save a Radio Station to a Preset . . . . . . . . . . . . . . . . . . . . . . . . . . . . . . . . . . . . . . . . . . . . . .15
Select a Stored Preset . . . . . . . . . . . . . . . . . . . . . . . . . . . . . . . . . . . . . . . . . . . . . . . . . . . . . .15
Erase All Stored Presets. . . . . . . . . . . . . . . . . . . . . . . . . . . . . . . . . . . . . . . . . . . . . . . . . . . . .16
Radio Data System (RDS). . . . . . . . . . . . . . . . . . . . . . . . . . . . . . . . . . . . . . . . . . . . . . . . . . . . . . .17
Alternative Frequency (AF) . . . . . . . . . . . . . . . . . . . . . . . . . . . . . . . . . . . . . . . . . . . . . . . . . .17
Regional Frequency (RG) . . . . . . . . . . . . . . . . . . . . . . . . . . . . . . . . . . . . . . . . . . . . . . . . . . .17
Traffic Announcement (TA) . . . . . . . . . . . . . . . . . . . . . . . . . . . . . . . . . . . . . . . . . . . . . . . . . .17
Traffic Program (TP). . . . . . . . . . . . . . . . . . . . . . . . . . . . . . . . . . . . . . . . . . . . . . . . . . . . . . . .18
Enhanced Other Network (EON) . . . . . . . . . . . . . . . . . . . . . . . . . . . . . . . . . . . . . . . . . . . . .18
RDS Options Adjustment . . . . . . . . . . . . . . . . . . . . . . . . . . . . . . . . . . . . . . . . . . . . . . . . . . .18
Programme Type (PTY) . . . . . . . . . . . . . . . . . . . . . . . . . . . . . . . . . . . . . . . . . . . . . . . . . . . . . . . .19
Programme Type Adjustment . . . . . . . . . . . . . . . . . . . . . . . . . . . . . . . . . . . . . . . . . . . . . . . .19
13
Radio
MPH
62
1892
ODO
144.2
RADIO 1
FMP2AF TA RG
97.9
EON ST
1
MPH
62
1892
ODO
144.2
RADIO 1
FMP2AF TA RG
97.9
EON ST
21
Selecting the Source or
Waveband
Press and release the Mode/Menu button to
cycle through the available input sources or
radio wavebands. The audio system will scroll
through in the following order:
•FM;
• MW (medium wave);
• LW (long wave);
• USB or iPod (iPod will display only if
an iPod or iPhone device is
connected, otherwise the display will
show USB;
• NAV (only if NAV AUDIO is
enabled, see page 39);
• Phone 1 (only if phone 1 is
connected and active);
• Phone 2 (only if phone 2 is
connected and active).
Finding and Saving Radio
Stations
Search for a Radio Station
Press and hold the tuning up (T+) or tuning
down (T-) buttons to seek through the
available stations. Briefly press and hold the
tuning up (T+) or tuning down (T-) buttons to
increment or decrement through the
frequency range in single steps for fine
tuning.
The instruments will display the radio station
name (if available - FM only) and/or
frequency (FM, MW or LW), and ST if the
programme is broadcast in stereo (FM only).
1. Frequency indicator
2. Station name (if available)
1. Waveband - FM shown
14
Radio
MPH
0
1892
ODO
RADIO 1
FM AF TA RG
97.9
EON ST
PRESET LOCATION
P4 97.9
1
MPH
62
1892
ODO
144.2
RADIO 1
FMP2AF TA RG
97.9
EON ST
1
Save a Radio Station to a Preset
Tune the radio to the desired radio station
(see page 14 ).
Press and hold the PRESET button until the
central display area shows the next available
preset.
1. Storing a preset
To store the radio station at this preset press
and release the PRESET button.
To store the radio station at a different preset
position, press the SCROLL button up or
down to select the desired preset and press
the SELECT button.
If a radio station is already stored at the
selected location it will be replaced with the
new selection.
Up to 15 presets can be stored for each
waveband.
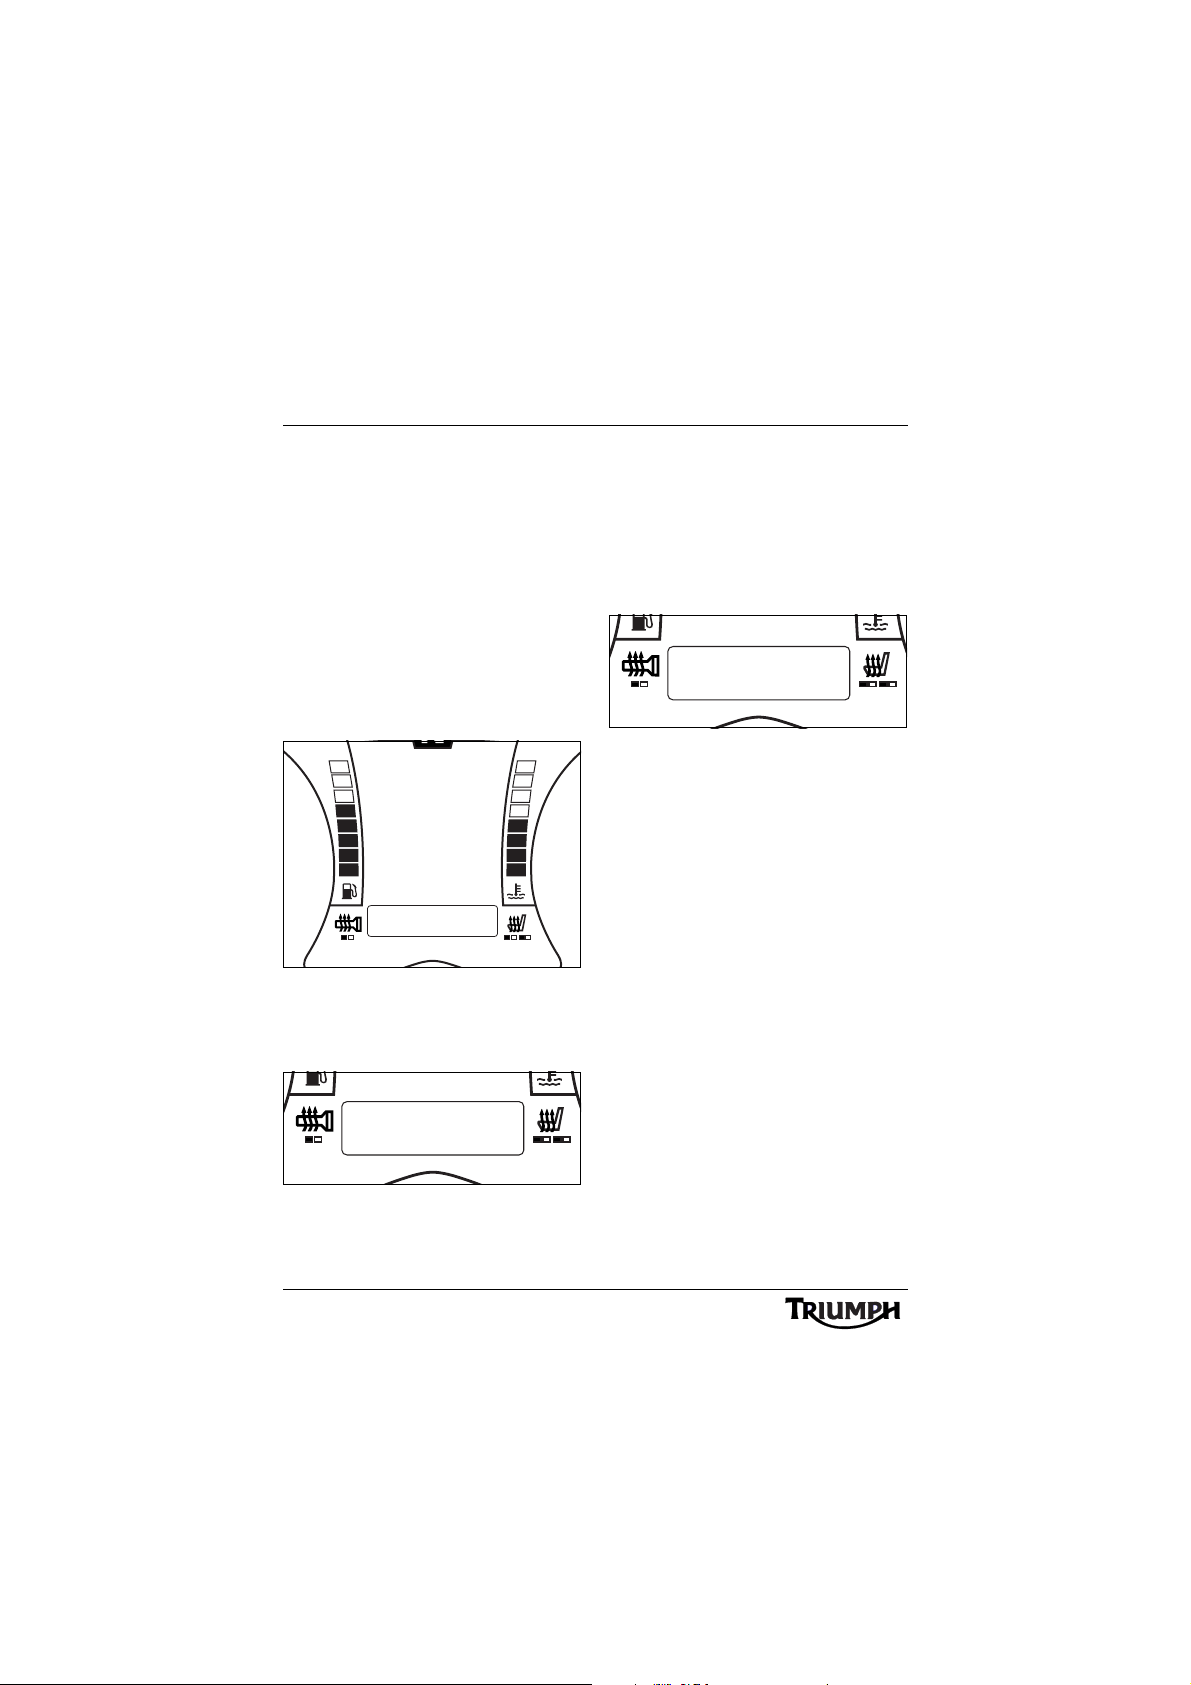
Select a Stored Preset
Press and release the PRESET button to cycle
through the stored presets one at a time. The
instruments will display P1 up to P15 (or the
highest preset stored) in the lower display
area, along with the radio station name (if
available - FM only) or frequency (MW or
LW) .
1. Preset indicator
15
Radio
N
PROGRAM TYPE
EXIT
iPod CATEGORY
RDS OPTIONS
SOURCE SETUP
ALT SOURCE
PRESETS
ALT SOURCE
PRESETS
CLEAR FM
ALT SOURCE
PRESETS
FM EMPTY
Erase All Stored Presets
1. With the motorcycle stationary, press and
hold the MODE/ MENU button on the
audio switch unit until AUDIO
SETTINGS is highlighted in the display
screen.
2. Press and release the SCROLL button
until SOURCE SETU P is highlighted.
Press the SELECT button to enter the
menu item.
3. Press and release the SCROLL button
until PRESETS is highlighted. Press the
SELECT button to enter the item.
Source Setup Menu - Presets
Press the SCROLL button up or down to
select the waveband presets to erase and
press the SELECT button to erase all presets.
The audio system will scroll through in the
following order:
•CLEAR FM;
• CLEAR MW;
•CLEAR LW.
If no presets are stored for that waveband,
the display will show XX (waveband) EMPTY.
Clear Presets - Preset Empty
Once the desired waveband presets have
been erased, press the SCROLL button up or
down until EXIT is selected and press the
SELECT button to exit.
Clear Presets - FM Shown
16
 Loading...