

SIIG SC-SAEE12-S1 Quick Installation Manual
1
eSATA II 2-Port ExpressCard-M
Quick Installation Guide
04-0436A
Introducing the eSATA II 2-Port ExpressCard-M
The eSATA II 2-Port ExpressCard-M is an ultra high-speed
dual channel Serial ATA Generation 2 controller.
Features and Benefits
• Adds two external (eSATA) ports to your
ExpressCard equipped Mac notebook
(MacBook Pro) or desktop computer for external
drive connections
• Supports data transfer speeds up to 3.0 Gbp/s
(300MB/s)
• Adds high-speed, large capacity external drives via
Serial ATA(eSATA)
• Compliant with Serial ATA 1.0a specification
• Compliant with eSATA (external SATA) connector
specifications
• Supports SATA hard disk hot-plugging
• Breaks the 137GB barrier! Works with various
brands of large capacity Serial ATA hard disks
System Requirements
• MacBook Pro (or newer) with an available
ExpressCard slot
• Mac OS X 10.4.6 or newer
2
Package Contents
• eSATA II 2-Port ExpressCard-M
• Driver CD
• This quick installation guide
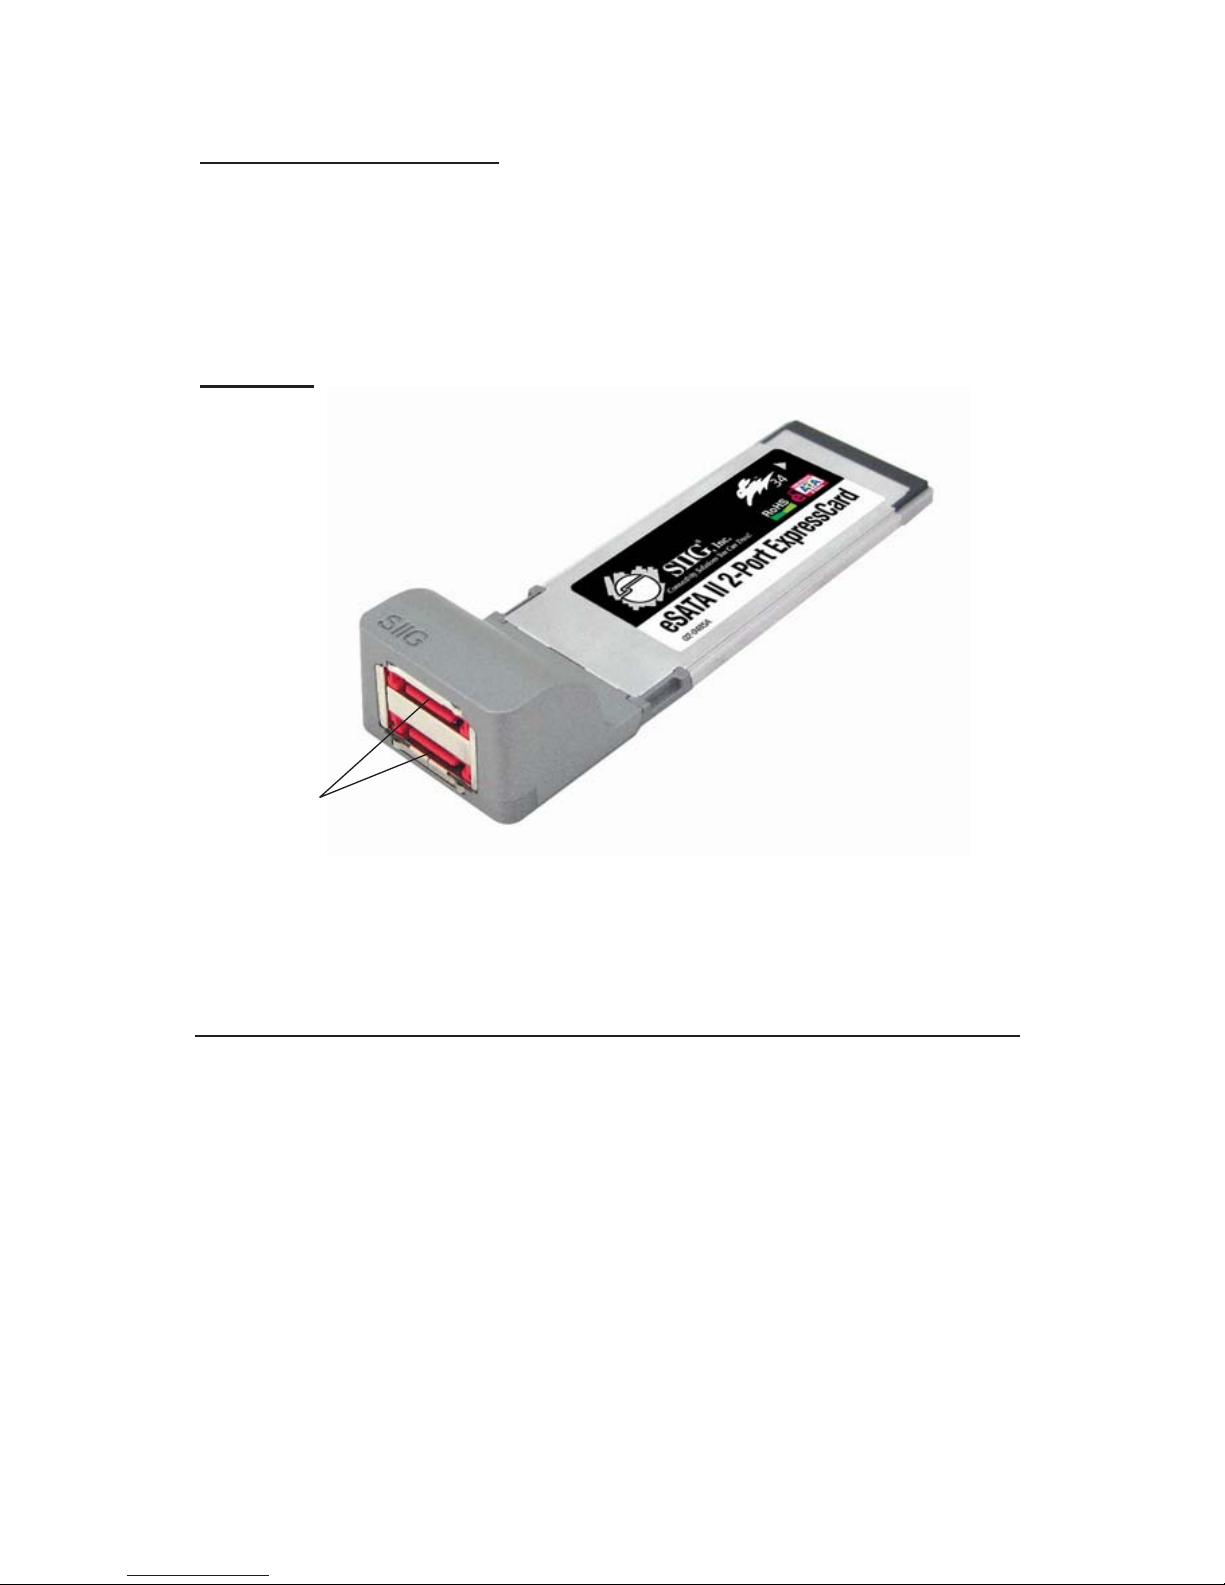
Layout
eSATA
connectors
Figure 1: eSATA II 2-port ExpressCard-M
Hardware Installation
General instructions for installing the card are provided
below. Since the design of systems may vary, refer to
your system’s reference manual for further information,
if needed.
Insert the Card into the ExpressCard slot of your system.
Make sure it is inserted all the way in for a solid connection.

3
Driver Installation
1. After installing the ExpressCard, boot up your
system.
2. Insert the driver CD.
3. Double click the eSATA CD icon on the desktop.
4. Double click SIIGeSATA.pkg
5. Click Continue, Continue.
6. When prompted to select the destination disk to
install the ExpressCard driver, choose the disk where
your Mac OS is installed. Then click Continue.
7. Click Install or Upgrade, Close, and Restart to
complete the installation.
To Verify Driver Installation
1. Double click OS 10.4.x volume/drive icon.
2. Go to System/Library/Extensions folder.
3. If the file SIIG3132EC.kext is in the Extensions
folder, the ExpressCard driver is installed
successfully.
To Uninstall the Driver
1. Double click OS 10.4.x volume/drive icon.
2. Go to System/Library/Extensions folder.
3. Click and drag SIIG3132EC.kext into trash, then
restart your system.
4. The ExpressCard driver is now removed.
 Loading...