

SIIG JU-PCM422-S2 Quick Installation Manual

1
Hi-Speed USB 4-Port CardBus
Quick Installation Guide
04-0255E
Introducing the Hi-Speed USB 4-Port
CardBus
The Hi-Speed USB 4-Port CardBus adds high-speed USB
2.0 interface to your notebook computer. A switching
power adapter is not required to provide standard power
output for each port. It supports high-speed (480 Mbps),
full-speed (12 Mbps), and low-speed (1.5 Mbps) data
transfer modes.
Key Features and Benefits
• Compliant with USB specifications revision 2.0
• PCMCIA Cardbus Interface with Power
Management
• Supports simultaneous operation of multiple highspeed USB 2.0 and USB 1.1 devices
• Hot-swapping feature allows you to connect/
disconnect USB devices without first turning your
notebook computer off
• Works with a various type of USB 2.0 and USB 1.1
devices simultaneously including hubs, removable
drives, digital cameras, scanners, CD-RWs,
DVD-RAMs, PC video cameras, printers, CF/SM/
MMC/SD/Memory Stick memory card readers, and
more
Note: USB 1.1 devices are limited to USB 1.1 speeds
even when they are connected to USB 2.0 host adapter
or USB 2.0 hubs.

2
System Requirements
PC
• Pentium or equivalent notebook computer with an
available CardBus Type II slot
• Windows® 2000 SP4/XP (32-/64-bit)/Server 2003
(32-/64-bit)/Vista (32-/64-bit)
Mac
• Power Book G3 or later with an available CardBus
Type II slot
• Mac OS X v10.2.8 or later
Package Contents
• Hi-Speed USB 4-Port CardBus
• Quick installation guide
Hardware Installation
Note: A switching power adapter is not required to
provide standard power output for each port. Certain
high performance USB devices require extra power
output from the ports, an optional power adapter, with
an output of 5V DC, 2.0A and positive inside polarity,
can be used.
Important: Make sure the power supply is connected to
the Hi-Speed USB 4-Port CardBus before installing into
your notebook computer.
1. Power off your notebook computer and any other
connected peripheral devices.
3
2. Connect the optional switching power adapter to
the Hi-Speed USB 4-Port CardBus, then plug the
switching power adapter into an appropriate power
source.
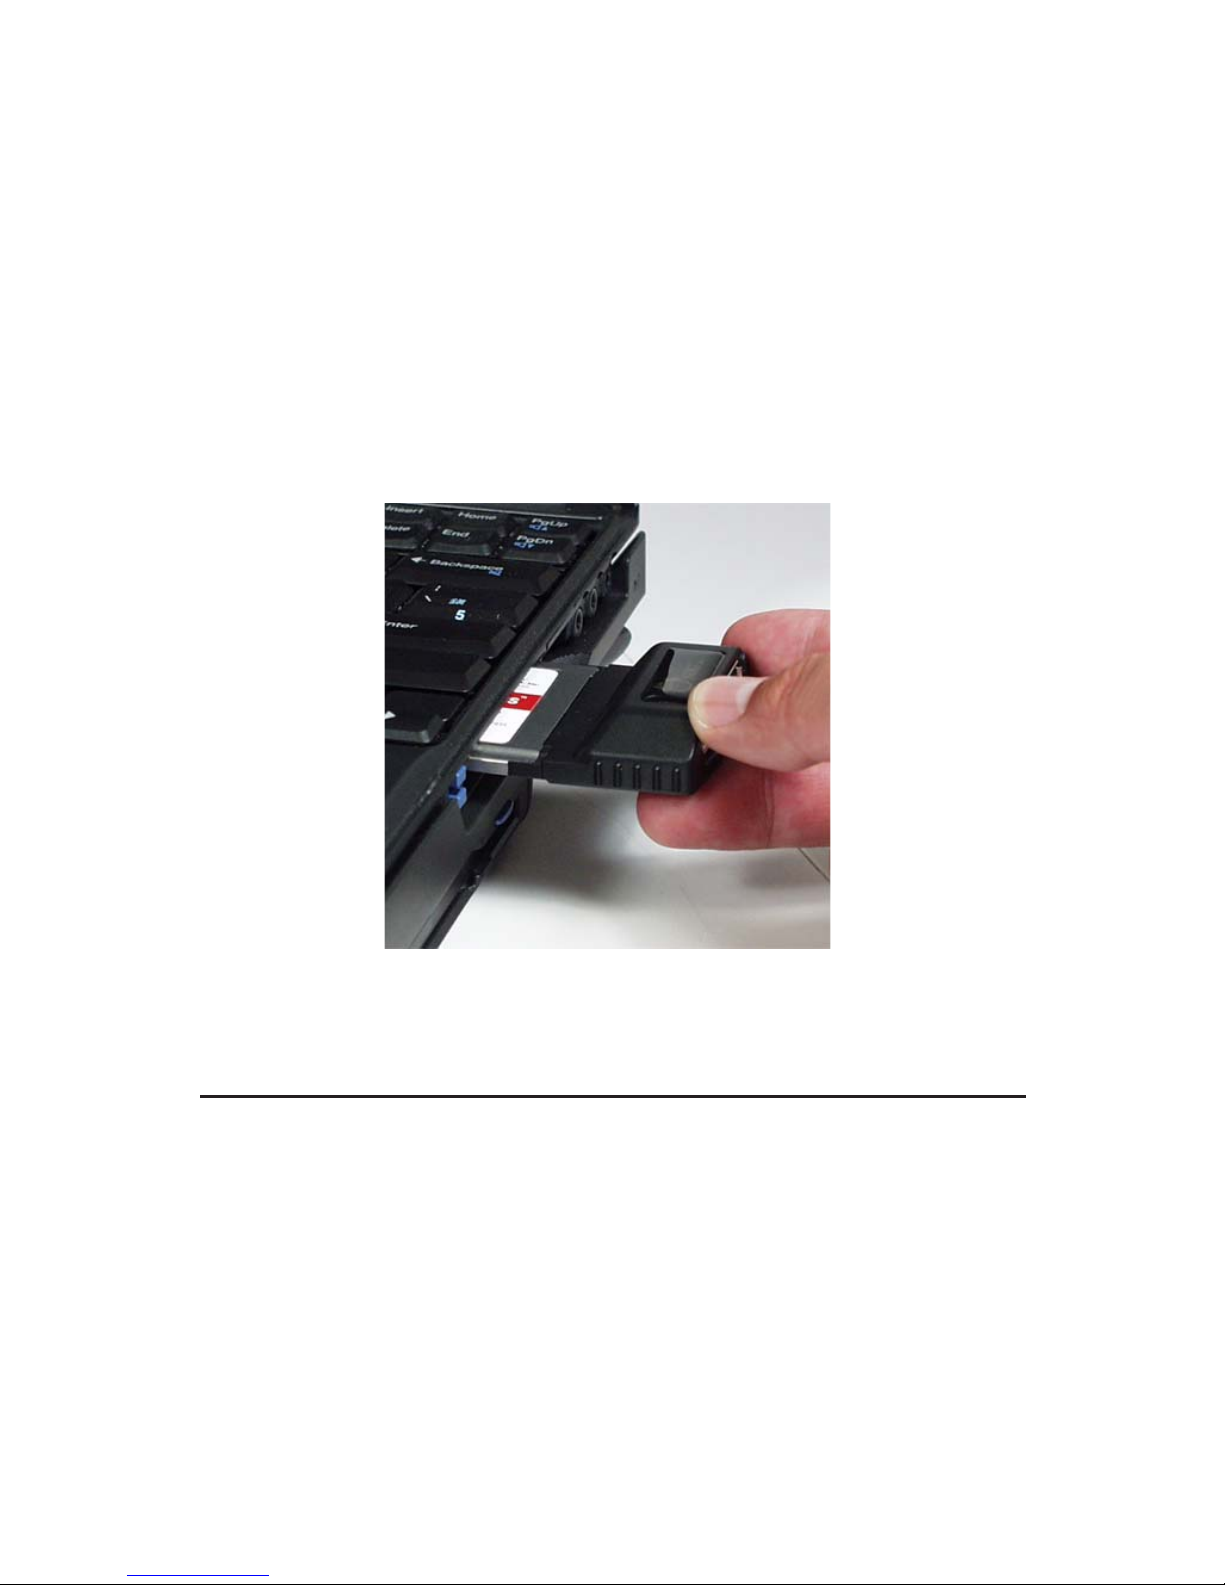
3. Insert the PC Card into the Type II PC Card slot of
your notebook computer with its 68-pin connector
facing the slot. Make sure it is inserted all the way in
for a solid connection.
4. Power on your notebook computer.
Figure 1. Inserting the PC Card
Driver Installation
Windows
Windows 2000 SP4, XP, Server 2003 and Vista will detect
and install the drivers automatically. No additional driver
is necessary.
 Loading...