

SIIG JU-HS2012-S4, JU-HS2012-S2 Quick Installation Manual

USB to Serial
Quick Installation Guide
Introducing the USB to Serial
The USB to Serial adapter converts one USB port to
multiple 9-pin (DB9) serial ports.
Features and Benefits
• Full support for Windows-based software
• Low power consumption. Draws power from USB
bus
• Supports baud rates up to 115 Kb/s
• Handy wall-mount bracket keeps your desktop
uncluttered
• Works with modems, ISDN terminal adapters,
graphics tablets, PDAs, bar code scanners, label
printers and other RS232 serial devices
• Built-in 16550 UART with 16-byte FIFO buffers to
dramatically increase data transmit/receive speed,
especially under Windows multitasking
environment
System Requirements
• Pentium or equivalent computer with an available
USB port
• Windows® 7 (32-/64-bit) / Vista (32-/64-bit) / XP
(32-/64-bit) / Server 2003 & 2008 (32-/64-bit) / 2000
/ ME / 98SE / 98
04-0349C
1
Package Contents
• USB to Serial adapter
• USB cable
• Mounting bracket kit
• Driver CD
• Quick installation guide
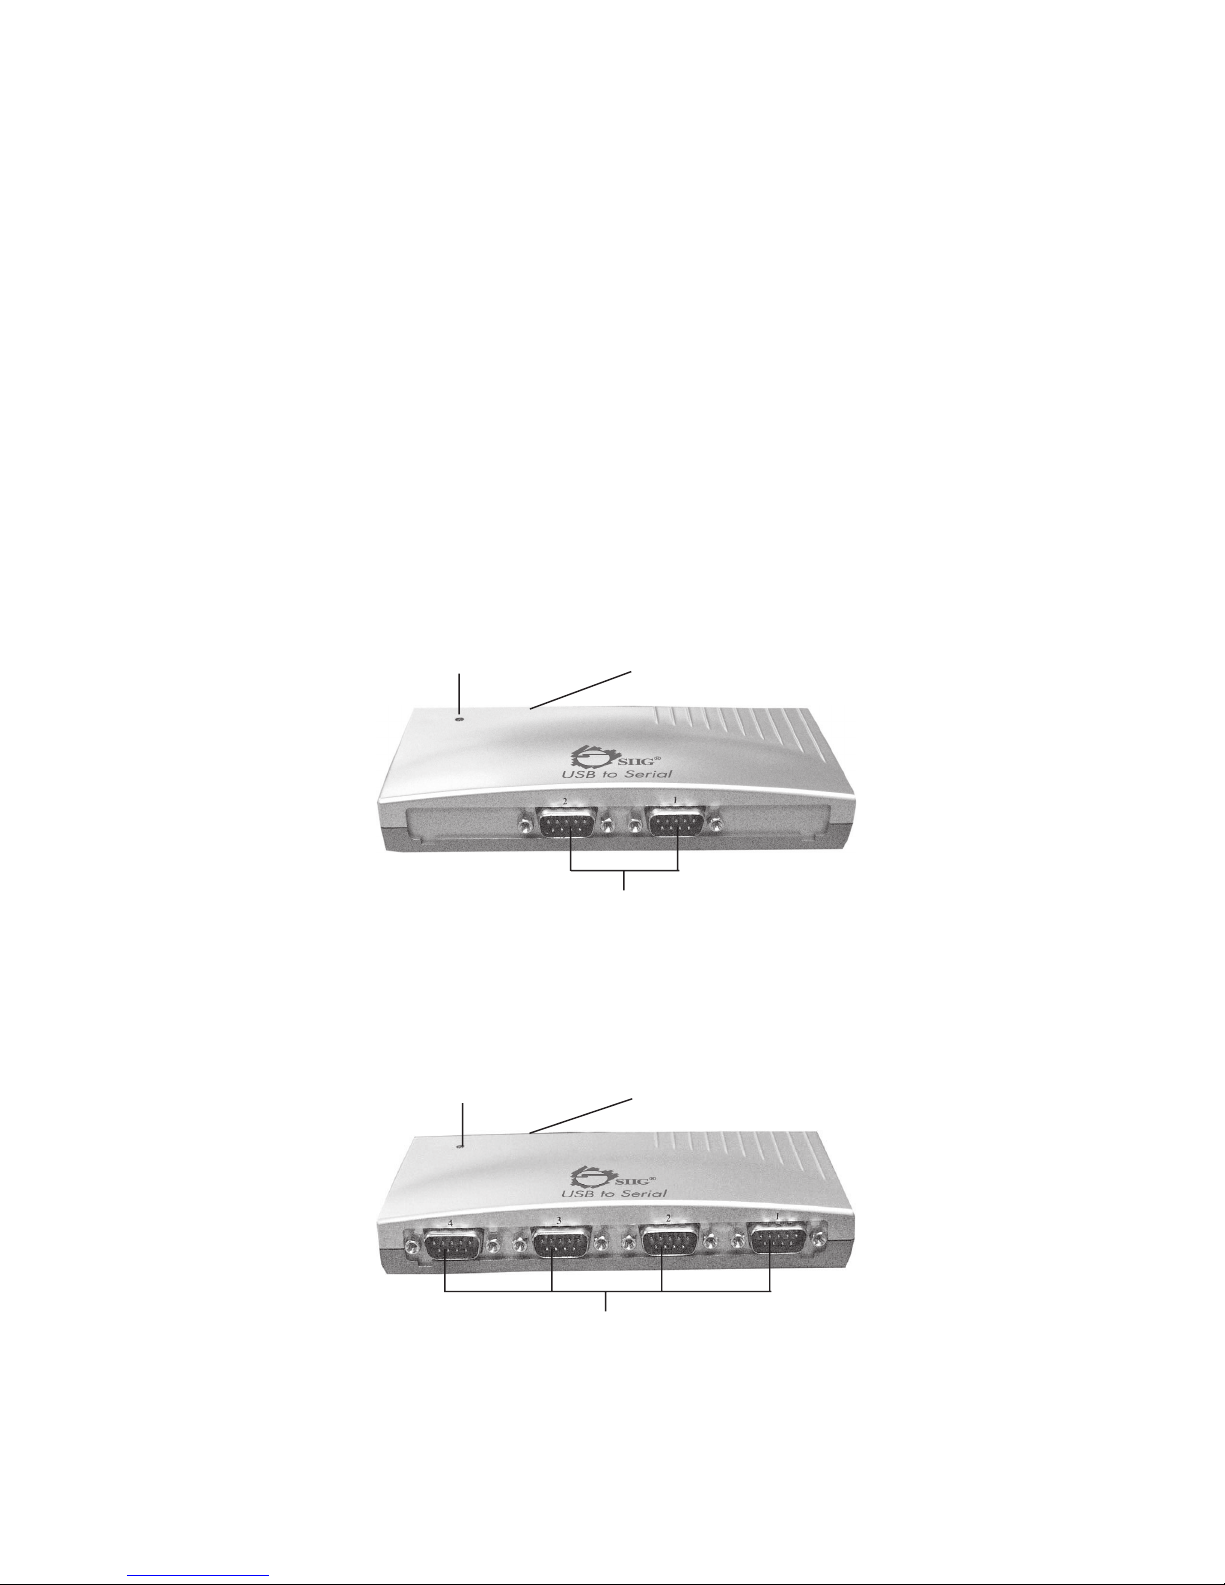
Layout
Depending on the model purchased your layout will be
either the 2-port or 4-port adapter.
Power LED
Figure 1. 2-port Layout
Power LED
USB connector
Serial Port
USB connector
2
Serial Port
Figure 2. 4-port Layout

Hardware Installation
The USB to Serial adapter can be hot-plugged into a USB
port of your computer. Important: For Windows 7, Vista
and Server 2008 Do Not plug-in the USB to Serial now,
install the driver first before plugging the USB to Serial
into a USB port.
1. Plug one end of the included USB cable into an
available USB port in your computer.
2. Plug the other end of the included USB cable into the
back of the USB to Serial adapter.
3. If your computer was on when you plugged in the
USB to Serial adapter, go to Driver Installation.
Otherwise, turn on the computer now and continue.
Driver Installation
Windows 7 (32-/64-bit)
The driver must first be installed before you plug the USB
to Serial into a USB port. If you have plugged-in the
adapter prior to installing the driver, unplug it, and then
follow the driver installation below.
1. Insert the driver CD and wait for a few seconds.
Close the AutoPlay box if prompted.
2. Click the Start button. In the Start Search box, type
D:\Vista\install.exe, press Enter. (Change D: to
match your CD/DVD-ROM drive letter)
3. At User Account Control, click Allow.
4. At the Welcome screen, click Next.
5. Select I accept the terms of the license agreement,
click Next, then click Finish.
6. Plug the USB to Serial adapter into a USB port and
the driver will install automatically.
3

Windows Vista (32-/64-bit)
The driver must first be installed before you plug the USB
to Serial into a USB port. If you have plugged-in the
adapter prior to installing the driver, click Cancel at the
Found New Hardware window, unplug it, and then
follow the driver installation below.
1. Insert the driver CD and wait for a few seconds.
Close the AutoPlay box if prompted.
2. Click the Start button. In the Start Search box, type
D:\Vista\install.exe, press Enter. (Change D: to
match your CD/DVD-ROM drive letter)
3. At User Account Control, click Allow.
4. At the Welcome screen, click Next.
5. Select I accept the terms of the license agreement,
click Next, then click Finish.
6. Plug the USB to Serial adapter into a USB port and
the driver will install automatically.
Windows XP (32-/64-bit) / Server 2003 (32-/64-bit)
1. Plug the USB to Serial into an available USB port.
2. At the Found New Hardware Wizard, select No, not
this time, click Next.
3. Insert the driver CD, select Install the software
automatically (Recommended), then click Next.
4. Click Continue Anyway, then click Finish.
5. Repeat steps 2-4.
For 2S adapter: 1 more time.
For 4S adapter: 3 more times.
6. Restart Windows to complete the installation.
4
 Loading...