

SIIG JU-000071-S1 Quick Installation Manual

1
USB 2.0 to VGA Adapter
Quick Installation Guide
Introducing the USB 2.0 to VGA Adapter
The USB 2.0 to VGA allows you to connect a monitor, LCD
or projector to your PC or notebook and use it as an
extended desktop or as a larger/different display for your
main screen.
Features and Benefits
• Compliant with USB specification, revision 2.0
• Supports suspend and wake-up modes
• Functionality: primary, extended or mirror
• Resolution: up to 1680 x1050 @ 32-bit color
System Requirements
• Pentium® 4 1.5GHz or equivalent PC
• An available USB 2.0 port
• Windows® 7 (32-/64-bit) / Vista (32-/64-bit) / XP
(32-/64-bit) / Server 2003 (32-bit) / 2000
Serial Number Sticker
For future product return or exchange, this serial number
is required. Please keep it for your reference.
04-0473C
2
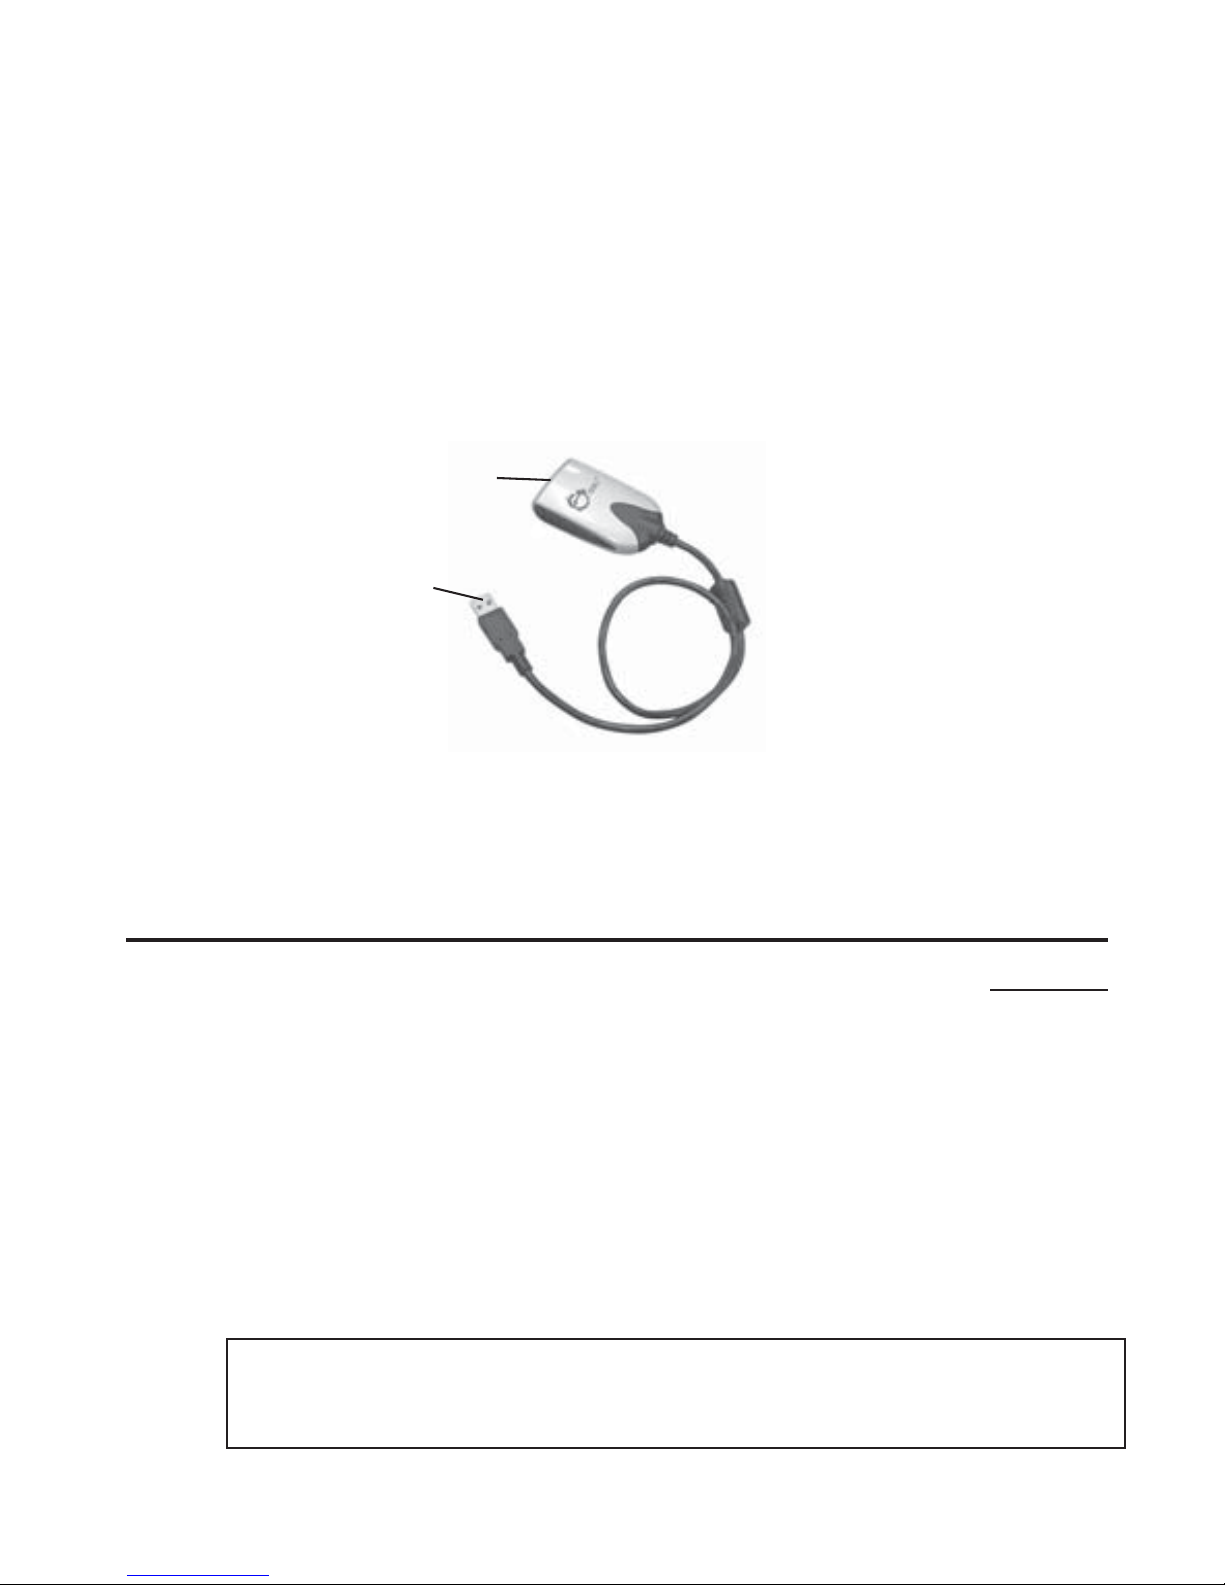
Figure 1: USB 2.0 to VGA Layout
Package Contents
• USB to VGA
• Driver CD
• Quick installation guide
Layout
Installation
It is recommended that you install the driver Before
connecting the USB 2.0 to VGA to the computer.
Windows 7 (32-/64-bit)
1. Insert the driver CD. Click Start, in the Search
programs and files box, type D:\setup.exe, press
Enter. (Change D: to match your CD-ROM drive
letter)
Note: Close the CD auto-start pop-up window if it
appears.
VGA port
USB port

3
2. At User Account Controls, click Yes.
3. Click Next,
4. Select I accept the terms of the license agreement,
click Next.
5. Select Yes, I want to restart my computer now, then
click Finish.
6. Connect your second monitor to the USB 2.0 to
VGA and turn it on.
7. When Windows resumes, plug the USB 2.0 to VGA
into the computer.
Note: Some systems will go to 8-bit resolution after
installing the driver. Please reset it back to your
normal resolution.
Windows Vista™ (32-/64-bit)
1. Insert the driver CD. Click Start, in the Start Search
box, type D:\setup.exe, press Enter, then click
Continue. (Change D: to match your CD-ROM
drive letter)
2. Click Next, select I accept the terms of the license
agreement, click Next.
3. Click Install, then click Finish.
4. Connect your second monitor to the USB 2.0 to
VGA and turn it on.

4
5. When Windows resumes, plug the USB 2.0 to VGA
into the computer.
6. Click Install two times.
Note: Some systems will go to 8-bit resolution after
installing the driver. Please reset it back to your
normal resolution.
Windows XP (32-/64-bit)
1. Insert the driver CD. Click Start, then Run, type
D:\setup.exe, click OK. (Change D: to match your
CD-ROM drive letter)
2. Click Next, select I accept the terms of the license
agreement, then click Next.
3. Click Continue Anyway, then click Finish.
4. Connect your second monitor to the USB 2.0 to
VGA and turn it on. When Windows resumes,
connect the USB 2.0 to VGA to the computer.
5. Select No, not this time, click Next.
6. Select Install the software automatically
(Recommended), click Next, click Continue
Anyway three times, then click Finish to complete
the installation.
Note: The main screen will blink to blank screen a
couple of times during the installation. This is
normal.
 Loading...