

SIIG IO1037 Quick Installation Manual

1
Single-Serial PC Card
Quick Installation Guide
04-0254A
Introducing the
Single-Serial PC Card
The Single-Serial PC Card adds one high-speed serial port (RS232)
into your notebook computer to connect various types of serial
devices.
Keys Features and Benefits
• Works with notebook computers with one Type II/III PC
Card/CardBus slot
• Fast 16550 UART supports baud rates up to 115.2Kbps
• Built-in 16-byte FIFO buffer to speed up data transfer
• Provides one RJ45-to-serial (DB9) removable cable for device
connections
• Works with various types of RS232 serial devices including
modems, PDAs, label printers, bar code scanners, digital
cameras, and more
System Requirements
• Pentium or equivalent notebook computer with an available
CardBus slot
• Windows 98/98SE/ME/2000/XP
Package Contents
• One Single-Serial PC Card
• RJ45 to 9-pin serial port cable
• Driver diskette
• This quick installation guide
2
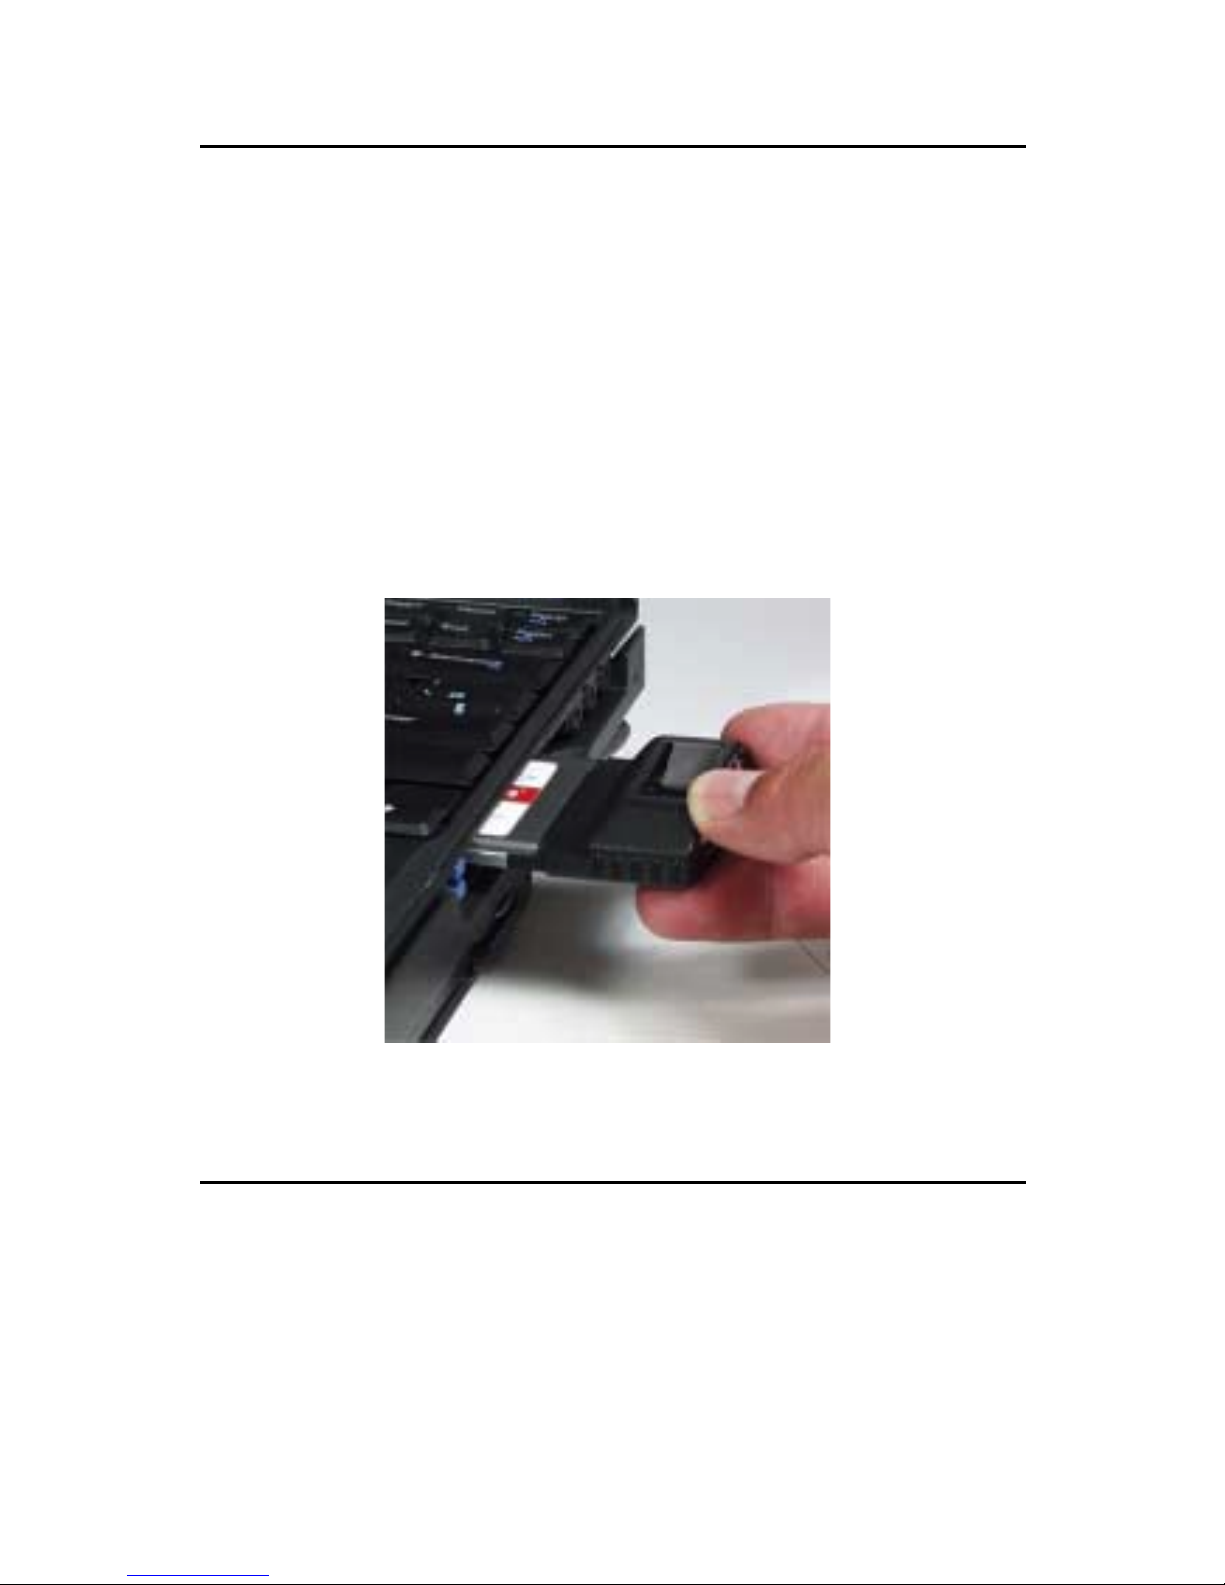
Hardware Installation
General instructions for installing the card are provided below, since
the design of notebook computers may vary. Refer to your system’s
reference manual for further information, if needed.
1. Power off your notebook computer and any other connected
peripheral devices.
2. Insert the PC Card into the PC Card slot of your notebook
computer with its 68-pin connector facing the slot. Make sure
it is inserted all the way in for a solid connection.
3. Plug the RJ45-to-9-pin serial port cable into the Single-Serial PC
Card.
4. Power on your notebook computer.
Figure 1. Inserting PC Card
Software Installation
Throughout driver installation, you may be prompted to insert your
Windows installation CD. Some files on this CD are neccessary to
complete the driver installation. Please insert the CD when
prompted and follow on-screen instructions.
 Loading...