

SIIG 7200 Quick Installation Manual

1
Portable Battery Charger - 7200
Quick Installation Guide
04-0890A
Introduction
The Portable Battery Charger - 7200 easily charges electronic
devices while on the go, including iPhone
®
/iPod®/ iPad®,
mobile phones, PDAs, portable video games, MP3 players
and more.
Key Features and Benefits
• High-quality rechargeable Lithium-polymer
battery recharges easily via computer USB port
(with the included USB charging cable) or your USB
wall charger
• Extends mobile phonetalk time up to 40 hours, up
to 50 hours of video, or up to 200 hours of music
(based on iPhone
®
5, actual results will vary
depending on your device)
• Compatible with any USB-powered portable device
Serial Number Sticker
For future product return or exchange, this serial number
is required. Please keep it for your reference.
Serial Number Part Number
2
Package Contents
• Portable Battery Charger - 7200
• USB charging cable
• Quick installation guide
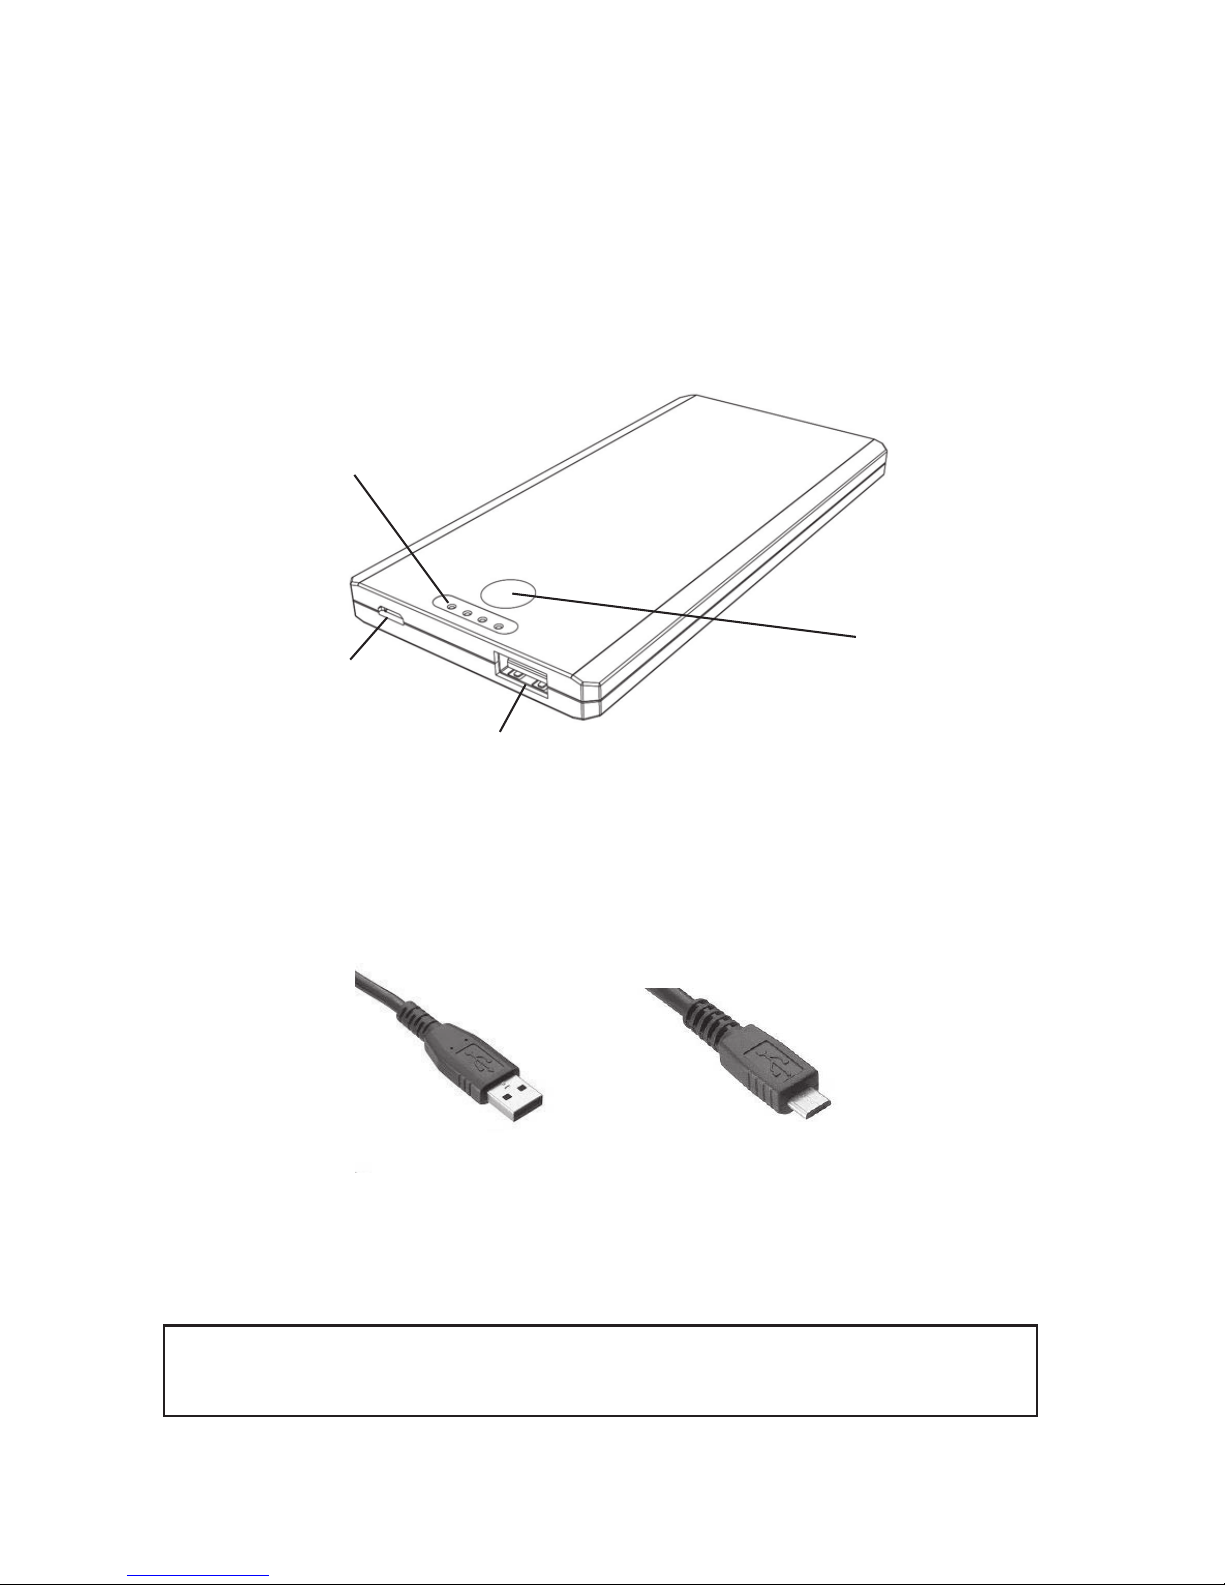
Layout
Figure 1: Portable Battery Charger - 2400
Input (Micro USB port)
Output (USB Type A port)
Figure 2: USB Charging Cable Tips
Micro USB tip*
USB Type A tip*
Power Button
LED Indicators
*Note: Tip may vary slightly from image shown

3
LED Indicators
The LEDs display the battery life/charging status of the
Lithium-polymer battery.
• 1 LED ~ 25% charge
• 2 LEDs ~ 50% charge
• 3 LEDs ~ 75% charge
• 4 LEDs - Fully charged
Checking the Charge Capacity of the
Lithium-polymer Battery
Press and hold down briefly the power button to display
the status of the Lithium-polymer battery. The LEDs will
go off automatically in 10 seconds or you can press and
hold down the power button again.
4
Operating Instructions
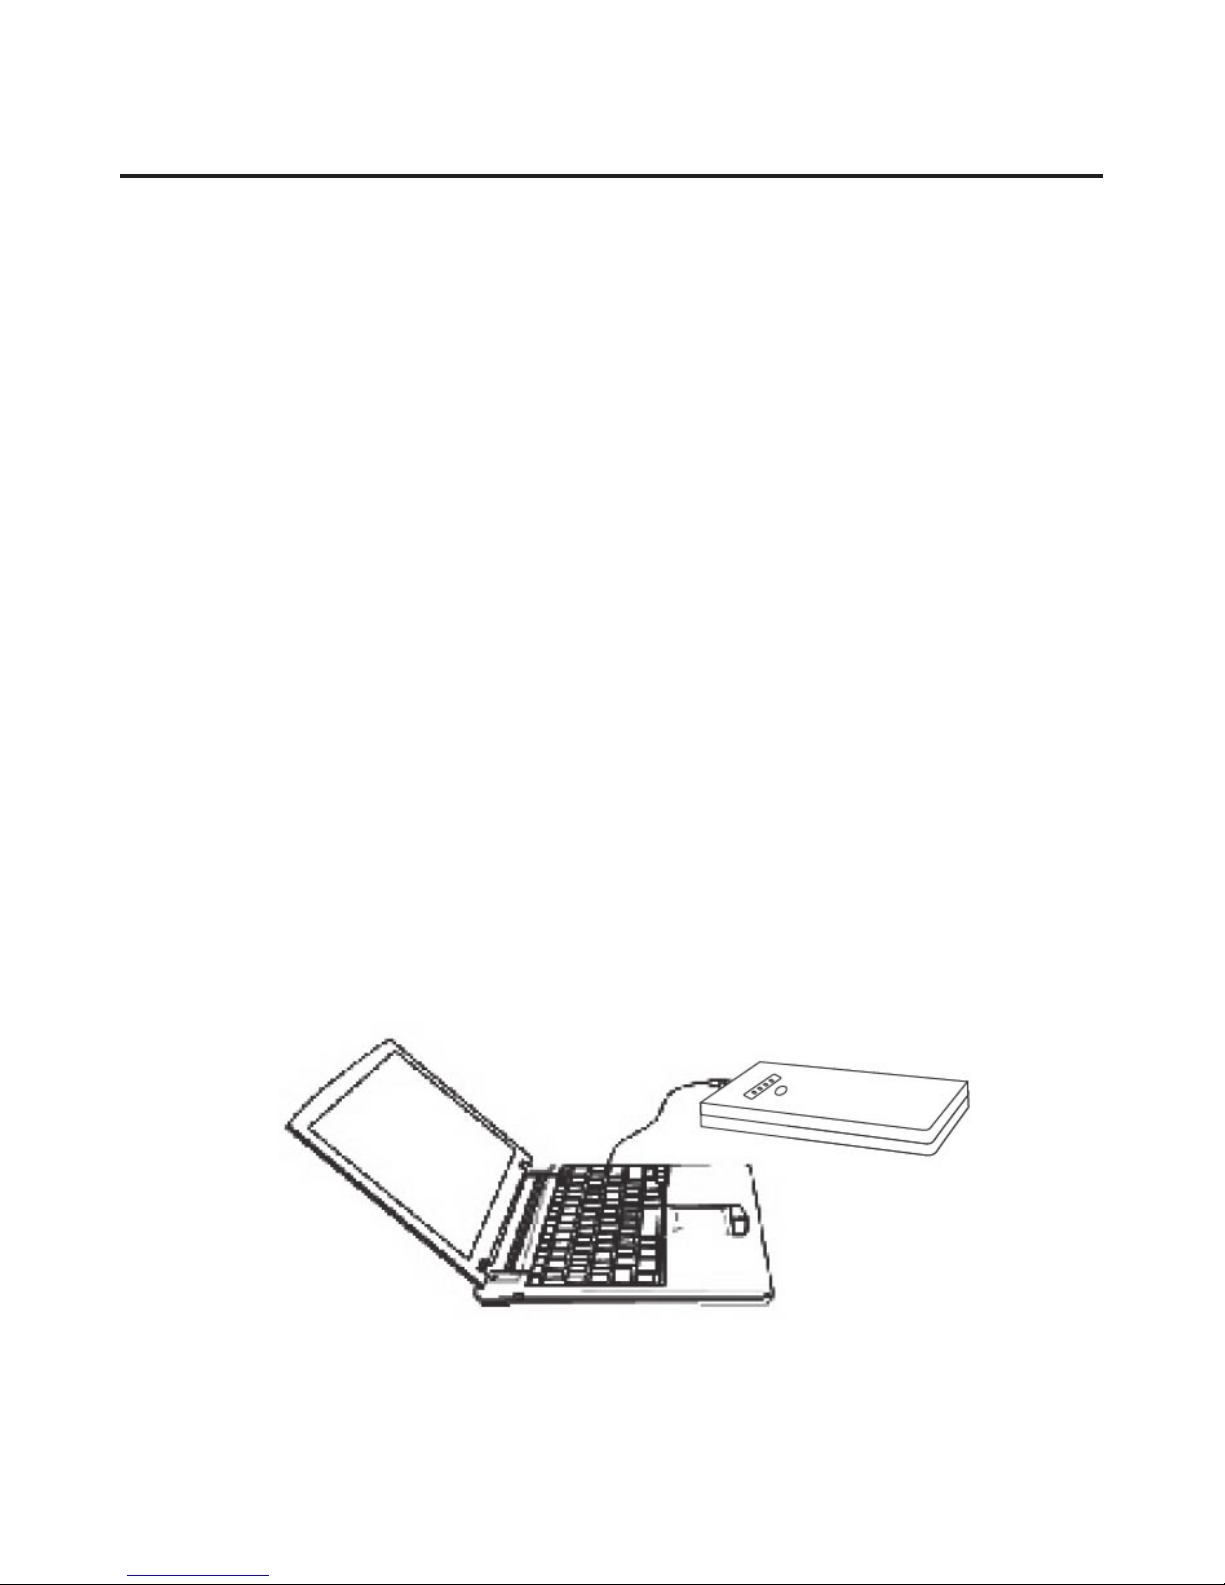
Charging the Lithium-polymer Battery using a
Computer
1. Connect the Micro USB tip of the included USB
charging cable into the INPUT port (Micro USB
port) of the Portable Battery Charger - 7200, see Figure
3.
2. Connect the USB Type A tip of the included USB
charging cable to an available USB port of your
desktop or notebook computer (make sure the
system is turned on) and the charging process will
begin automatically.
3. During the charging process, the blinking LED will
move gradually to the next LED as the battery
charges. When the Lithium-polymer battery is fully
charged 4 LEDs will be on.
Figure 3
 Loading...