

SIIG Digital to Analog Audio Converter, 3-in-1 USB Power Bank Charger Quick Installation Manual
1
Digital to Analog Audio
Converter
Quick Installation Guide
04-0750A
Introduction
The Digital to Analog Audio Converter allows you
to convert digital audio to analog L/R stereo.
Key Features and Benefits
• Converts Coaxial or Toslink digital audio to
analog L/R stereo output
• Supports audio sampling rate at 32, 44.1,
48 and 96KHz
• Provides electromagnetic-noise-free
transmission
• Easy to install and simple to operate
• Metal housing for better RF shielding
Serial Number Sticker
For future product return or exchange, this serial
number is required. Please keep it for your
reference.
2
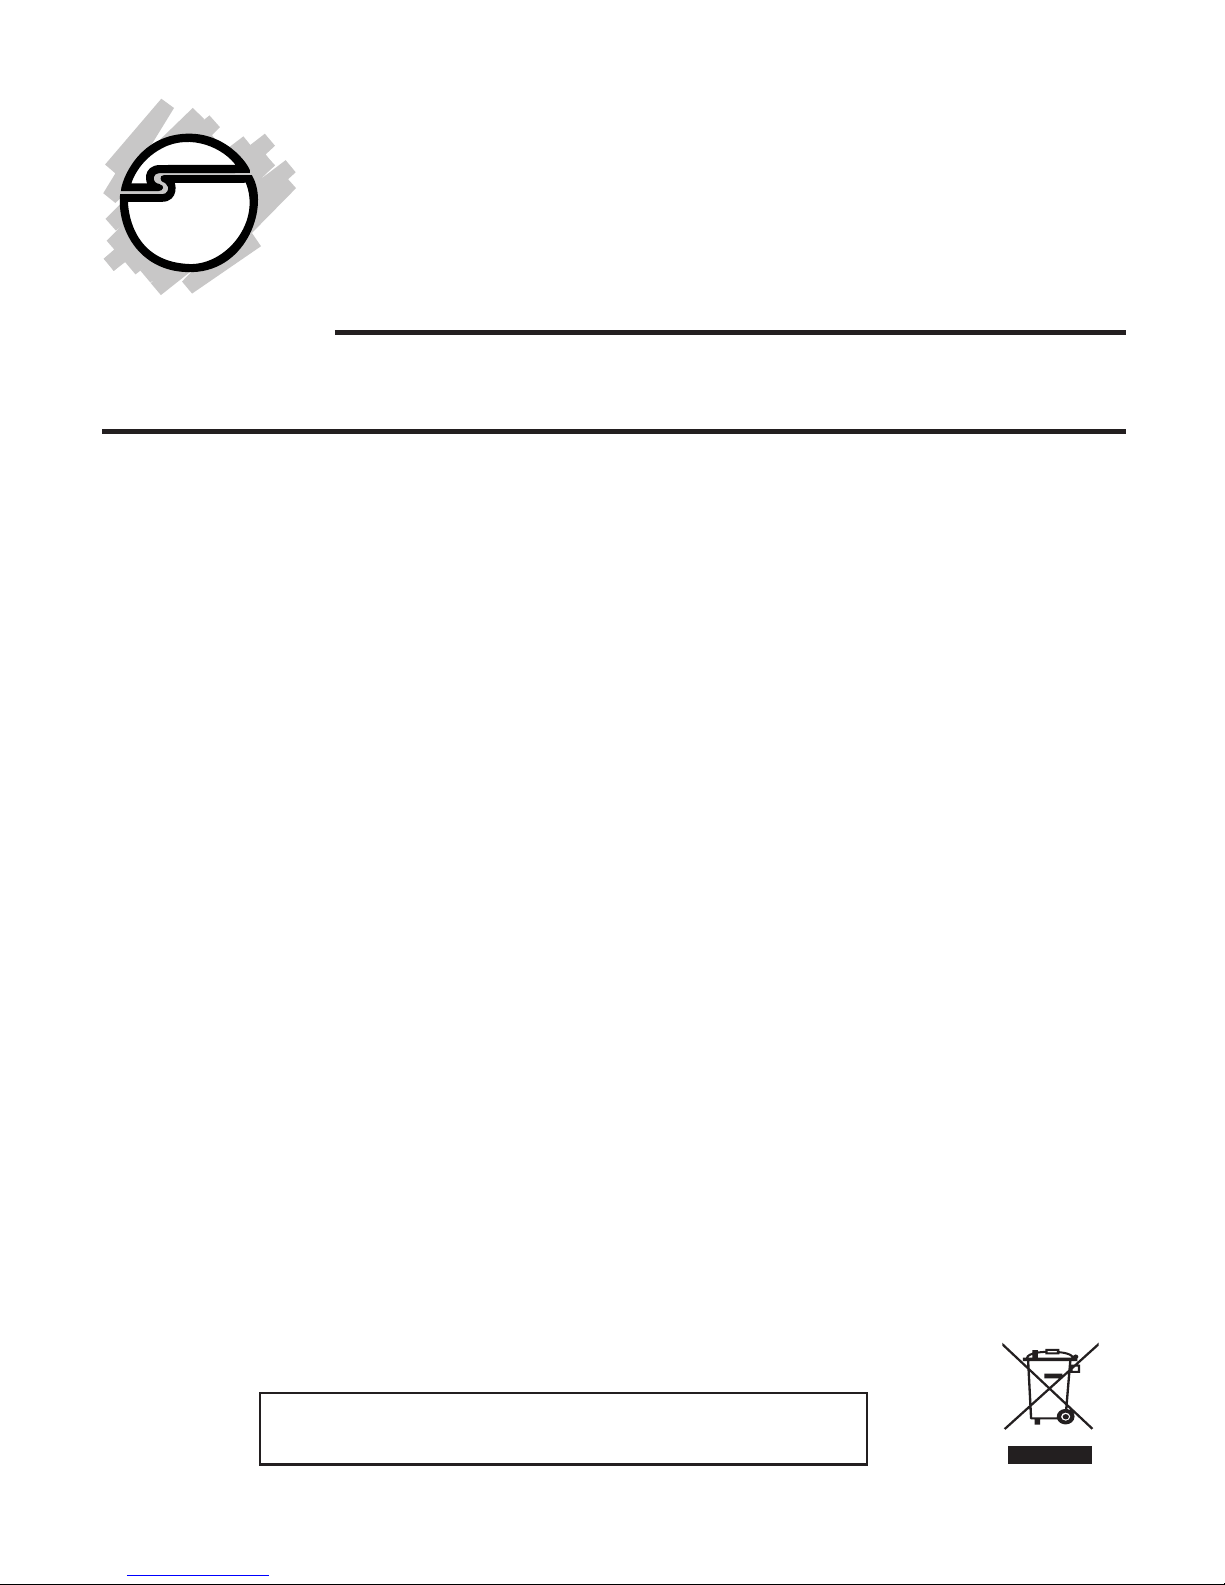
Layout
Figure 1: Input
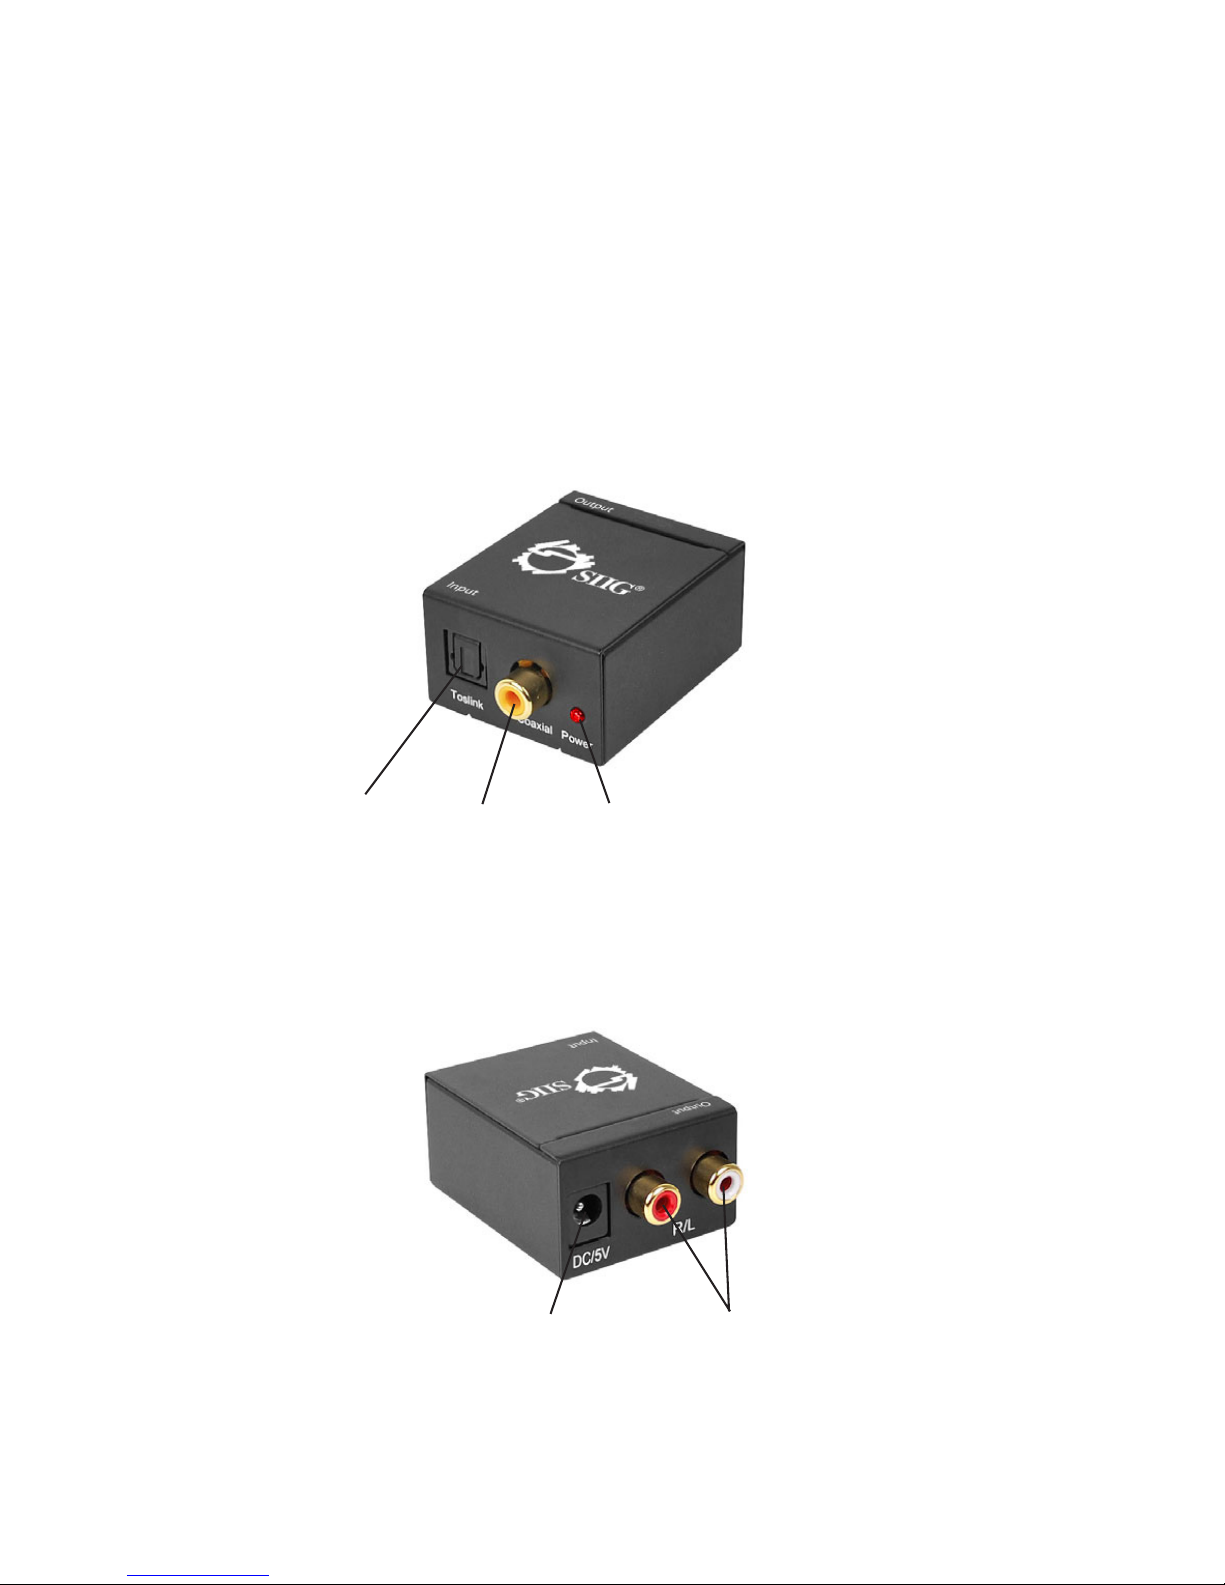
Figure 2: Output
Coaxial
Toslink
Power LED
RCA (R/L)Power Jack
Package Contents
• Digital to Analog Audio Converter
• Power adapter
• Quick installation guide

3
Hardware Installation
1. Power off all devices you plan to connect to
this converter.
2. Connect your audio source to the converter’s
Input connector using a Toslink or Coaxial
cable (not included).
3. Connect your A/V receiver or amplifier to
the converter’s Output connectors using a
R/L cable (not included).
4. Connect the converter's power adapter.
5. Turn on the A/V receiver or amplifier, then
the audio source.
6. The Digital to Analog Audio Converter is now
ready to use.
 Loading...