

Page 1
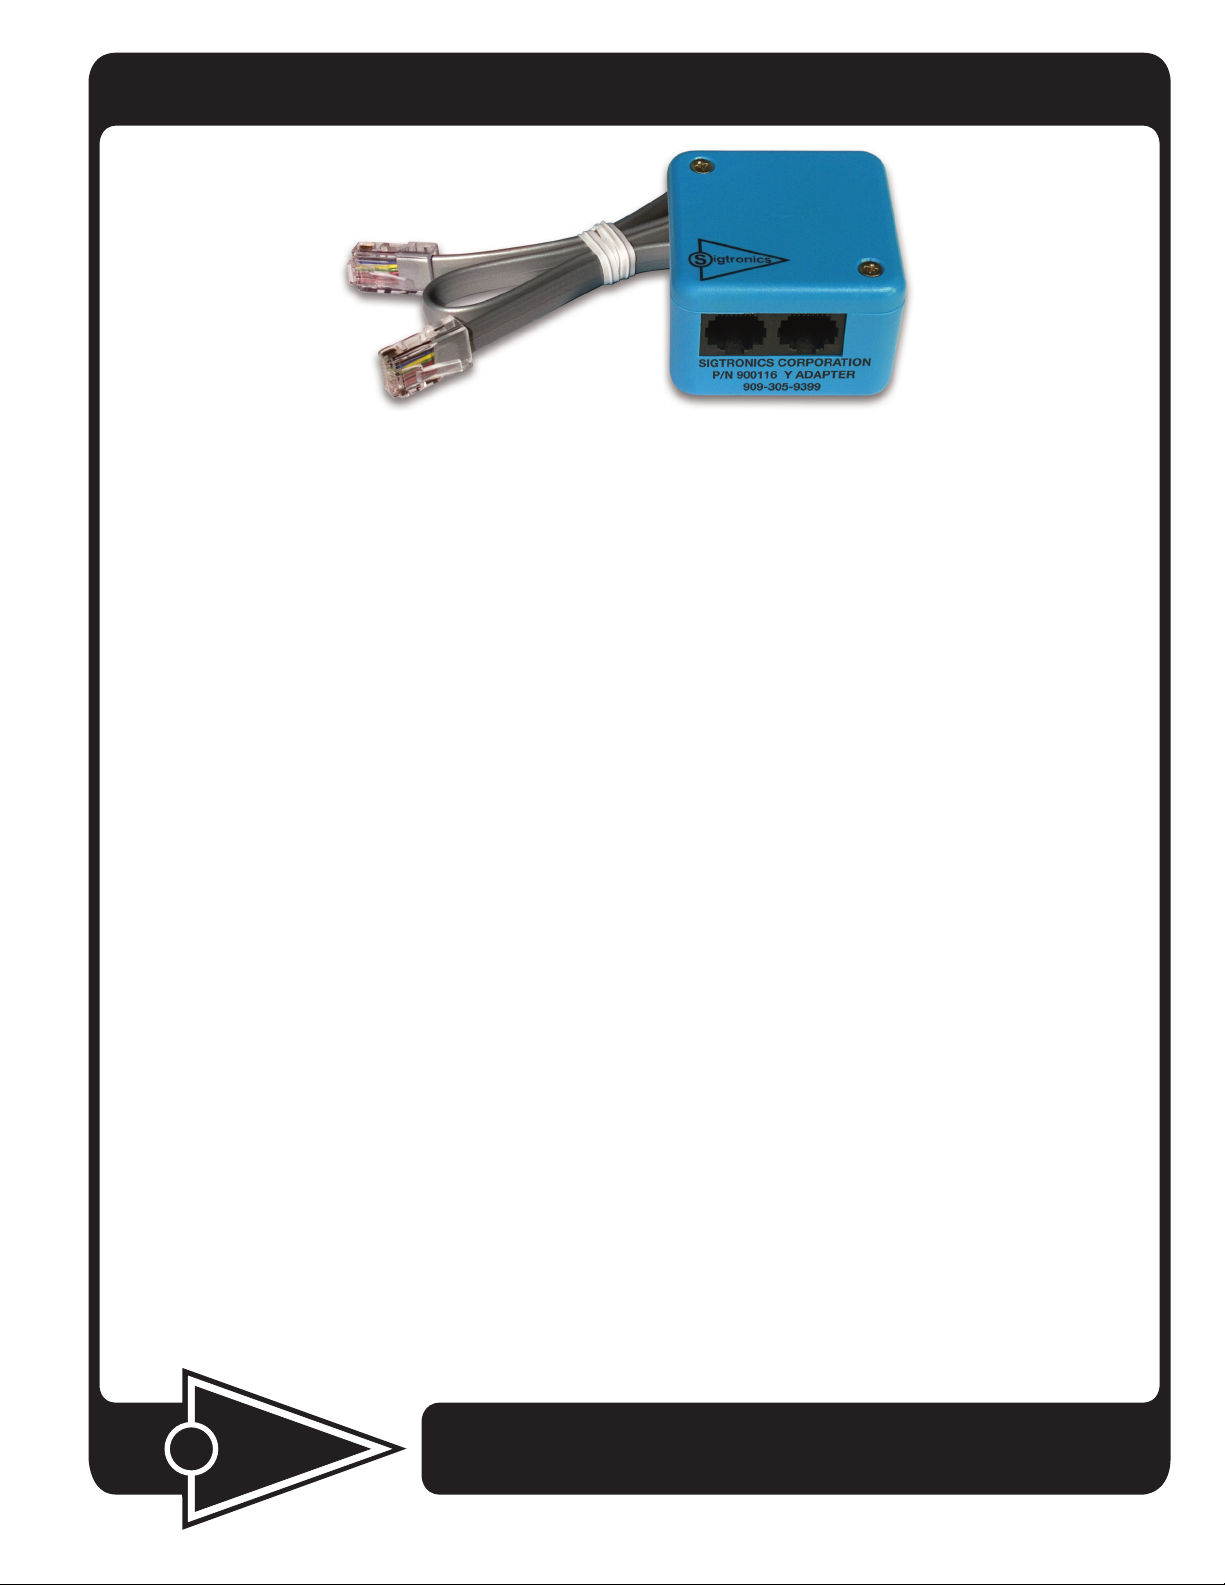
Sigtronics Universal Y Adapter 6 Pin — 900116
Sigtronics Universal Y Adapter 6 Pin Installation Instructions
The Sigtronics Universal Y Adapter 6 Pin is designed to simplify the
process of connecting a Sigtronics Emergency Intercom System or a
MRIM-2 unit to your mobile radio.
Installation
1. To select an appropriate mounting location for the adapter, first
connect it up to the radio. To do this, unscrew and remove the two
screws on the top of the Universal Y adapter. Leave the lid in place
on the adapter for now.
2. Unplug the radio hand mic from the radio mic jack and plug it into
either one of the telephone type jacks on the Universal Y Adapter
module.
3. Plug one end of the short cable that came with the adapter into the
other telephone type jack on the Universal Y adapter.
4. Plug the other end of the short cable into the hand mic connector
on radio.
5. Now you are ready to select a mounting location for the adapter.
Select a spot out of the way so that the adapter and its cables will
not interfere with the normal operation of the vehicle. Note one
more cable will have to come out of the adapter for the wires that
go to Sigtronics intercom or MRIM-2 unit. This cable can come out
of any side of the adapter except the top. For convenience, the bottom of the adapter already has a hole for this. Make sure that the
hand mic has enough cable length to be used properly. If necessary
swap the hand mic and the short cable positions on the adapter
for best cable routing.
6. Hold the adapter on the intended mounting place and remove the
adapter lid. Mark with a pen or pencil through the two mounting
holes and the cable hole (if desired) on the bottom of the adapter.
If the cable to the Sigtronics intercom or MRIM-2 unit needs to
come out the side of the adapter mark that hole also. Note cable
holes on the side of the adapter should be as close to the bottom
as possible to clear the adapters circuit components. Drill all the
holes and mount with the supplied #10 sheet metal screws. Note:
As an option to using the sheet metal screws, the included double
sided foam tape may be used to mount the adapter.
7. Route the cable from the intercom or MRIM-2 unit through the hole
on the adapter. Note: Use the wire supplied with the Sigtronics
system for connection to the Universal Y terminal block. If unavailable use wire that has 22 or 24 gauge stranded conductors. Cut to
length but leave a few inches for access.
8. Strip the insulation from the individual conductors about 1/2 inch.
Twist the conductors to eliminate any loose strands. Using the
appropriate wiring pinout table insert the wires into the terminal
block holes. Note: Some configurations require that 2 wires be inserted into one hole. Two 22 or 24 gauge stranded wires carefully
twisted together will fit into one hole correctly. To insert the wire,
using a finger nail or small screw driver, press and hold the selected
orange tab down towards the circuit board and insert the wire into
the matching hole. Make sure the wire is inserted enough into the
hole that insulation touches the hole entry (no exposed bare wire).
Release the tab. Carefully inspect and fix any loose wire strands that
did not make it into the hole. Repeat for all wires.
9. Install the provided tie wrap securely on the intercom or MRIM-2
cable so that the wires won’t pull out of the adapter box.
10. Replace the adapter box lid making sure the wires do not get
pinched around the edges. Reinstall the lid screws.
NOTES: Don’t forget to also hook up the speaker wires (2 violet wires)
from the Sigtronics intercom or MRIM-2 unit to the radio speaker
leads. Adjust the Sigtronics intercom or MRIM-2 units transmit and
receive levels per their appropriate installation instructions. Your existing radio hand mic and speaker will still function as normal.
WARRANTY: One year parts and labor.
igtronics
S
Made in the U.S.A.
®
Specialists in “SOUND” Management
178 East Arrow Highway, San Dimas, CA 91773 ( 909 ) 305-9399
Page 2
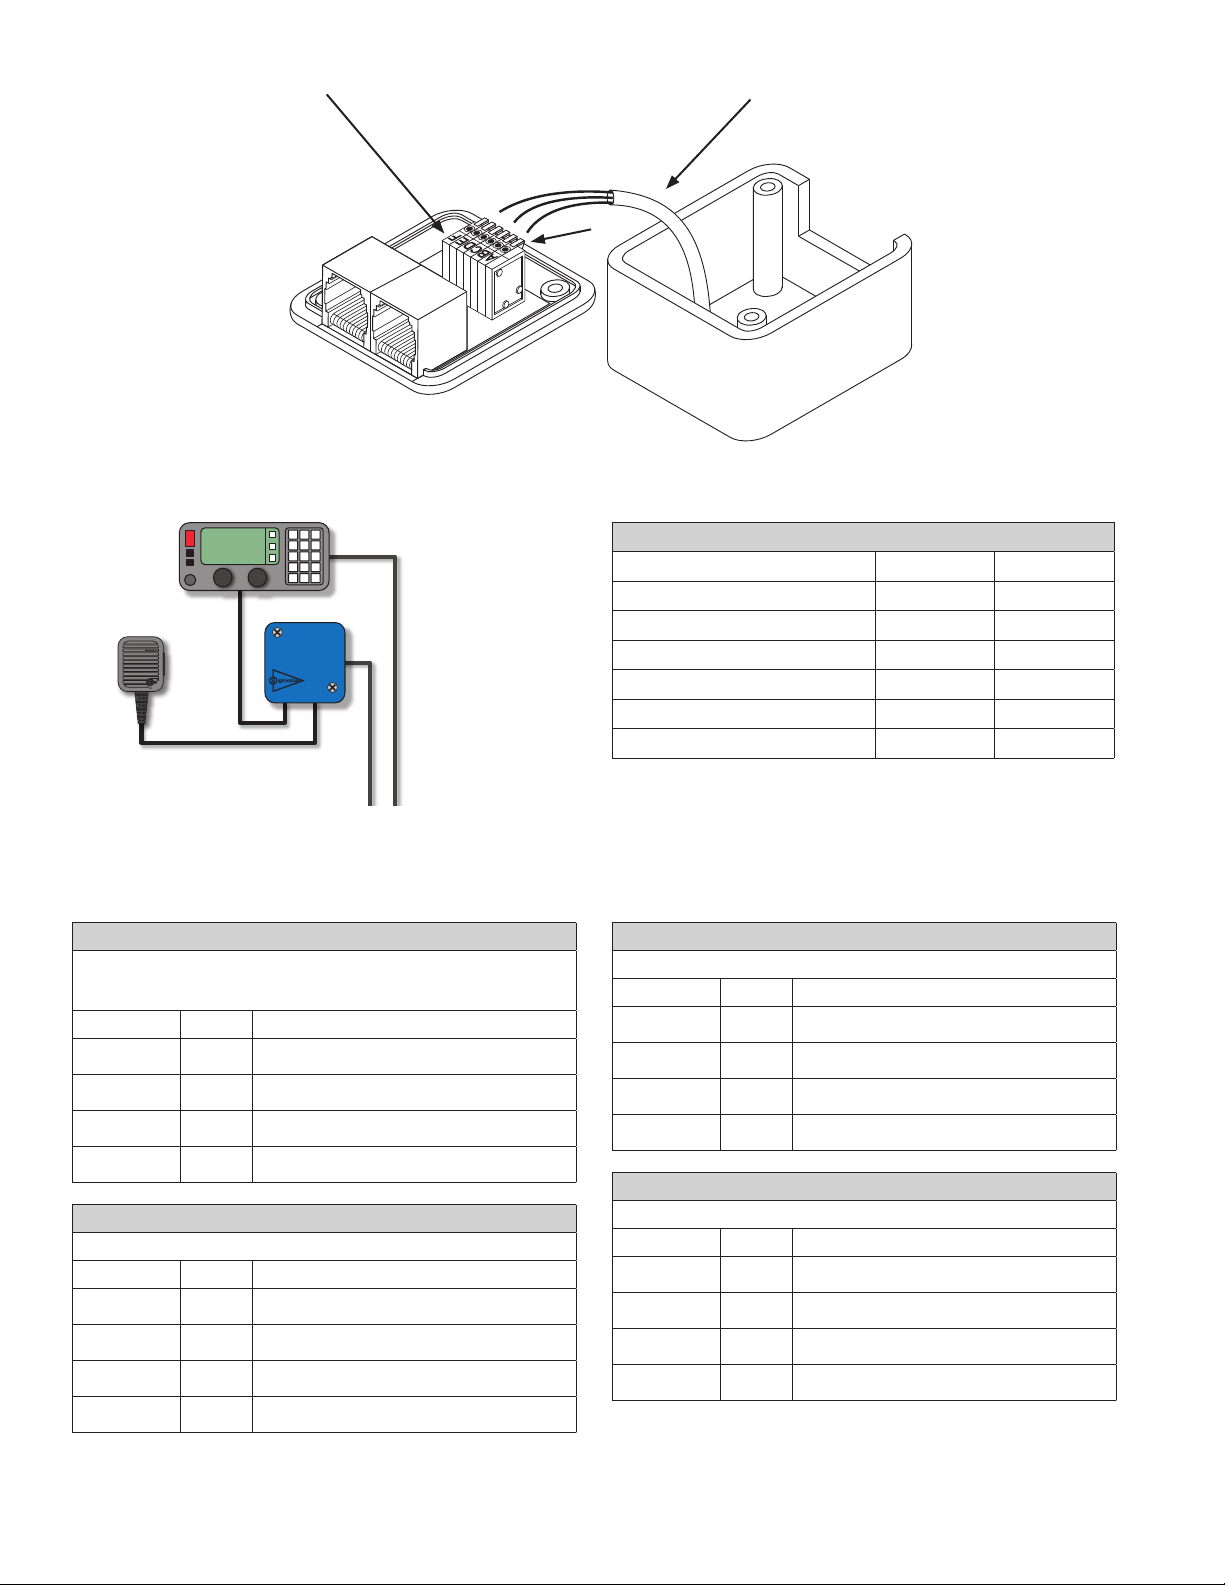
Terminal Block
Telephone type jacks
Cable from Intercom or MRIM-2
A
Adapter lid Adapter bottom
Radio
1234.00
Speaker wires from
Intercom or MRIM-2
Hand Mic
Adapter
Intercom or MRIM-2 Cable
Sigtronics Universal Mobile Radio Microphone Interface “Y” Adapter 6 Pin
Bendix King (Relm BK Radio)
• DMH
• DMHX
• EMH
Function 6 Pin Sigtronics Wire Color
PTT HI B White
MIC LO C Black
PTT LO C White
MIC HI D Brown
• Monogram MGM148 • Monogram MGM160 • Monogram MGM450
Function 6 Pin Sigtronics Wire Color
MIC LO A Black
PTT LO B White
MIC HI D Brown
PTT HI E White
• EMV
• ENB
• GMH
Ericsson / GE
• KFM
• LMH
Standard Equipment Included
Part Description Part Number Quantity
Adapter to Radio Cable — 6 Pin 100717 1
Box Cover Screws 100429 2
Box Mounting Screws 100452 2
Foam, Double Sided 100720 1
Tie Wrap 100450 1
Wire Grommet 100049 1
EF Johnson
Challenger 7100 Series
Function 6 Pin Sigtronics Wire Color
MIC LO A Black
PTT LO A White
MIC HI B Brown
PTT HI D White
GME
• TX4800U • TX4800UL • TX4800V
Function 6 Pin Sigtronics Wire Color
MIC LO A Black
PTT LO A White
MIC HI B Brown
PTT HI D White
Page 3

Sigtronics Universal Mobile Radio Microphone Interface “Y” Adapter 6 Pin
Kenwood
TK- 620 / 622 / 630 / 705 / 710 / 715 / 720 / 722 / 730 / 760 / 760H / 762 /
762H / 805 / 810 / 815 / 820 / 822 / 830 / 840 / 860 / 860H / 862 / 862H
/ 930 / 931 / 940 / 941
Function 6 Pin Sigtronics Wire Color
MIC HI B Brown
MIC LO C Black
PTT HI D White
PTT LO E White
Maxon
• SM-2150
• SM-2450
Function 6 Pin Sigtronics Wire Color
MIC LO A Black
PTT LO A White
MIC HI D Brown
PTT HI E White
• Centro
• Compact
Function 6 Pin Sigtronics Wire Color
PTT HI C White
MIC HI D Brown
MIC LO E Black
PTT LO F White
• SM-4150 • SM-4450
Motorola
• MC Micro
• Mostar
• M110 Radius
• T340 Radius
Relm - Regency
• LMV2548B
• RML60
• RMV60
Function 6 Pin Sigtronics Wire Color
MIC LO B Black
PTT LO B White
PTT HI C White
MIC HI D Brown
• RPM-050 Patriot
• RPM-150 Patriot
Function 6 Pin Sigtronics Wire Color
MIC LO A Black
PTT LO A White
MIC HI B Brown
PTT HI C White
• T700 Series • T2000 Series
Function 6 Pin Sigtronics Wire Color
PTT HI C White
MIC HI D Brown
PTT LO E White
MIC LO E Black
• SLU25
• SLV40
• SMU Series
Ritron
• RPM-160 Patriot
• RPM-450 Patriot
Tait
• SMV Series
• RPM-460 Patriot
Raytheon
ACU-2000IP
Function 6 Pin Sigtronics Wire Color
PTT LO A White
MIC LO B Black
MIC HI E Brown
PTT HI F White
Raytheon / JPS Communications
ACU-1000
Function 6 Pin Sigtronics Wire Color
PTT LO A White
MIC LO B Black
MIC HI E Brown
PTT HI F White
Yaesu
• FT-1500M
• FT-1802M
• FT-1900R
• FT-2800M
Function 6 Pin Sigtronics Wire Color
MIC LO D Black
PTT LO D White
MIC HI E Brown
PTT HI F White
• FT-2900R
• FT-7100M
• FT-7800R
• FT-7900R
• FT-8800R
• FT-8900R
Page 4

Specifications subject to change without notice.
Sigtronics Corporation
178 East Arrow Highway
San Dimas, CA 91773
Phone: (909) 305-9399
E-mail: info@sigtronics.com
Web Site: www.sigtronics.com
S
igtronics
7-17-2013 P / N 900116.pdf
®
 Loading...