

Page 1
USER MANUALUSER MANUAL
Ghost Hunter 1x24 Goggle Kit
English / Francais / Español / Deutsch
Page 2

Sightmark offers a wide range of products that include red dot scopes, reflex sights,
rangefinders, riflescopes, laser sights, night vision and award-winning flashlights and
boresights. Sightmark products are inspired by military and law enforcement applications.
All products are designed to be the most effective weapon accessories possible.
MAKE YOUR MARK
ABOUT SIGHTMARK
®
www.sightmark.com
Page 3

Ghost Hunter 1x24 Goggle Kit ................................................. 1-4
English
Francias
Español
Deutsch
.......................................................... 5-8
.................................................. 9-12
............................... 13-16
*Visit our website at www.sightmark.com to view this manual in other languages.
Page 4
1
ENGLISH
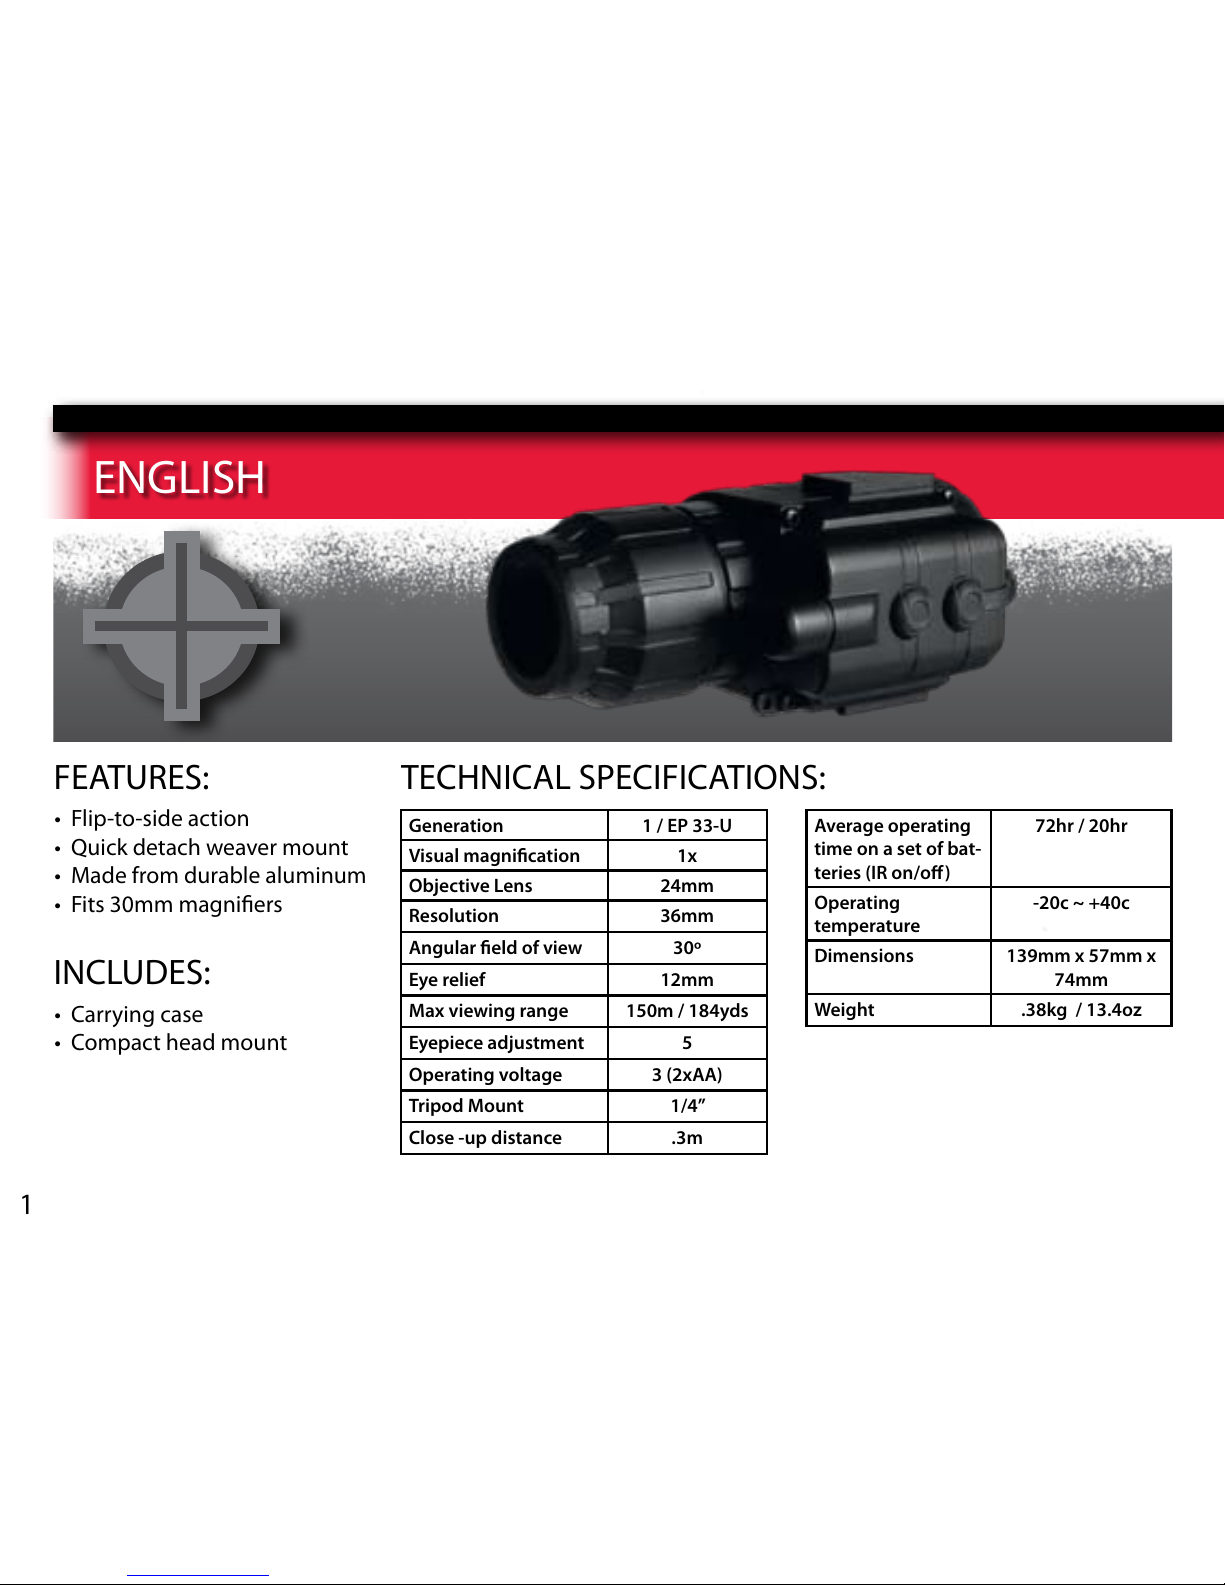
FEATURES:
• Flip-to-side action
• Quick detach weaver mount
• Made from durable aluminum
• Fits 30mm magniers
TECHNICAL SPECIFICATIONS:
Generation 1 / EP 33-U
Visual magnication 1x
Objective Lens 24mm
Resolution 36mm
Angular eld of view 30º
Eye relief 12mm
Max viewing range 150m / 184yds
Eyepiece adjustment 5
Operating voltage 3 (2xAA)
Tripod Mount 1/4”
Close -up distance .3m
Average operating
time on a set of bat-
teries (IR on/o)
72hr / 20hr
Operating
temperature
-20c ~ +40c
Dimensions 139mm x 57mm x
74mm
Weight .38kg / 13.4oz
INCLUDES:
• Carrying case
• Compact head mount
Page 5
2
OVERVIEW:
The Ghost Hunter 1x24 is a Gen. 1 night vision monocular designed for observation in twilight and in the nighttime.
The monocular can operate both in the passive mode (without infrared (IR) illumination) and in the active mode
(with the IR on). The IR illuminator is recommended for use in dicult conditions such as no moon in the sky or total
darkness.
The Ghost Hunter 1x24features good weight / dimensions ratio and nice ergonomics.
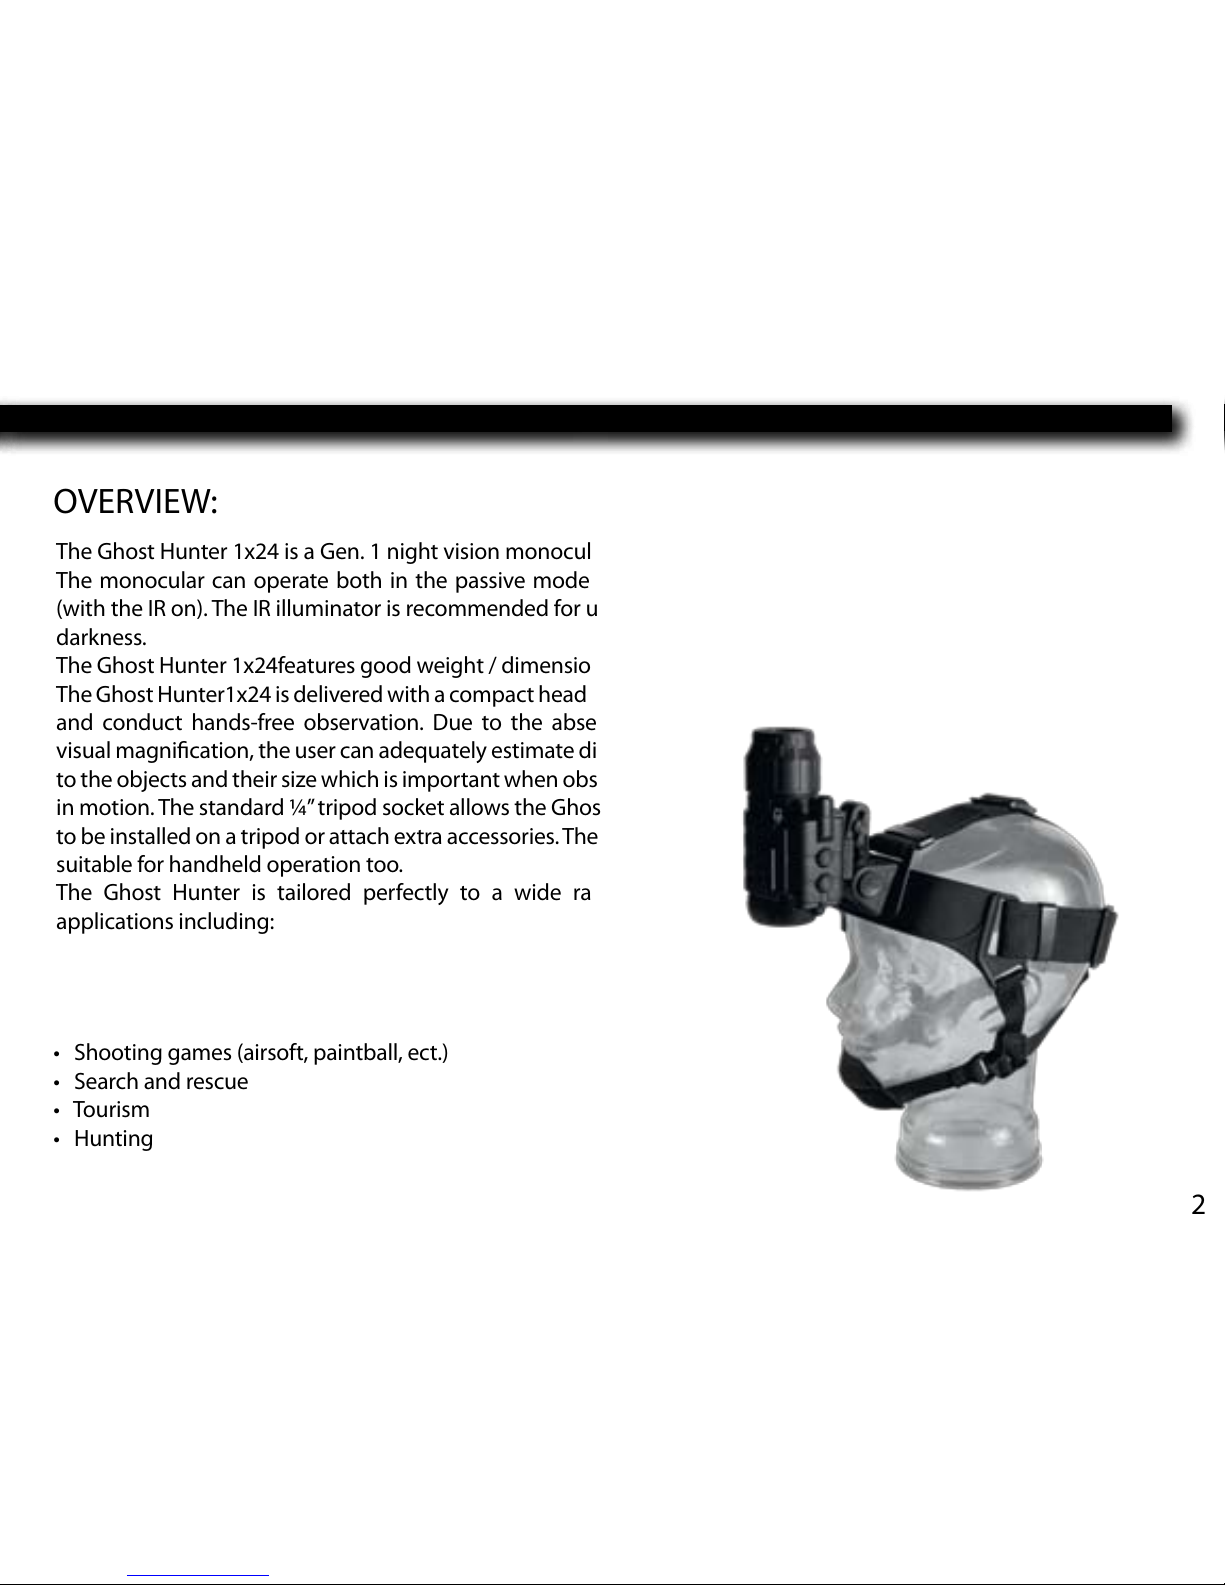
The Ghost Hunter1x24 is delivered with a compact head mount which enables the user to mount the unit on the head
and conduct hands-free observation. Due to the absence of
visual magnication, the user can adequately estimate distance
to the objects and their size which is important when observing
in motion. The standard ¼” tripod socket allows the Ghost 1x24
to be installed on a tripod or attach extra accessories. The unit is
suitable for handheld operation too.
The Ghost Hunter is tailored perfectly to a wide range of
applications including:
• Shooting games (airsoft, paintball, ect.)
• Search and rescue
• Tourism
• Hunting
Page 6

3
WARNINGS AND PRECAUTIONS:
Your night vision scope was designed to provide many years of reliable service. To ensure that you get the most enjoyment out of your monocular, always obey the following Warnings and Precautions:
• Do not direct the unit in the “on position at intense sources of light, such as car’s headlights or burning re. This may
disable the unit for an unkown length of time or cause of dark spot in the center of the eld of view. Do not turn the
unit on in daylight without the protective cap rmly secured over the objective lens, as this may damage the unit. Any
such damage may void your warranty.
• Never leave the unit in the “on” position with the lens cap removed over an extended length of time in an area with
a light level exceeding 1-10 lux (twilight – 10 lux, deep twilight 1 lux). Please keep the protective cap on the objective
under greater light level
• Your monocular was designed to be self-contained. Do not open the body of the scope or otherwise attempt to
service this device. If such a need arises return the unit for replacement or repair.
• Keep the monocular away from dust and sudden temperature drop.
• Do not subject the unit to water drops and splashes, do not put water reservoirs on the device.
• Avoid dropping or otherwise shocking the unit. The monocular incorporates a sophisticated optical system which
could be damaged in extreme cases of misuse.
BATTERY INSTALLATION:
Your monocular runs on two AA batteries. To install, unscrew the screw of the battery compartment cover, open the
cover and insert the batteries into the battery compartment observing the marking on the inner side of the cover of
the battery compartment, tighten the screw of the cover carefully. Do not overtighten.
Page 7
4
USE AND TESTING:
Make sure the batteries have been installed according to instructions found above.
• If you wish to test your night vision device in a lighted area, be sure the lens cap is in place prior to pressing
the “ON” button. The lens cap has a pinhole opening to admit a small amount of light for testing purposes.
• Move into a dark area before activation the monocular.
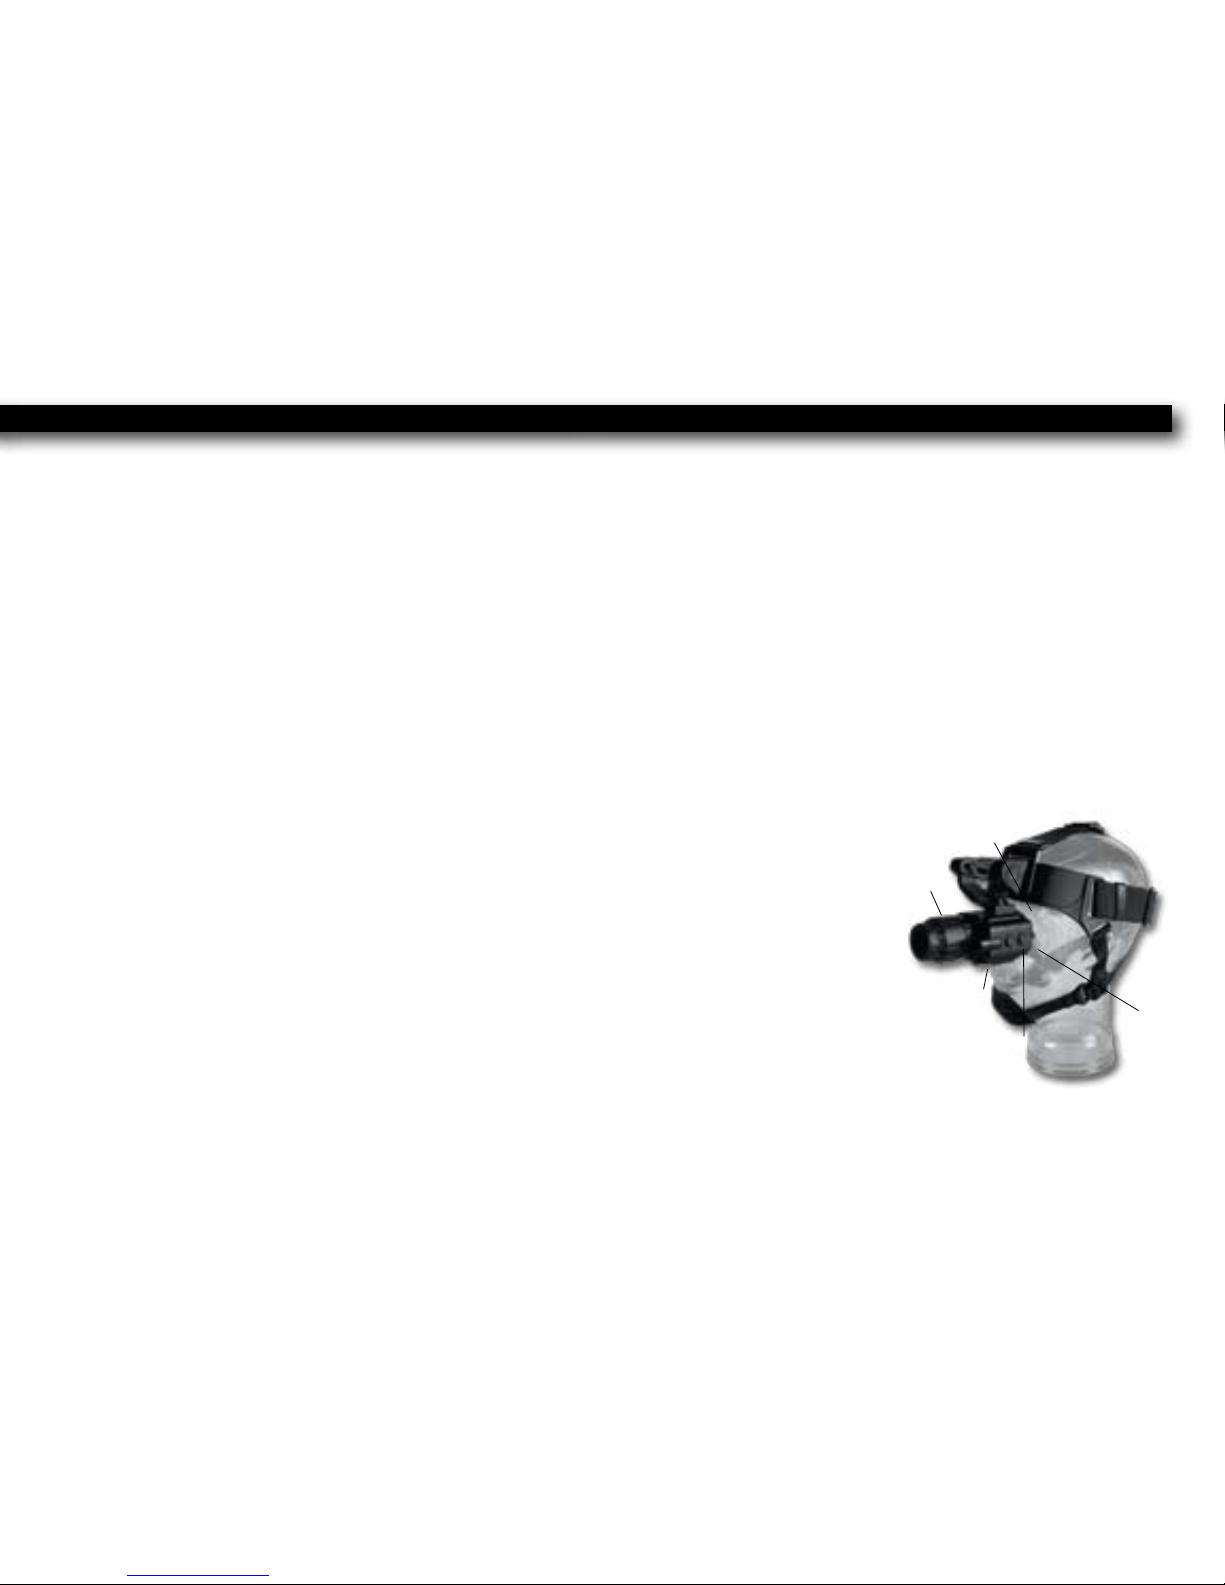
• Remove the lens cap from the objective lens. (1).
• Activate the device by pushing the “ON” button (2). The green LED indicator will light up
• If the subject to be viewed is in a completely dark area including lowlight shadow areas, activate the infrared
illuminator (3) by pressing the “IR” Button (4) located next to “ON” button
• Direct the turned on unit at an object at a distance of around 30m. Rotating the eyepiece (5), focus on
the tube’s screen- rough surface or tiny dark dots are visible. Rotate the objective lens (1) until the image
quality is optimal. Re-focus the eyepiece, if necessary. After this adjustment you may not rotate the eyepiece
irrespective of the distance and objective lens.
• Direct your monocular at an object to be view and adjust the final focus by
rotating the objective lens focusing ring until the image is optimal. When
screwing the objective lens into the housing, it focuses on farther objects, when
screwing out - on closer ones.
• When you are finished using your monocular put the cap back on the objective
lens, turn off the unit by pushing the “ON” (2) button (the green LED indicator will
go out) and put it into the carrying case.
CAUTION:
Your monocular can be used in extreme cold. However, when the unit is brought back into a warm environment,
please wait approximately 2-3 hours before using the unit again. Failure to do so may result in damage as a result of
condensation accumulating on the internal circuitry of the unit..
1)
3)
2)
4)
5)
Page 8
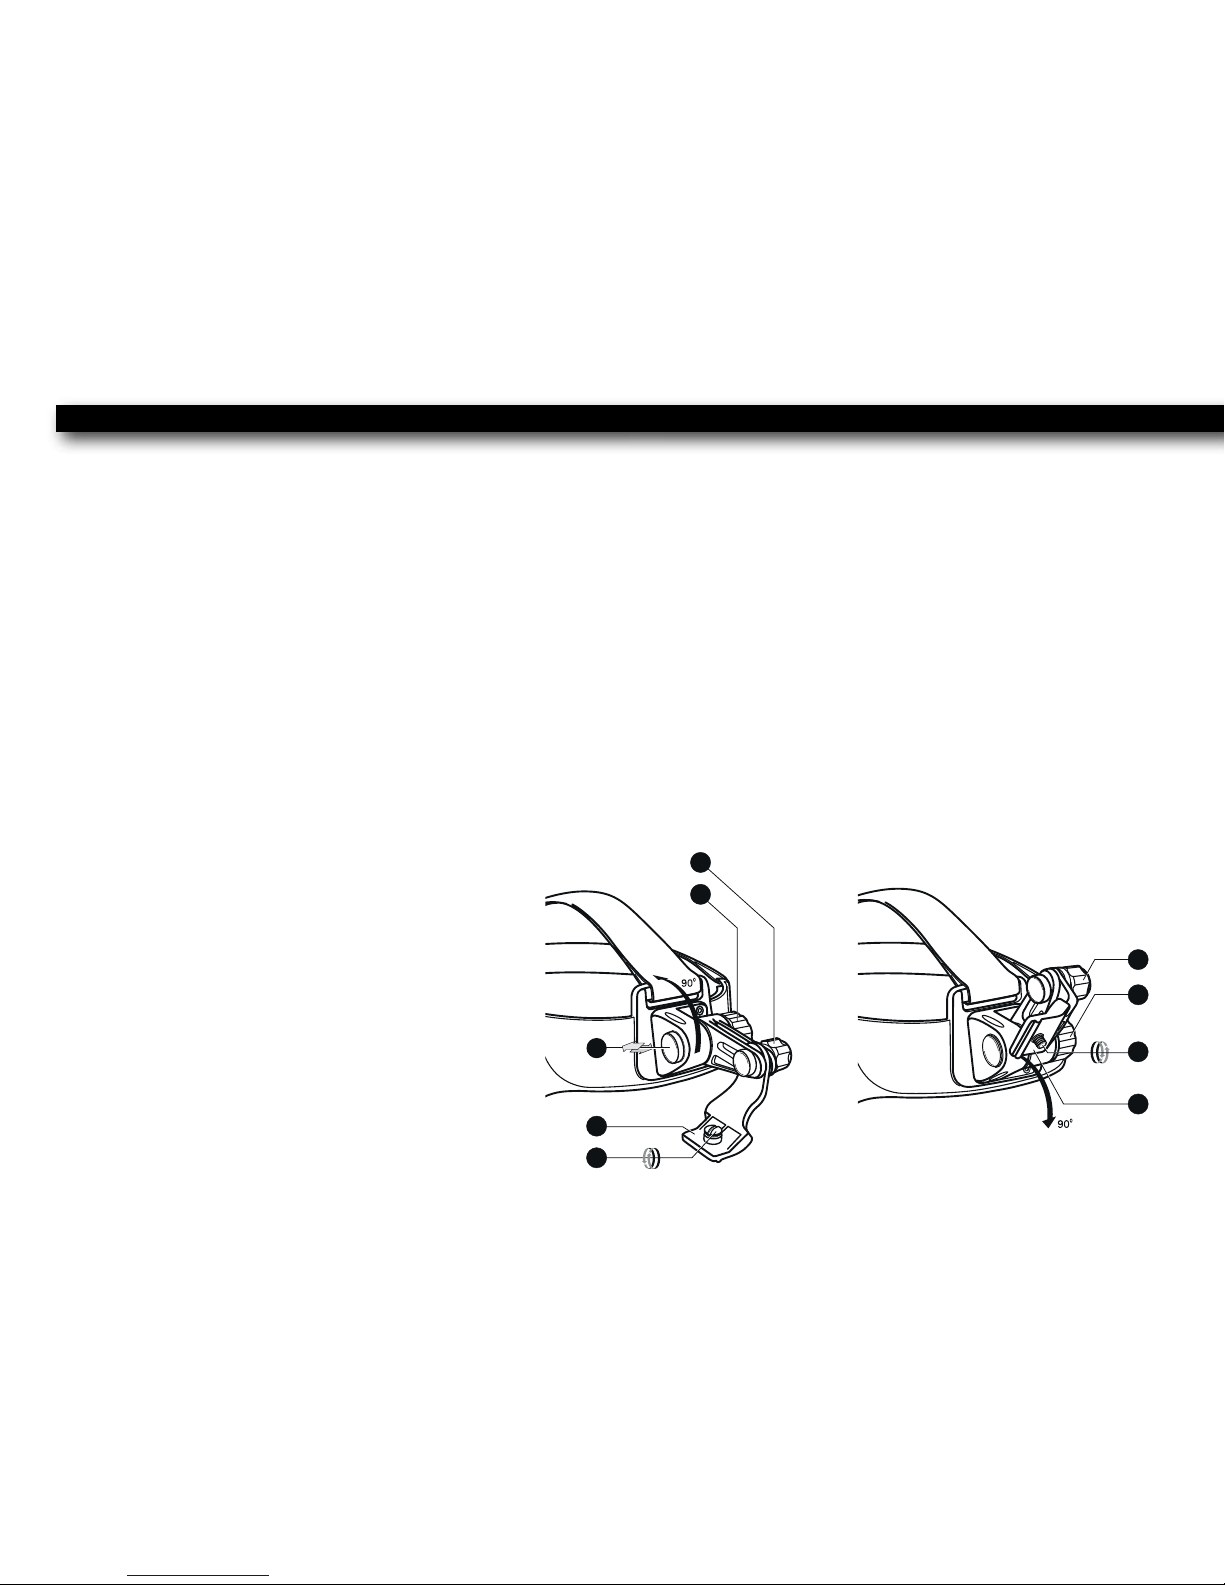
USING THE HEAD MOUNT:
The NV Compact Head Mount is designed for joint use with Ghost Hunter 1x24 night vision monocular and other units
with similar mount. This allows hands-free operation of the night vision device in partial and complete darkness. The
Head Mount ensures stale positioning of a night vision device in front of the user’s eyes, even while in fast motion
(pacing, running abrupt movements). The Head Mount is simple and convenient to use. All adjustments such as 90º
rise of the unit, set the night vision device’s position in the “forward – backward” directions relative to the eyes are
made by one hand.
5
• Adjust the size of the mask to t your head using the straps. The head mount must closely t your head.
• Ax the night vision device to the adapter (7) using the screw (6).
• To adjust the position of the unit relative to the eyes, loosen the knobs (8), (9) and move the unit longitudinally,
upwards and downwards adjusting its inclination angle. As you nd the most comfortable position tighten the knobs
(8), (9) to x the setting.
• To watch objects without the unit, place the
unit vertically by pressing and holding the but-
ton (10).
• When you are nished using the unit, remove
the night vision device from the head mount by
simply unfastening the screw (6).
6
6
7
7
8
8
9
9
10
Page 9

6
MAINTENANCE:
• Clean the lens with professional lens cleaning supplies intended for use with multicoated optics.
• Blow any dust or dirt o the lenses using dry, compressed air.
• Clean the monocular’s housing with a soft, clean cloth coated in some synthetic cleaning means.
TROUBLESHOOTING:
•The scope will not turn on…
Check that the batteries are installed properly. Install the batteries according to the (+) and (-) polarity, ensuring that
the markings on the batteries and battery compartment correspond with each other. Check the battery contacts to
ensure they are clean and free of corrosion; if necessary, clean the contacts. If necessary, replace the batteries as they
may be depleted. Also, be sure that the power is in the “ON” position while trying to turn on the scope
• Distinct black dots appear on the screen…
These dots are minor cosmetic blemishes resulting from tube production processes and do not interfere with the reliability or performance of the scope.
STORAGE:
Always store the monocular in its case in a dry well-ventilated and well-heated room away from heating / air conditioning vents. Remove the batteries if the device is to be stored longer than one month.
Page 10

7
• The scope ickers, ashes or “snows”…
The scope may icker or ash when used in a bright environment; to correct this, place the cap over the objective lens
and enter a dark environment. The scope will restore itself to a natural functioning state in several minutes or hours,
depending on how long the scope had been exposed to the light. The scope may icker for the rst several seconds of
use, even when in a dark environment, before the scope corrects itself and functions properly. The scope may “snow”
for several minutes after being exposed to a bright light source (daylight, a car’s headlights, re, ect.) even if being
operated in complete darkness.
• The image is not focused…
Adjust the focus of the eyepiece and the objective (see Use and Testing). Check that the lenses are not foggy or dusty;
if they are, carefully clean the external surfaces of lenses with a soft cotton fabric. Replace the batter if the total battery
charge is less than 2.2 V. When the unit is brought into a warm environment from a cold one, condensation may ap-
pear on the internal lenses’ you must wait two hours before using the unit.
• Visibility decreases or disappears…
Bright light sources, such as headlights, may cause visibility to decrease or disappear and the image to icker. Turn the
power o and turn the scope away from the light source; visibility will restore itself in several minutes.
SIGHTMARK LIMITED LIFETIME WARRANTY
Please vist www.sightmark.com for warranty information.
 Loading...