

Sierra Wireless
AirCard
®
Hub
QUICK START GUIDE
2
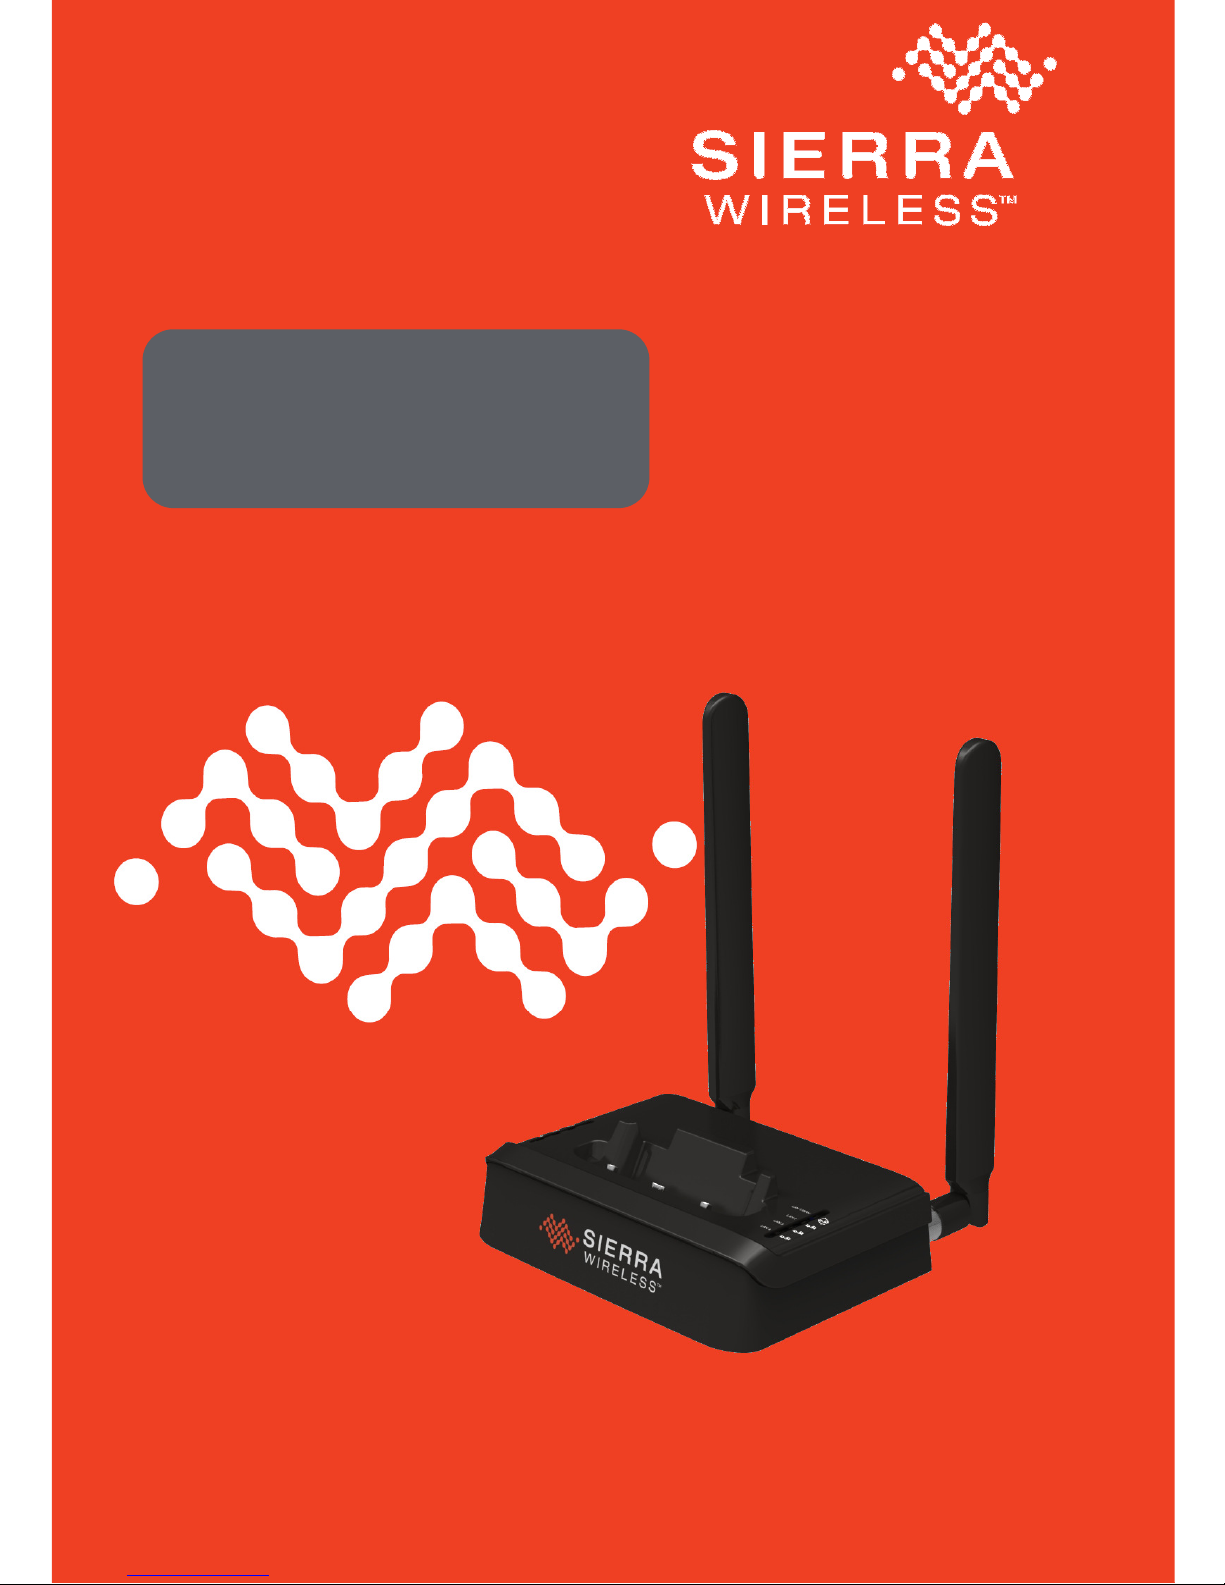
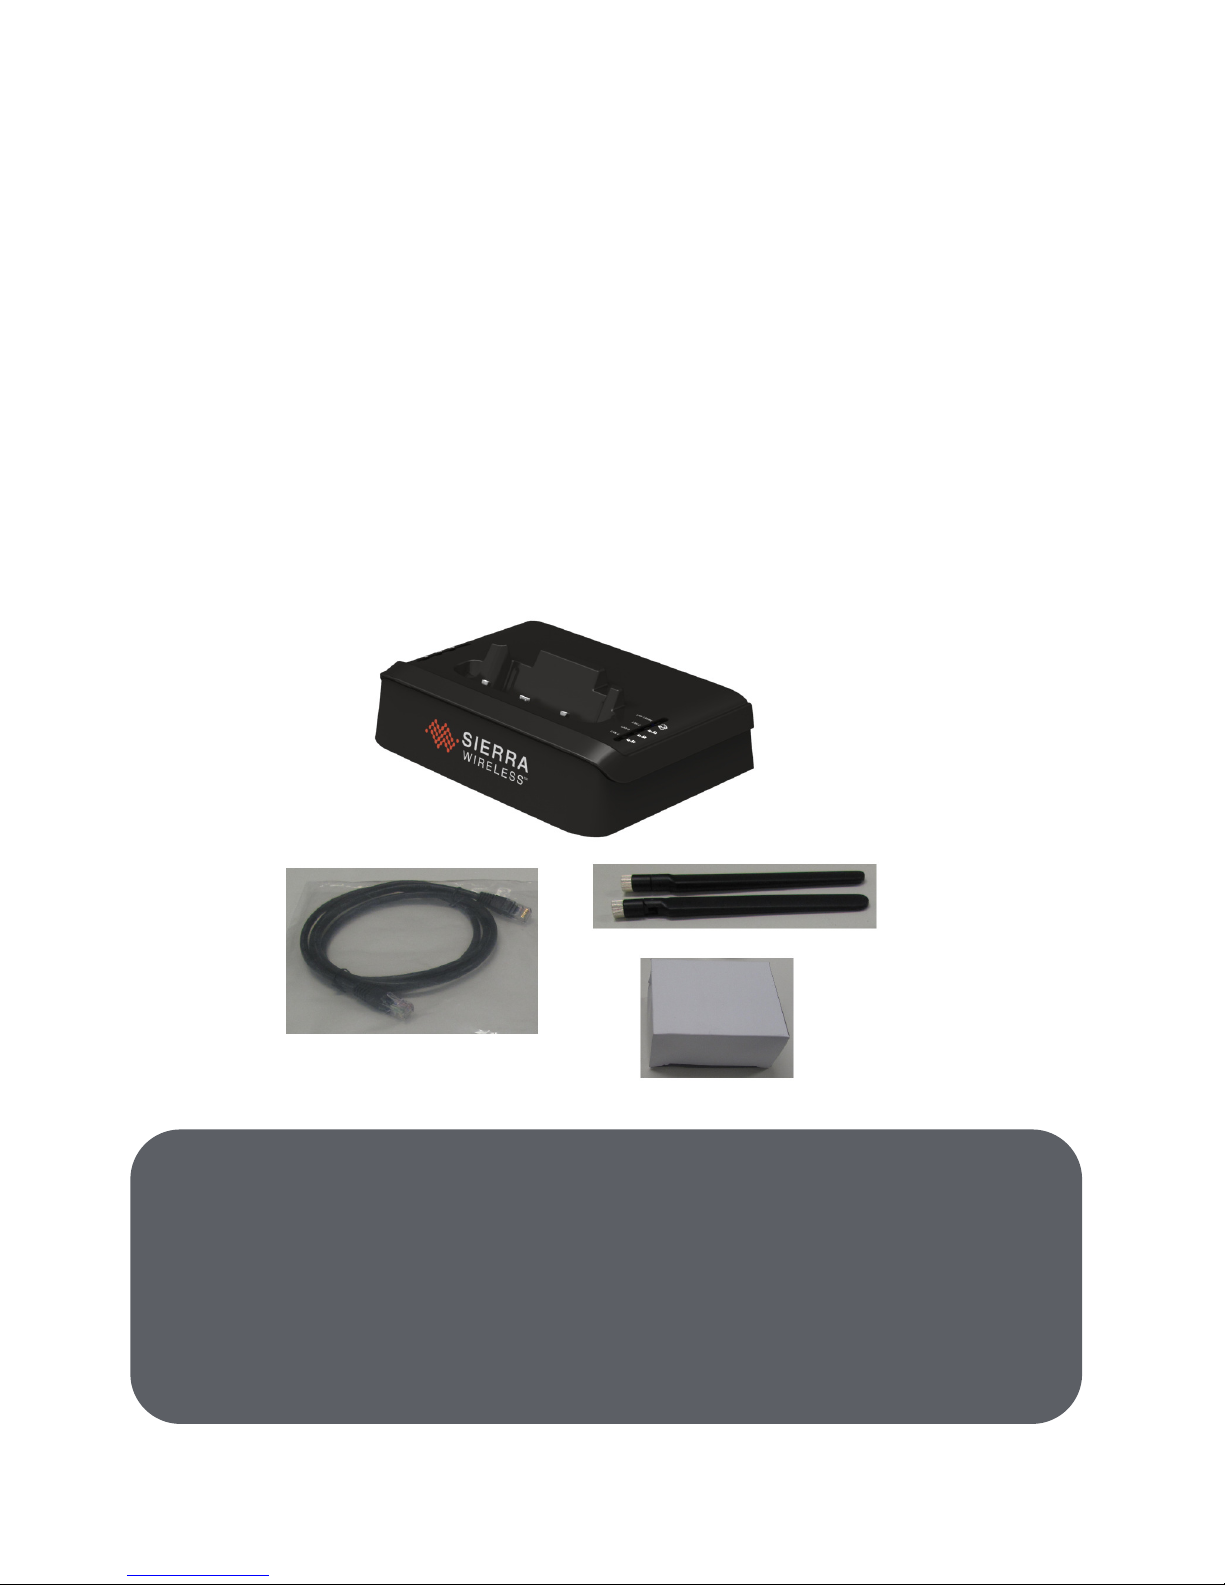
Package Contents
Your package contains the following:
1. AirCard® Hub
2. 12V/2A power supply
3. T 3G/4G dipole antennas
4. Ethernet cable
5. This Quick Start Guide
<update this image>
1
2 4
3
Wi
-
Fi SSID and Security Key:
The default Wi-Fi Network Name (SSID) and Wi-Fi Security
Key (WPA) are unique for your device and are accessible on
the LCD dashboard of your AirCard
®
mobile hotspot.
3
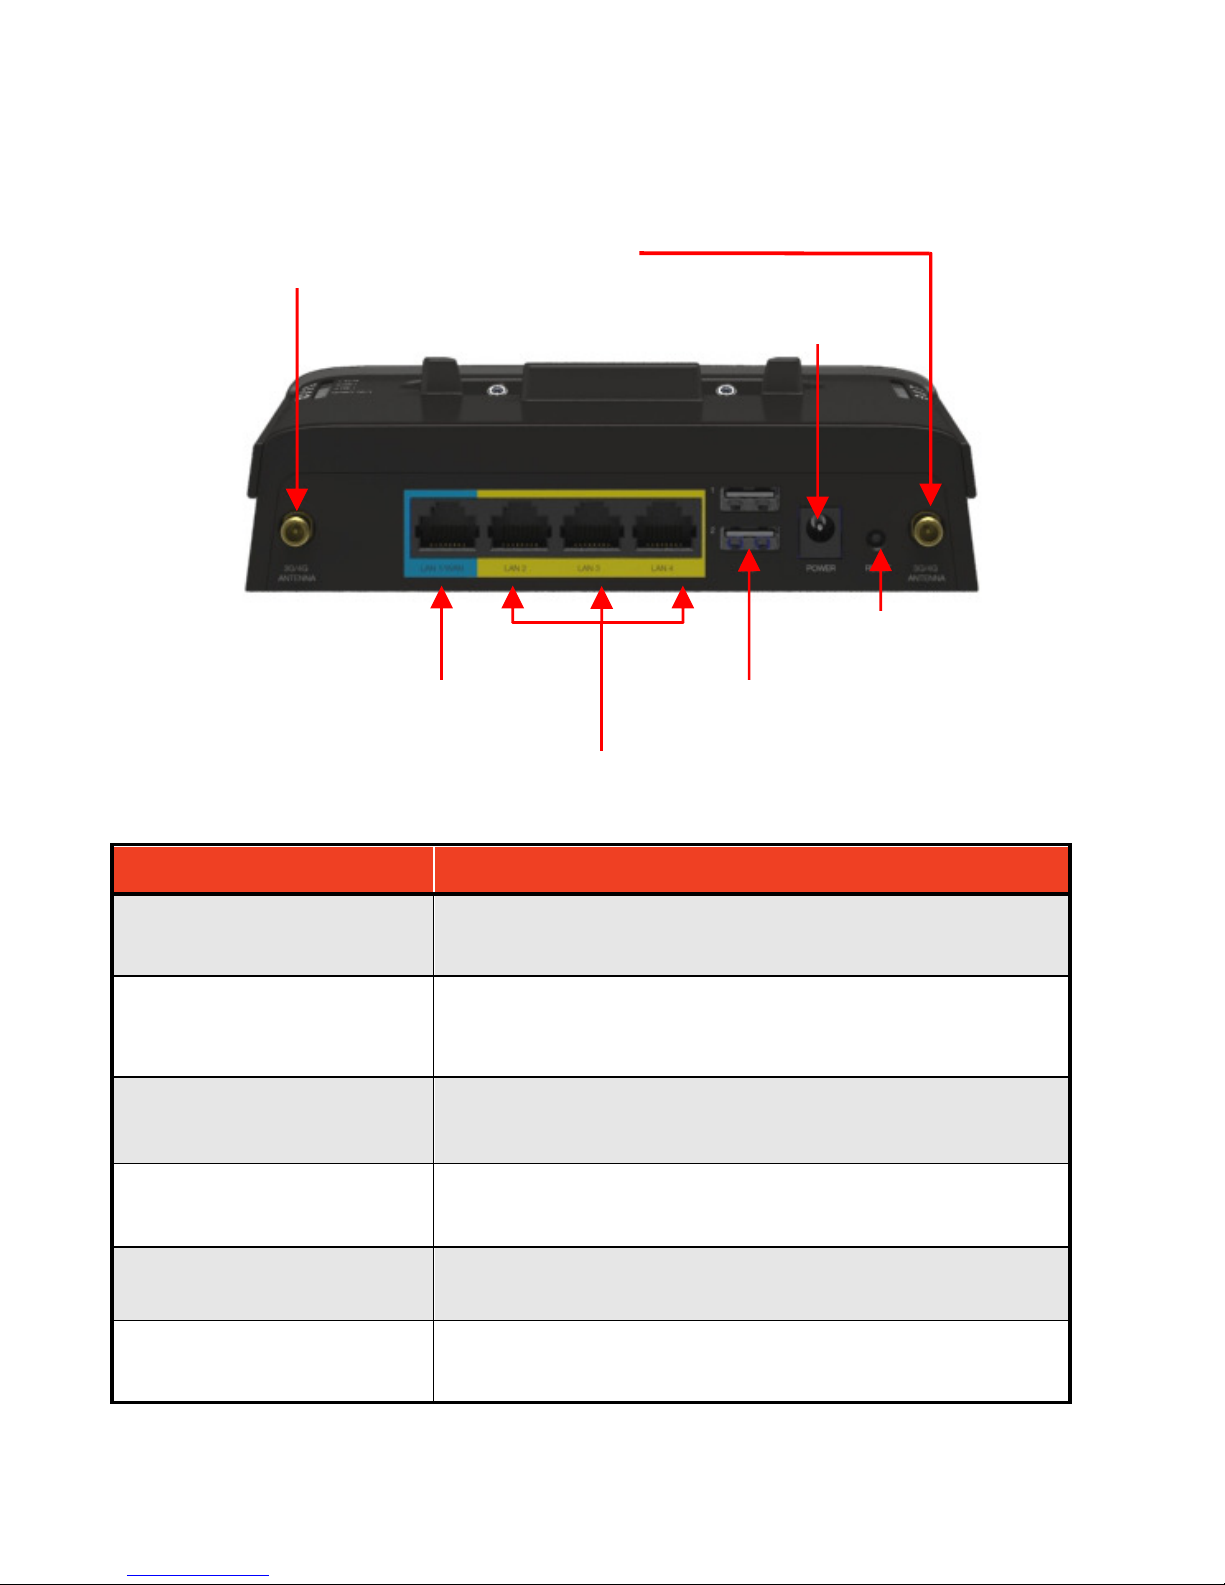
About Your AirCard® Hub
INTERFACE
INTERFACEINTERFACE
INTERFACE FUNCTION
FUNCTIONFUNCTION
FUNCTION
3G/4G antenna
connectors
Attach external 3G/4G antennas
LAN 1 / WAN
LAN or WAN port for wired Ethernet clients or
bridged devices (for example, ADSL modem)
LAN 2 - 4
LAN Port for wired Ethernet clients
(computers, laptops, etc)
USB ports
Connect a USB storage device to share
content with connected clients.
Power connector Connects to a DC 12V/2A power adapter
Reset
Hold this button down for over 12 seconds to
reset to factory defaults.
LAN1/WAN port
3G/4G antenna connectors
LAN 2
-
4 ports
USB ports
Power connector
Re
set

4
Get Started Using Your
AirCard® Hub
1. Attach the supplied antennas to the ports marked “3G/4G
ANTENNA”.
<image antenna plugin show clockwise direction>
<hold metal part to screw in the antenna until it tightens, then
hold the metal part while turning the antenna to position
vertically as shown>
2. Plug the power adapter into the wall socket and connect the
power adapter to the POWER socket on the back of the AirCard
Hub. Wait approximately 30 seconds for the AirCard Hub to
power up.
<image power adaptor connection>
3. Follow the instructions provided with your AirCard to connect to
the internet. Then dock the AirCard hotspot in.
SSID & Security Key
 Loading...