

Quick guide
Smart Thermostat RDS120 en
Welcome! This Quick guide walks you through:
o Steps to connect the thermostat to the Internet.
o Steps to configure the thermostat to work with your heating or AC (air
conditioning) system.
o Steps to register the thermostat and set it up to work with your mobile
devices.
o Basic operations on the local thermostat and mobile application.
Before configuration, make sure the thermostat is installed and powered up along with:
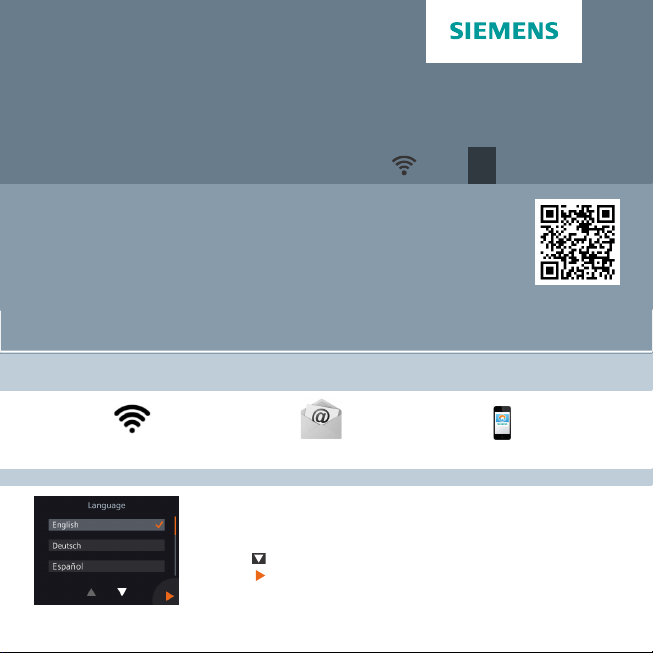
A WLAN compatible router Valid email address Smartphone
1. Select a language.
· Tap the language to select.
· Tap to view more languages.
· Tap .
Siemens Switzerland Ltd. declares that the radio equipment type RDS120 is in compliance with Directive 2014/53/EU.
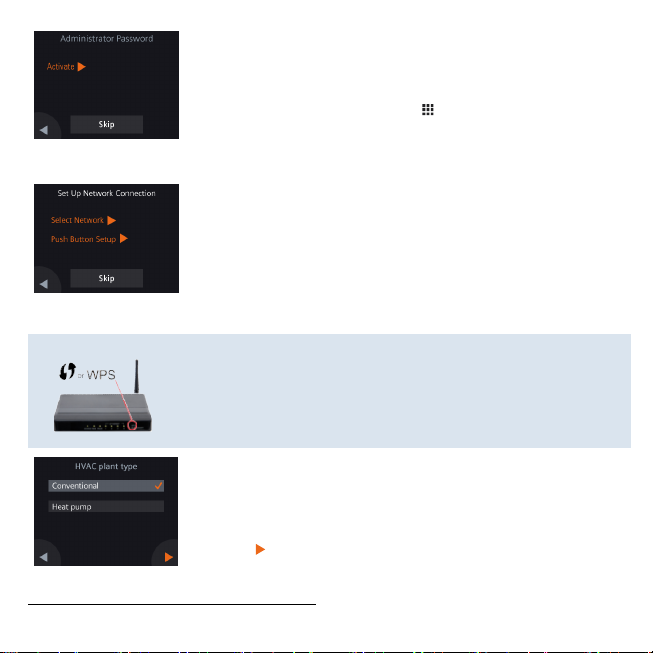
2. Set an administrator password to prevent access to advanced
settings.
We recommend a strong password, particularly if the thermostat is
installed in a public location. If you decide to skip this step, you can
also set the password later under > Advanced settings >
Password.
3. Two ways to set up a network connection:
· Select Network – Follow the on-screen step-by-step instructions
to connect to a WLAN1 network.
· Push Button Setup – Connect to a WPS compatible router.
Note:
a. You can skip this step if the network connection fails or you want
to connect to the network another time.
b. The supported WLAN channel range is from 1 to 11. Check your
router settings if your thermostat cannot find the router.
Using the WPS router feature:
a. Press the WPS button on your router when prompted by your
thermostat.
b. Tap Connect on your thermostat to connect to the network.
c. After a connection is established, continue with other settings as
desired.
4. Select the equipment type.
· Select the type of HVAC system corresponding to your
equipment.
· Tap to manually configure the thermostat.
1
Your thermostat operates in a frequency band range from 2.4 GHz to 2.4835 GHz, and the maximum radio-frequency
power transmitted in the frequency band is 18 dBm.
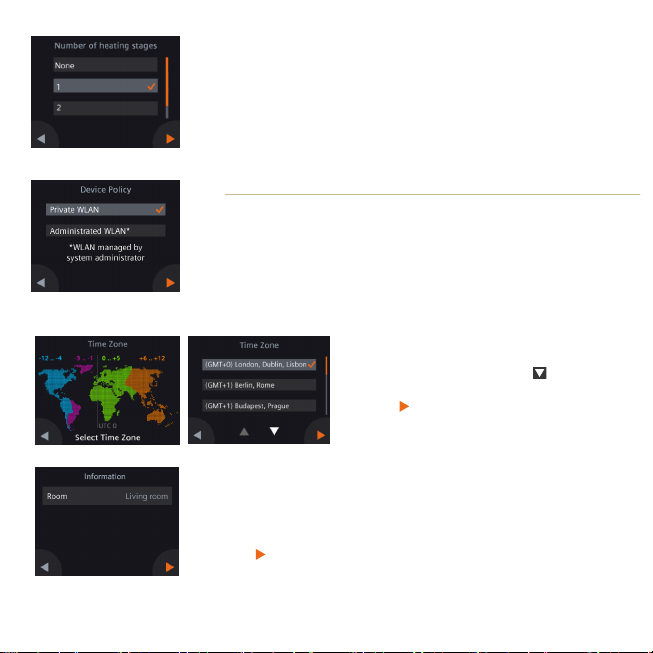
5. Continue to set up the heating or AC system details.
· Configure sub-options. Note that the configuration screens may
differ depending on the type of the system.
6. Select the network connection type.
End or home users Institutional users
· Selecting Private WLAN
means that the thermostat
is connected to your own
WLAN network. You need
to choose and manage
your password.
7. Configure the time zone.
a. Tap the installed location on the map.
b. Select the time zone (Tap to view
c. Tap and follow the on-screen
8. Name the thermostat location.
a. Tap the text box.
b. Select a pre-defined room name from the drop-down list or enter
a room name manually.
c. Tap .
· Selecting Administrated
WLAN means that the
thermostat is connected to the
facility WLAN network. The
password is provided by the
facility managers and under
their control.
more time zones).
instructions to set the year, month and
date.

9. Tap Start to restart.
The thermostat restarts immediately. After restart, the home screen
is displayed.
10. Set up the mobile application.
· Using smartphones running iOS 10.0 (or above) or Android 5.0
(or above):
a. Make sure the smartphone is connected to the Internet.
b. Download and install the free mobile application Siemens
Smart Thermostat RDS from App Store® or Google Play™.
c. Follow the mobile application startup steps to register your
account.
Note: If the thermostat is connected to the Internet and
displayed on the home screen, you can download and install the
mobile application as follows:
a. Tap.
b. Scan the QR code displayed as shown on the left using your
smartphone.
c. Open the corresponding website, expand the section on
mobile app, and go to App Store® or Google Play™.
11. Activate your thermostat. This links the thermostat to your
registered account.
· Make sure the thermostat and smartphone are connected to the
Internet.
· Using the application’s built-in QR code scanner, scan the QR
code on the activation code sticker shipped with the thermostat.
You can also enter the code manually.
Note: Only one activation code can be connected to one account.
However, one user account can be associated with a maximum of
12 thermostats. If you want to scan the code directly from the
thermostat, tap on the home screen, then tap to go to the
activation code page.

Congratulations!
You have successfully registered and configured your thermostat
and linked with your registered account. You can now enjoy the
convenience and control of your comfort while saving energy.
Basic operations (see the online user guide for more information)
1
Local device idle screen
Local device home screen
Relative room humidity
Room air quality status: good, average, poor.
2
Green leaf: Energy-optimized mode.
3
Red leaf: Tap to restore the energy-optimized mode.
4 Room temperature
5 Menu: Detailed information and settings.
Tap to switch to AWAY mode.
6
Tap to switch between AUTO and Manual:
7
Works according to a schedule or to the current user
setpoint temporarily until the next scheduled switching
point.
Manual mode. Works permanently according to the current
8 Tap or slide to change the room temperature setpoint.
9
user setpoint.
The heating output is energized.
The cooling output is energized.
Neither heating nor cooling output is energized.
Tap to select a fan mode (AUTO/ON).

App home screen Schedule page
Tap to switch between AUTO and Manual
NOTE: To go to the schedule
page, tap , and then tap
Thermostat schedule.
Options, room name, setpoint and
1
schedule settings.
Room humidity, outside air temperature
2
(if available) and room air quality status.
3 Green/red leaf indication
4
(see previous page).
5 Room temperature
Decrease setpoint, current setpoint and
6
increase setpoint.
Current mode (Comfort, Economyand
7
Unoccupied). Time for the next mode
Tap to toggle between At home and
8
AWAY.
9 Copy the current schedule to other days.
10 Days of a week
11 Tap and hold, select and move to set a
schedule.

Seven-day view by default, showing the heating or cooling
Running hours screen
1
running hours or both of each week day counting down from
the current day.
2 Tap to switch to the four-week view.
3 Tap to switch to the 12-month view.
4 Indication of heating or cooling running hours or both
5 The current day/month
6 The current month/year
Note: The Running hours widget displays on the mobile application if the heating or cooling or both has been
enabled. Swipe on the home screen to go to this widget.
Technical specifications and availability subject to change without notice.
Technical specifications and availability subject to change without notice.
A5W90002096E A6V11 228376_en--_a
© Siemens Industry, Inc., 2017
06-29-2018
 Loading...