How it Works
Log In / Sign Up
Buy Points
How it Works
FAQ
Contact Us
Questions and Suggestions
Users
Siemens
Loading...
S
SZ72010
SZ72031
SZ73000
SZ73001
2
SZ73005
SZ73006
2
SZ73015
SZ73017
2
SZ73035
SZ73045
2
SZ73051EU
SZ73100
2
SZ73114
SZ73125
SZ73145
2
SZ73300
2
SZ73601
SZ73611
SZ73612
SZ73640
T
T14B82N0
T14T70N0
T14U82N0
T1543N0RU
T1573N0
T1593N0
T15B8N0
T15D8N0
T15P90X0
T15T90X0
T18D44N0
T18D44N1
T1943N0
T22S36N0
T4284X0
T4304N0
T4333N1
T4333N1RU
T4383N0
T4383N2
T4483X1
T4483X2
T4484N0
T4484N1
T4553X2
T4583N0
T4583N1
T4583N2
T4583X2
T4593N0
t 531
t 534
2
t 536
t 540
t 545
t 548
t 557
t559
t 567
t568
t569
2
t 570
t571
t572
2
t 575rf
t 576
t 577
t 579
t6
t 640
T6443N0
t 645
t 650a
t 650b
t 651
t 652
t 754
t779
2
t783
2
t 786
t 787
t788
t 789
t 791
t792
t8 t8rf
TA60100
TAA762A
TAA762G
TAA765A
TAA765G
TAE1453G
TAE2453G
TAE 4453
TAE4453G
TAF1453G
TAF2453G
TAF 4453
TAF4453G
t roma
Loading...
Loading...
Nothing found
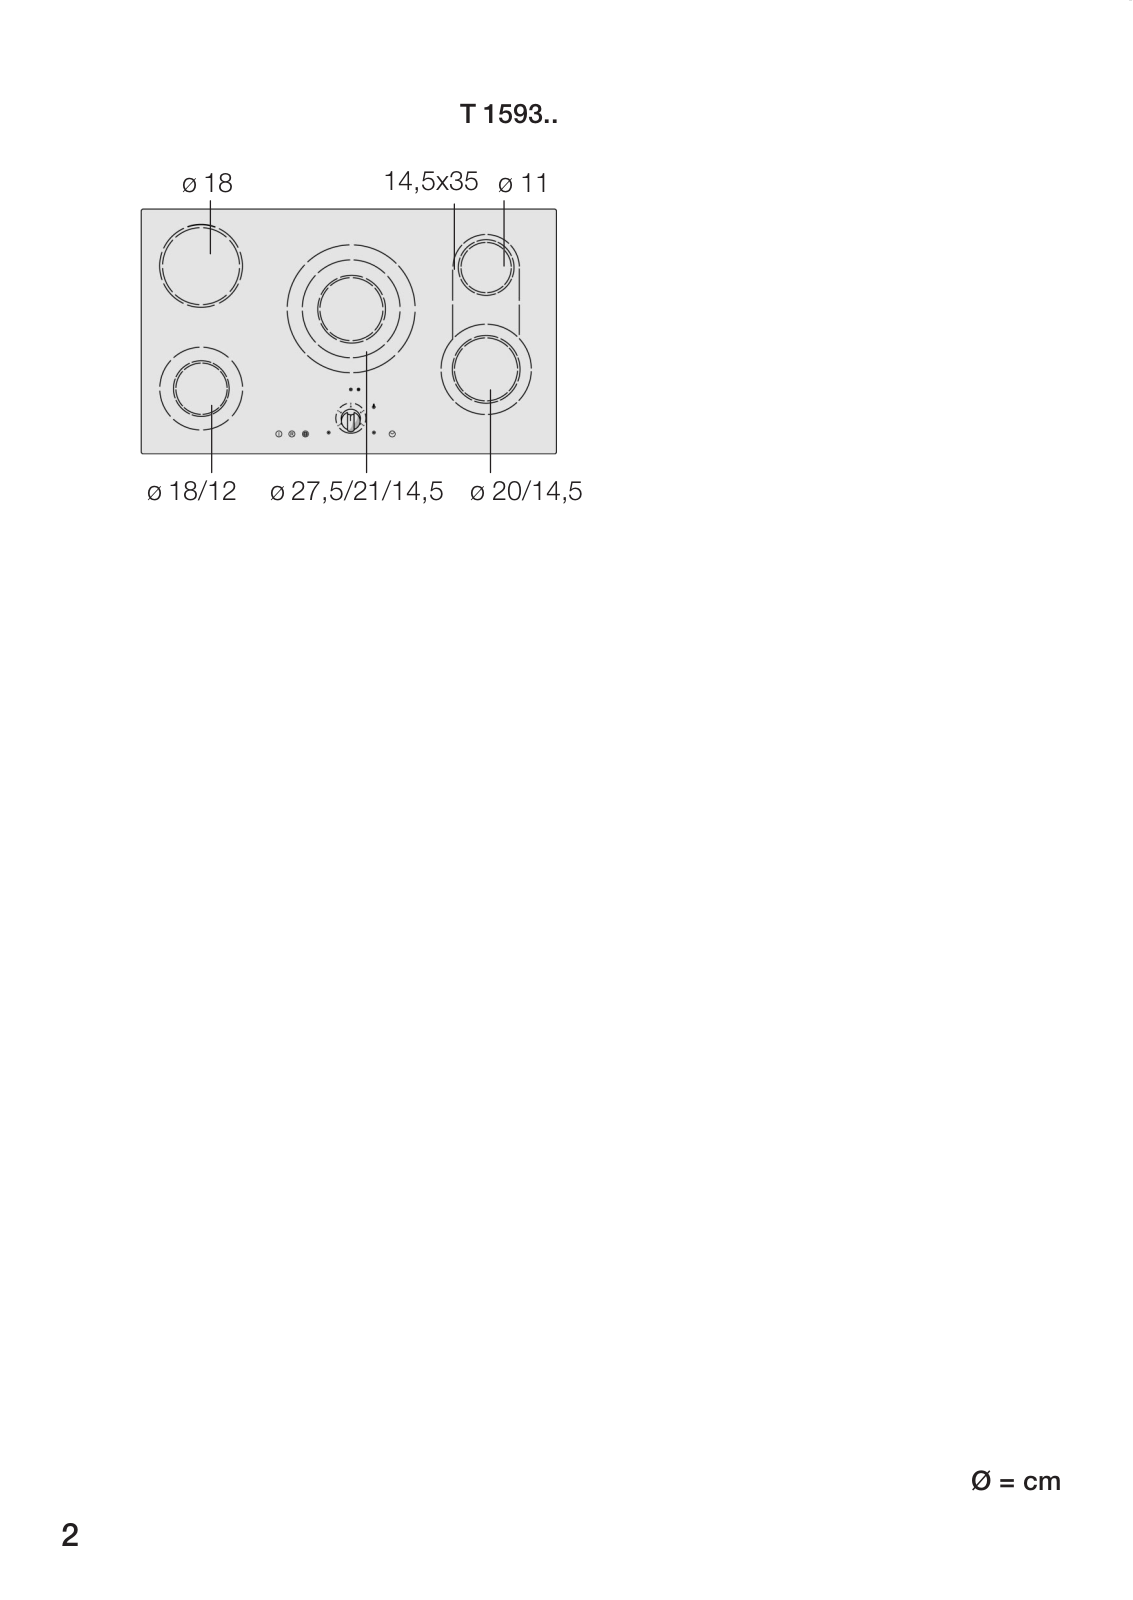
T1593N0
Instructions Manual
59 pgs
1.08 Mb
0
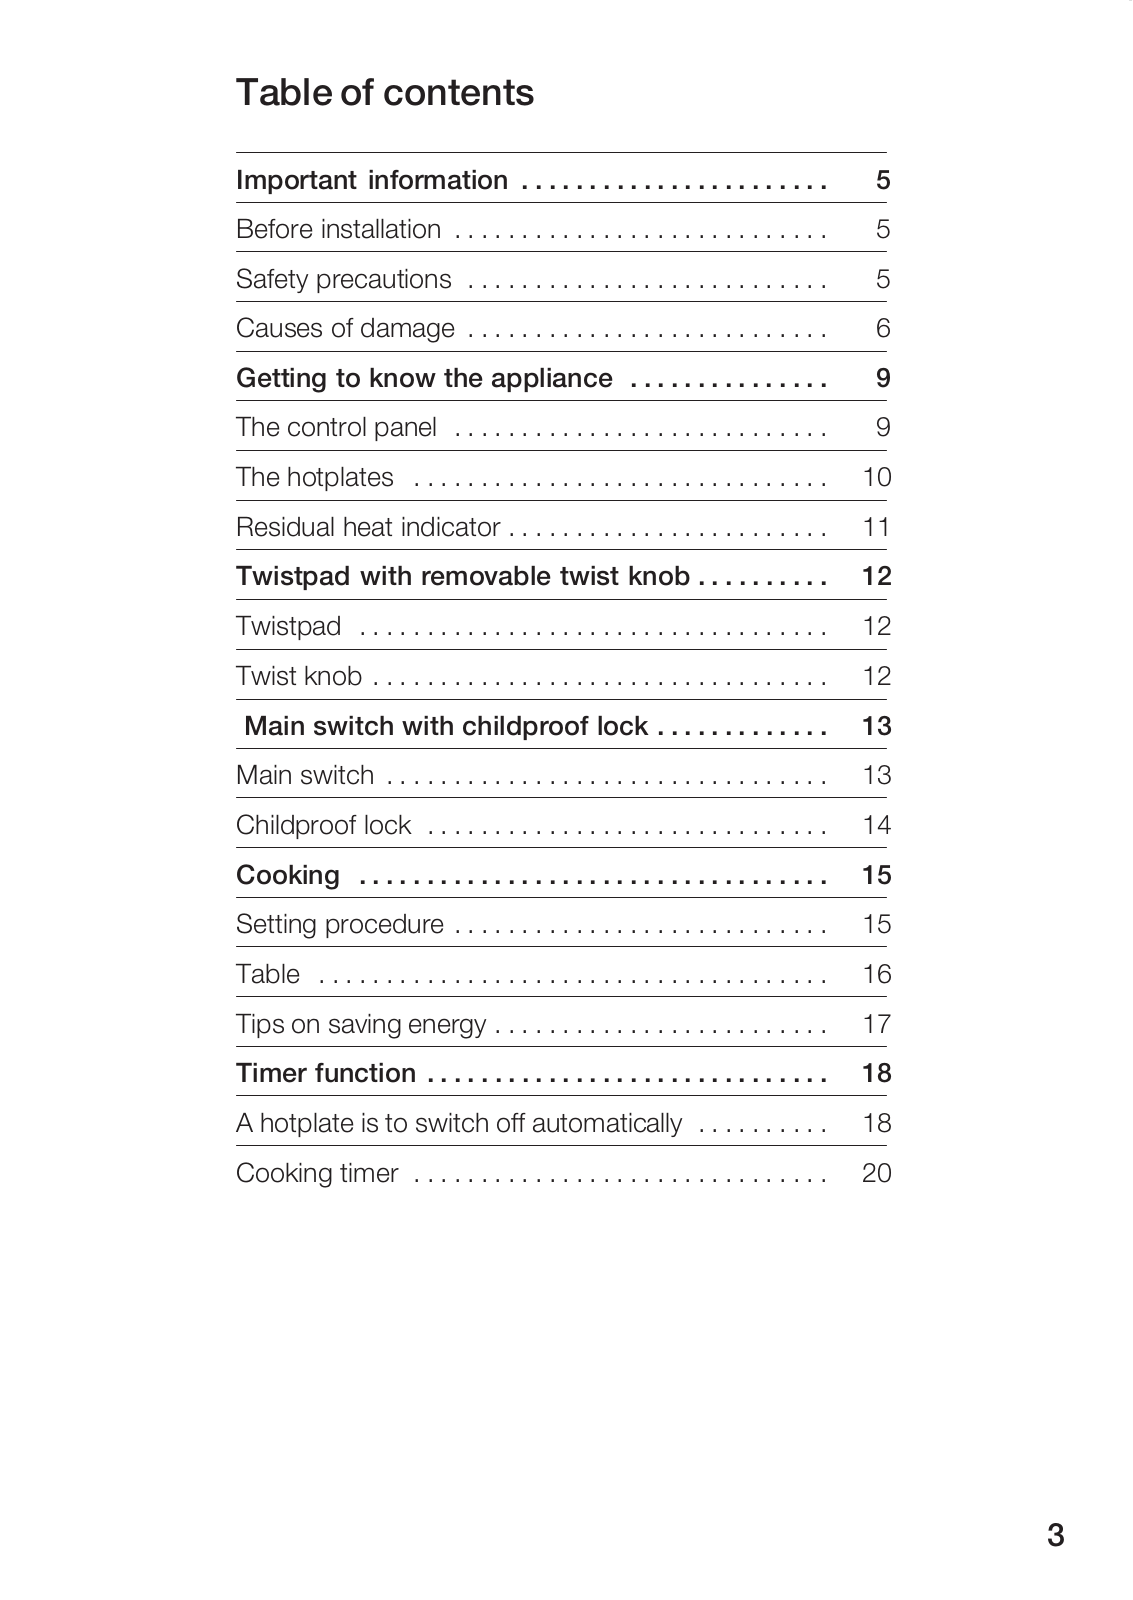
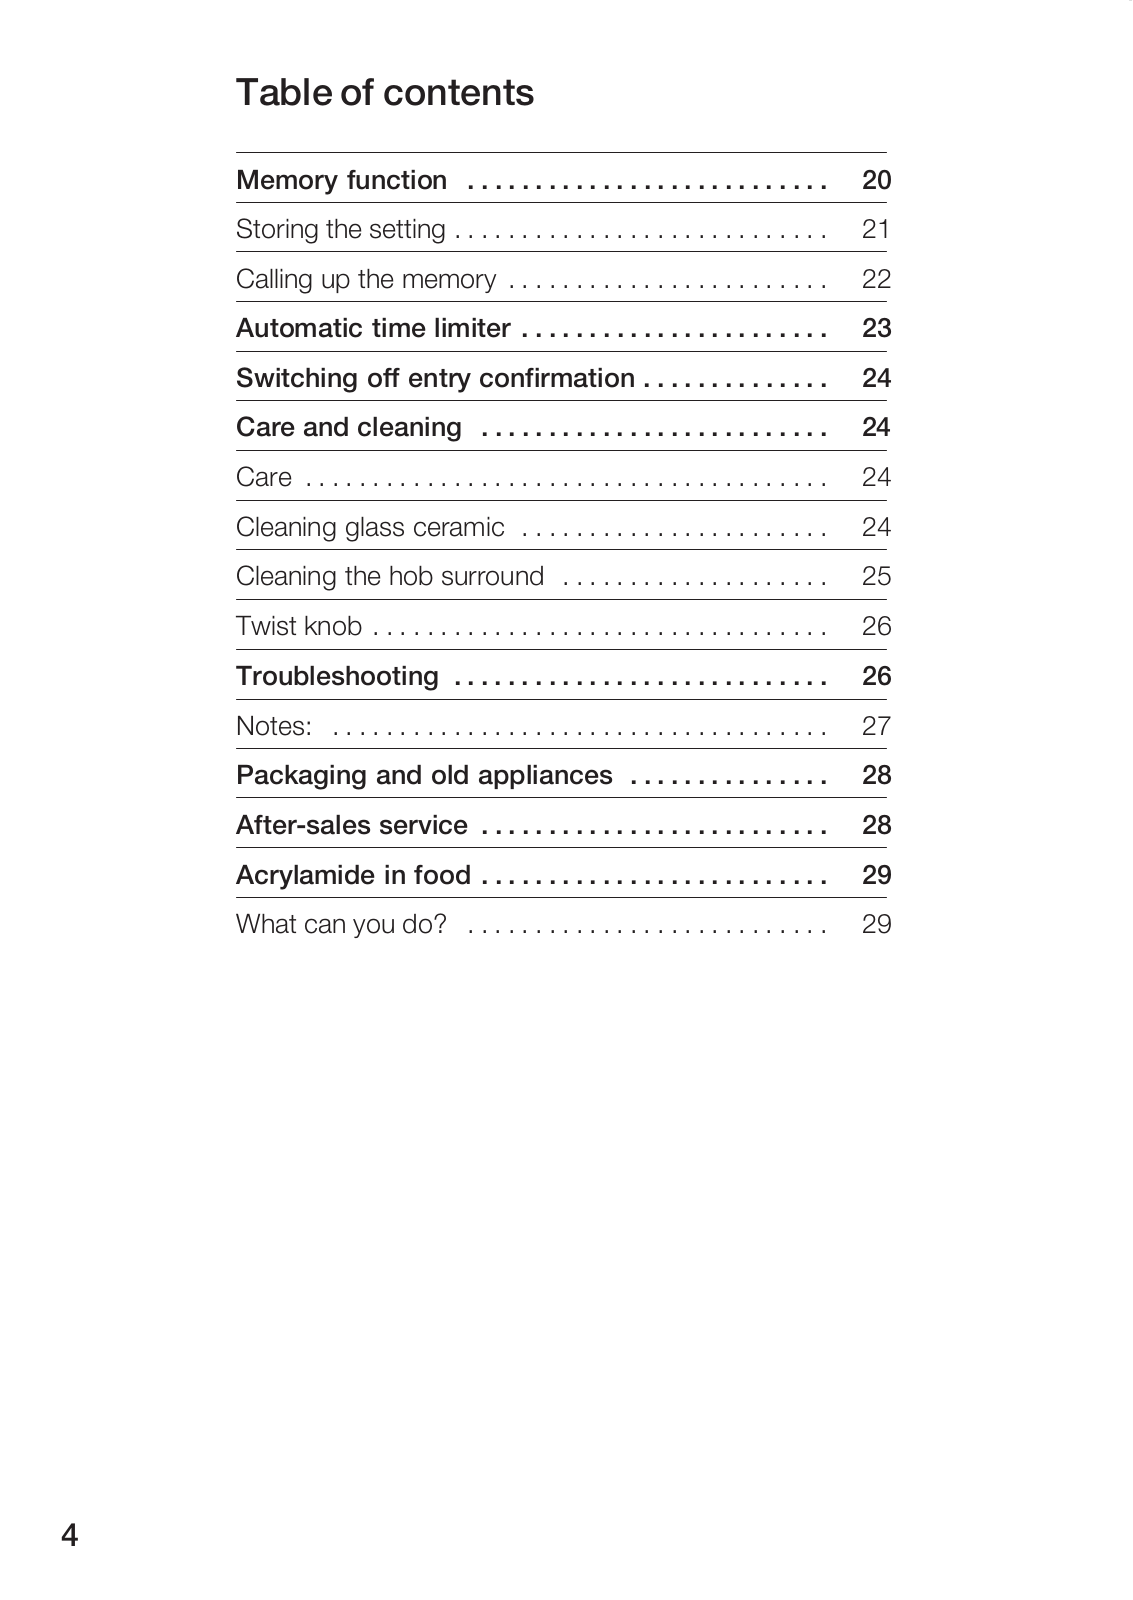
Table of contents
Loading...
Siemens T1593N0, HL654210S, HL654200X Instructions Manual
...
Siemens Instructions Manual
Download
Specifications and Main Features
Frequently Asked Questions
User Manual
Download
Loading...
+
41
hidden pages
Unhide
You need points to download manuals.
1 point = 1 manual.
You can buy points or you can get point for every manual you upload.
Buy points
Upload your manuals