

Siemens Insio binax User Manual

www.bestsound-technology.co.uk
Life sounds brilliant.
Custom instruments
Insio binax User Guide

2 Content
Content
Welcome 4
Your hearing instruments 5
Instrument type 5
Getting to know your hearing instruments 5
Components and names 6
Controls 8
Settings 10
Batteries 12
Battery size and handling tips 12
Replacing batteries 13
Daily use 14
Turning on and off 14
Inserting and removing the hearing instruments 16
Adjusting the volume 19
Changing the hearing program 20
Further adjustments (optional) 20
Special listening situations 21
On the phone 21
Audio induction loops 23
Maintenance and care 24
Hearing instruments 24
Professional maintenance 25

3Content
Further information 26
Safety information 26
Wireless functionality 26
Accessories 26
Symbols used in this document 27
Troubleshooting 27
Service information 29
Country-specific information 30

Welcome4
Thank you for choosing our hearing instruments to
accompany you through everyday life. Like anything new,
it may take you a little time to become familiar with them.
This guide, along with support from your Hearing Care
Professional, will help you understand the advantages
and greater quality of life your hearing instruments offer.
To receive the most benefit from your hearing
instruments, it is recommended that you wear them every
day, all day. This will help you get adjusted to them.
CAUTION
It is important to read this user guide and the safety
manual thoroughly and completely. Follow the
safety information to avoid damage or injury.
Welcome

Your hearing instruments 5
This user guide describes optional features that
your hearing instruments may or may not have.
Ask your Hearing Care Professional to indicate the
features that are valid for your hearing instruments.
Instrument type
Your hearing instruments are customized models that
have been individually manufactured based on the
anatomy of your ears. They are worn directly in the
ear, either in the bowl of the ear or deep inside the ear
canal. They are not suitable for infants, small children or
mentally disabled persons.
Getting to know your hearing instruments
It is recommended to familiarize yourself with your new
hearing instruments. With the instruments in your hand
try using the controls and note their location on the
instrument. This will make it easier for you to feel and
press the controls while wearing the hearing instruments.
If you have problems pressing the controls of your
hearing instruments while wearing them, you can
ask your Hearing Care Professional about a remote
control option.
Your hearing instruments
6
Your hearing instruments
Components and names
This user guide describes several types of hearing
instruments. Use the following pictures to identify the
type of hearing instrument that you use.
Note that the push button, volume control wheel
and vent are individually positioned on your hearing
instrument to best suit your ear. The appearance of your
hearing instruments may therefore differ from that of
those pictured.
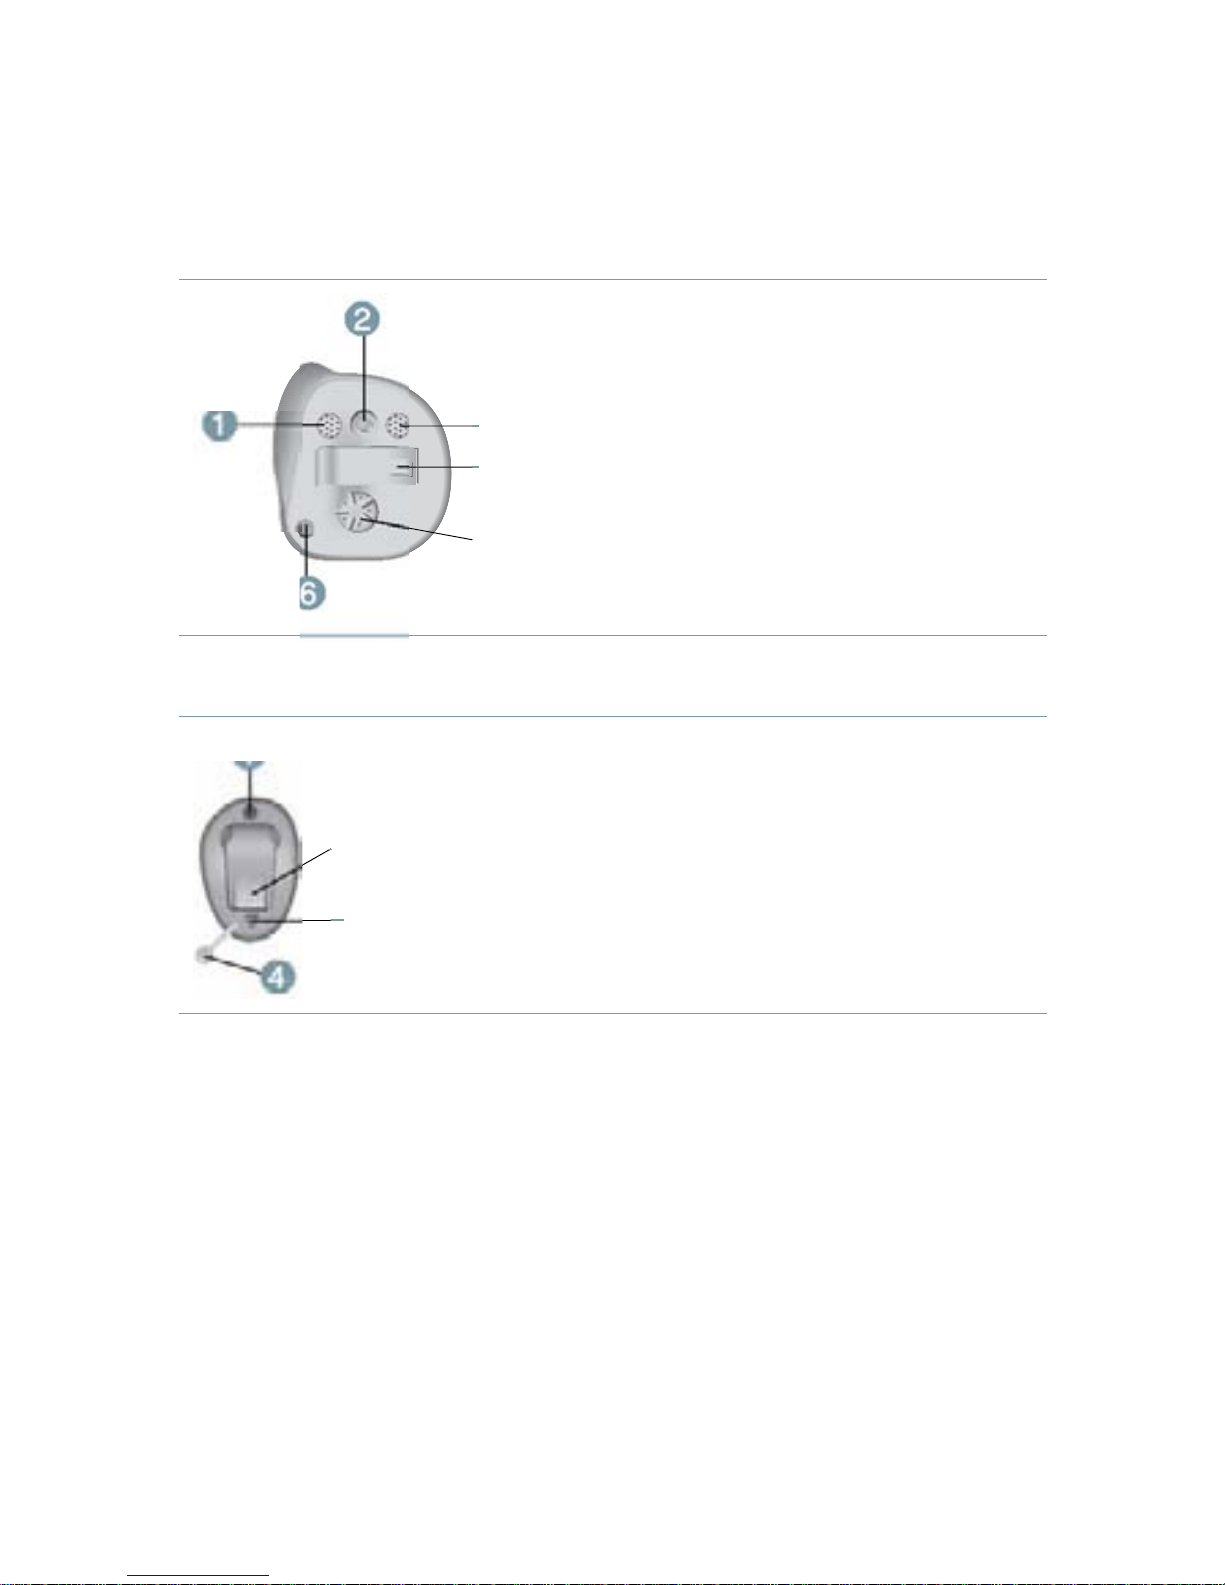
ITE (In The Ear)
➊
Microphone
➋
Second microphone (optional)
➌
Battery compartment
➍
Push button (optional)
➎
Volume control wheel
(optional)
➏
Vent
7
Your hearing instruments
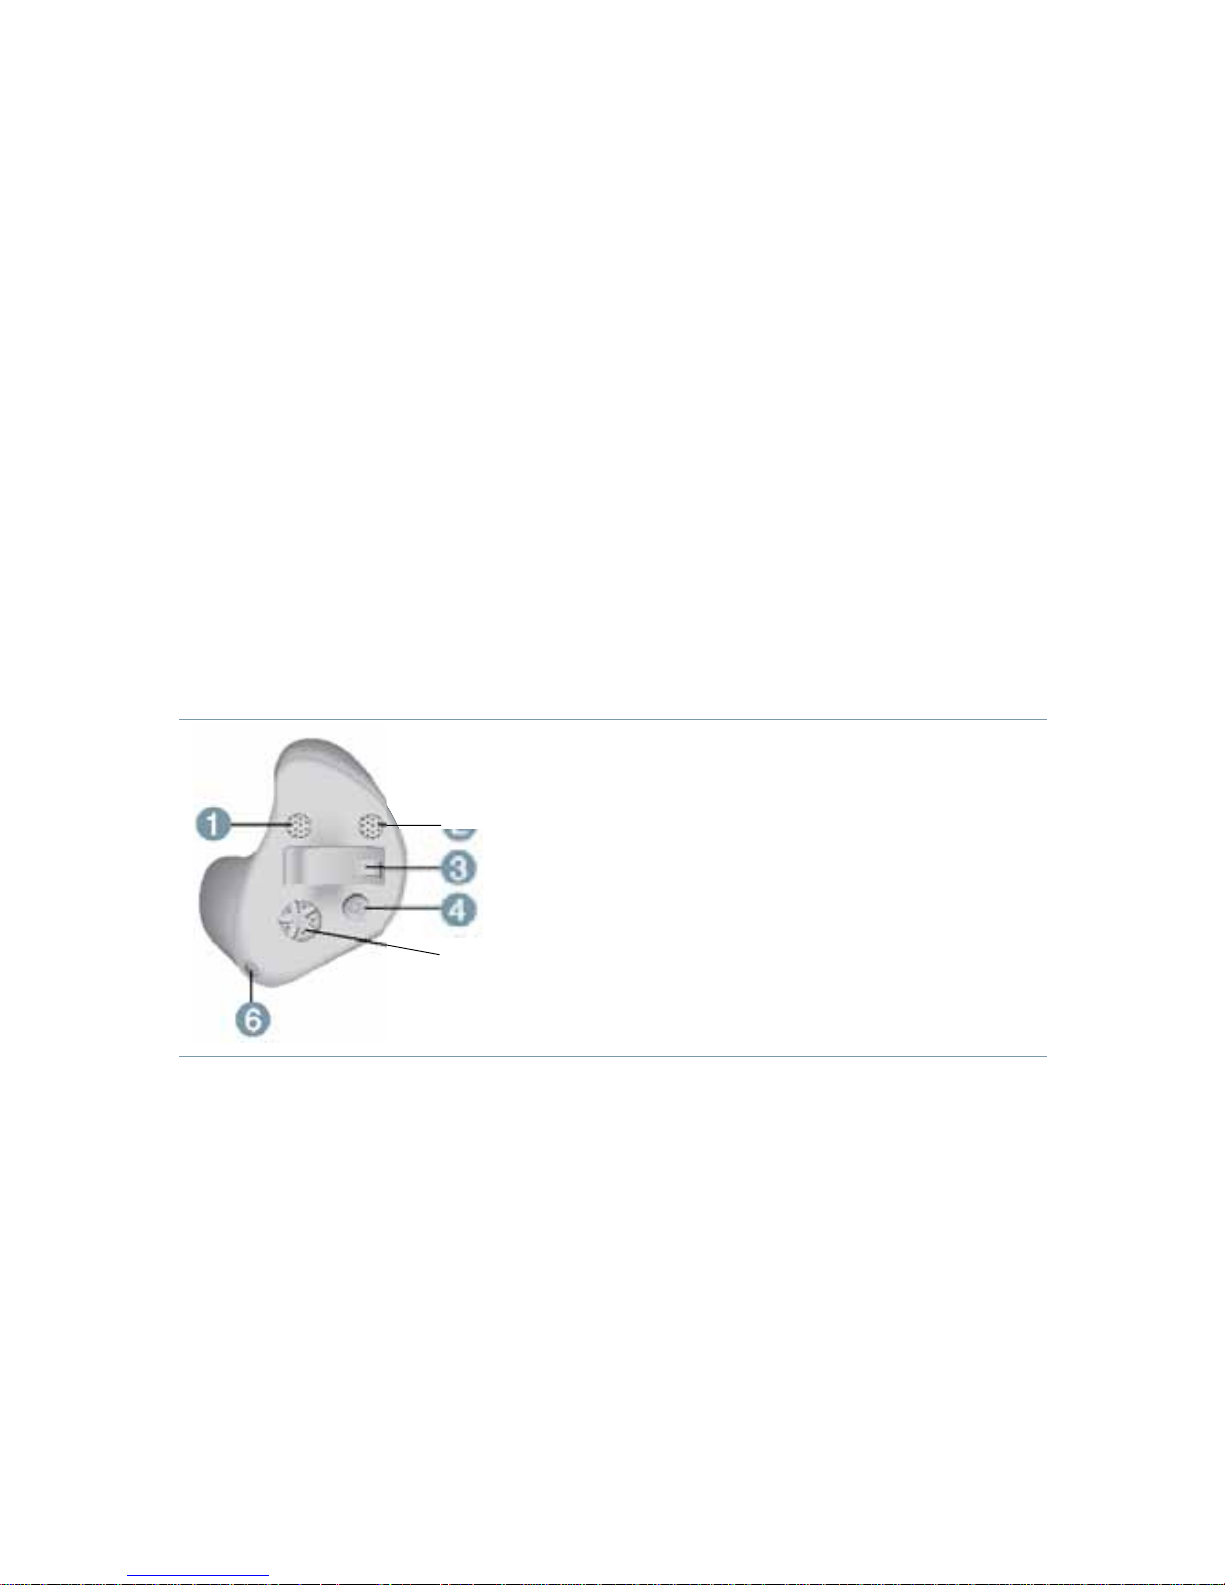
ITC (In The Canal) with controls
ૠ
➊
Microphone
➋
Push button (optional)
➌
Second microphone (optional)
➍
Battery compartment
➎
Volume control wheel
(optional)
➏
Vent
CIC (Completely In the Canal)
➊
Vent
➋
Battery compartment
➌
Microphone
➍
Removal cord (optional)
8
Your hearing instruments
Controls
With the controls you can, for example, adjust the volume
or switch hearing programs. Your hearing instruments
either have a push button, a volume control wheel, or no
control at all.
Your Hearing Care Professional has programmed your
desired functions to the controls.
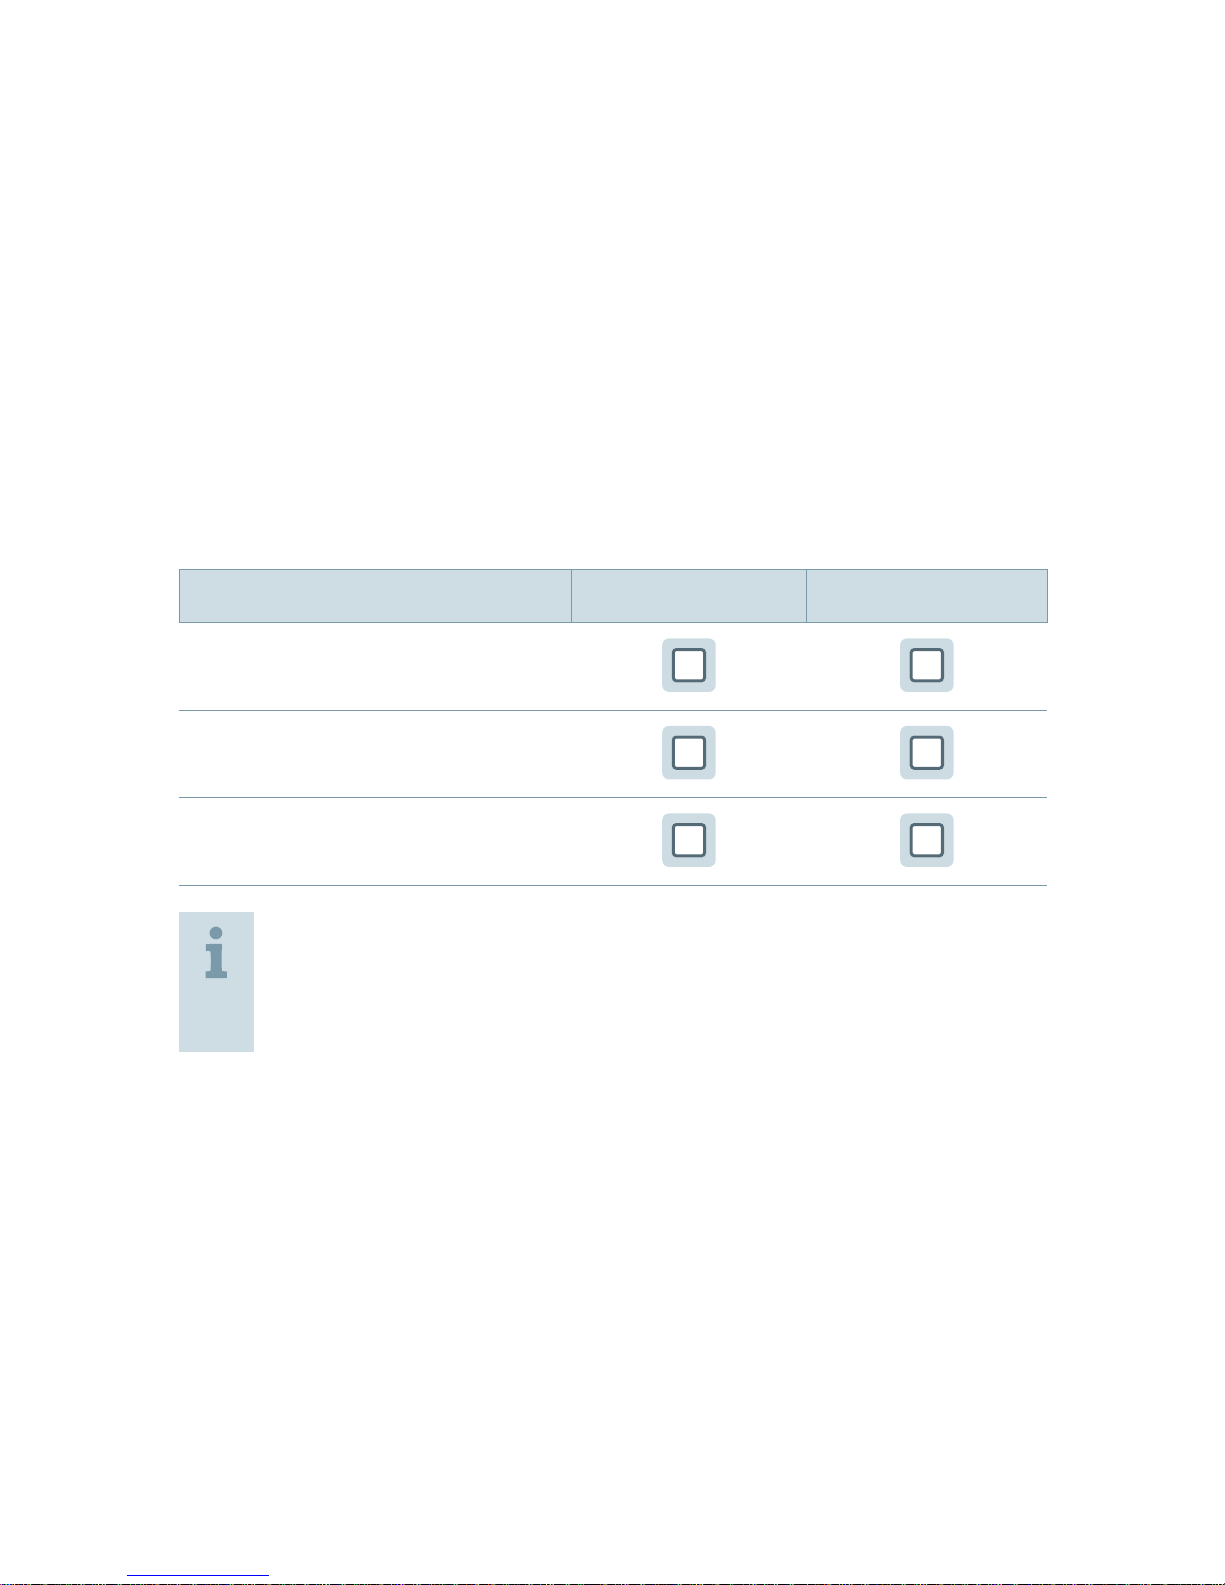
Control Left Right
Push button
Volume control wheel
No control
If your hearing instruments have wireless
functionality, you can also use a remote control or a
smartphone app to control them.
9
Your hearing instruments
Push button function L R
Press briefly:
Program change
Volume up
Volume down
Tinnitus noiser level up
Tinnitus noiser level down
Press long:
Standby/turn on
L = Left, R = Right
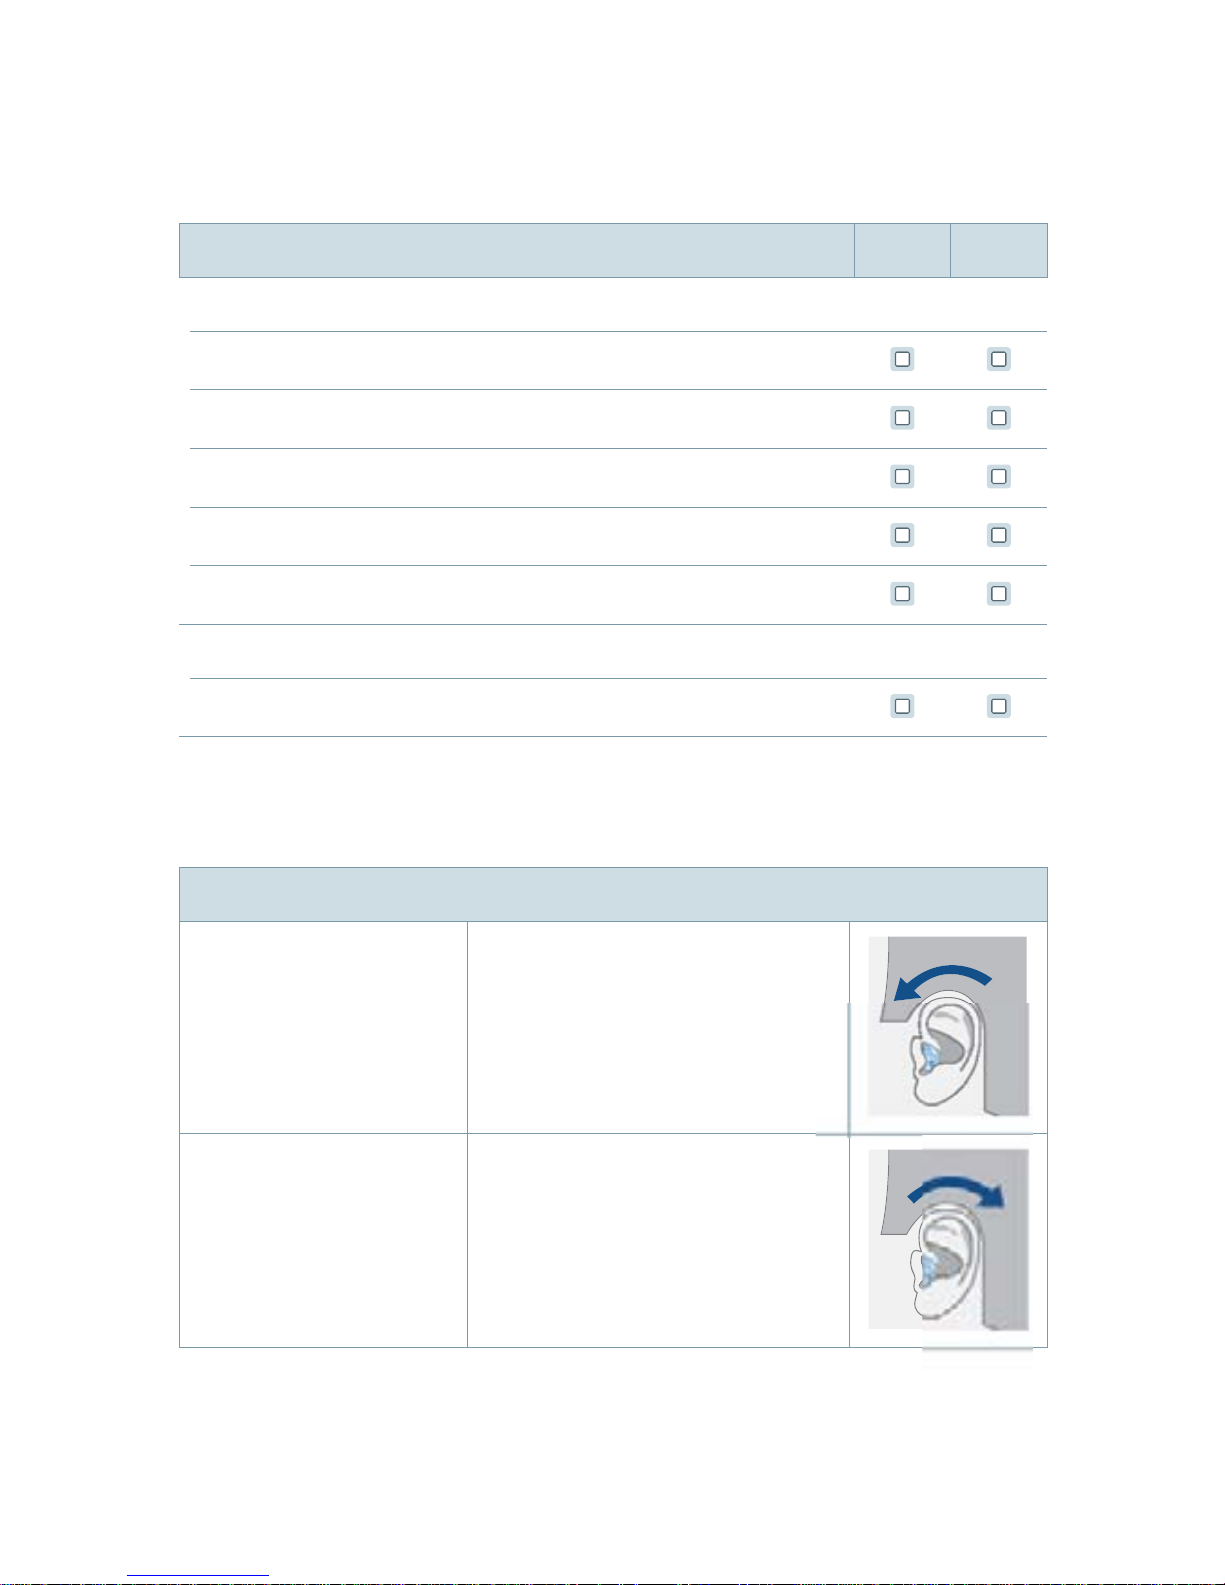
Volume control wheel function
Increase volume Rotate wheel forward.
Decrease volume Rotate wheel backward.

10
Your hearing instruments
Settings
Hearing programs
1
2
3
4
5
6
Read more in section "Changing the hearing program".
 Loading...