

Siemens HP243527M, HP243227M Instruction Manual
[en] Instruction manual
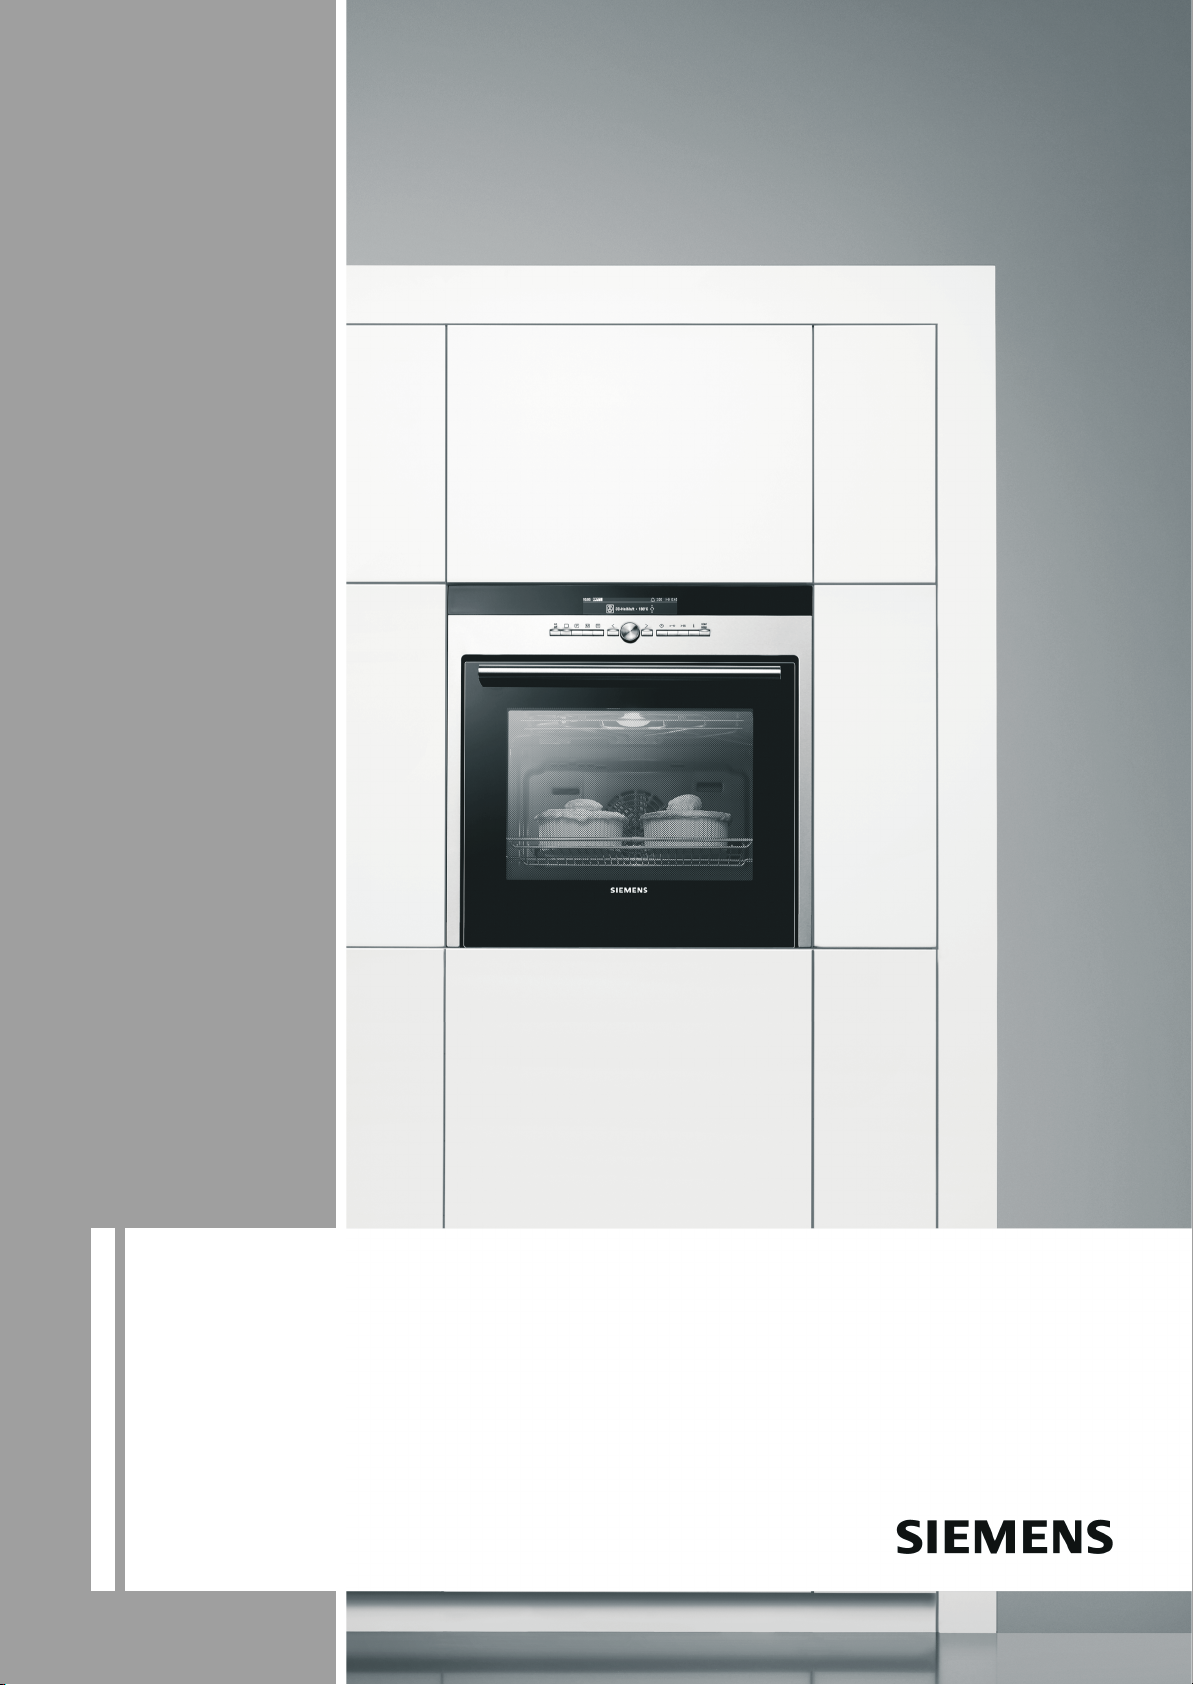
HP243227M, HP243527M
Free standing cooker


Ú Table of contents
[en]Instruction manual
Safety precautions .....................................................................4
Before installation ...............................................................................4
Safety information ...............................................................................4
Causes of damage ............................................................................. 5
Set-up, gas and electricity connection.....................................5
Gas connection ...................................................................................5
Faults in the gas installation/smell of gas ..................................... 5
Electrical connection ..........................................................................6
Levelling the cooker ...........................................................................6
Setting up the appliance ...................................................................6
Measures to be noted during transport..........................................6
Your new cooker......................................................................... 7
General information ............................................................................7
Cooking area .......................................................................................7
Oven ...................................................................................................... 8
Accessories .........................................................................................8
Before using the oven for the first time ................................. 10
Setting the time of day .................................................................... 10
Heating up the oven........................................................................ 10
Setting procedure for the lower gas burner ............................... 10
Setting procedure for the gas grill in the oven .......................... 10
Cleaning the accessories............................................................... 11
Advance cleaning of burner cup and cap .................................. 11
Making settings on the hob ..................................................... 11
Lighting the gas burner .................................................................. 11
Table - Cooking................................................................................ 11
Setting the oven ....................................................................... 12
This is how you adjust the lower gas burner in the oven ........ 12
Setting procedure for the gas grill in the oven .......................... 12
Setting the timer ....................................................................... 13
Care and cleaning .................................................................... 13
Upper glass cover ........................................................................... 13
Cleaning agents ............................................................................... 13
Detaching and attaching the oven door...................................... 14
Removing and installing the door panels ................................... 15
Troubleshooting.......................................................................15
Malfunction table.............................................................................. 15
Replacing the bulb in the oven ceiling light ............................... 15
Glass cover ....................................................................................... 15
After-sales service ................................................................... 16
E-number and FD-number.............................................................. 16
Energy and environment tips .................................................. 16
Saving energy................................................................................... 16
Saving energy with the gas hob ................................................... 16
Environmentally-friendly disposal.................................................. 16
Tested for you in our cooking studio. .................................... 16
Cakes and pastries ......................................................................... 17
Baking tips ........................................................................................ 17
Meat, poultry, fish, toast ................................................................. 18
Tips for roasting and grilling.......................................................... 18
Acrylamide in foodstuffs ......................................................... 18
Produktinfo
Additional information on products, accessories, replacement
parts and services can be found at www.siemens-home.com
and in the online shop www.siemens-eshop.com
3

Safety precautions
Read this instruction manual carefully. Keep the instruction and
installation manuals, as well as the various accessories, in a
safe place. Please pass on these manuals and the accessories
to the new owner if you sell the appliance.
These instructions are only valid if the appropriate country
symbol appears on the appliance. If the symbol does not
appear on the appliance, it is necessary to refer to the
technical instructions which will provide the necessary
instructions concerning modification of the appliance to the
conditions of use of the particular country.
Appliance category: Category 1
Before installation
Damage during transport
Check the appliance for damage after unpacking it. Do not
connect the appliance if it has been damaged in transit.
Incorrect connection.
The appliance (electricity and gas connection) must be
installed in accordance with the instruction manual and the
instructions for gas connection and conversion to a different
gas type.
Incorrect connection and incorrect settings may cause serious
damage to the appliance. The appliance manufacturer does not
accept any liability for such damage. The appliance warranty
will be invalidated.
Safety information
Caution:This appliance is for cooking purposes only. It must
not be used for other purposes, for example room heating. This
hob must only be used for food preparation.
Adults and children who have any physical, motor or mental
impairment
■ and/or are not sufficiently informed about how to use the
appliance or not familiar with the appliance
■ must not operate the appliance without supervision.
Children must not be allowed to play with the appliance.
Hot surfaces
ã=Risk of burns!
■ Caution: Accessible parts may be hot when the grill is in
use. Young children should be kept away from the
appliance.
■ Never touch the interior oven surfaces, the hot burners and
heating elements. Keep small children away from the
appliance.
■ Never prepare food containing large quantities of drinks with
a high alcohol content. The alcoholic vapours may catch fire
in the oven. Only use small quantities of drinks with a high
alcohol content and open the oven door carefully.
■ Electricity/gas cables must not come into contact with the
back of the appliance. When the appliance is in operation,
the back of the appliance heats up. This may cause damage
to the power cables.
■ Never clean the appliance while it is hot. Allow the appliance
to cool down before cleaning it.
■ Open the oven door carefully. Hot steam may escape.
ã=Risk of fire!
Never place flammable objects on the burners or store them in
the cooking compartment. Never open the appliance door if
there is smoke inside. Switch off the appliance. Pull out the
mains plug or switch off the appliance at the circuit breaker in
the fuse box. Shut off the gas supply.
The surfaces of the plinth drawer may become very hot. Only
store oven accessories in the drawer. Flammable and
combustible objects must not be stored in the plinth drawer.
There is a risk of fire!
ã=Risk of short circuit!
Never trap the mains cable of electrical appliances in the
appliance door when it is hot or pull the cable over burners
when they are hot. The cable insulation could melt.
ã=Risk of scalding!
Never pour water into the hot cooking compartment. This will
produce hot steam.
Hot accessories and ovenware
ã=Risk of burns!
Never remove ovenware or accessories from the cooking
compartment without an oven cloth or oven gloves.
Overheated oil and fat
ã=Risk of fire!
Overheated oil or fat can ignite very quickly. Never leave hot oil
or fat unattended. Never attempt to extinguish burning fat or oil
with water. Extinguish the flames with a lid or a plate. Switch the
hotplate off.
Insufficient ventilation when cooking with gas cookers
Caution:The use of a gas cooking appliance results in the
production of heat, moisture and products of combustion in the
room in which it is installed. Ensure that the kitchen is well
ventilated especially when the appliance is in use: keep natural
ventilation holes open or install a mechanical ventilation device
(mechanical extractor hood).
Prolonged intensive use of the appliance may call for additional
ventilation, for example opening of a window, or more effective
ventilation, for example increasing the level of mechanical
ventilation where present.
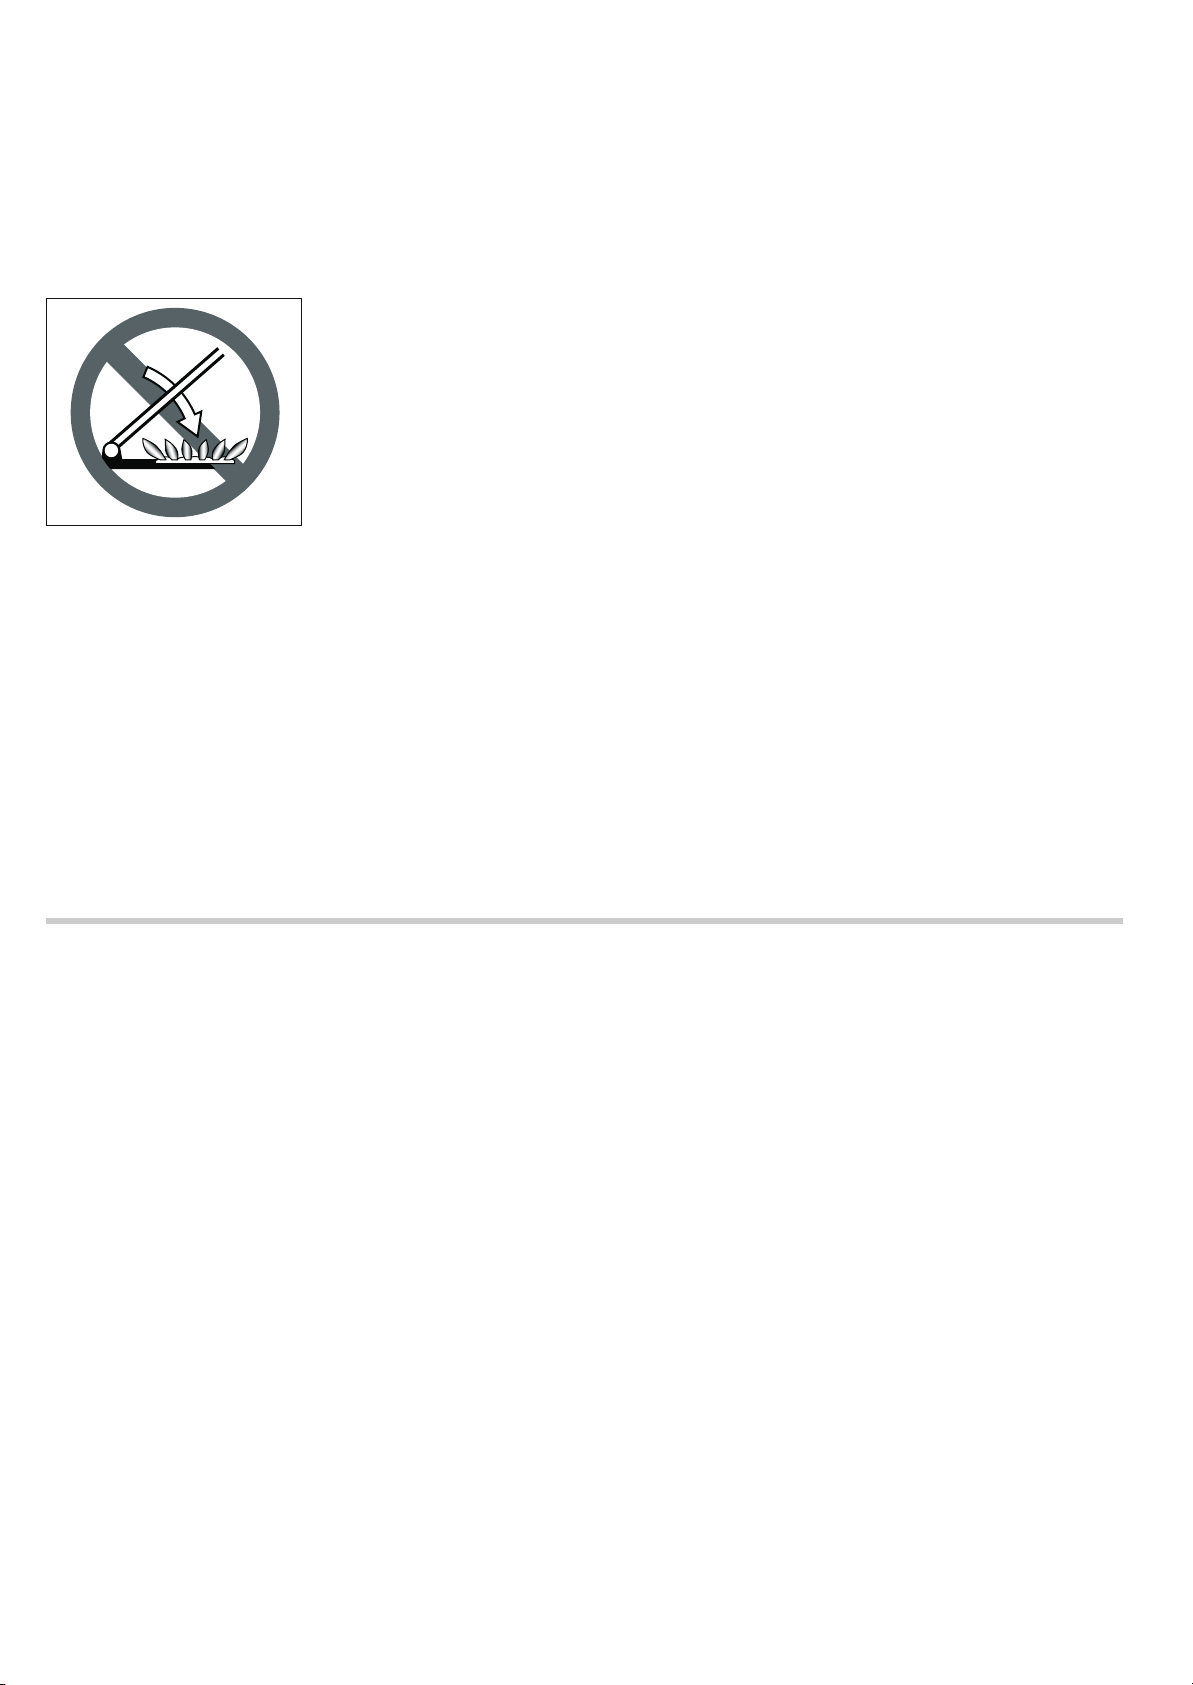
Do not hang easily combustible materials, such as curtains,
near this appliance. If the burners are not covered with
ovenware, do not operate the extractor hood. Grease deposits
in the filters of the extractor hood may ignite, and the resulting
hot temperatures may damage the extractor hood. There is a
risk of fire!
Hinges
Do not place your hands in the oven door hinges or, if
available, the upper cover hinges. You could trap your fingers.
Repairs
Incorrect repairs may result in significant risk to the user. Risk
of electric shock. There is a risk of a gas leak!
Repairs may only be carried out by fully trained after-sales
service engineers. A damaged cable must only be replaced by
the after-sales service engineer.
Switch off the circuit breaker in the fuse box if the appliance is
faulty. Shut off the gas supply. Call the aftersales service.
Moving the appliance by the gas line or door handle
Do not move the appliance while holding the gas line; the gas
pipe could be damaged. There is a risk of a gas leak! Do not
move the appliance while holding it by the door handle. The
door hinges and door handle could be damaged.
4
Oven door - Additional safety precautions
During long cooking times, the oven door may become very
hot.
If you have small children, extra supervision is required during
oven operation.
In addition, there is a protective device (protective grid) which
prevents direct contact with the oven door. You can purchase
this optional accessory (469088) from the after-sales service.
Upper glass cover
or ban base. The handle does not become damaged, and
greater energy savings are guaranteed.
■ Ensure that the gas burners are clean and dry. The burner
cup and ¶burner cap must be positioned exactly.
■ Ensure that the top cover is not closed when the oven is
started up.
Damage to the oven
Caution!
■ Do not push baking trays onto the oven floor. Do not line the
oven floor with aluminium foil. Do not place any food
containers on the oven floor, as this could cause heat to
accumulate. The baking and roasting times will no longer be
correct and the enamel will be damaged.
■ Do not pour water directly into a hot oven. This could damage
the enamel.
■ Do not use too much fruit when baking a very liquid fruit
cake. Fruit juice, which drips from the baking tray, may cause
stains that cannot be removed.
■ Do not use the open oven door as a seat or footstool.
Caution: The glass cover may crack due to heat. Before
closing the cover, turn off all burners. Wait until the oven has
cooled down before closing the glass cover.
Damage to the plinth drawer
Caution!
Do not place hot objects in the plinth drawer. It could be
Causes of damage
Hob
Caution!
■ Only use the burners when cookware has been placed on
top. Do not heat up empty pots or pans. The saucepan base
will be damaged.
■ Only use pots and pans with an even base.
■ Place the pot or pan centrally over the burner. This will
optimise transfer of the heat from the burner flame to the pot
damaged.
Damage to the fronts of adjacent units
Caution!
■ Only allow the oven to cool down with the oven door closed.
Even if the door is only open slightly open, the fronts of
adjacent units could be damaged over time.
■ If the oven seal is very dirty, the oven door will not close
properly during operation. The fronts of adjacent units will
become damaged over time. Always keep the door seal
clean.
Set-up, gas and electricity connection
Gas connection
Installation must only be performed by an approved expert or a
licensed after-sales service engineer in accordance with the
instructions specified under "Gas connection and conversion to
a different gas type".
For the licensed expert or after-sales service
Caution!
■ The setting conditions for this appliance are specified on the
rating plate on the back of the appliance. The gas type set in
the factory is marked with an asterisk (*).
■ Before setting up the appliance, check the grid access
conditions (gas type and gas pressure) and ensure that the
gas setting of the appliance meets these conditions. If the
appliance settings have to be changed, follow the instructions
in the section "Gas connection and conversion to a different
gas type".
■ This appliance is not connected to a waste gas main. It must
be connected and commissioned in accordance with the
installation conditions. Do not connect the appliance to a
waste gas main. All ventilation regulations must be observed.
■ The gas connection must be made via a fixed, i.e. not mobile
connection (gas line) or via a safety hose.
■ If using the safety hose, ensure that the hose is not trapped
or crushed. The hose must not come into contact with hot
surfaces.
■ The gas line (gas pipe or safety hose) can be connected to
the right or left-hand side of the appliance. The connection
must have an easily accessible locking device.
Faults in the gas installation/smell of gas
If you notice a smell of gas or faults in the gas installation, you
must
■ immediately shut off the gas supply and/or close the gas
cylinder valve
■ immediately extinguish all naked flames and cigarettes
■ switch off electrical appliances and lights
■ open windows and ventilate the room
■ call the aftersales service or the gas supplier
5
Electrical connection
Caution!
■ Have the appliance set up by your after-sales service. A 16 A
fuse is required for connection. The appliance is designed for
operation at 220-240 V.
■ If the electricity supply drops below 180 V, the electrical
ignition system does not work.
■ Any damage arising from the appliance being connected
incorrectly will invalidate the guarantee.
For the after-sales service
Caution!
■ The appliance must be connected in accordance with the
data on the rating plate.
■ Only connect the appliance to an electrical connection that
meets the applicable provisions. The socket must be easily
accessible so that you can disconnect the appliance from the
electricity supply if necessary.
■ Please ensure the availability of a multi-pin disconnecting
system.
■ Never use extension cables or multiple plugs.
■ For safety reasons, this appliance must only be connected to
an earthed connection. If the safety earth terminal does not
comply with regulations, safety against electrical hazards is
not guaranteed.
■ You must use a H 05 W-F type cable or equivalent for the
appliance connection.
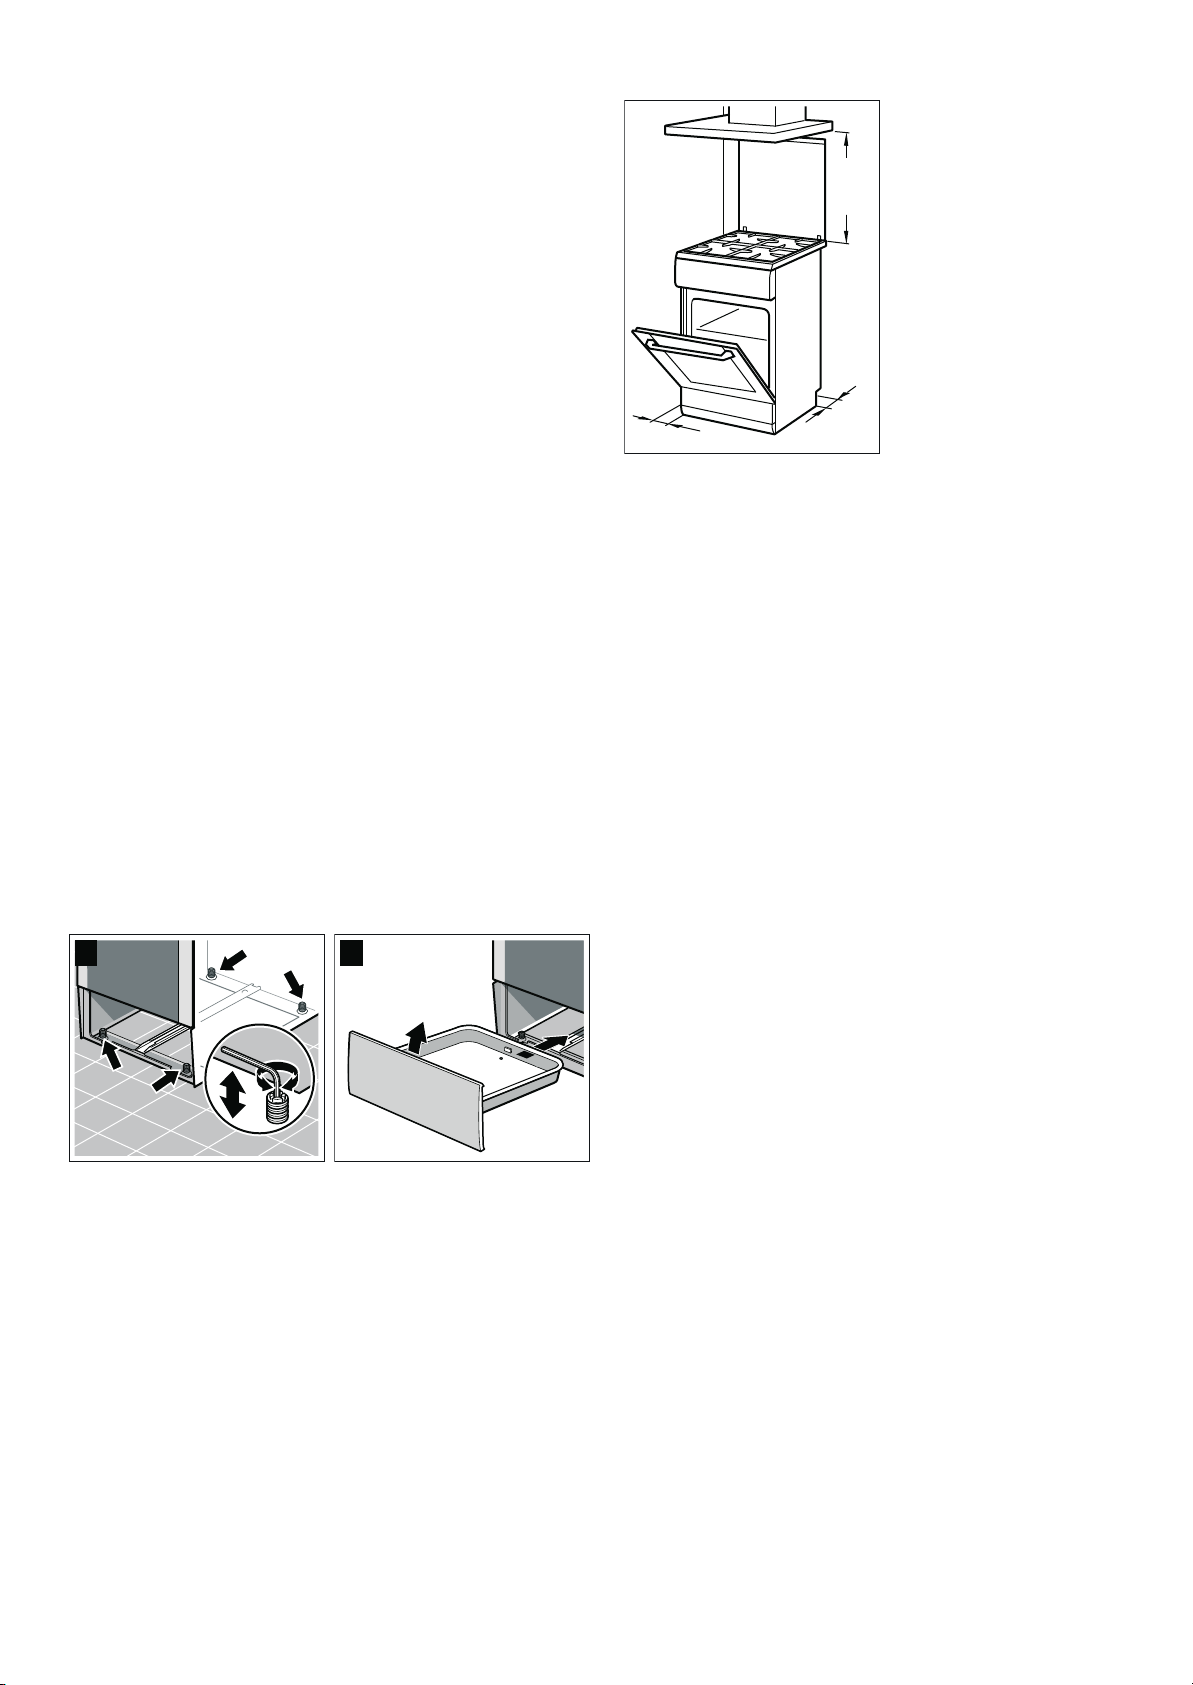
Levelling the cooker
Always place the cooker directly on the floor.
1.Pull out the plinth drawer and lift it up and out.
There are adjustable feet at the front and rear on the inside of
the plinth.
2.Use an Allen key to raise or lower the adjustable feet as
necessary until the cooker is level (picture A).
3.Push the plinth drawer back in (picture B).
%$
Setting up the appliance
0LQ
■ The appliance must be set up directly on the kitchen floor
and in line with the specified dimensions. The appliance must
not be set up on any other object.
■ The distance between the top edge of the oven and the
bottom edge of the extractor hood must meet the
requirements of the extractor hood manufacturer.
■ Ensure that the appliance is not moved again after set up.
The distance from the high output burner or wok burner to
the fronts of the adjacent units or the wall must be at least 50
mm.
Measures to be noted during transport
Secure all mobile parts in and on the appliance using an
adhesive tape that can be removed without leaving any traces.
Push all accessories (e.g. baking tray) into the corresponding
slots with cardboard at the edges, in order to avoid damaging
the appliance. Place cardboard or similar between the front and
rear side to prevent knocks against the inside of the glass door.
Secure the door and, if available, the top cover to the appliance
sides using adhesive tape.
Keep the original appliance packaging. Only transport the
appliance in the original packaging. Observe the transport
arrows on the packaging.
If the original packaging is no longer available
pack the appliance in protective packaging to guarantee
sufficient protection against any transport damage.
Transport the appliance in an upright position. Do not hold the
appliance by the door handle or the connections on the rear, as
these could be damaged. Do not place any heavy objects on
the appliance.
6
 Loading...