Shure SVX WIRELESS User Guide

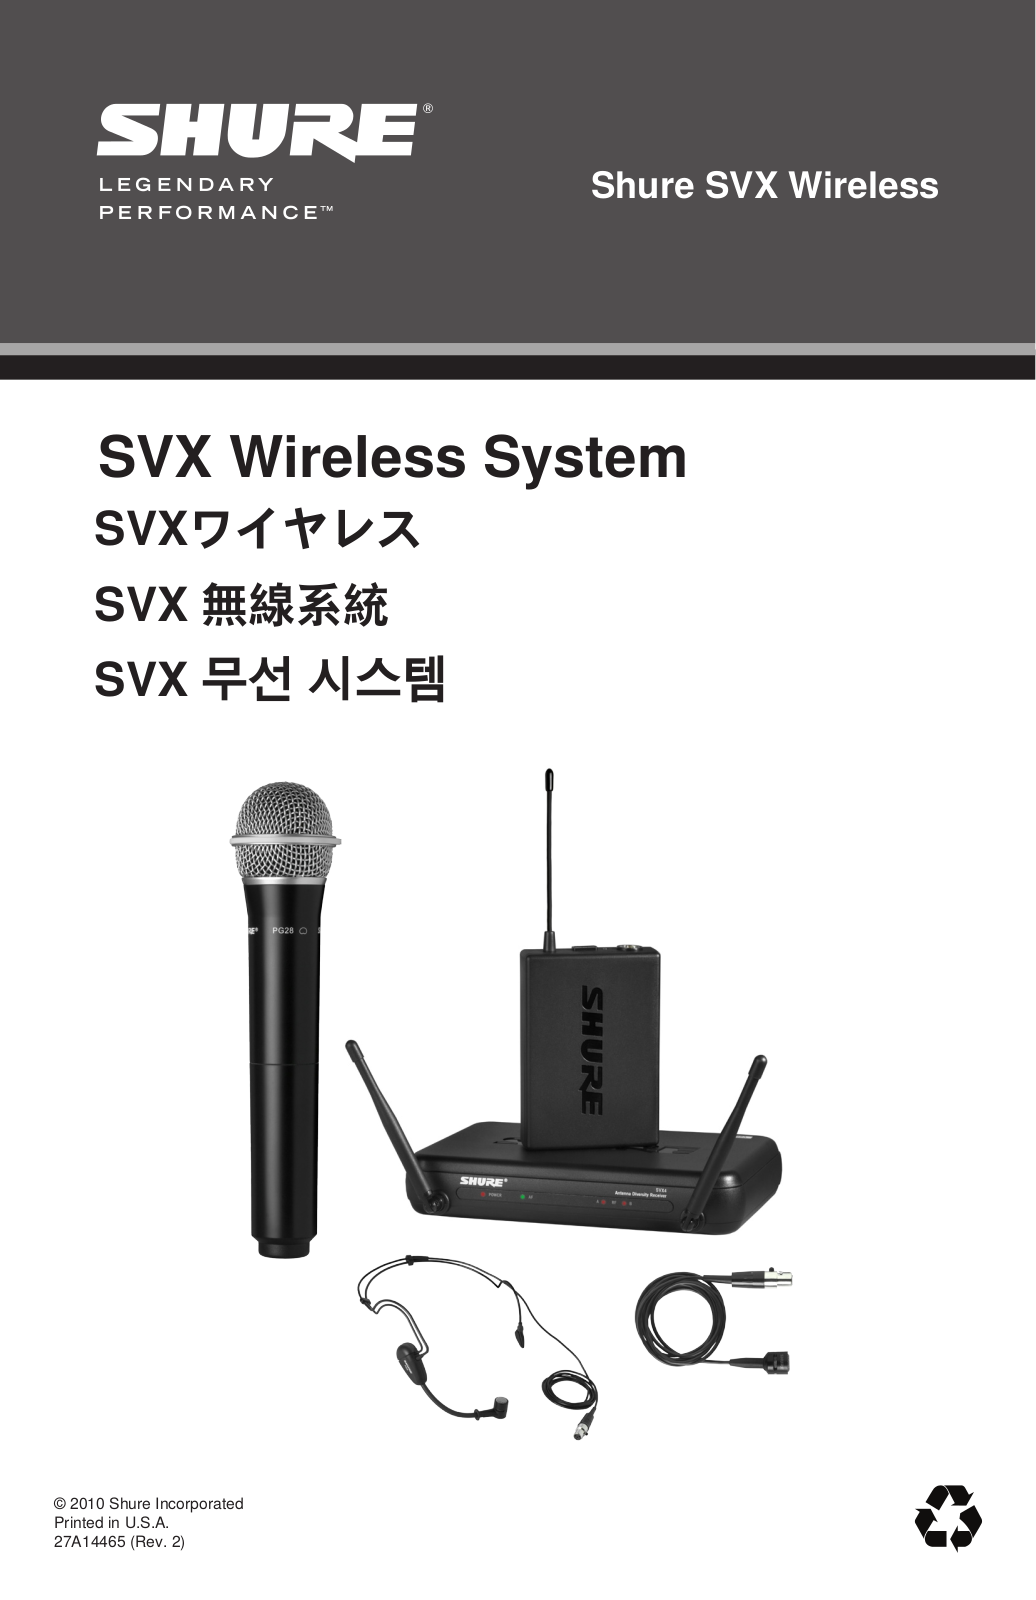
Shure SVX Wireless

SVX Wireless System

SVX

SVX

SVX

© 2010 Shure Incorporated Printed in U.S.A. 27A14465 (Rev. 2)

1

SAFETY PRECAUTIONS

The possible results of incorrect use are marked by one of the two symbols - “WARNING” AND “CAUTION” - depending on the imminence of the danger and the severity of the damage.

WARNING: Ignoring these warnings may cause severe injury or death as a result of incorrect operation.

CAUTION: Ignoring these cautions may cause moderate injury or property damage as a result of incorrect operation.

WARNING

If water or other foreign objects enter the inside of the device, fire or electric shock may result.

Do not attempt to modify this product. Doing so could result in personal injury and/or product failure.

WARNING: This product contains a chemical known to the State of California to cause cancer and birth defects or other reproductive harm

CAUTION

Never disassemble or modify the device, as failures may result.

Do not subject to extreme force and do not pull on the cable or failures may result.

Keep the microphone dry and avoid exposure to extreme temperatures and humidity.


, “ ” “ ” .

: .

: .


.

.

• .

• .

.

.


.

2

“ ” “ ”

可能會導致嚴重的人身傷亡事故。

事故。

能會導致常見的人身傷害或財產損失。

/ •

“ ” “ ”


/


(PB)

(Hg)

(Cd)


Cr (VI)

PBB


PBDE


X

O

O

O

O

O


X

O

O

O

O

O


X

O

O

O

O

O


O: SJ/T 11363-2006

X: SJ/T 11363-2006

之干擾。】

3

Shure SVX WIRELESS User Guide

Quick Setup

빠른

SVX4

1

12 - 18V 500mA

A

B

C

POWER SUPPLY

2

CHANNEL

3

2 4

1 A

D

C

3

BAL.

U

BAL.

UNBAL.


SVX2

1

2

3

AA

iiii i

i

i iii

i

i


11

12

1


10


2


iii

9


3

8


4

RF

i

6


i

7

5


i


i


ii


ii


CHANNEL


D

1

2


C


3


B

A

4


SVX1

AA

11

12

1


10


2

9


3

8


4

7

6

5


iiiiii

i

i

iii


i


i

i

i

i

ii

i


iiiii

2 3 4

LINE MIC

1

A


C

B

GAIN

CHANNEL


4

Shure SVX Wireless

Congratulations on purchasing your SVX Wireless system from Shure. Shure professional audio products deliver legendary sound quality, stage-proven durability and hassle-free setup. The SVX Wireless System comes with your choice of lavalier, handheld, or headset microphone making it an ideal choice for presentation, karaoke performance, aerobics/fitness instruction or other applications where the freedom of wireless is desired.

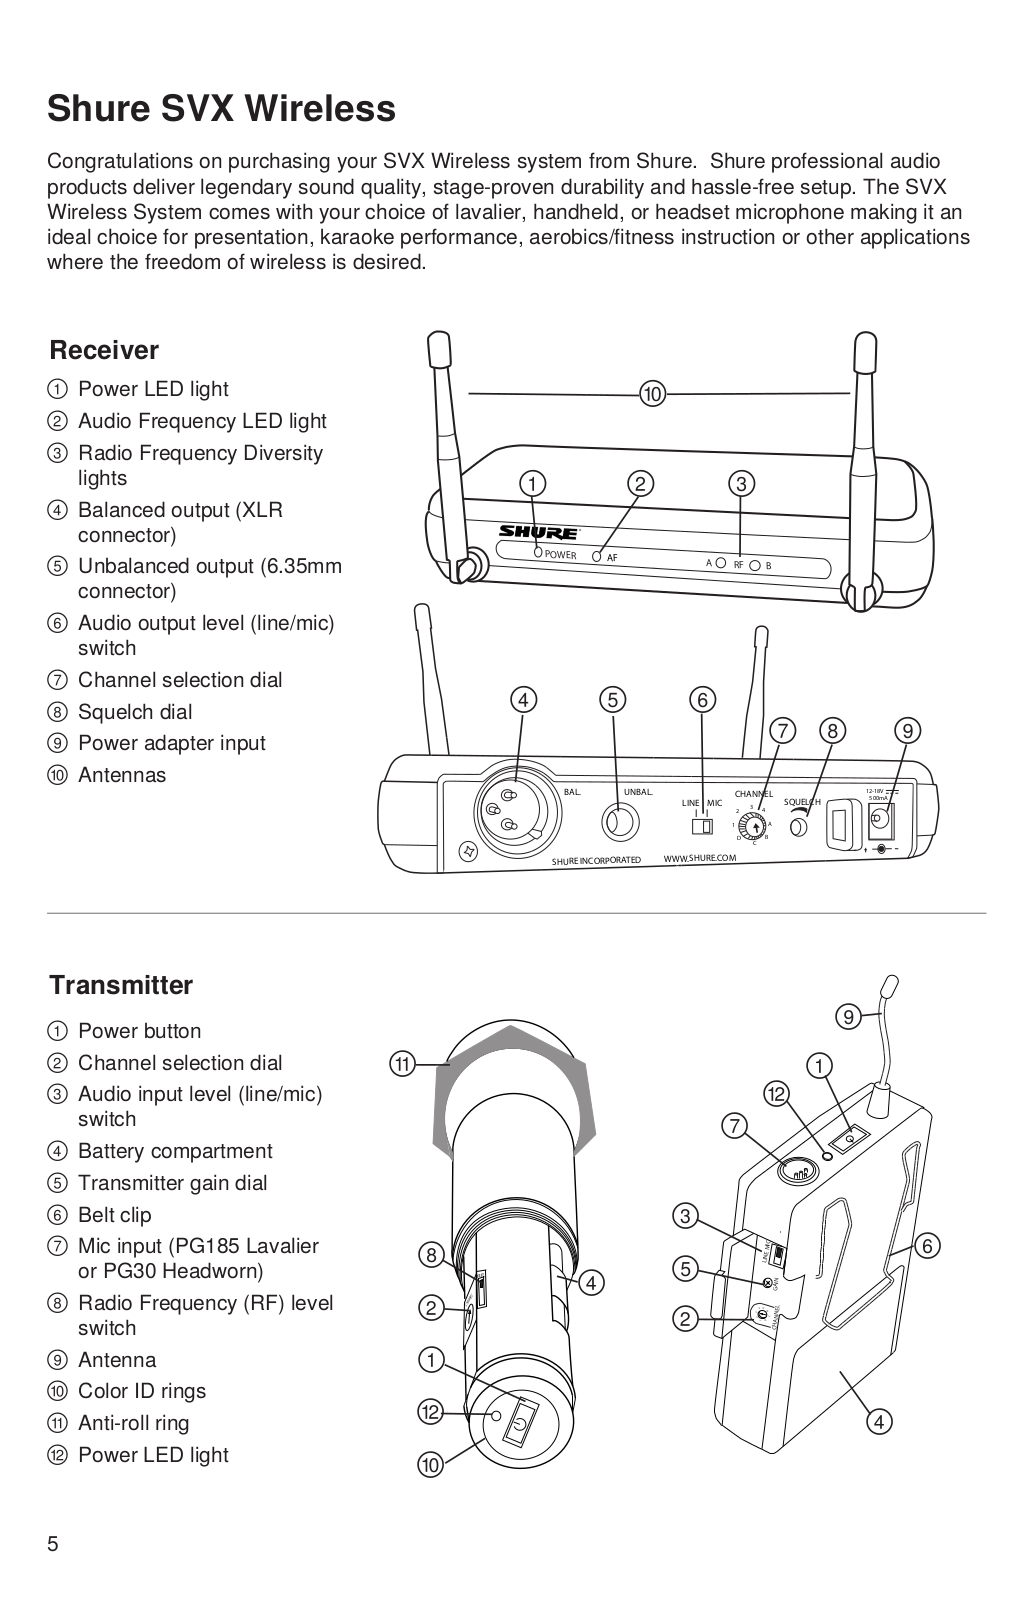
Receiver

Power LED light

Audio Frequency LED light

Radio Frequency Diversity lights

Balanced output (XLR connector)

Unbalanced output (6.35mm connector)

Audio output level (line/mic) switch

Channel selection dialSquelch dial

Power adapter inputAntennas

POWER

AF

A

RF

B


BAL.

UNBAL.

CHANNEL


500mA


12-18V


LINE MIC

3

4

SQUELCH


2


1


A


D

C

B


SHURE INCORPORATED

WWW.SHURE.COM


Transmitter

Power button

Channel selection dial

Audio input level (line/mic) switch

Battery compartmentTransmitter gain dialBelt clip

Mic input (PG185 Lavalier or PG30 Headworn)

Radio Frequency (RF) level switch

Antenna

Color ID ringsAnti-roll ringPower LED light


RF


CHANNEL

MIC

LINE

GAIN CHANNEL

5

System Components

All Systems


Bodypack Transmitter

SVX4 Receiver

Channel Selector

SVX1 Bodypack Transmitter

PS21 Power

Tool

Microphone


Supply

2 AA batteries


PG185 Lavalier microphone

Handheld Transmitter


OR

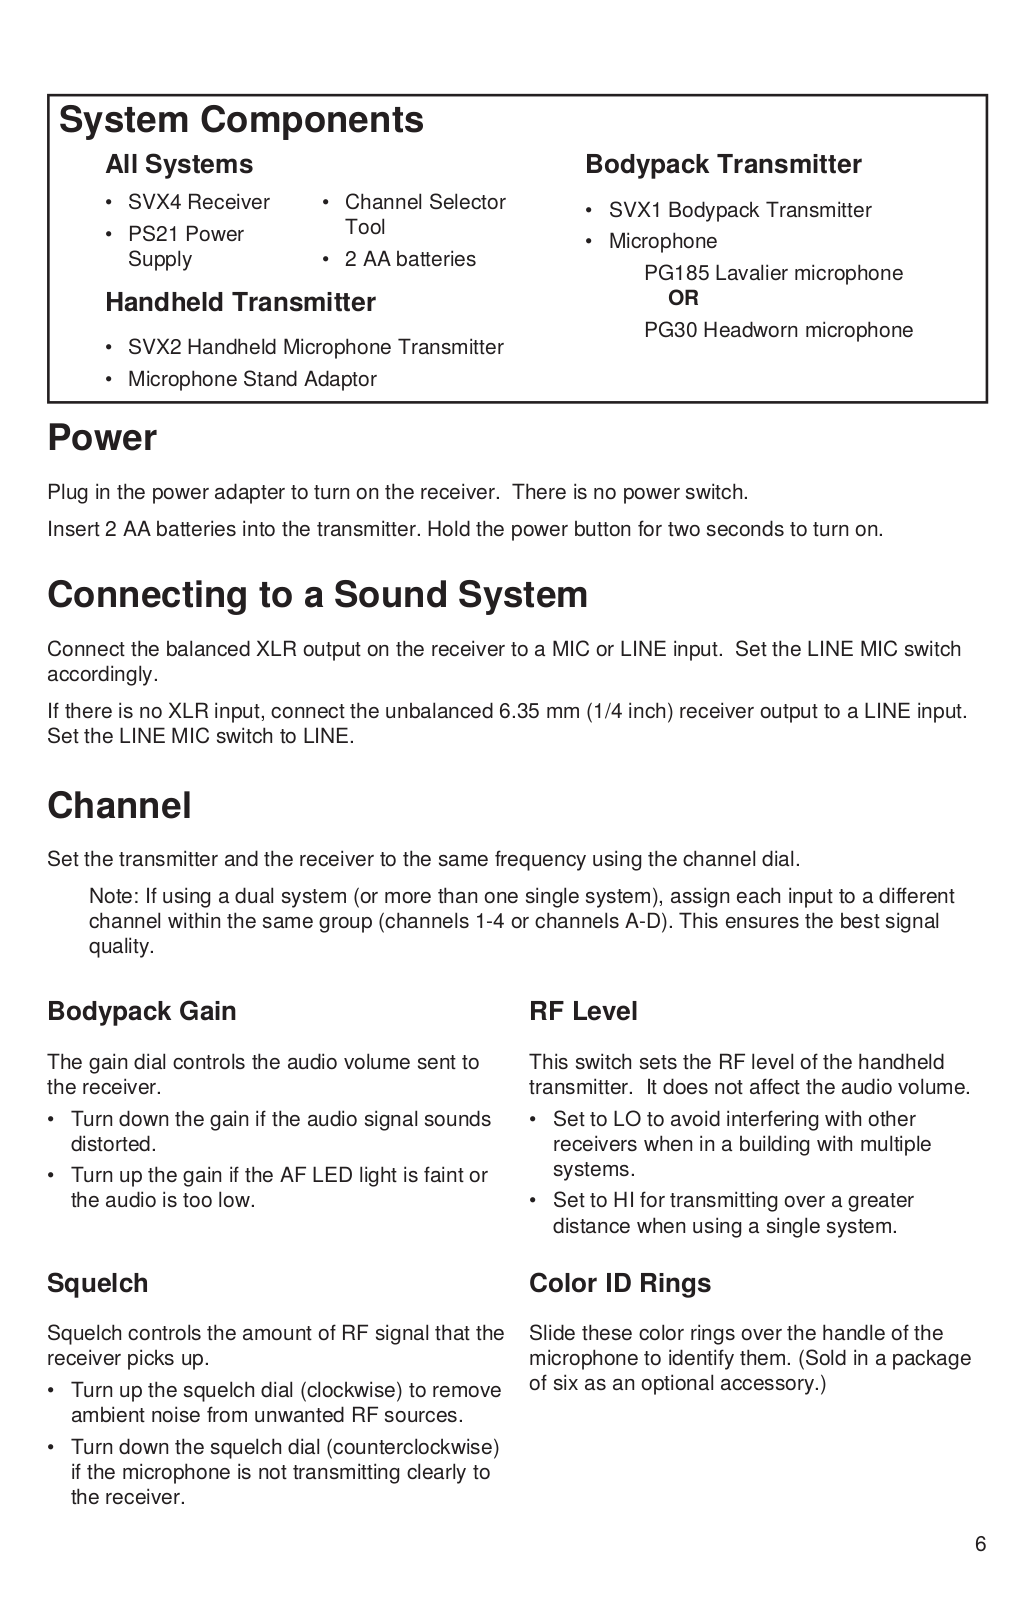
• SVX2 Handheld Microphone Transmitter


PG30 Headworn microphone


Microphone Stand Adaptor


Power

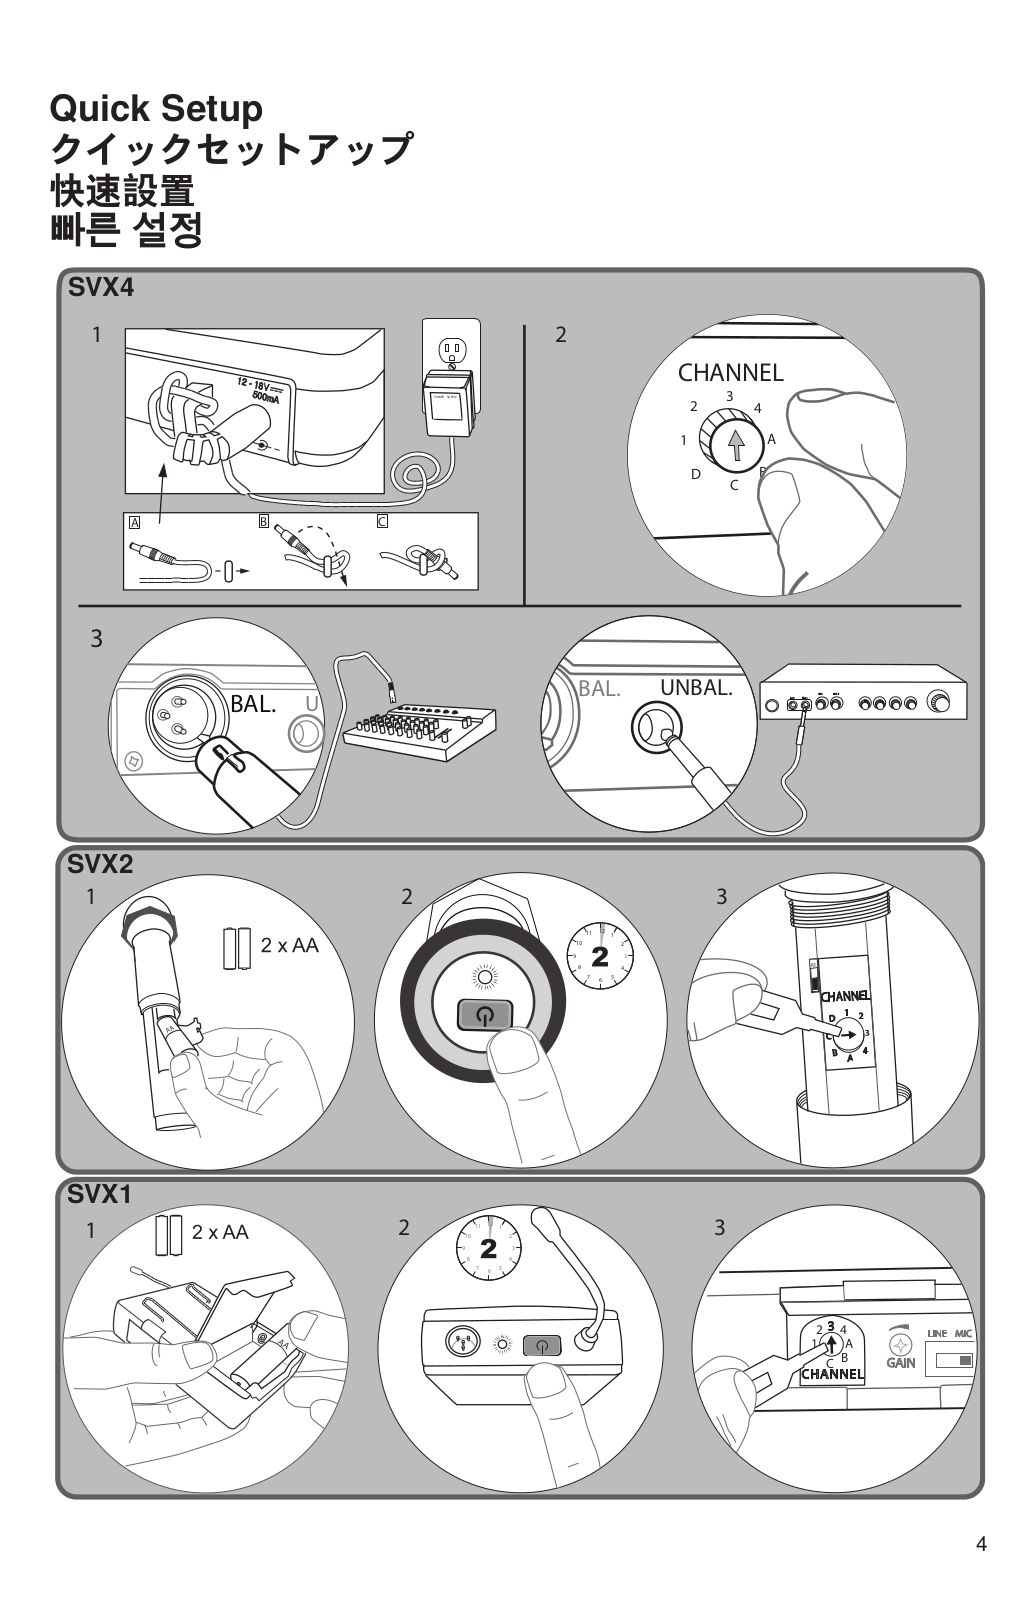
Plug in the power adapter to turn on the receiver. There is no power switch.

Insert 2 AA batteries into the transmitter. Hold the power button for two seconds to turn on.

Connecting to a Sound System

Connect the balanced XLR output on the receiver to a MIC or LINE input. Set the LINE MIC switch accordingly.

If there is no XLR input, connect the unbalanced 6.35 mm (1/4 inch) receiver output to a LINE input. Set the LINE MIC switch to LINE.

Channel

Set the transmitter and the receiver to the same frequency using the channel dial.

Note: If using a dual system (or more than one single system), assign each input to a different channel within the same group (channels 1-4 or channels A-D). This ensures the best signal quality.

Bodypack Gain

The gain dial controls the audio volume sent to the receiver.

Turn down the gain if the audio signal sounds distorted.

Turn up the gain if the AF LED light is faint or the audio is too low.

RF Level

This switch sets the RF level of the handheld transmitter. It does not affect the audio volume.

Set to LO to avoid interfering with other receivers when in a building with multiple systems.

Set to HI for transmitting over a greater distance when using a single system.

Squelch

Color ID Rings

Squelch controls the amount of RF signal that the receiver picks up.

Turn up the squelch dial (clockwise) to remove ambient noise from unwanted RF sources.

Turn down the squelch dial (counterclockwise) if the microphone is not transmitting clearly to the receiver.

Slide these color rings over the handle of the microphone to identify them. (Sold in a package of six as an optional accessory.)

6

Getting Good Sound

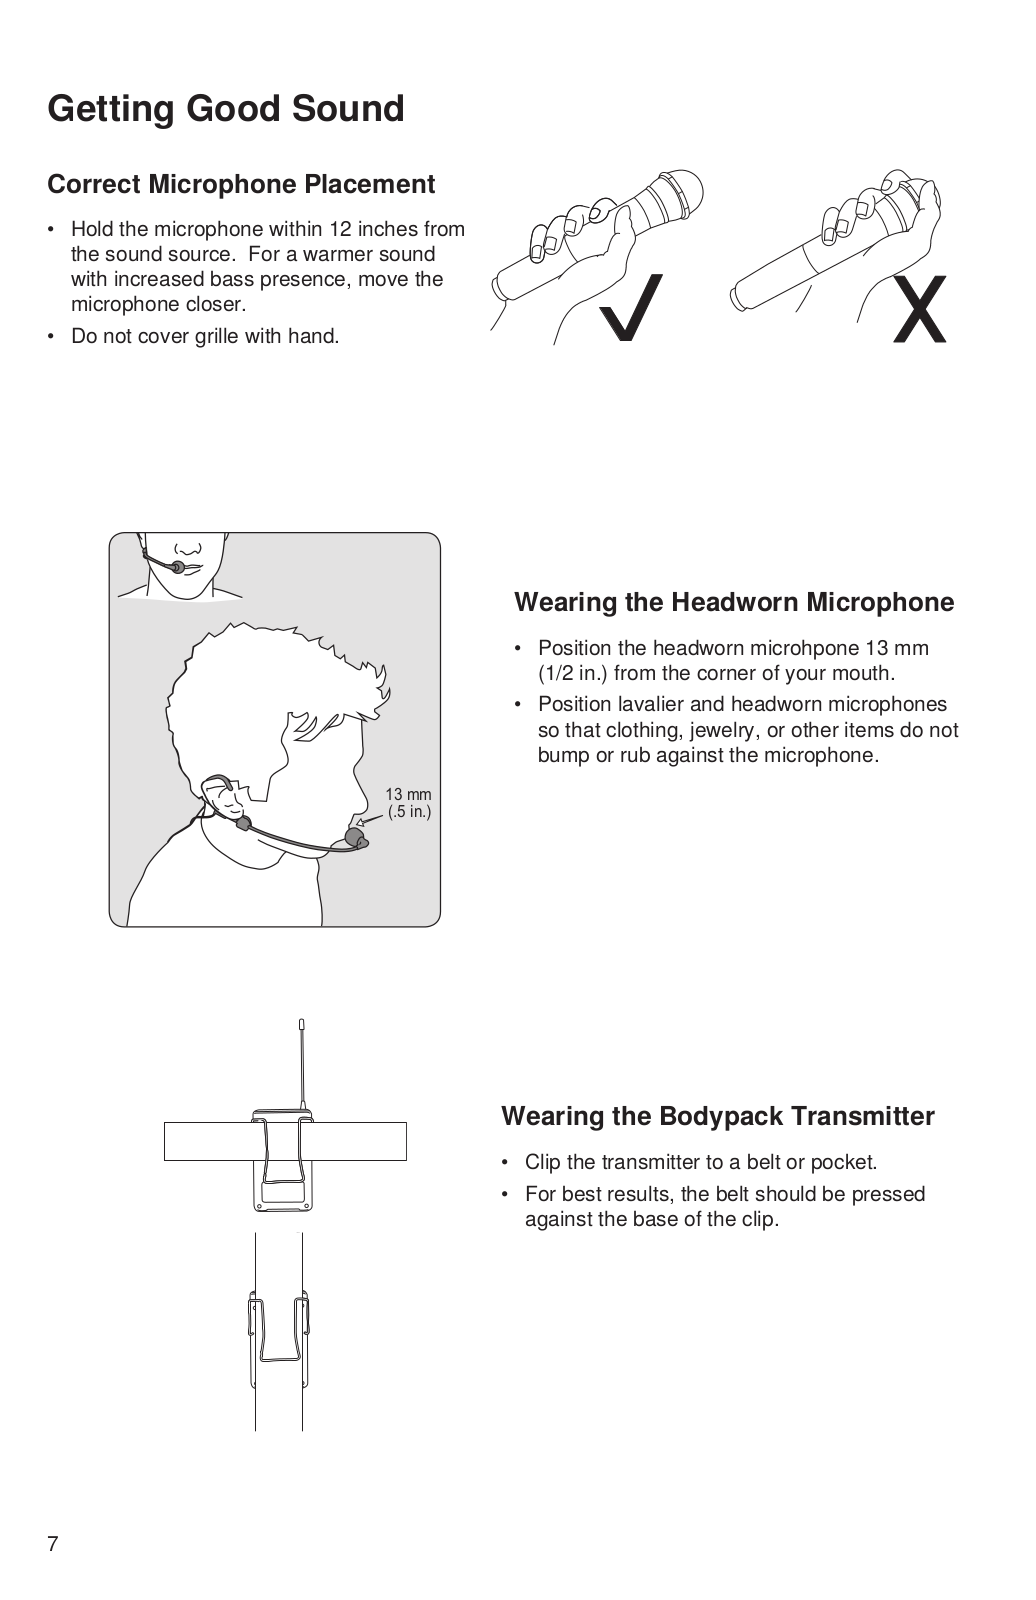
Correct Microphone Placement

Hold the microphone within 12 inches from the sound source. For a warmer sound with increased bass presence, move the microphone closer.

Do not cover grille with hand.

13 mm

(.5 in.)

Wearing the Headworn Microphone

Position the headworn microhpone 13 mm

(1/2 in.) from the corner of your mouth.

Position lavalier and headworn microphones so that clothing, jewelry, or other items do not bump or rub against the microphone.

Wearing the Bodypack Transmitter

Clip the transmitter to a belt or pocket.

For best results, the belt should be pressed against the base of the clip.

7

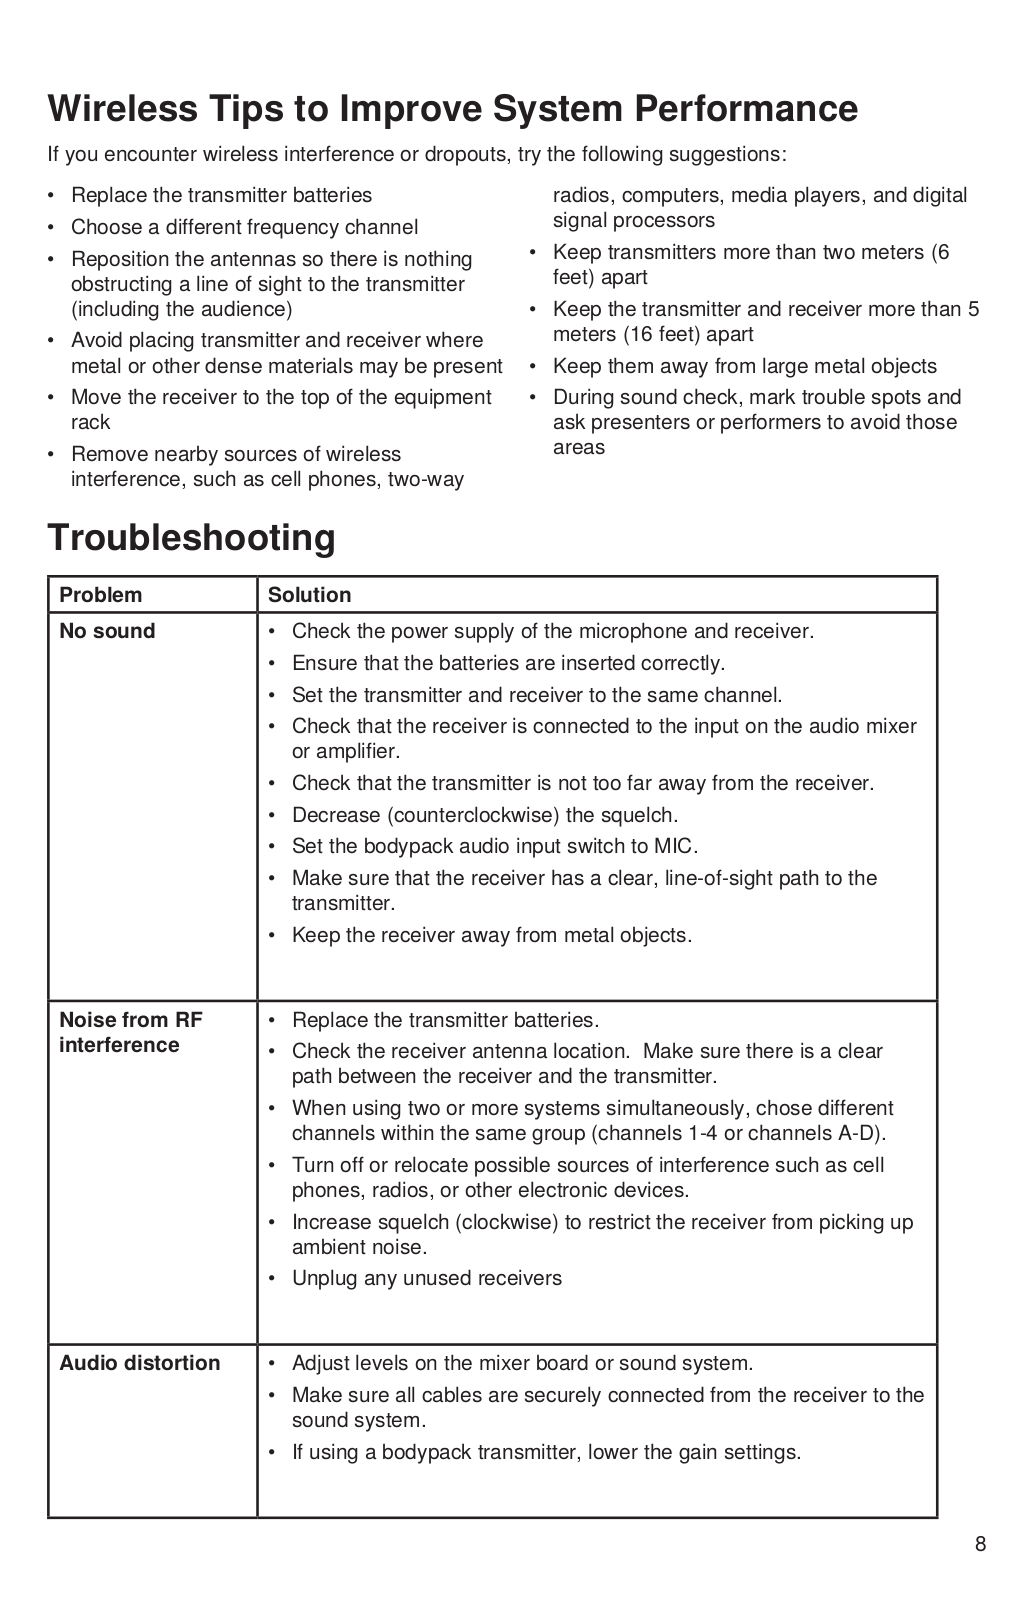
Wireless Tips to Improve System Performance

If you encounter wireless interference or dropouts, try the following suggestions:

Replace the transmitter batteries

Choose a different frequency channel

Reposition the antennas so there is nothing obstructing a line of sight to the transmitter (including the audience)

Avoid placing transmitter and receiver where metal or other dense materials may be present

Move the receiver to the top of the equipment rack

Remove nearby sources of wireless interference, such as cell phones, two-way

radios, computers, media players, and digital signal processors

Keep transmitters more than two meters (6 feet) apart

Keep the transmitter and receiver more than 5 meters (16 feet) apart

Keep them away from large metal objects

During sound check, mark trouble spots and ask presenters or performers to avoid those areas

Troubleshooting

Problem

Solution

No sound

• Check the power supply of the microphone and receiver.


• Ensure that the batteries are inserted correctly.


• Set the transmitter and receiver to the same channel.


• Check that the receiver is connected to the input on the audio mixer


or amplifier.


• Check that the transmitter is not too far away from the receiver.


• Decrease (counterclockwise) the squelch.


• Set the bodypack audio input switch to MIC.


• Make sure that the receiver has a clear, line-of-sight path to the


transmitter.


• Keep the receiver away from metal objects.


Noise from RF

• Replace the transmitter batteries.

interference

• Check the receiver antenna location. Make sure there is a clear


path between the receiver and the transmitter.


• When using two or more systems simultaneously, chose different


channels within the same group (channels 1-4 or channels A-D).


• Turn off or relocate possible sources of interference such as cell


phones, radios, or other electronic devices.


• Increase squelch (clockwise) to restrict the receiver from picking up


ambient noise.


• Unplug any unused receivers


Audio distortion

• Adjust levels on the mixer board or sound system.


• Make sure all cables are securely connected from the receiver to the


sound system.


• If using a bodypack transmitter, lower the gain settings.


8

Loading...
+ 21 hidden pages