

Shure Sound Isolating SE846, Sound Isolating SE846-V AMEU User Manual
SE846 -- Sound Isolating™ Earphones
Sound Isolating™ Earphones
Shure Sound Isolating™ Earphones, built with balanced armature speakers, deliver a detailed soundstage free
from outside noise. The powerful and stylish Shure SE earphones come with a detachable cable, adapters, a
durable carrying case, and interchangeable Sound Isolating sleeves for a comfortable and personalized fit.
Choosing a Sleeve
Select an earphone sleeve that provides the best fit and sound isolation. It should be easy to insert, fit comfortably,
and easy to remove.
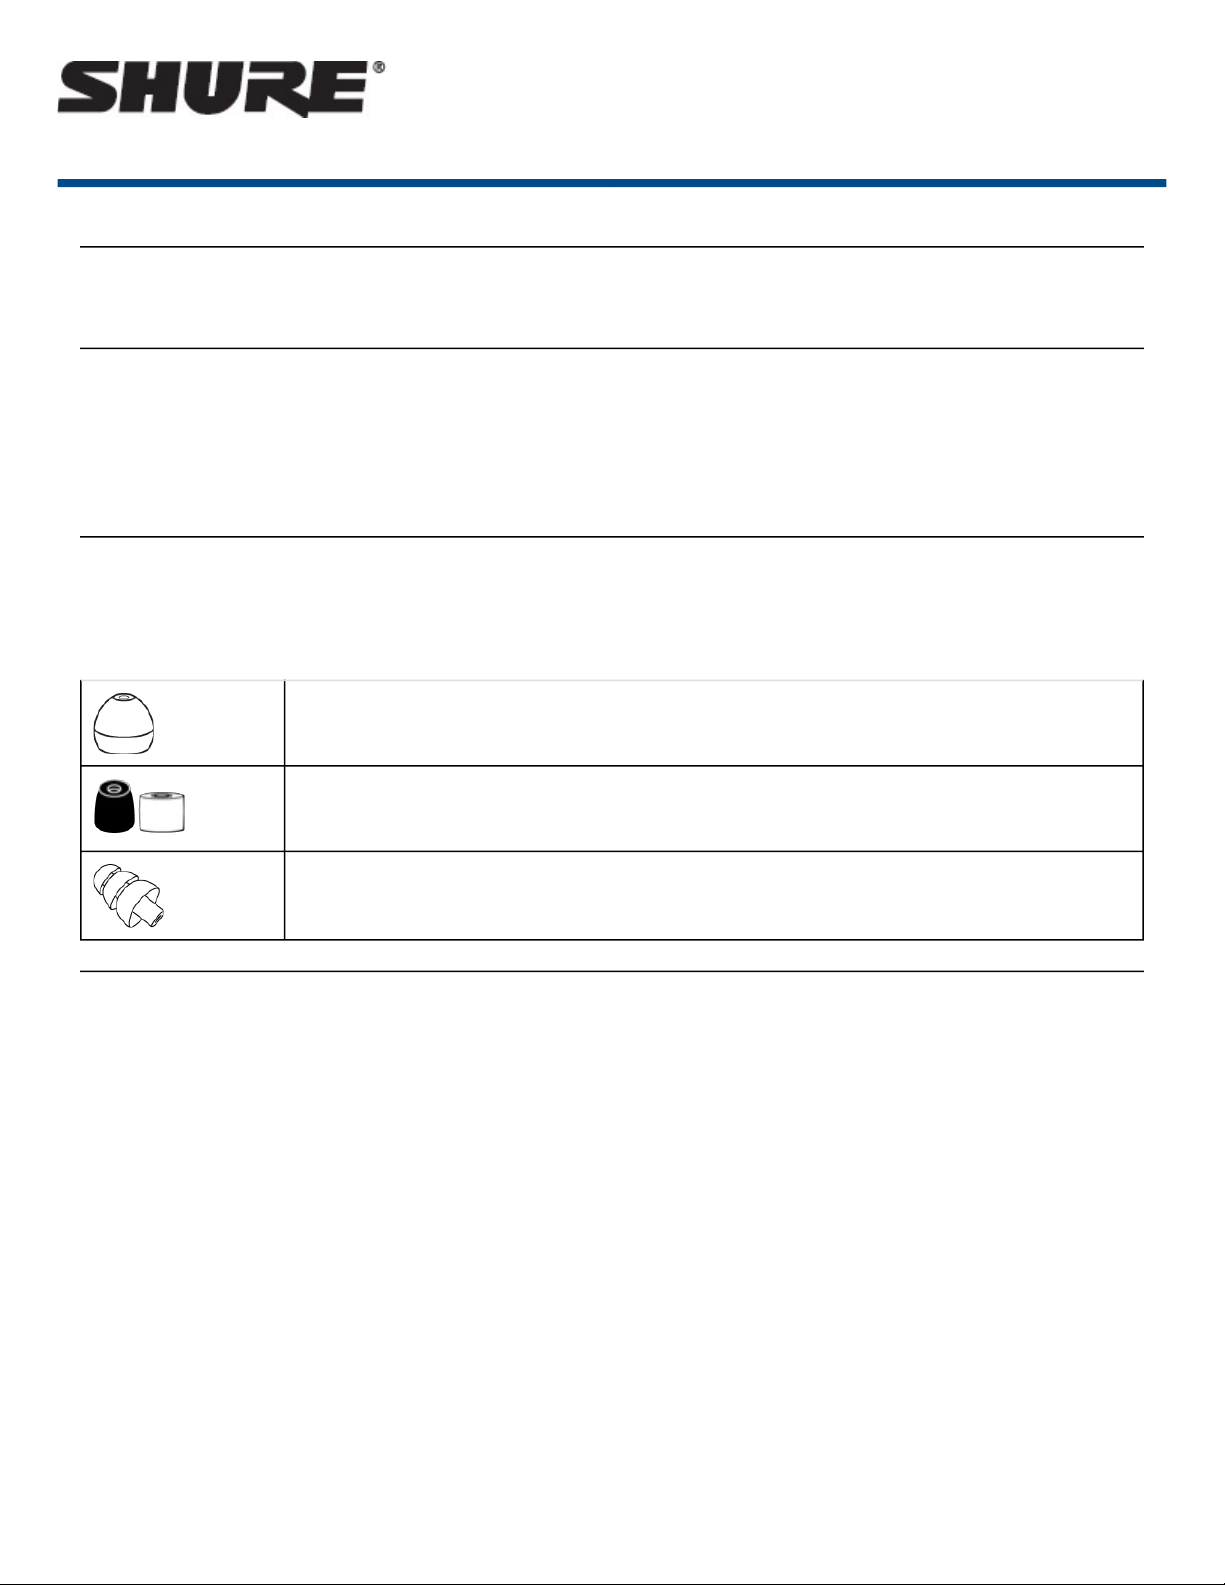
Soft Flex Sleeves: In small, medium, and large sizes. Made from pliable rubber.
Soft Foam Sleeves: Compress the foam sleeve between your fingers and insert into the
ear canal. Hold in place for about ten seconds while the foam expands.
Triple-Flange Sleeves: If desired, use scissors to trim the stem on the sleeve.
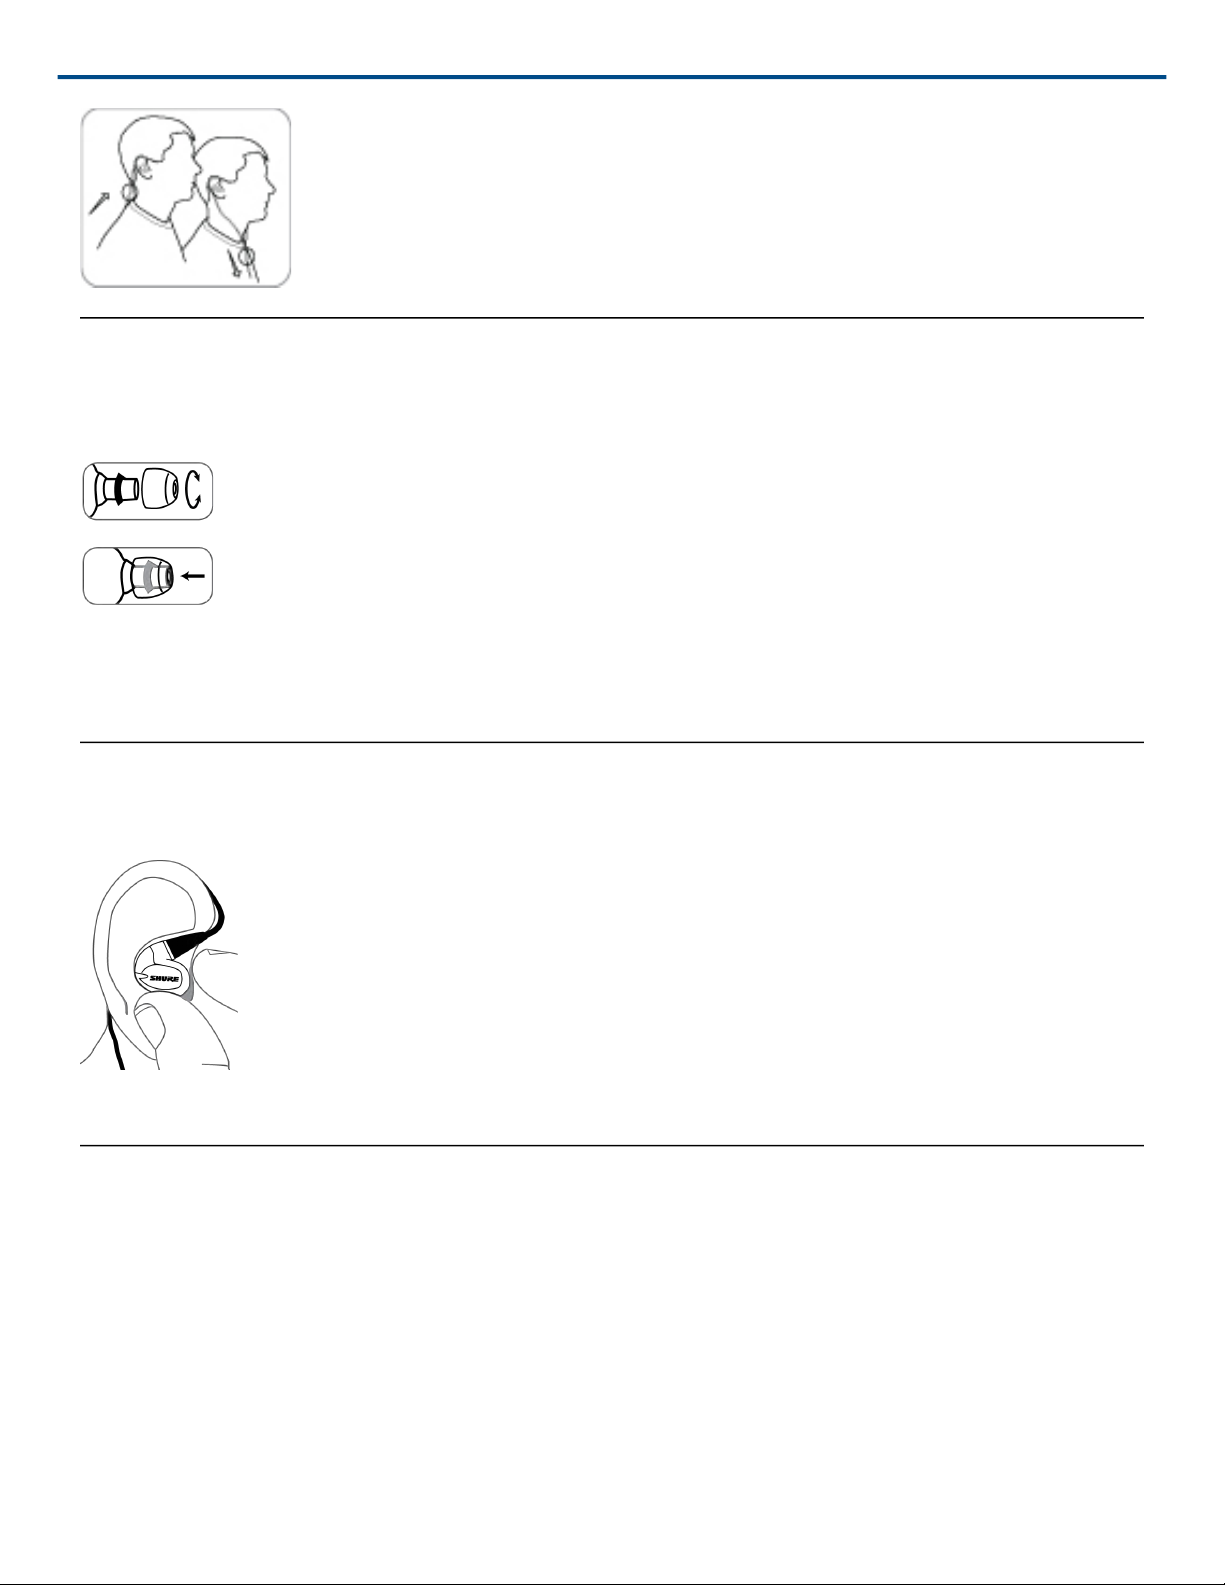
Wearing the Earphones
Wear them like earplugs. A good acoustic seal provides maximum bass.
1. Select a sleeve.
2. Twist and pull to remove. Push new sleeve on fully. Compress foam sleeve slightly.
3. Insert firmly into ear. Wear cable over and behind ear. Tighten the cable and take up slack by raising the cable
cinch.
Important: If there seems to be a lack of low frequency response (bass), this means that the earphone sleeve is
not forming a tight seal. Gently push the earphone deeper into the ear canal or try a different sleeve.
Warning: Do not push the earphone sleeve beyond the ear canal opening.
Wearing the cable over the ear and securing it behind the head can help keep the earphones in place during phys-
ical activity.
1/7
Changing Sleeves
• Twist and pull to remove the sleeve from the nozzle.
• Slide on a new sleeve so that it completely covers the barb and the nozzle.
Shure Incorporated
Caution: If the barb or any of the nozzle is exposed, the sleeve is not properly installed. Replace sleeves if they
do not tightly grip the nozzle. To ensure proper fit and performance, use only sleeves supplied by Shure (unless
using custom molded sleeves).
Removing the Earphones
Grasp the body of earphone and gently twist to remove.
Note: Do not pull on cable to remove earphone.
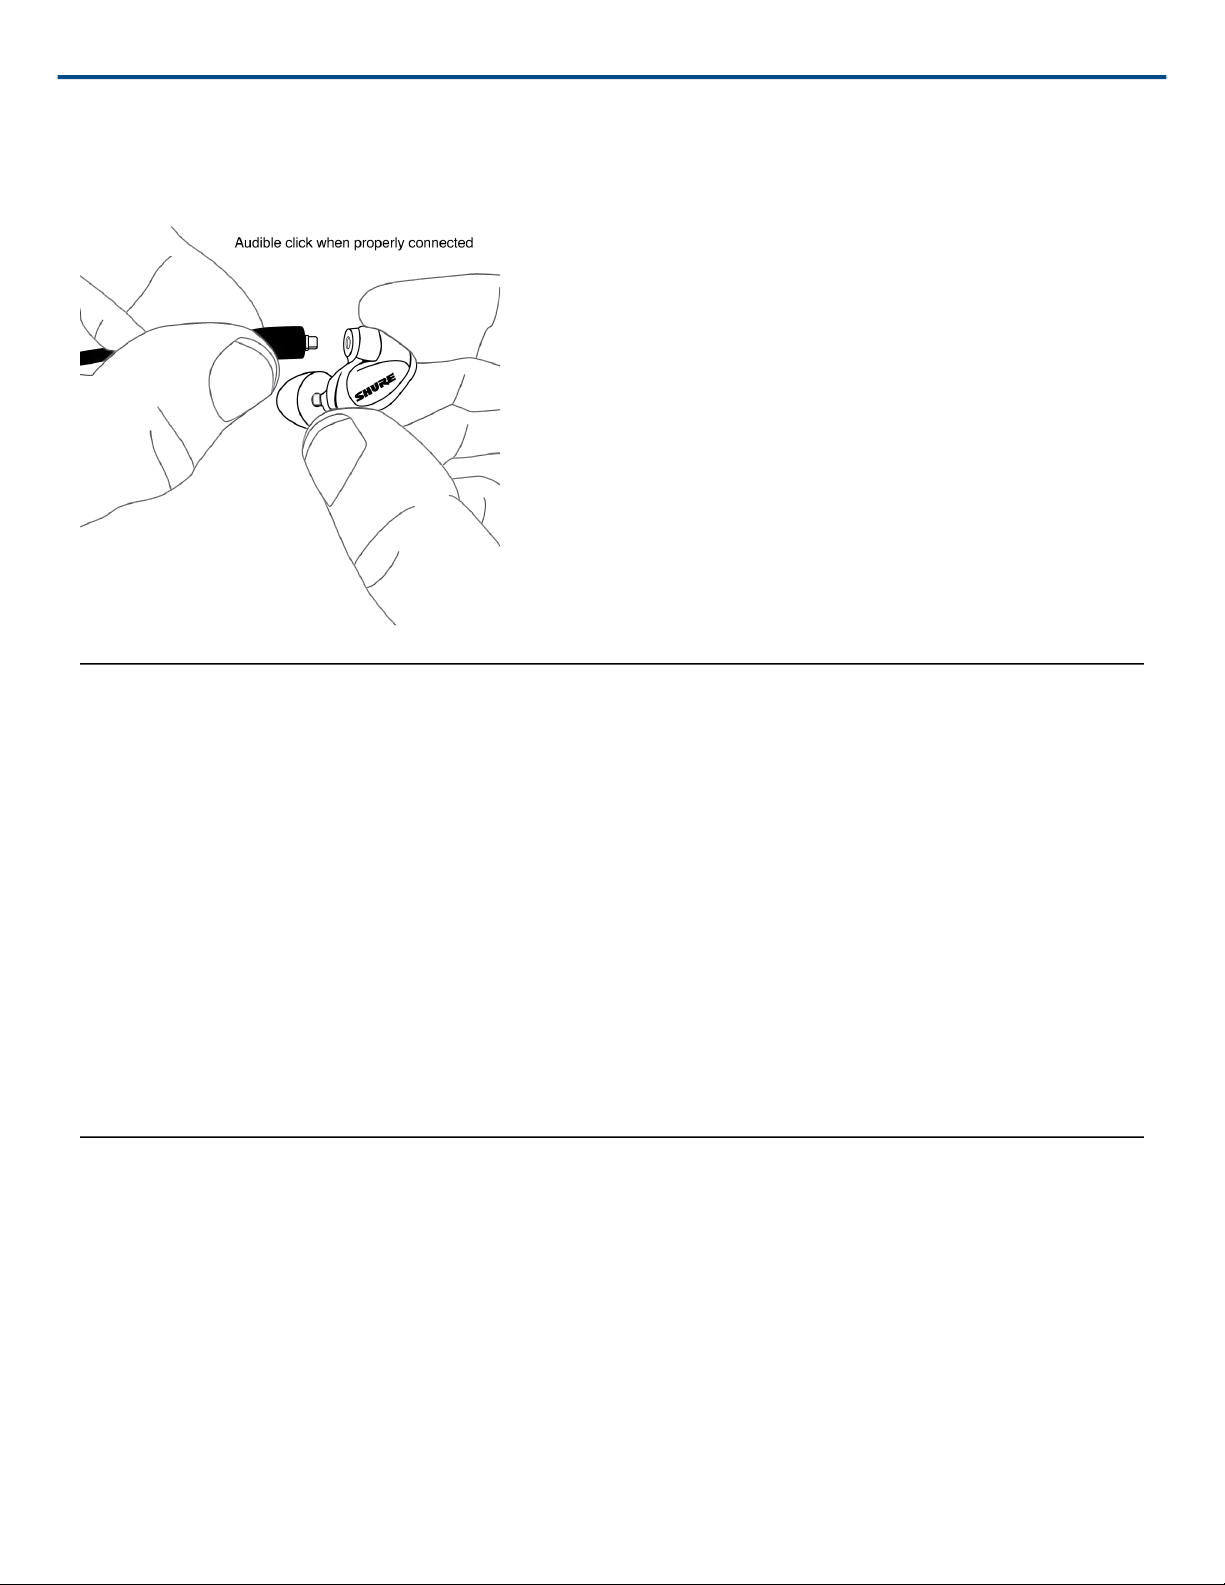
Detachable Cable
You may need to detach the cable from the earphones to attach optional components or to replace the cable if it
becomes damaged. To prevent accidental separation, the connector has a snug fit. Take special care to prevent
damage to the earphone and connector.
• Do not use pliers or other tools.
• Grasp the connector and the earphone as close as possible to where they join.
• Pull straight apart—do not twist. Cable is a snap fit, not threaded.
Note: If you pull at an angle, the connector will not detach.
• Do not pull on the cable or put any pressure on the earphone nozzle.
2/7
Shure Incorporated
• Listen for a click when connecting.
• When reattaching the cable, match the "L" and "R" markings. For clear cables and earphones, match the color
dots (Red=Right, Blue=Left).
Maintenance and Cleaning
Careful maintenance ensures a tight seal between the sleeve and nozzle, improving sound quality and product
safety.
• Keep the earphones and sleeves as clean and dry as possible.
• To clean sleeves, remove them from earphones, gently rinse in warm water and air dry. Foam sleeves require a
longer drying time. Inspect for damage and replace if necessary. Ear sleeves must be completely dry before
reusing.
• Wipe the earphones and sleeves with mild antiseptic to avoid infections. Do not use alcohol-based disinfec-
tants.
• Do not expose earphones to extreme temperatures.
• Replace sleeves if they do not fit properly.
• Do not attempt to modify this product. Doing so will void the warranty and could result in personal injury and/or
product failure.
Cleaning the Nozzle
If you notice a change in sound quality, remove the sleeve and check the nozzle of your earphone. If nozzle is
blocked, clear obstructions.
If no obstruction is found or if sound quality does not improve, replace the sleeve with a new sleeve or disassem-
ble the nozzle to clean inside.
Caution: When cleaning, do not force any object through the earphone nozzle! This will damage the earphone
sound filter.
3/7
 Loading...