

Shure SBC220 User Manual

SBC220 -- 2-Bay Networked Charger
IMPORTANT SAFETY INSTRUCTIONS
1. READ these instructions.
2. KEEP these instructions.
3. HEED all warnings.
4. FOLLOW all instructions.
5. DO NOT use this apparatus near water.
6. CLEAN ONLY with dry cloth.
7. DO NOT block any ventilation openings. Allow sufficient distances for adequate ventilation and install in accor
dance with the manufacturer’s instructions.
8. DO NOT install near any heat sources such as open flames, radiators, heat registers, stoves, or other appara
tus (including amplifiers) that produce heat. Do not place any open flame sources on the product.
9. DO NOT defeat the safety purpose of the polarized or grounding type plug. A polarized plug has two blades
with one wider than the other. A grounding type plug has two blades and a third grounding prong. The wider
blade or the third prong are provided for your safety. If the provided plug does not fit into your outlet, consult an
electrician for replacement of the obsolete outlet.
10. PROTECT the power cord from being walked on or pinched, particularly at plugs, convenience receptacles,
and the point where they exit from the apparatus.
11. ONLY USE attachments/accessories specified by the manufacturer.
12. USE only with a cart, stand, tripod, bracket, or table specified by the manufacturer, or sold with the apparatus.
When a cart is used, use caution when moving the cart/apparatus combination to avoid injury from tip-over.
13. UNPLUG this apparatus during lightning storms or when unused for long periods of time.
14. REFER all servicing to qualified service personnel. Servicing is required when the apparatus has been dam
aged in any way, such as power supply cord or plug is damaged, liquid has been spilled or objects have fallen
into the apparatus, the apparatus has been exposed to rain or moisture, does not operate normally, or has
been dropped.
15. DO NOT expose the apparatus to dripping and splashing. DO NOT put objects filled with liquids, such as vas
es, on the apparatus.
16. The MAINS plug or an appliance coupler shall remain readily operable.
17. The airborne noise of the Apparatus does not exceed 70dB (A).
18. Apparatus with CLASS I construction shall be connected to a MAINS socket outlet with a protective earthing
connection.
19. To reduce the risk of fire or electric shock, do not expose this apparatus to rain or moisture.
20. Do not attempt to modify this product. Doing so could result in personal injury and/or product failure.
1/14
21. Operate this product within its specified operating temperature range.
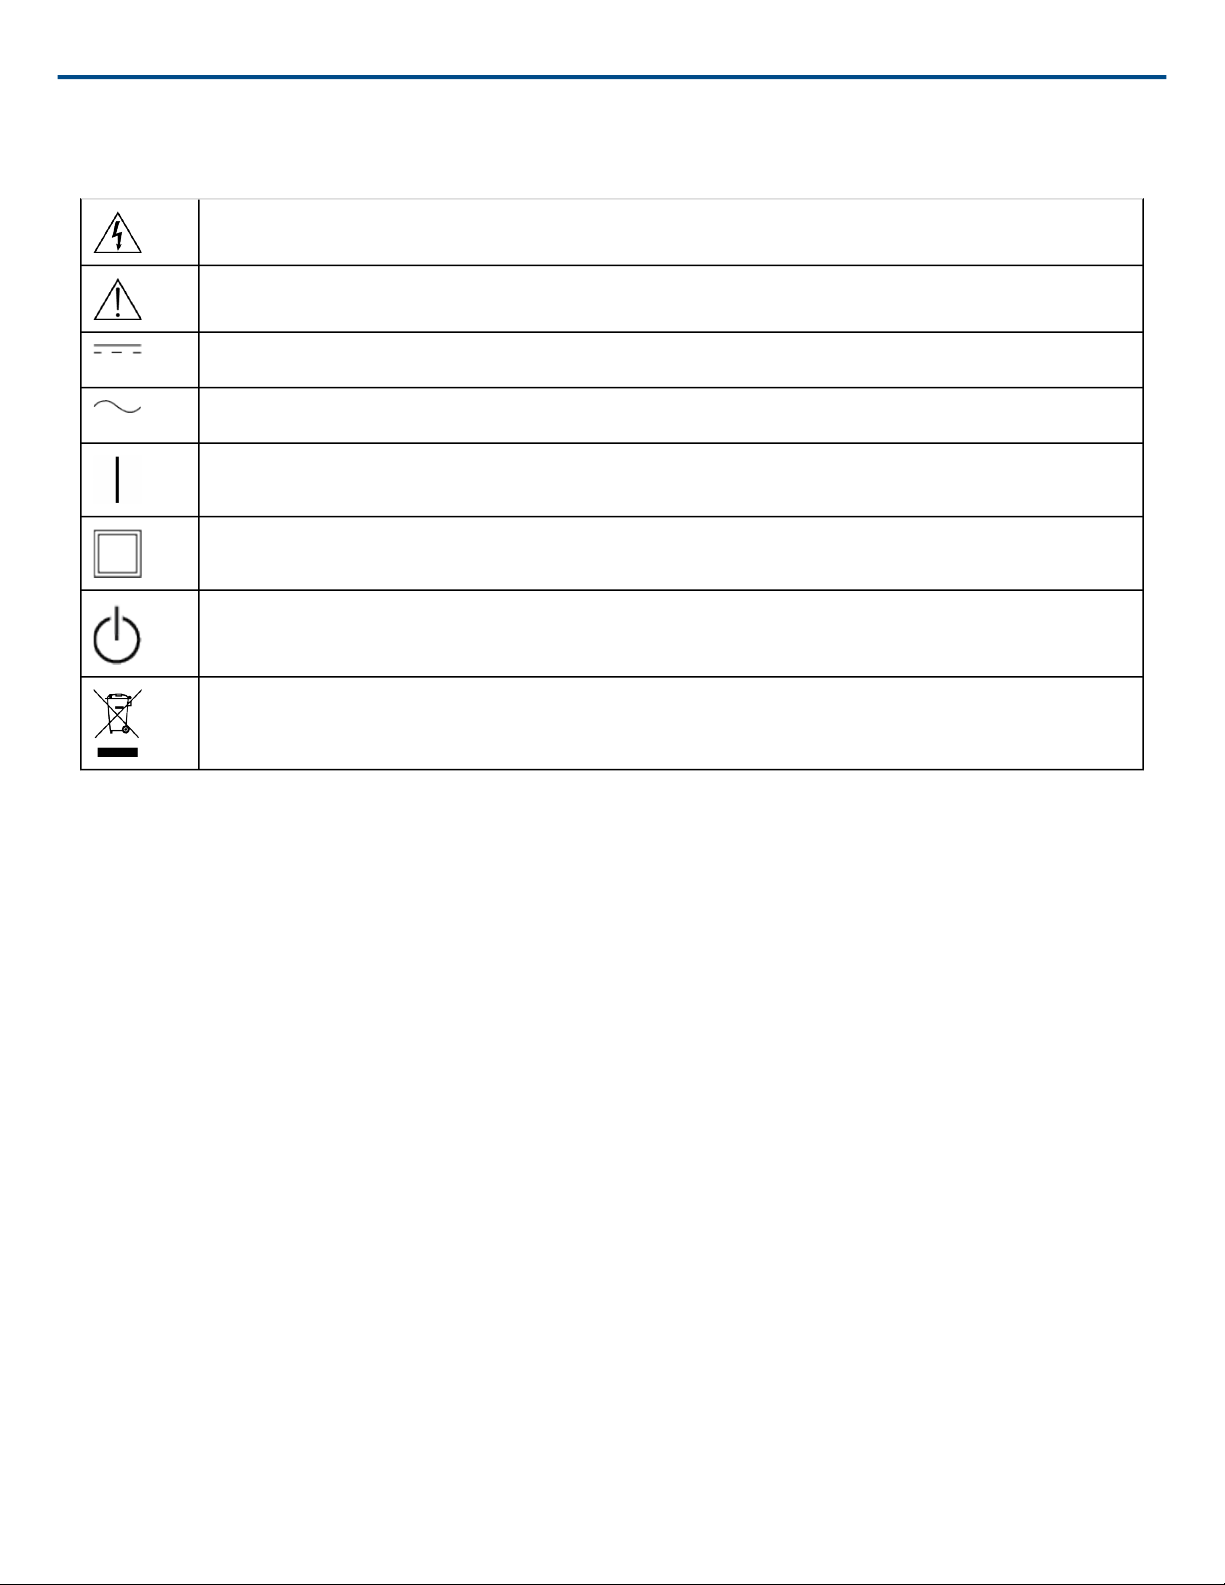
Explanation of Symbols
Caution: risk of electric shock
Caution: risk of danger (See note.)
Direct current
Alternating current
On (Supply)
Equipment protected throughout by DOUBLE INSULATION or REINFORCED INSULATION
Shure Incorporated
Stand-by
Equipment should not be disposed of in the normal waste stream
WARNING: Voltages in this equipment are hazardous to life. No user-serviceable parts inside. Refer all servicing
to qualified service personnel. The safety certifications do not apply when the operating voltage is changed from
the factory setting.
WARNING
• Battery packs may explode or release toxic materials. Risk of fire or burns. Do not open, crush, modify, disas
semble, heat above 140°F (60°C), or incinerate.
• Follow instructions from manufacturer
• Only use Shure charger to recharge Shure rechargeable batteries
• WARNING: Danger of explosion if battery incorrectly replaced. Replace only with same or equivalent type.
• Never put batteries in mouth. If swallowed, contact your physician or local poison control center
• Do not short circuit; may cause burns or catch fire
• Do not charge or use battery packs other than Shure rechargeable batteries
• Dispose of battery packs properly. Check with local vendor for proper disposal of used battery packs.
• Batteries (battery pack or batteries installed) shall not be exposed to excessive heat such as sunshine, fire or
the like
Caution: Do not transport chargers with batteries inserted.
Warning: Do not charge batteries in enclosed spaces without proper ventilation.
WARNING: This product contains a chemical known to the State of California to cause cancer and birth defects or
other reproductive harm.
2/14

Shure Incorporated
Please follow your regional recycling scheme for batteries, packaging, and electronic waste.
Note: Model information and power ratings are labeled on the bottom of the unit.
General Description
The SBC220 networked docking charger provides a compact charging and storage solution for any combination of
2 SB900 or SB900A batteries or the following wireless transmitters using Shure rechargeable batteries:
• P10R+
• P9RA+
• AD1
• AD2
• QLXD1
• QLXD2
• ULXD1
• ULXD2
• P10R (legacy)
• P9RA (legacy)
Note: P3RA and P9HW universal bodypacks are also compabible with SBC220, but must to be powered on, with
the “Auto Off” feature disabled for successful charging and monitoring. UR5 universal bodypacks are not compati
ble with SBC220.
The charger is network-enabled to allow for remote monitoring of charger and battery parameters using Shure
Wireless Workbench software. Connect up to 4 SBC220 or SBC240 chargers together to share power and net
work connectivity.
®
Features
• Charging for any combination of up to 2 supported batteries, or transmitters using Shure rechargeable batteries
• Connect up to 4 of any combination of SB220 and SB240 chargers together to share power and network con
nections and save space
• LEDs indicate charge status and battery errors
• Storage mode to prepare batteries for long-term storage
• Network-enabled for remote monitoring
Furnished Accessories
Included Components
• PS60 power supply (some models available without power supply)
Note: Model availability depends on region. See your local Shure dealer or distributor for details.
3/14

Controls and Connectors
Shure Incorporated
① Power LED
• White = Batteries are charging
• Red = Charger is in storage mode
② Reset Button
Press and hold to restore charger factory settings, including network settings.
③ Storage Mode Button
Press and hold to activate storage mode, which charges or discharges batteries to the optimal voltage for longterm storage.
④ Charging Status LED
• Red = Charging
• Green = Charging complete
• Amber = Battery is in storage mode
⑤ Error LED
Flashes amber to indicate a problem charging batteries. Errors are also displayed in Wireless Workbench. See
LED Indicators for details.
⑥ Charging Slots
Charges any combination of 2 supported batteries or transmitters.
⑦ Ethernet Port
Connect to a network to remotely monitor batteries and control charger settings using Wireless Workbench.
4/14

⑧ Ethernet Link Speed LED (Amber)
• Off = 10 Mbps
• On = 100 Mbps
⑨ Ethernet Status LED (Green)
• Off = No network link
• On = Network link established
• Flashing = Network link active
⑩ Power Input
Connect to power supply.
⑪ Charger Connector (with rubber covers)
Use supplied screws and Allen wrench to connect up to 4 chargers to 1 power supply.
Shure Incorporated
Power
1. Connect DC power cable to input jack. Finger tighten lock nut for a secure connection.
2. Connect power supply to AC power outlet.
WARNING:
• Do not use pliers or any other tools to tighten lock nut. DC power cable must be attached before charger unit is
installed.
• Do not plug in power supply unit until DC connection and charger are in place.
• After securing the charger, plug the power cable into a properly grounded outlet.
The charger has no power switch. When plugged in, the power LED illuminates. The charging LEDs illuminate af
ter batteries are inserted.
Power Save Mode
Use power save mode to charge batteries with the charger’s network functionality off.
1. Disconnect the power cable from the AC power outlet.
2. Press and hold storage while reconnecting to the AC power outlet.
3. When the charge status and error LEDs flash amber, release the button.
The charger remains in power save mode until you power off the charger.
Note: Transmitters docked with the power switch in the ON position will power on when fully charged. To avoid un
wanted audio and unnecessary battery drain, ensure all transmitters are switched OFF before charging.
5/14
 Loading...