

Page 1
WIRED MICROPHONE
PGA 98H
USER GUIDE
© 2015 Shure Incorporated
27A27348 (Rev. 2)
Printed in China
Page 2

Page 3
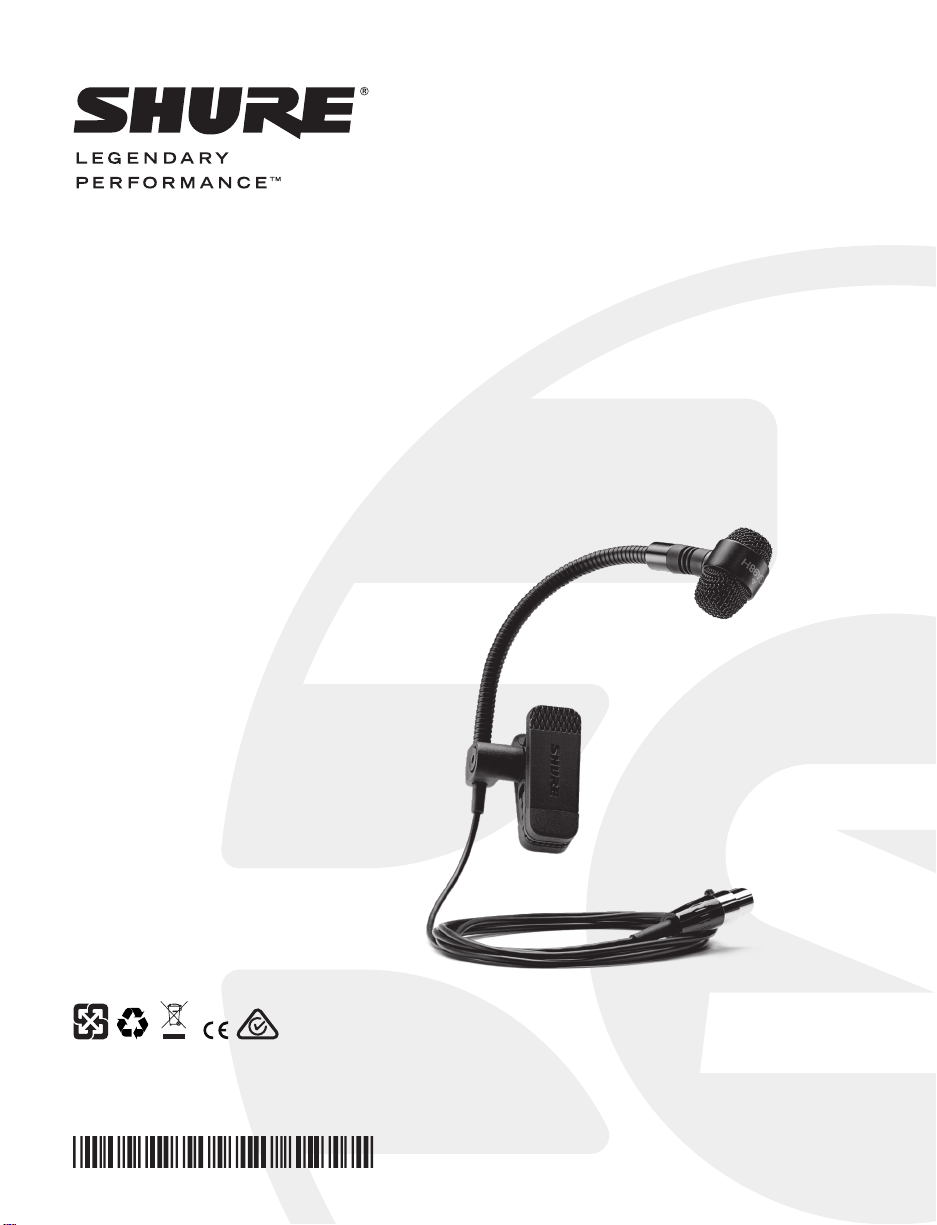
Clip-on Instrument Microphone
Front
PG Alta Microphones
Congratulations on the purchase of a new Shure PG Alta
series microphone. The PG Alta series delivers professional
quality audio at an affordable price, with solutions for
capturing nearly any source, including voice, acoustic
instruments, drums, and amplified electric instruments.
Suitable for live and studio applications, PG Alta microphones
are built to last, and meet the same rigorous quality testing
standards that make all Shure products trustworthy and
reliable.
General Rules for Use
• Do not cover any part of the microphone grille with
your hand, as this will adversely affect microphone
performance.
• Aim the microphone toward the desired sound source
(such as the talker, singer, or instrument) and away from
unwanted sources.
• Place the microphone as close as practical to the desired
sound source.
• Work close to the microphone for extra bass response.
• Use only one microphone to pick up a single sound source.
• For better gain before feedback, use fewer microphones.
• Keep the distance between microphones at least three
times the distance from each microphone to its source
(“three to one rule”).
• Place microphones as far as possible from reflective
surfaces.
• Add a windscreen when using the microphone outdoors.
• Avoid excessive handling to minimize pickup of mechanical
noise and vibration.
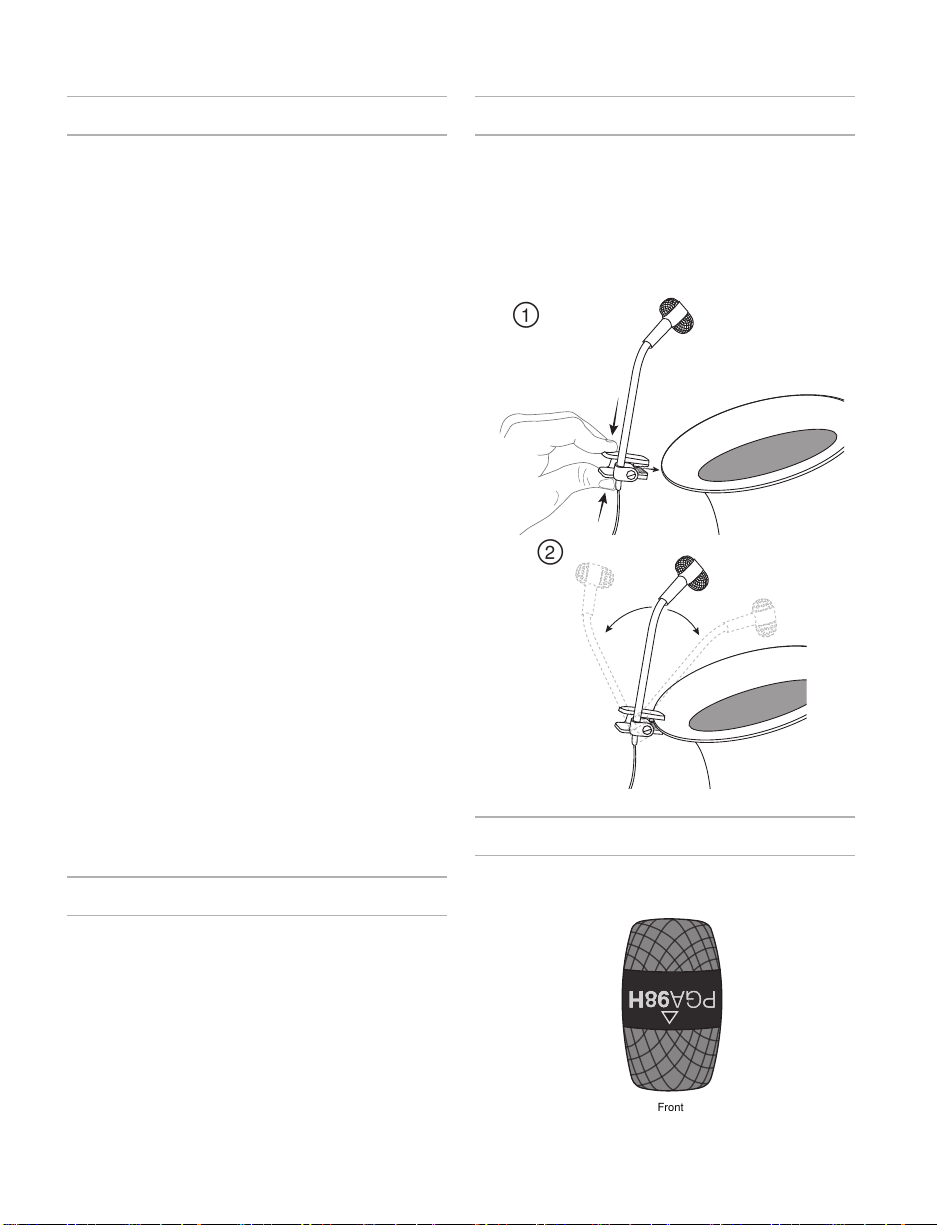
Mounting the Microphone
Use the integrated clamp to quickly and securely attach the
microphone to horns or other instruments.
1. Squeeze the clamp to open it, and attach to an instrument
or other object.
2. Aim the microphone by rotating the swivel base and
bending the gooseneck.
Model Variations
PGA98H-XLR: Standard 3-pin XLR output with integrated
belt-clip preamplifier (requires phantom power)
PGA98H-TQG: 4-pin TQG output for use with wireless
transmitters
Phantom Power
All condenser microphones require phantom power to
operate. This microphone performs best with a 48 V DC
supply (IEC-61938), but it can operate with lower voltages.
Phantom power is provided by the mixer or audio interface
that the microphone is connected to, and requires the use of
a balanced microphone cable: XLR-to-XLR or XLR-to-TRS.
In most cases, there is a switch or button to activate the
phantom power. See the user guide for the mixer or interface
for additional information.
NOTE: This microphone is compatible with non-Shure
bodypacks that have a TQG connector and supply 5V on pin
2.
Aiming the Microphone
Position the microphone with the arrow pointed at the sound
source.
3
Page 4

Applications And Placement
The following table lists the most common applications and placement techniques. Keep in mind that microphone technique is
largely a matter of personal taste; there is no one “correct” microphone position.
Application Suggested Microphone Placement Tone Quality
Reed Instruments Place microphone a few inches from and
aiming into bell.
Brass & Woodwinds Brass: 30 to 90 cm (1 to 3 ft.) away, on-axis
with bell of instrument.
Woodwinds: 2.5 to 15 cm (1 to 6 in.) away,
on-axis with bell of instrument.
Bell of instrument 90° off-axis from front of
mic.
Bright, minimizes feedback and leakage.
Bright, clear sound.
Bright, clear sound.
Softer, mellow sound.
Accessories
Foam windscreen for PGA98H and
PGA98D microphones
Specifications
Type
Electret Condenser
Polar Pattern
Cardioid
Frequency Response
60 to 20,000 Hz
Output Impedance
at 1 kHz
PGA98H-XLR
PGA98H-TQG
Sensitivity
at 1 kHz, open circuit voltage
-52 dBV/Pa[1] (2.51 mV)
Maximum SPL
1 kHz at 1% THD, 1 kΩ load, typical
130 dB SPL
Self Noise
A-weighted, typical
27 dB SPL-A
Polarity
PGA98H-XLR
PGA98H-TQG
850Ω
600Ω
Positive pressure on diaphragm produces
positive voltage on pin 2 with respect
to pin 3
Positive pressure on diaphragm produces
positive voltage on pin 3 with respect
to pin 1
AP98WS
Connector
PGA98H-XLR
PGA98H-TQG
Weight
PGA98H-XLR
PGA98H-TQG
Housing
Cast Zinc
Power Requirements
11 to 52 V DC phantom power (2 mA)
[1] 1 Pa=94 dB SPL
Three-pin professional audio (XLR), male
TA4F
245 g (0.5 lbs)
75 g (0.2 lbs)
Certifications
This product meets the Essential Requirements of all relevant
European directives and is eligible for CE marking.
The CE Declaration of Conformity can be obtained from:
www.shure.com/europe/compliance
Authorized European representative:
Shure Europe GmbH
Headquarters Europe, Middle East & Africa
Department: EMEA Approval
Jakob-Dieffenbacher-Str. 12
75031 Eppingen, Germany
Phone: 49-7262-92 49 0
Fax: 49-7262-92 49 11 4
Email: info@shure.de
4
Page 5

Page 6

18.04 mm
(0.7 in.)
146.05 mm
(5.75 in.)
25. mm
(1 in.)
19.05 mm
(0.75 in.)
44.45 mm
(1.75 in.)
Page 7

Page 8

 Loading...