

SHUOYING DIGITAL SCIENCE & TECHNOLOGY PDV3606 User Manual
0
Panoramic View Camera

1
Overview
Thank you for purchasing this product!
Panoramic View Camera is a digital panoramic came ra with two lenses.
Through the application of up-to-date technologies, it enables you to get
panoramic videos and photos, creating an experience of brand new
panoramic world.
Important
Before using this product, please carefully read this Manual
Prepare one 32G (Class 6~Class 10) Micro SD card
Check the camera power. A full charging is recommended before
use (Until the charging indicator goes out)
Scan the QR Code on next page, or search for “SYVR360” on
Apple Store and Google Play, and then download and install it
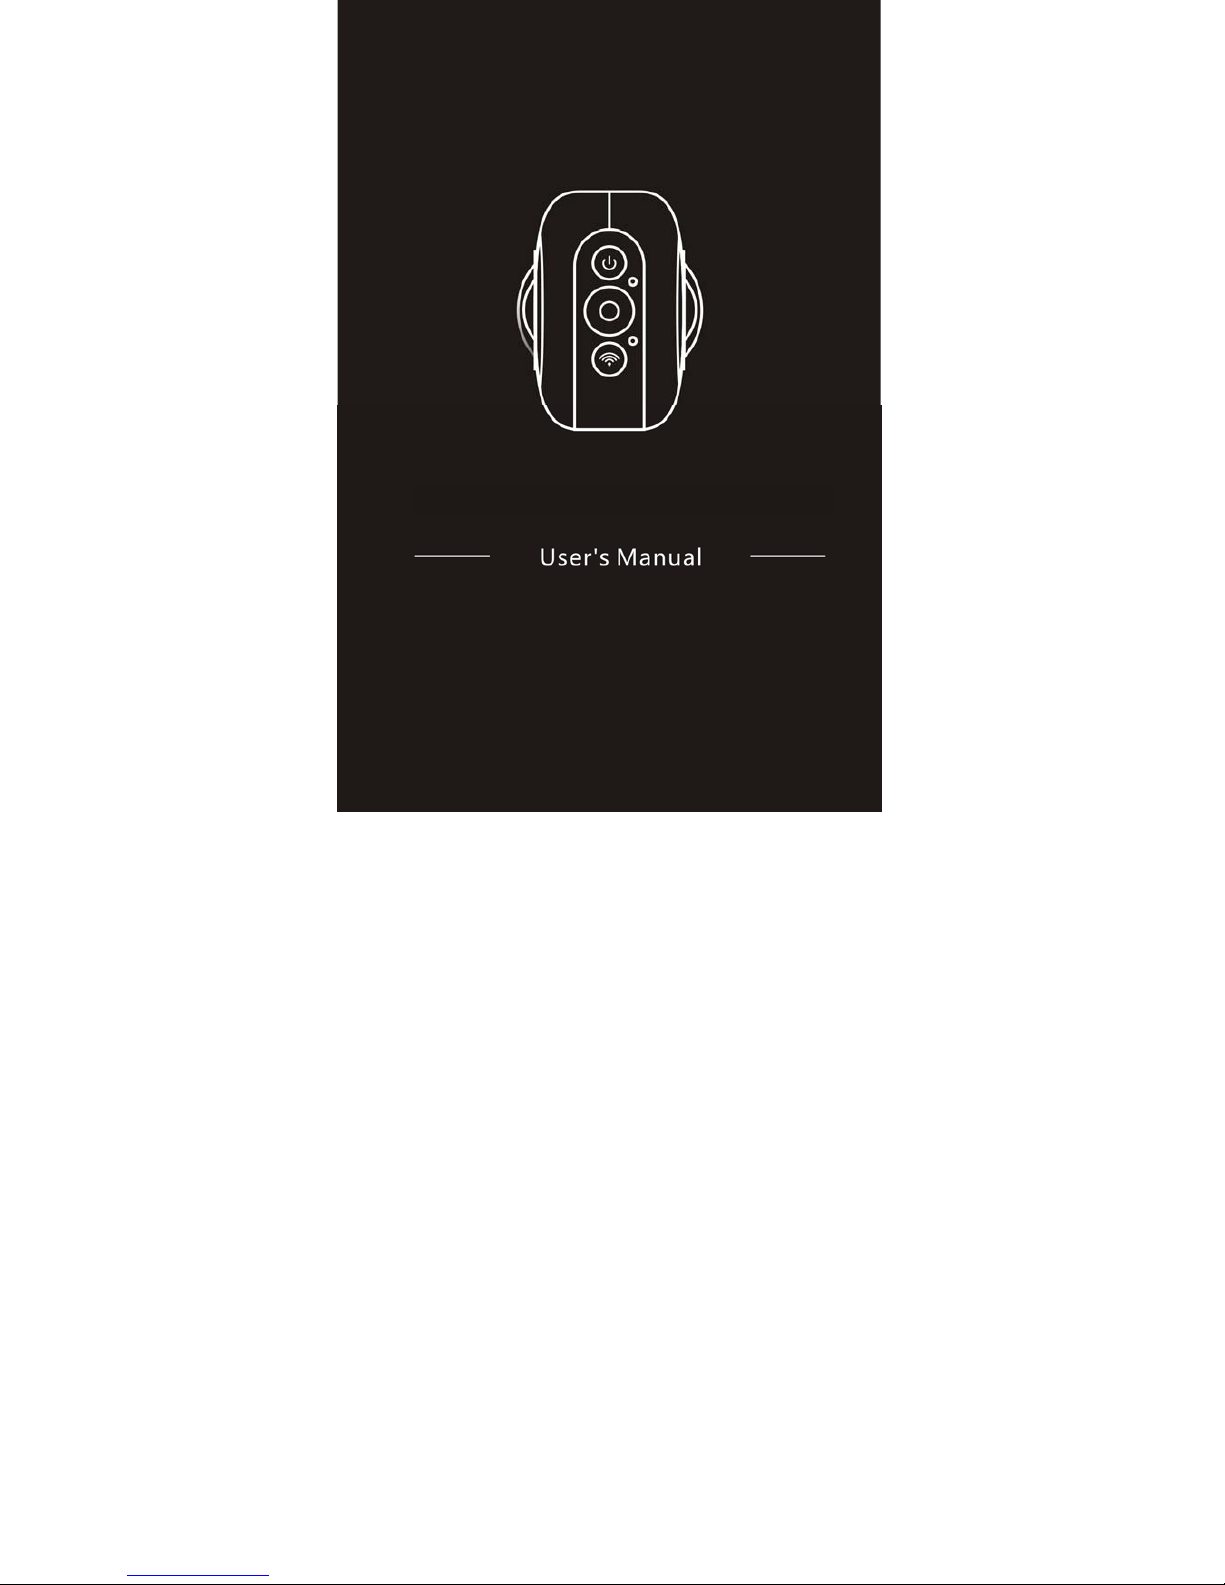
About Camera
1. LCD display
2. Triangle nut
3. Power button/Mode button
4. Shutter button/OK button
5. Wifi button/MENU button
6. Busy indicator (red)
7. WIFI indicator (red)
8. Interface cover (USB/TF
/Reset hole)
9. Microphone
10. LENS
11. Rope hole

2
QR Code:
For IOS system, please scan this QR C ode to get access to Apple Store
to download and install “SYVR360”.
or Android system, please scan this QR Code to get access to Google
Play to download and install “SYVR360”.

3
Quick start guide
1. Install SD card:
Insert the Micro SD card you prepare into the slot as indicated, as
shown on the right.
Important:
A high-speed Micro SD car d betw een Cl as s 6~Cl ass 1 0 i s a must ;
or else, this product may not work normally.
Always turn off the camera before inserting or pulling out of the
card.
2. Power-on/off
Power-on: Press and hold Power button for about 2 seconds and
release, until it beeps. The display screen will be lighted, as shown
below, indicating the product is ready to work (the default work mode
after power-on is Shooting mode).
Important:
If power-on fails, charge the camera first, and see whether the
blue indicator lights up during charging. If yes, it indicates the
product is being charged.
Power-off: After shooting stops, press and hold Power button for about
3 seconds and release. The Display will display “GOODBYE” and turns
off. No operation on mainframe for 3 minutes under Power-save mode
(default), the camera will automatically power off.
4
3. Charging
Use data cable included in t he pro duct p ack for camera chargi ng. Du ring
charging, the indicator displays in blue and lights constantly; when
charging completed, the blue indicator goes out.
Important:
If other charger is used, check the output power before use to
ensure it within 5V/0.5A ~ 5V/2.0A.
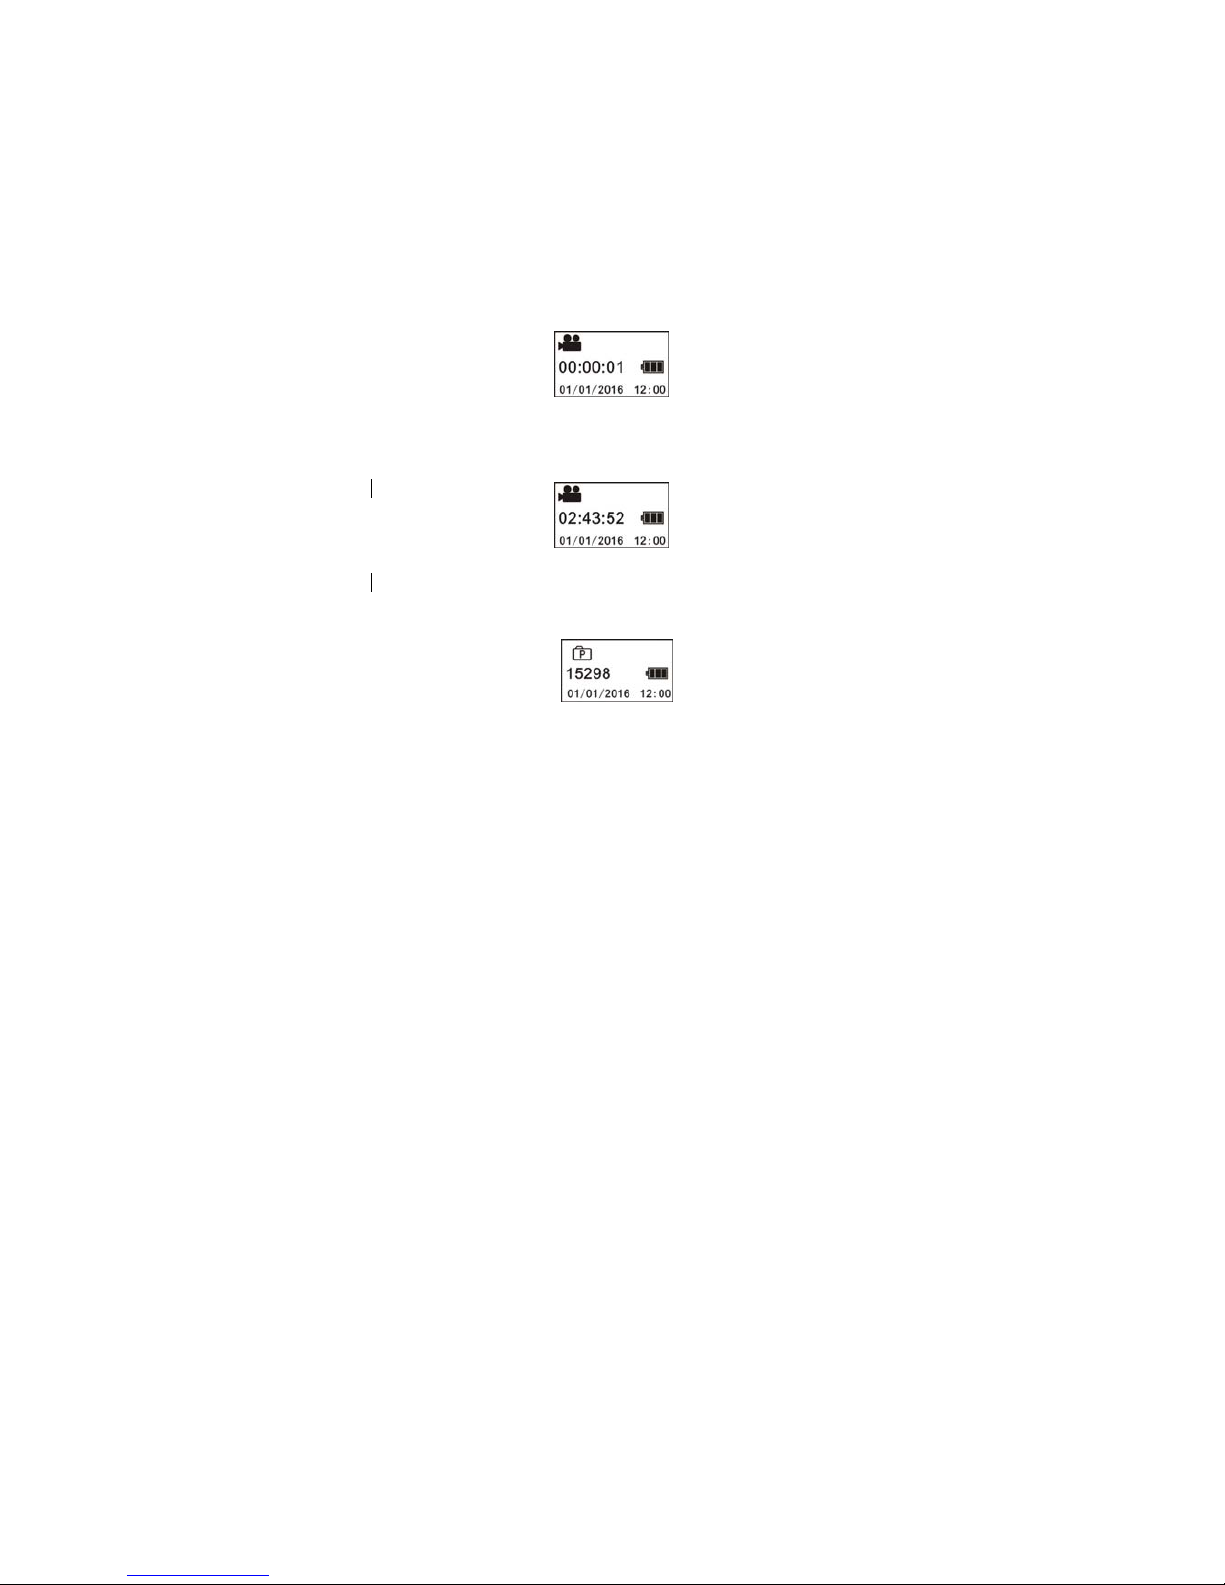
4. Recording or shooting
This camera has Recording mode and Shooting mode. After power-on,
press MODE (Power button) to switch between different modes, and th e
corresponding mode icon will be displayed on the screen.
Video: In Recording mode, press Shutter button, and the camera get
started to work. The display screen displays the video recording timing.
Stop recording: During recording, press Shutter button to stop it. T he
video will automatically be saved on your camera storage card. At that
moment, the display screen will show remaining time available for
recording as below:
Shooting: In Shooting mode, press Shooting button to take photos.
After shooting, the display screen will display the number (estimated
value) of pictures the available space on you camera storage card can
save.
 Loading...