

Show Technology Fusionpar QXII LEDPAR122 User Manual
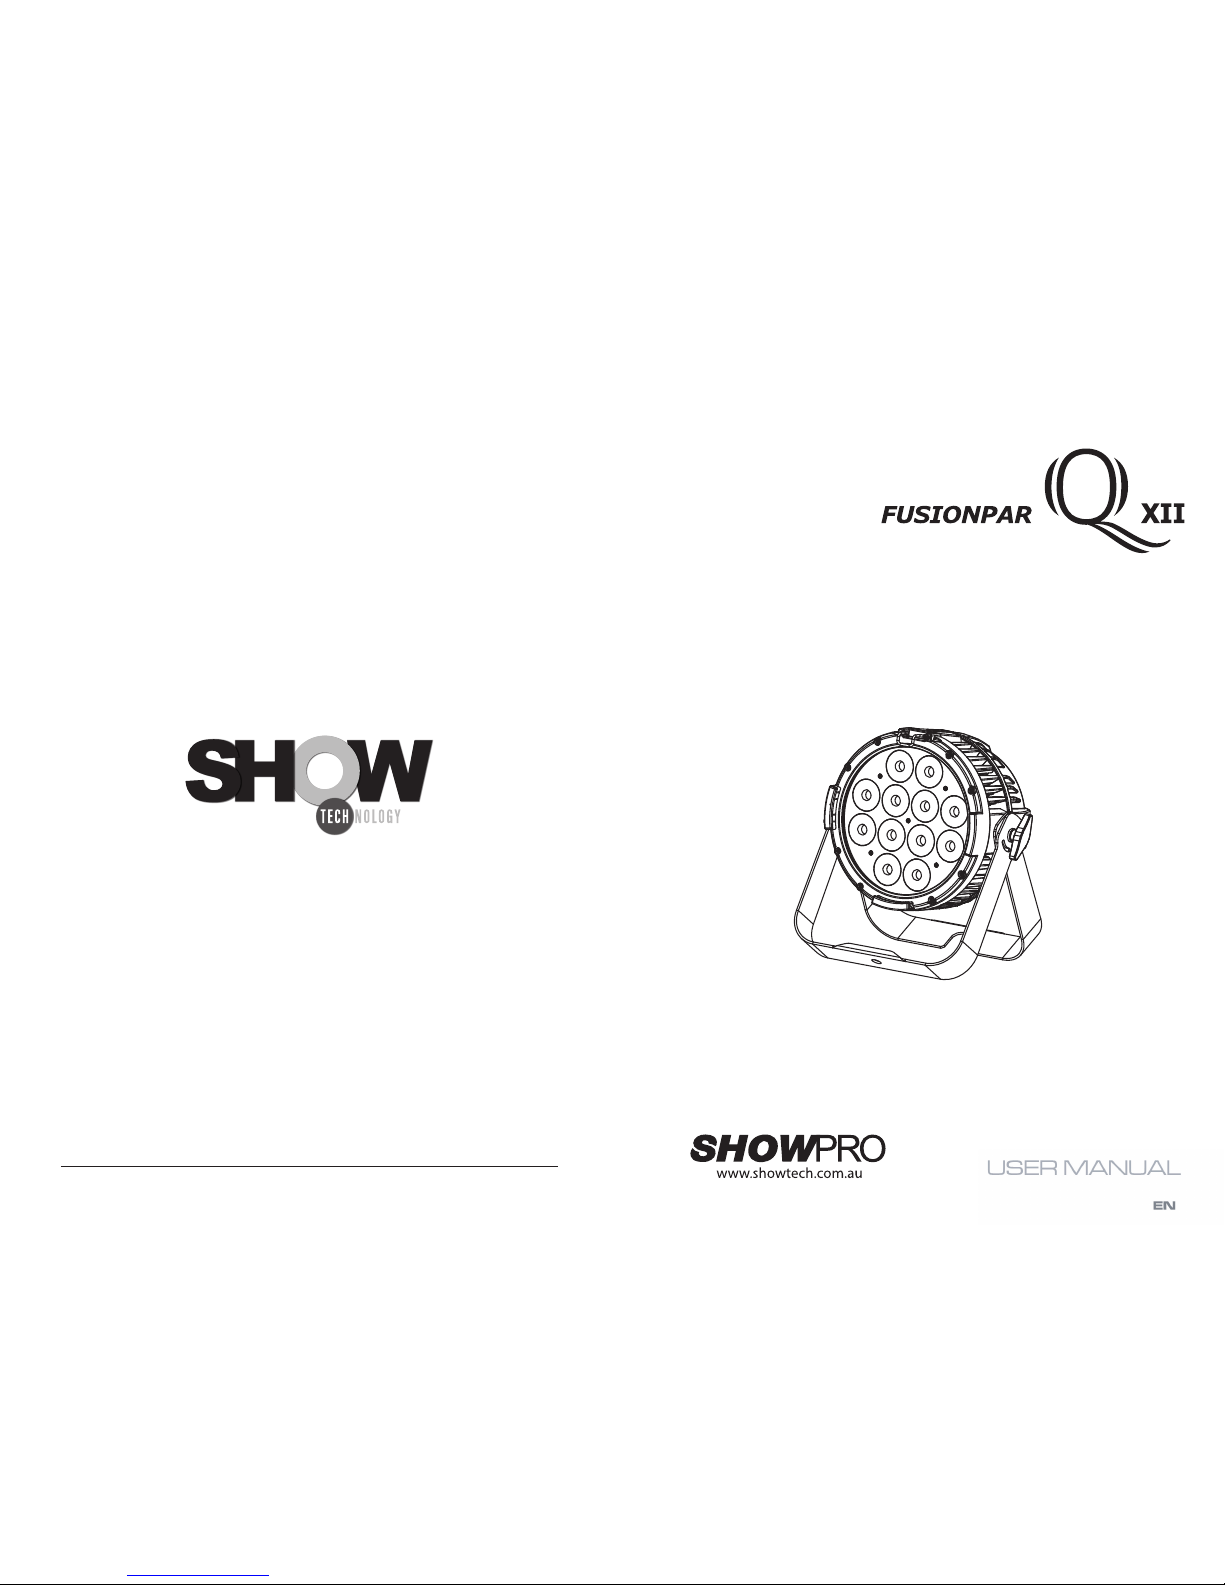
Outdoor-rated Quad-color LED washlight
designed for professional touring and production
LEDPAR122
www.showtech.com.au
2
SAFETY
General instruction
• The products referred to in this manual conform to the European Community Directives and are therefore marked with
.
• The unit is supplied with hazardous network voltage (230V~). Leave servicing to skilled personnel only.
Never make
risk an electric shock.
•
cording to standard EN 60598-1). It is, moreover, recommended to protect the supply lines of the units
from indirect contact and/or shorting to earth by using appropriately sized residual current devices.
installer. Check that the main frequency and voltage correspond to those for which the unit is designed
as given on the electrical data label.
• This unit is not for home use, only professional applications.
- in places subject to vibrations or bumps;
- in places with a temperature of over 40 °C.
an inspection or contact the manufacturer directly.
plant for a disposal which is not harmful to the environment.
Warnings and installation precautions
damage and the guarantee becomes void. Furthermore, any other operation may lead to dangers like
short circuit, burns, electric shock, etc.
• Always additionally secure the projector with the safety rope. When carrying out any work, always comply scrupulously with all the regulations (particularly regarding safety) currently in force in the country
• Shields, lenses or ultraviolet screens shall be changed if they have become damaged to such an extent
• The lamp (LED) shall be changed if it has become damaged or thermally deformed.
trigger epileptic seizures in photosensitive persons or persons with epilepsy.
• Do not touch the product’s housing when operating because it may be very hot.
WARNING! Before carrying out any operations with the unit, carefully read this instruction
manual and keep it with cure for future reference. It contains important information about
the installation, usage and maintenance of the unit.
15
3.13 FIXTURE SETTINGS
It is possible to change the parameter values in the following ways:
Dimmer
until shows Dimmer Mode
• Press the button UP/DOWN to select
• Press ENTER button to store, then press MENU to return to main menu
BackLite
• To activate Backlight display press the button MENU so many times until shows Back Light, and press
• Press the button UP/DOWN to select On - 10S - 20S - 30S.
LED Frequency
• To adjust the frequency of the LEDs, press the MENU button repeatedly until the display shows LED
Frequency, and then press the ENTER button.
• Select the frequency (600 Hz - 25 kHz) using the UP/DOWN buttons.
3.14 FIXTURE INFORMATION
Fixture Hours
• Press the button MENU so many times until shows Information.
• Using the button UP/DOWN to select Fixture Hours,
• Then the display will show the working hours.
Version
• Press the button MENU so many times until shows Information
• Select through the button UP/DOWN the Version menu voice.
Temperature
• To read the value of the internal temperature of the device, press the MENU button repeatedly until
the display shows Temperature, and then press the ENTER button to read the value.
• Press the MENU button to go back or wait a few seconds to exit the setup menu.
3.15 WHITE BALANCE
Enter the White balance to adjust the Red, Green, and Blue
• Press the button MENU so many times until shows White Balance
• Select the color R, G, B, W using the UP/DOWN buttons, then press ENTER.
• Using UP/DOWN button, select the desired color value 125 - 255.
• Press ENTER button to continue to the next color R, G, B, W.
• Continue until the desired mix is obtained.
• Press the MENU button to go back or wait a few seconds to exit the setup menu.
, then press MENU to return to main menu
, then press MENU to return to main menu
Press MENU to return to main menu
Press MENU to return to main menu

3
Packing content
FUSIONPAR QXII
• Mounting bracket
• User manual
TABLE OF CONTENTS
Safety
General instructions
Warnings and installation precautions
General information
1 Introduction
1. 1 Descr
1. 3 Operating elements and connections
2 Installation
2. 1 Mounting
2. 2 Dimensions
1.2 Maintenance
Cleaning the unit
Fuse replacement
Trouble shooting
3 Functions and settings
3. 1 Operation
3. 2 Basic
3. 3 Menu structure
3. 4 Auto show
3. 5 Static mode
3. 6 Master/Slave mode
3. 7 Linking
3. 9 DMX addressing
3. 95 PHOTOMETRICS
3. 10 Connection of the DMX line
3. 11 Construction of the DMX termination
3. 12 DMX control
3. 13 Fixture settings
3. 14 Fixture information
3. 15 White balance
3. 35 W-DMX wireless setting
14
3.12 DMX CONTROL
11 CHANNELS
MODE
FUNCTION DMX
Value
11 Ch
1 DIMMER 552 - 000%001~0
2 RED 552 - 000%001~0
3 GREEN 552 - 000%001~0
4 BLUE 552 - 000%001~0
5 WHITE 552 - 000%001~0
6
STROBE
No function
Slow to fast
000 - 010
011 - 255
7
COLOR MACRO + WHITE BALANCE
No function
R:100% / G:0~100% / B:0
R:100%~0 / G:100% / B:0
R:0 / G:100% / B:0~100%
R:0 / G:100%~0 / B:100%
R:0~100% / G:0 / B:100%
R:100% / G:0 / B:100%~0
R:100% / G:0~100% / B:0~100%
R:100%~0 / G:100%~0 / B:100%
R:100% / G:100% / B:100% / W:100%
Color1
Color2
Color 3
Color 4
Color5
Color 6
Color 7
Color 8
Color9
Color10
Color11
000-010
011-030
031-050
051-070
071-090
091-110
111-130
131-150
151-170
171-200
201-205
206-210
211-215
216-220
221-225
226-230
231-235
236-240
241-245
246-250
251-255
6 CHANNELS
MODE
FUNCTION DMX
Value
6 Ch
1
DIMMER 552 - 000%001~0
2
RED 552 - 000%001~0
3
GREEN 552 - 000%001~0
4
BLUE 552 - 000%001~0
5
WHITE 552 - 000%001~0
6
STROBE
No function
Slow to fast
000 - 010
011 - 255
4 CHANNELS
MODE
FUNCTION DMX
Value
4 Ch
1
RED 552 - 000%001~0
2
GREEN 552 - 000%001~0
3
BLUE 552 - 000%001~0
4
WHITE 552 - 000%001~0
MODE
FUNCTION DMX
Value
11 Ch
10
AUTO SPEED
552 - 000tsaf ot wolS
11
DIMMER SPEED
Preset dimmer speed from display menu
Dimmer speed mode1 (fast speed)
Dimmer speed mode2 (middle speed)
Dimmer speed mode3 (slow speed)
000-051
052-101
102-152
153-203
204-255
9
AUTO PROGRAMS
No Function
Auto Program 1
Auto Program 2
Auto Program 3
Auto Program 4
Auto Program 5
000 - 010
011 - 060
061 - 110
111 - 160
161 - 210
211 - 255
8
COLOR TEMPERATURE
No function
3000K
4000K
5000K
6000K
7000K
8000K
9000K
10000K
No Function
000-005
006-039
040-069
070-099
100-129
130-159
160-189
190-219
220-250
251-255
 Loading...