

Page 1

Page 2

Page 3

Contents
Introduction .................................................. 1
Safety Rules .................................................................. 1
Notice Information ......................................................... 2
Getting Acquainted ..................................... 4
Principle Features ......................................................... 4
Basic Control Parts ....................................................... 5
Home Page Navigation ............................... 8
Recall Shows .............................................................. 10
Recall a Sequencer ..................................................... 11
Recall a Scene ............................................................ 11
Freeze Fixtures ........................................................... 12
Sequencer Setup ........................................................ 13
Group Setup Menu ...................................................... 14
Password & Function Lock ......................................... 12
Specifications .............................................. 3
Group of Fixtures ........................................................ 12
Choose Fixtures .......................................................... 11
Setup Menu ................................................ 15
Fixture Setup ............................................................... 16
Name Fixture ............................................................17
Page 4

Name Fixture Channel .............................................. 18
Fixture Configuration ................................................. 19
Default ....................................................................... 20
Copy From Fixture ..................................................... 21
Tabset ........................................................................ 22
Contents
Fixture Patch .................................................................... 23
Download Menu ............................................................... 24
Miscellaneous Options ..................................................... 34
Memory Card Menu.................................................... 25
Download With PC Menu .......................................... 28
Joystick Configuration................................................ 35
Auto Run Mode ......................................................... 36
Single/Multi Show Mode ............................................ 37
MIDI Configuration .................................................... 38
Beeper Configuration ................................................ 39
Gooseneck Dimmer Adjustment ................................ 40
Display Adjustment .................................................... 41
Backup to PC Menu................................................ 29
Restore From PC Menu ......................................... 32
Update Software .................................................... 33
Memory Load From Card Menu.............................. 26
Memory Save to Card Menu .................................. 27
Save .......................................................................... 22
Page 5

Insert/ Delete/ Update Steps ....................................... 46
Show Edit Utility .......................................................... 47
Show Copy Menu .................................................... 49
Steps ...................................................... 51Multi Copy
Erase one or more Steps.......................................... 50
Clone ....................................................................... 52
ShowAll .................................................................... 52
Add a Show After ..................................................... 48
Edit Shows Menu ....................................... 45
Scene Menu ................................................ 53
Edit Scenes ................................................................. 54
Copy Scenes ............................................................... 55
Save As ....................................................................... 56
Contents
Clear a Show ........................................................... 52
Change Password ....................................................... 43
Music Gain Adjustment................................................. 42
Reset ........................................................................... 44
Page 6

Page 7

Introduction
Safety Rules
Welcome!
You made the right decision by choosing this sophisticated and intelligent
product. Every unit has been thoroughly tested and carefully packed before
shipment. Unpack the shipping carton carefully, saving the carton and all
packing materials for possible later use.
Check carefully for sure your product is not damaged and all accessories not
missing. If your product appears to be damaged or missing, please do not use
it and contact your local distributor immediately.
Please read this manual carefully and thoroughly, as it gives important
information regarding safety, use and maintenance. Keep this manual with the
unit for possible future reference.
To reduce the risk of electrical shock or fire, do not expose this unit to
rain or moisture.
Do not spill water or other liquids into or on to your unit.
Be sure that the local power outlet matches that of the required voltage
for your unit.
Do not attempt to operate this unit if the power cord has been damaged.
Turn off immediately in the event of malfunction.
Should you notice smoke or an unusual smell coming from the equipment,
please discontinue using it and disconnect from the power immediately.
Do not open the unit - there are no user serviceable parts inside.
Do not dismantle or modify the unit, as this voids all warranties.
Do not attempt repairs. Repairs by unqualified people could cause
damage or faulty operation. Contact your local authorized service center.
1
Page 8

Introduction
Notice Information
Keep dry
This product is not waterproof, and may malfunction if exposed to high levels of
humidity. Rusting of the internal mechanism can cause irreparable damage.
Do not drop
This product may malfunction if subjected to strong shocks or vibration.
Keep away from strong magnetic fields
Do not use or place this device in vicinity of equipment that generates strong
electromagnetic radiation or magnetic fields. Strong static charges or the magnetic
fields produces by equipment such as radio transmitters could interfere with the
display or affect the product's internal circuitry.
Cleaning
Due to fog residue, smoke, and dust cleaning the exterior of the case may become
necessary. Use normal glass cleaner and soft cloth to wipe down the outside casing.
Copyright Notice
No part of the manual included with this product may be reproduced, transmitted,
transcribed, stored in a retrieval system, or translated into any language in any form,
by any means, without authorized written permission.
CF cards
Memory card may become hot during use. Observe due caution when removing
memory cards from this device.
Attention! Use recommended 32 M Compact Flash Card only.
2
Page 9

Model:
LCD:
Inputs/Outputs
Power Requirement:
Housing:
DMX Channels
Specification
Stage Master Pro
240x128 -dot, TFT LCD with contrast adjustment
512 max., Configurable for fixtures
DMX OUT:
3-pin & 5-pin Neutrik chassis connector
MIDI IN/THRU/OUT:
Standard 5-pin DIN connector
RS-232 Port:
DB9 connector
Audio IN:
1/4" unbalanced stereo jack
AC 230V/ AC 120V
ABS plastic case with black matte painting
Audio trigger:
Overall Dimensions:
Weight:
Built-in microphone or line in
688x550x165mm
Approx. 11.8 Kg
3
****** All rights reserved. Improvement and changes to specifications,
design and this manual may be made at any time without prior notice.
Memory Card:
USB connector, 5V/1W gooseneck light
ScanDisk 32 MB Compact Flash Card
DJ Lamp:
Optional Accessory:
Page 10

Getting acquainted
Principle Features
Professional 512-channel DMX controller, ideal for fixtures
64 fixtures, each with a maximum of 20 channels
16-bit/ 8-bit resolution of Pan/Tilt movement
Free access of 36 shows, 128 scenes, 9 groups and a sequencer
Each show is allocated with 32KB memory, cross-fade time and
stand time are programmable
Internal library is editable, up to 255 fixtures types can be created
Free access of CF card(32MB) for the exchange of data file
Data file can be downloaded or uploaded to a PC (RS 232 port)
Music sync. functions with audio gain adjustment
USB socket for DJ lamp(5V, 1W), lighting adjustable
Joystick for Pan/ Tilt adjustment of projector
Blackout enables to shut all fixtures off
240x128 dots LCD display with contrast adjustment
Neutrik XLR sockets for 512 DMX channels output
MIDI In/ Thru/ Out connectors
AC 120V / AC 230V selectable
Auto/ Music/Manual chase
Jack socket for cable control for stepping
4
The software can be updated with new versions
Page 11

Getting acquainted
Basic Control Parts
5
Fixture Buttons(1-16)
These 16 buttons play multi-purpose functions depending on the operating mode.
Only one function is selected at a time and the LED will be lit accordingly. There
are four statuses:
The LED lights up, indicating the fixture can not be switched off unless it is activated.
The LED blinks steadily, indicating the fixture can be enabled by channel faders.
The LED blinks briefly, indicating the fixture is a part of the scenes or shows.
The LED blinks from time to time, indicating the fixture is frozen.
Scene Buttons(1-16)
These 16 buttons can be used for Scene Menu and Show Edit menu.
Scene Bank buttons(1-4/ 5-8)
Faders (1-16)
These 16 faders can be used to control the 16 individual DMX channels of the fixtures.
Fixture Bank Buttons(1-4)
These four buttons are used in combination with the fixture buttons to choose the
fixture between 1 and 64.
Joystick
This joystick is used to control the Pan or Tilt movement of the fixtures.
Channel Buttons(1-16)
These buttons are used to select channel between 1 and 16. Furthermore, they can
be used to direct access the tabset values at each pressing.
These four buttons control two settings: they refer to bank 1-4 when the LEDs light
up; they refer to bank 5-8 when the LEDs blink.
Page 12

Getting acquainted
Basic Control Parts
6
Master Fader
This fader is used to control overall dimmer output level of 16 channel faders when
master dimmer function is enabled.
Select Button
Press to shift between Pan and Tilt as well between Pan fine and Tilt fine.
Black Out Button
This button is used to shut off all fixtures being controlled.
Fine Button
Press to shift between 8-bit and 16-bit movement of joystick.
Up/ Down Buttons
These two buttons are used to adjust the dimmer digital value one by one.
Sequencer Button
This button is used to turn on/off the sequencer.
Pause Button
This button is used to suspend the sequencer or shows.
Stand Up/ Down Buttons
These two buttons are used to adjust the proportional factor of stand time when
execution of shows or sequencer. They can also be used to adjust step time in
Edit menu. Show
Cross Up/ Down Buttons
These two buttons are used to adjust the proportional factor of cross time when
execution of shows or sequencer. They can also be used to adjust fade time of
step in Edit menu. Show
Page 13

Getting acquainted
Basic Control Parts
7
Show Buttons(1-18/ 19-36)
These buttons are used to enable or disable the shows. In addition, they can also
be used as keypad for entry of password and numerical value.
Group Buttons(1-9)
These buttons are used to turn on/off the groups.
Page 14

M
255
CH
1-4
5-8
9-12
13-16
000
025
000
000
000
255
128
000
000
000
000
000
000
000
000
255
X 255
XF 000
Y 255
YF 000
Function
Lock
Setup
SeqSetup
ShowEdit
CH-Key
Freeze
Lock
Group
Scene
MIDI: Enable
MultiShow
Clr Fix. Manual P1-18
ShowAll
Fix: 1
DMX s/l
G-Crs
2.0
G-Std
5.0
Ypoc 250 1/ 14
F1
F2
F3
F4
F5
F6
F7
F8
F9 F10 F11 F12
M :
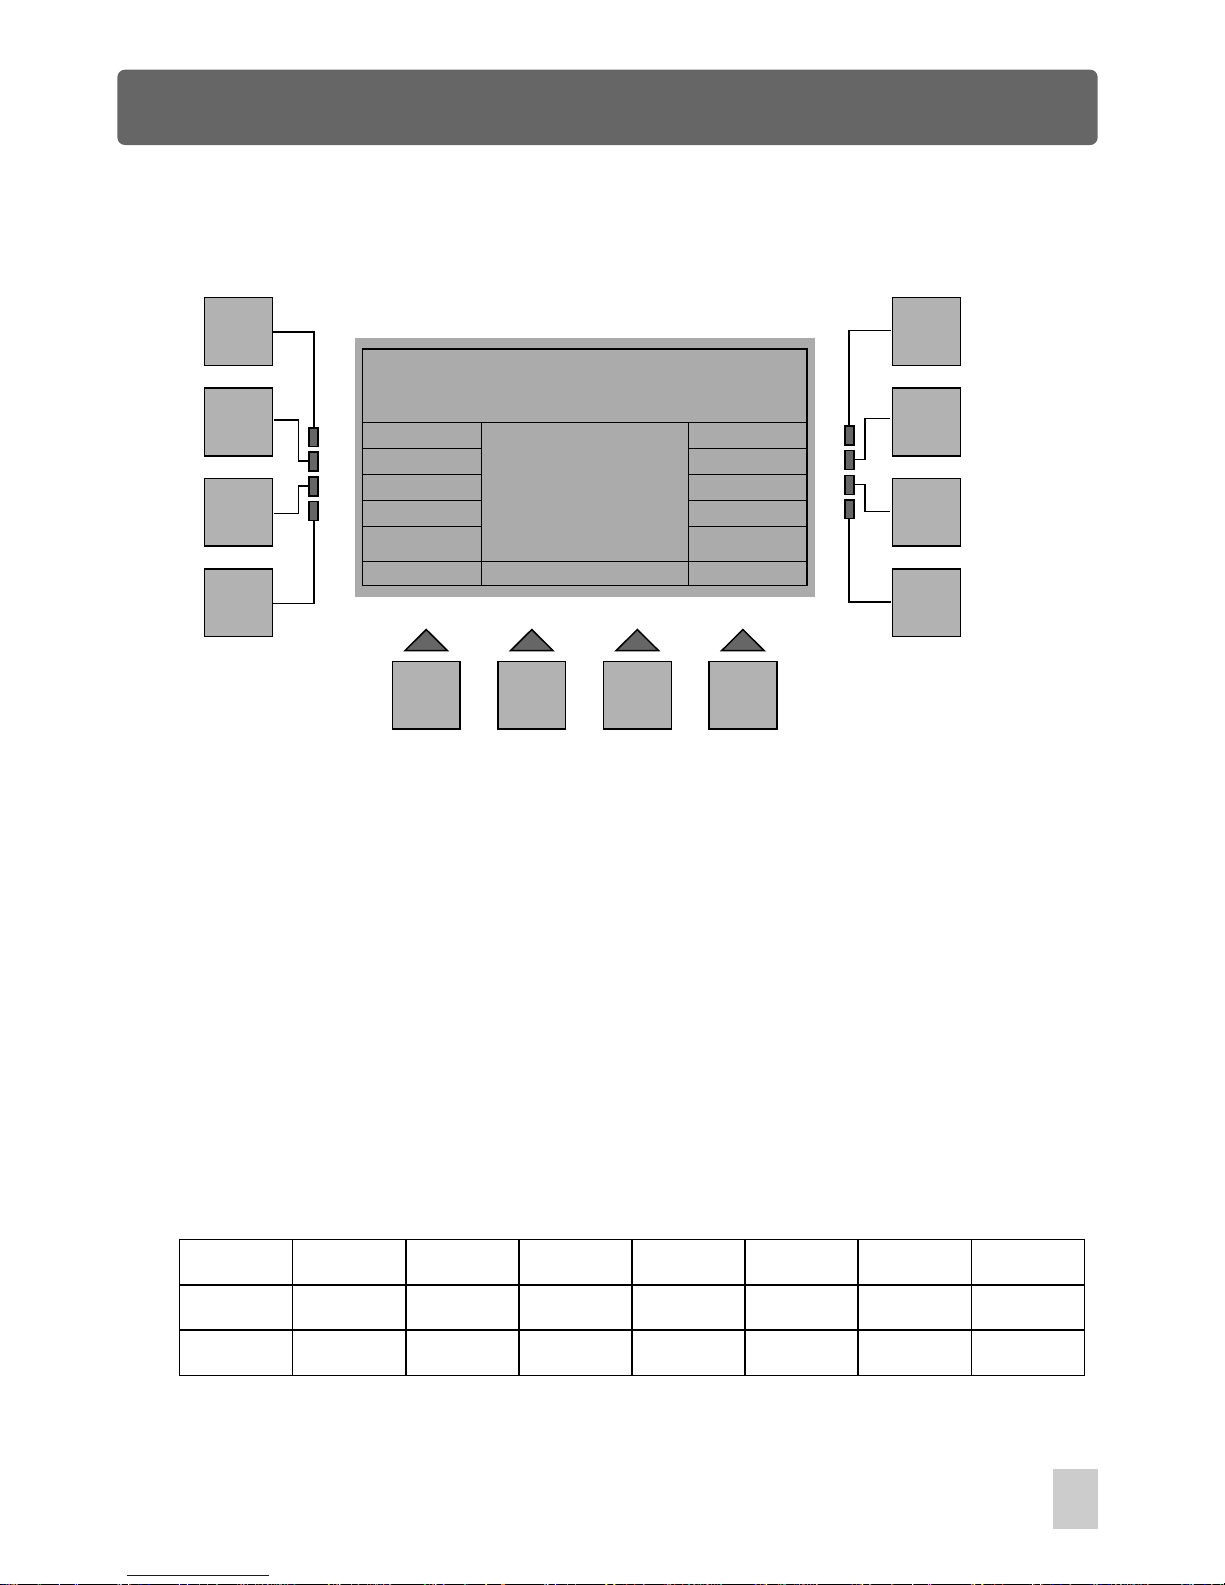
Located at the upper left corner, refers to the master level of the
entire attached channels, ranges between 0 and 255.
CH:
20 numerical plot data indicating the digital value set with the
faders 1-16 and joystick(X, XF, Y, and YF).
Setup:
Gives access to Setup menu which includes fixture configuration
and the settings of function parameters.
SeqSetup:
Allows to make up a sequencer by linking shows.
ShowEdit:
Enables to edit a show.
CH-Key:
Enables to direct enter the digital value for a selected channel
using the numeric buttons (Show buttons 1-10)
Home Page Navigation
Homepage Window
8
This console has been loaded with fixture library before shipment. Switch the power
on, this console will have access to the homepage window after initialization test.
In homepage phase, this console will resume the playback of last time, and the
information indication will be detailed as follows:
Page 15

Freeze:
Enables to freeze all the selected fixtures so that you can keep the
fixtures from being attached to the faders, scenes and shows.
Lock:
Enables to prevent all settings to the console from unauthorized
changes. You can only be granted when you enter correct password.
Group:
Gives access to Group of fixtures which help reduce repeated manual
procedure of several equal fixtures.
Scene :
Gives access to Scene menu, which allows to create, copy, capture
and detect the scenes.
Clr Fix.:
Clears all manual fixtures unless they are frozen.
Auto/ Manual/ Music:
Enables to choose the running mode for the show(s).
P1-18/ P19-36:
Shift between P1-18 and P19-36 shows.
ShowAll:
Allows to view the table of fixtures patch.
Function Free/ Lock:
Indicates the state of function lock/ free.
MIDI: Enable:
MultiShow/ SingleShow: Indicates enabled SingleShow or MultiShow mode.
DMX s/ l:
Indicates MIDI enabled or disabled state.
Indicates the starting DMX channel of the selected fixture and how
many channel are occupied.
G-Crs:
Indicates the multiplying factor of the fade-in and fade-out of the
whole show.
G-Std:
Indicates the multiplying factor of the step stand time of the
whole show.
Home Page Navigation
9
Page 16

M
255
CH
1-4
5-8
9-12
13-16
000
025
000
000
000
255
128
000
000
000
000
000
000
000
000
255
X 255
XF 000
Y 255
YF 000
Esc
Fade Ena
ChManual
CH-Key
Freeze
Go
Back
Repeat
Step : 2
Show: 1
Clr Fix. Manual P1-18
ShowAll
Fix: 1
DMX s/l
G-Crs
2.0
G-Std
5.0
Ypoc 250 1/ 14
F1
F2
F3
F4
F5
F6
F7
F8
F9 F10 F11 F12
Recall Shows
In the homepage phase, you simply have to press the relevant button in the Show
section to recall and play the show available in the library. W
he LED will light up indicating the show is enabled, the LCD will display the running
state of the show, such as the step, the stand and cross time, the running mode,
and etc. Pressing the relevant Show button a second time will exit from the show,
so will "Esc".
If MultiShow has been chosen, you can select more than one shows at one time.
hen the button is pressed,
t
S-Crs
2.0
S-Std
2.0
Fade Ena/ Dis:
Allows to change between Fade Enable and Fade Disable, of which
Fade enable refer to Cross time enable, the latter Cross time disable.
ChManual:
Cut the channel of a fixture out of the show so that you can direct
control the channel by means of the fader.
Go:
Back:
Repeat:
S-Crs:
S-Std:
Raise the step by one.
Lower the step by one.
Play the current step a second time.
Indicates the step's fade time
Indicates the step's running time
10
Home Page Navigation
Page 17

Use the F10 button to scroll to the desired running mode for the selected show(s). In
Auto mode, the shows will be executed at the set stand and cross time. The Stand and
Cross time buttons can be used to change the stand and cross time for the show. In
Manual mode, pressing Go or Back (F6 or F7 ) allows to raise or lower the step of the
show. As a result, the shows will be executed step by step. In Music mode, the show
will be executed depending on the music beat.
Recall a Sequencer
This console allows you to produce a sequencer by linking the shows. To recall the
sequencer, simply press the Sequencer button, its LED lights up indicating it is
enabled. The LCD shows the current show and its step. All the shows contained in
the sequencer will proceed one by one.
Pressing the Sequencer button a second time will exit from the sequencer, so will "Esc".
Recall a Scene
This console allows you to record up to 128 scenes. To recall a scene, you will simply
press any of 16 Scene buttons, its LED will light up indicating the scene is enabled.
You can only select one scene at a time. Pressing this button again allows to exit, its
LED goes out.
Choose Fixtures
This console can control up to 64 fixtures you have assigned in Fixture Patch. The
fixtures enable to have access to fader control, as well to be subjected to the shows
or scenes, which brings you great flexibility.
The Fixture buttons 1-16 can be used in combination with Bank buttons to select desired
fixtures. The LED blinks constantly indicating the fixture is selected and that faders are
enabled. Take
notice to observe the status of the LED so that you can be aware of the conditions of the
fixture. The fixture will be defined as the proceeding one subjected to the faders when its
LED blinks constantly. Those with LEDs being lit up will be regarded as the preceding
fixtures.
You can now use the faders to control the DMX channels of the fixture.
11
Home Page Navigation
Page 18

This console allows you to create up to 9 groups by combining several fixtures. Group
of fixtures helps reduce the procedure when you work on several equal fixtures.
Press the relevant button in the Group section to call the group, the group LED will blink
constantly and the fixtures will be enabled. Pressing this Group button a second time will
leave this group.
Group of Fixtures
This function allows you to keep all the selected fixtures from being subjected to the
faders, scenes or shows. M
efore you can freeze the fixtures. To freeze a fixture, first select a fixture under fader
control(its LED blinks constantly), then you can freeze this fixture by pressing the F5
(Freeze) button. The fixture LED blinks unstably indicating it is frozen. To unfreeze this
fixture, you simply have to press the fixture button.
ake sure the fixtures are subjected to faders manual control
b
Freeze Fixtures
The first time that you enter any setup menu after switching the console on, you will be
required to insert a Password composed of 6 figures, which can be inserted by means
of Show buttons(numeric buttons 1-10). The default Password is 1-6-8-1-6-8.
The Password guarantees all data files of the console from any unauthorized changes,
that will enhance greatly the data security. The LCD shows Function Lock before you
enter correct Password. After you have inserted the Password, you will be enabled to
access any setup menu, which can be prompted by Function Free in the display.
Every time you switch the console on, you will be required to insert the Password before
you can make any parameter settings. Carefully protect your Password and always keep
it in mind. You can change the Password as necessary(see Setup menu).
Password & Function Lock
Home Page Navigation
12
Page 19

Sequencer Setup
In Homepage phase, pressing the F2 button(SeqSetup) allows to enter Sequencer Setup.
You can choose the desired shows by means of Show buttons, d
This menu allows you to pick up to 100 shows to make up a sequencer, the selected
shows will appear in the display.
elete unused shows
by pressing the F12(Delete) button. Press the F11(P1-18) button to change between
1-18 and 19-36 shows, the F9(Esc) button to go back to the previous menu, the storage
is automatic.
Esc P1-18
Delete
F1
F2
F3
F4
F5
F6
F7
F8
F9 F10 F11 F12
1
1
2
3
5
1
1
1
1
1
1
1
1
1
1
1
1
1
1
1
1
2
2
2
2
2
2
2
9
9
9
9
9
9
9
2
2
2
2
2
2
2
16
16
16
18
16
16
36
19
36
22
36
35
1
1
1
1
1
1
1
1
1
1
1
1
Home Page Navigation
13
Page 20

Esc
F1
F2
F3
F4
F5
F6
F7
F8
F9 F10 F11 F12
Group Setup Menu
Group Setup Menu
Group: 1
In Homepage phase, pressing the F7 button(Group) allows to enter Group Setup Menu.
This menu allows you to select several fixtures to make a group. First select the group
number by pressing the Group button, the LCD will show the Group number. Next,
press the Fixture buttons in combination with the Bank buttons to select the fixtures.
We suggest selecting the same kind of fixtures. Press the F1(Esc) button to go back to
the previous menu, the storage is automatic.
Home Page Navigation
14
Page 21
Setup Menu Display
Esc
Download
FixSetup
FixPatch
More
Pasword Music Gain
Reset
F1
F2
F3
F4
F5
F6
F7
F8
F9 F10 F11 F12
Setup Menu
Esc :
Goes back to the previous menu.
Download:
Enables to swap data files with the CF card and a PC.
FixSetup: Gives access to Fixture Setup menu.
FixPatch:
Allows to carry out patching procedure of up to 64 fixtures.
Password:
Enables to change password.
More:
Gives access to Miscellaneous Options menu for extended
settings of the console.
Music Gain:
Reset:
Enables to adjust the gain factor of musical signal
Allows to delete all the shows, scenes and the library, and set
all parameters of setup to default.
In Homepage phase, press the F1 button(Setup) to access Setup menu. You will be
required to insert the Password if Function Lock is enabled. In Setup menu, the
indications in the LCD will be detailed as follows:
Setup Menu
15
Page 22
Setup Menu
Esc
F1
F2
F3
F4
F5
F6
F7
F8
F9 F10 F11 F12
Fixture: 98
XXXXXX
Fixture Setup
Ch: 1
PanCoars
Save
Next
Prev
Tabset
Copy From Fix
Ch Up
Ch Dw
FixName
Ch Name
Default
Ch. Assign: X
Fade Type: Yes
MasterDim: No
Shutter: No
Bo Level: 0
Esc :
Save :
Next/ Prev :
Ch Up/ Dw :
Goes back to the previous menu.
Allows to save the fixture settings.
Scroll through the 255 fixtures in the library to find the fixture required.
Scroll through the channels for DMX channel assignment.
In Setup menu, press the F3(FixSetup) button to access Fixture setup menu, a
new window will appear. The indications are detailed as follows:
"Fixture: 98 XXXXXX" at the upper left corner indicates the type of the selected
fixture, and "Ch: 1 PanCoars" at the upper right corner indicates the channel
number and name of the fixture. The central box shows the fixture configuration,
including the DMX channel assignment, fade enable/disable, master dimmer
enable/disable, shutter enable/disable and Bo level adjustment.
FixName :
Enables to name the fixture
ChName :
Enables to name the channels of the fixture.
Tabset :
Enables to give up to 48 preset DMX values(0-255) for the channel.
Copy From Fix :
Replace the current fixture with a new one.
Default :
Enables to set default fixture.
16
Page 23
Setup Menu
Name Fixture
In Fixture Setup menu, press the F7(FixName) button, a new window will appear
reminding you to name this fixture. The fixture name consists of a maximum of 8
letters. Use fader 1 to scroll to the character for the first letter of the fixture name,
fader 2 for the second letter, and so on, until fader 8 for the last letter.
Press the F1(Esc) button to go back to the previous menu.
Esc
F1
F2
F3
F4
F5
F6
F7
F8
F9 F10 F11 F12
Fixture Name Input
Fixture Name:
17
Page 24
Setup Menu
Name Fixture Channel
In Fixture Setup menu, press the F8(ChName) button, a new window will appear
reminding you to name this fixture channel. The channel name consists of a
maximum of 8 letters. Use fader 1 to scroll to the character for the first letter of the
channel name, fader 2 for the second letter, and so on, until fader 8 for the last letter.
You can also use the F10(Up) and F11(Down) buttons to scroll to the channel name
available in the library.
Press the F1(Esc) button to go back to the previous menu.
Esc
F1
F2
F3
F4
F5
F6
F7
F8
F9 F10 F11 F12
Fixture Channel Name Input
Channel Name:
Channel
Name Table
Up
Down
18
Page 25
Setup Menu
Fixture Configuration
In Fixture Setup menu, please carry out the following procedures for channel
assignment.
Step 1 - Assign DMX channel:
Use the fader 1 to assign the channel or joystick number on the console to each
channel of the fixture. The indications 1-16 refer to channel 1-16 on the console, "X",
"XF", "Y" and "YF" respectively denotes Pan, Pan fine, Tilt and Tilt fine movement
of the joystick. If the indication is Off, the channel of the fixture will be shut off and
you will not able to assign the rest channels of the fixture. "---" will leave the channel
indeterminate.
For example:
Esc
F1
F2
F3
F4
F5
F6
F7
F8
F9 F10 F11 F12
Fixture: 98
XXXXXX
Ch: 1
PanCoars
Save
Next
Prev
Tabset
Copy From Fix
Ch Up
Ch Dw
FixName
Ch Name
Default
Ch. Assign: Off
Fade Type: Yes
MasterDim: No
Shutter: No
Bo Level: 0
XXXXXX
Fix. CH.
Pan Coarse
1 2 3 4 5 6 7
X
Pan Fine
XF Y
Tilt Fine
YF
Color
1
Gobo
2
Gobo Rot
Off
Tilt Coarse
Ch. Assign
19
Page 26
Setup Menu
Fixture Configuration
Step 2 - Fade Enable/ Disable
Using the fader 2 results in two options: Yes and No. "Yes" indicates fade time is enabled,
and "No" indicates fade time is disabled.
Step 3 - Master Dimmer Enable/ Disable
Use the fader 3 to enable or disable the connection to the master dimmer fader.
Step 4 - Shutter Yes/ No
Using the fader 4 results in two options: Yes and No. "Yes" indicates Bo level is
available for this channel( when the fixture shuts off, and "No" indicates
the channel(not shutter) will not get involved when the fixture shuts off.
Step 5 - Bo Level Adjustment
Use the fader 5 to set a value between 0 and 255 for this ( channel.
shutter)
shutter)
Default
In Fixture Setup menu, pressing the F12(Default) button allows to make default
settings for the fixture, that is, erase this fixture from the library. A dialog box will
appear reminding whether you are sure or not. Press the F10(Ok) button to confirm
or the F1 button to exit.
Set Default Fixture?
Press F1 to Exit
20
Page 27
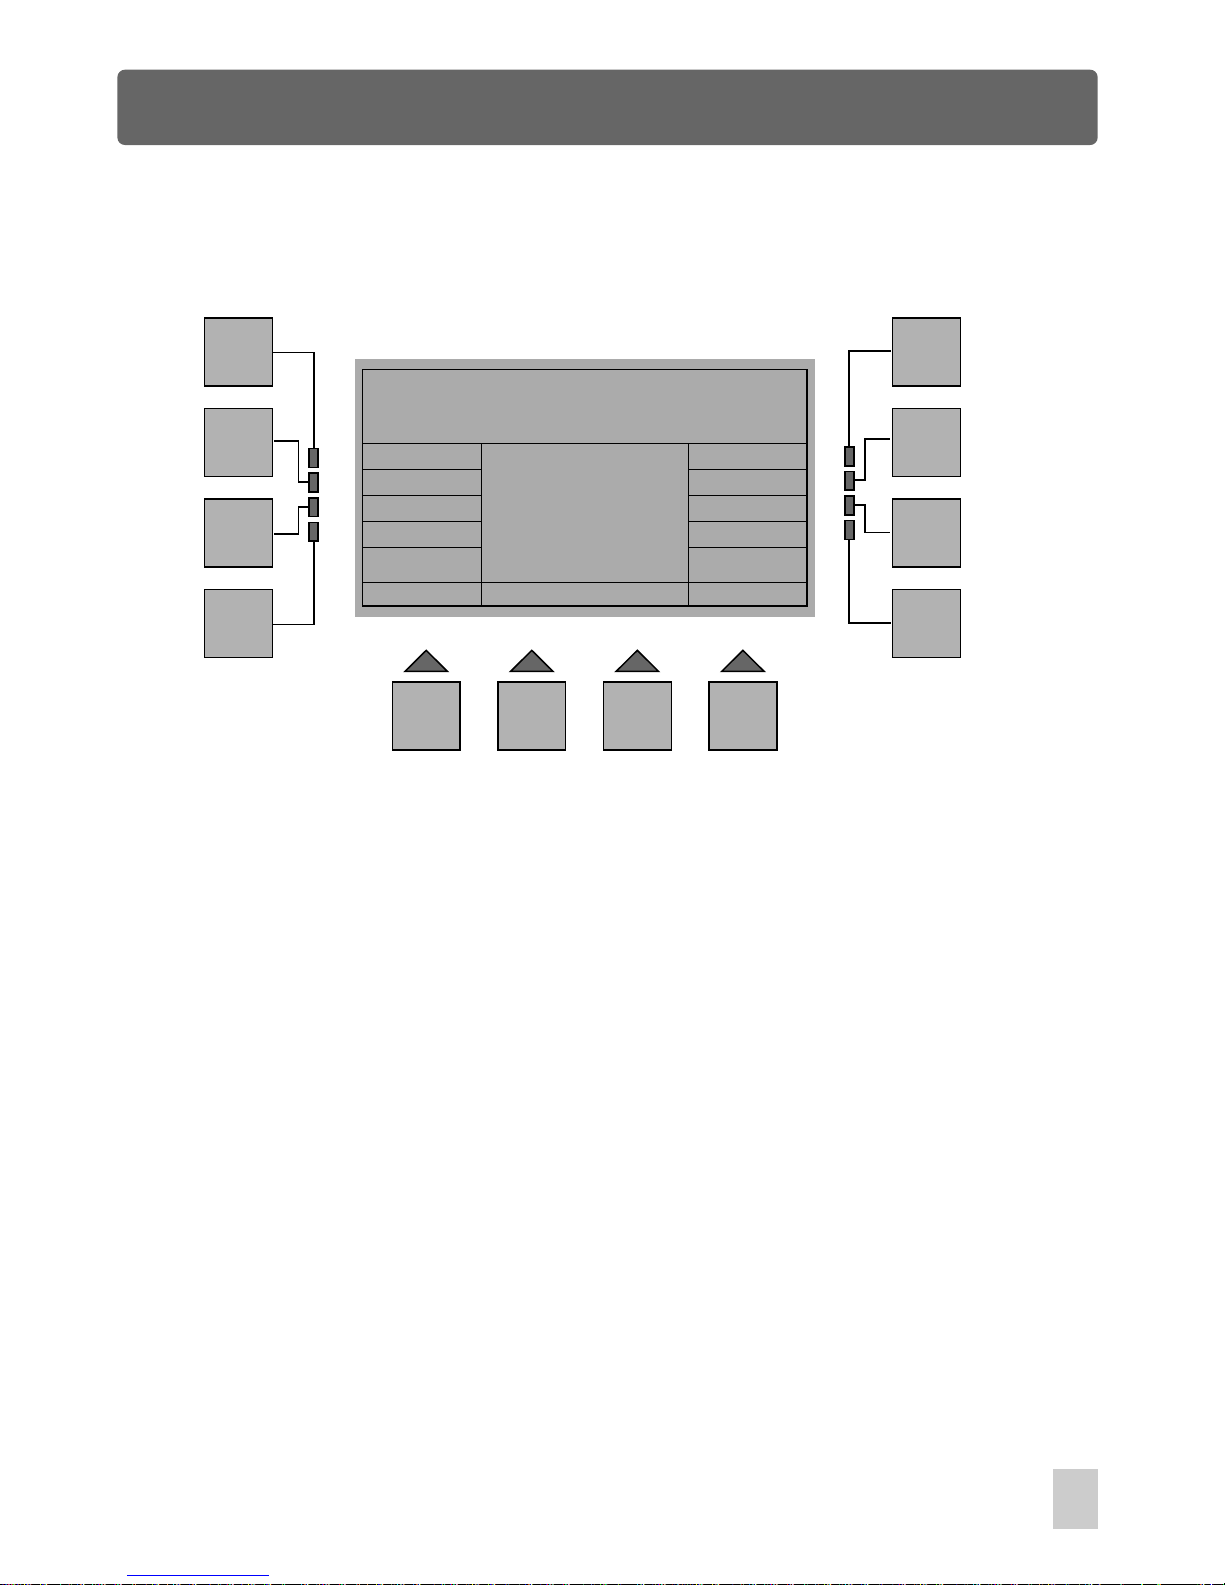
Setup Menu
Copy From Fixture
Esc
F1
F2
F3
F4
F5
F6
F7
F8
F9 F10 F11 F12
Fixture Copy Menu
Copy
Up
Down
Keypad
Fixture: 1
Name:
Copy
to
Fixture: 1
In Fixture Setup menu, press the F10 or F11(Copy From Fix) button to access the
Fixture Copy Menu, a new window will appear reminding you how to copy a fixture
to replace the existed fixture.
First use the F6(Up) or F7(Down) button to select the desired fixture, pressing the
F12(Keypad) button also allows you to enter a fixture No. by means of Show
buttons. The selected fixture number and name will appear in the window. Next,
press the F9(Copy) button, a dialog box will appear reminding you whether you are
sure or not. Press "Ok" to confirm this setting or the F1 button to exit.
Press the F1(Esc) button to go back to the previous menu.
21
Page 28
Tabset
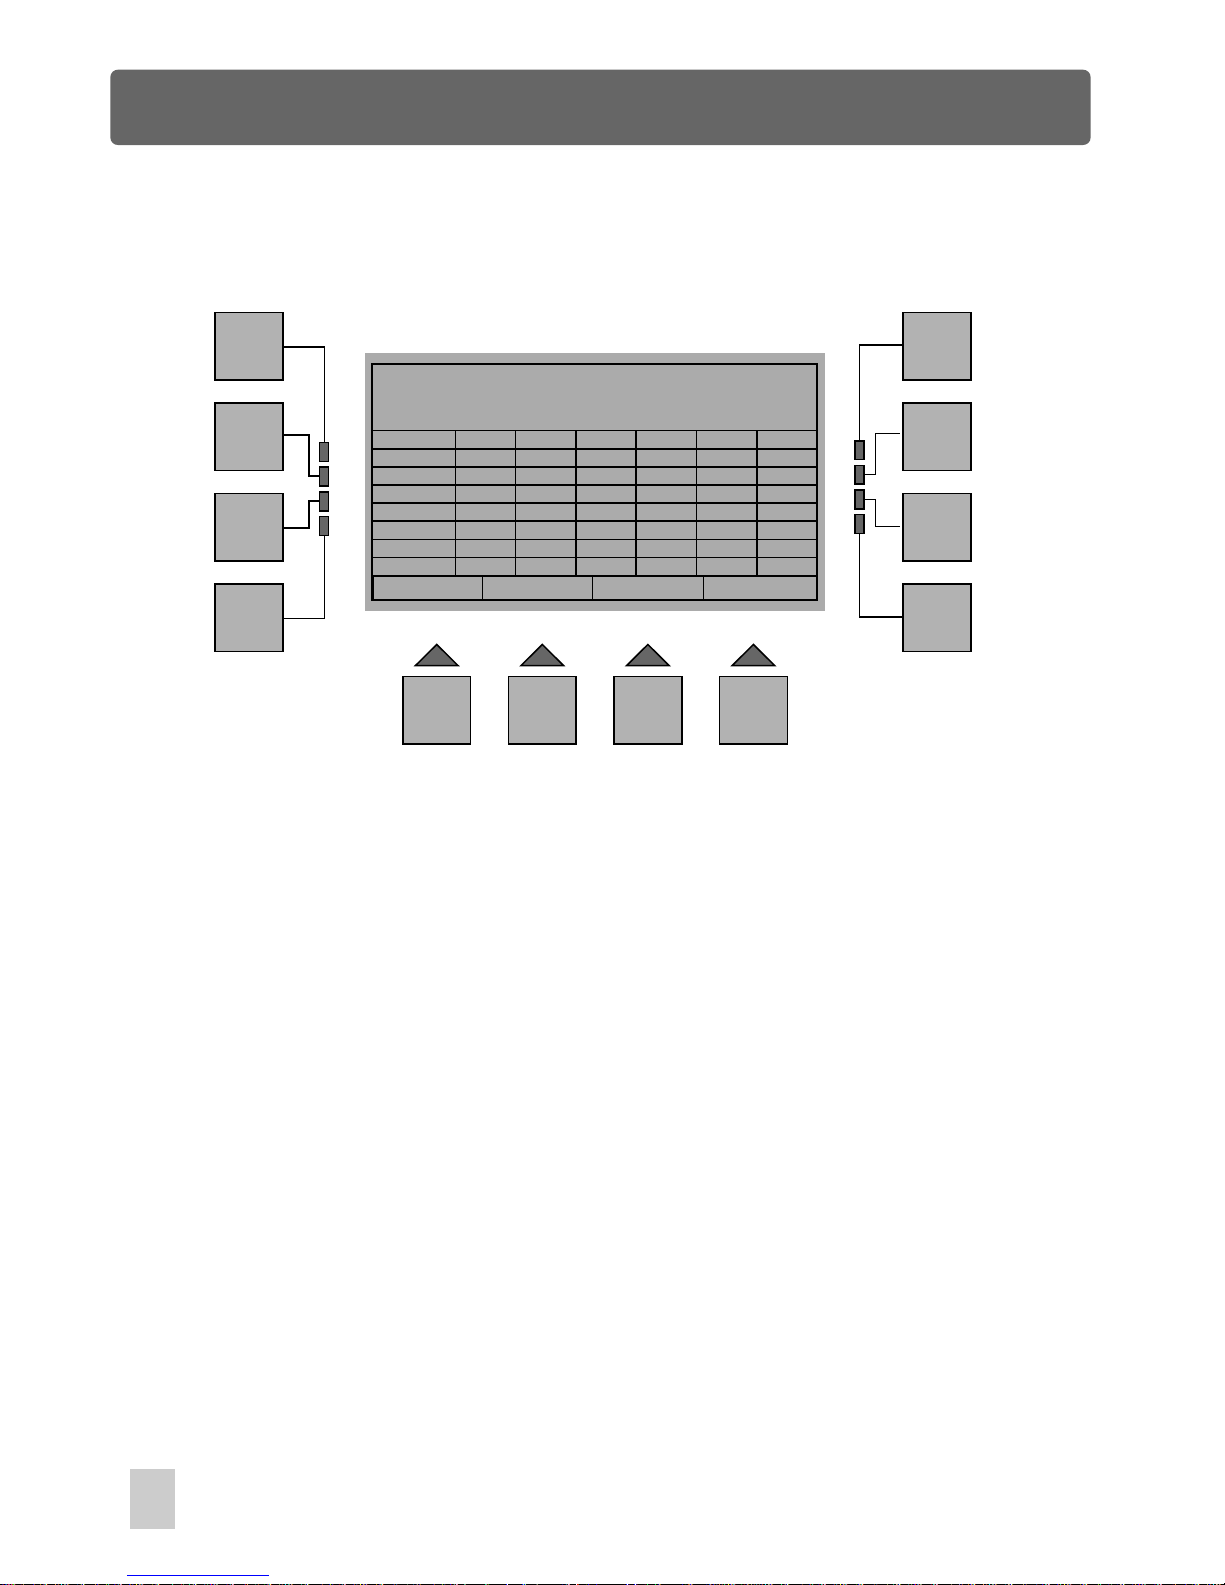
In Fixture Setup menu, press the F9(Tabset) button to access Tabset menu. This
menu allows you to preprogram up to 48 tabulating value(0-255), so that you can
direct access this values for desired channel effects by pressing the button
corresponding to the assignment channel.
First, use the fader 1 to select the table total item between 1 and 48(Off indicates
this function is disabled). Next use the fader 2 to scroll to the value you want to
assign to the flashing frame of the table. Press the F10(Next) or F11(Prev) button
to move from frame to frame. Be careful that the next value in the frame should be
bigger than its previous value. Press the F9(Esc) button to go back to the previous
menu.
F1
F2
F3
F4
F5
F6
F7
F8
F9 F10 F11 F12
XXXXXX Ch: 5 Channel :1
Table Total Item: 42
Next
Setup Menu
Esc
Prev
1 - 6 000
000
000
000
000
000
000
000
000
000
000
000
000
000
000
000
000
000
000
000
000
000
000
000
000
000
000
000
000
000
000
000
000
000
000
000
000
000
000
000
000
000
000
000
000
000
000
000
7 - 12
13 - 18
19 - 24
24 - 30
31 - 36
37 - 42
43 - 48
Save
In Fixture setup menu, when you have completed the fixture configuration, be sure to
press the F2(Save) button to confirm all the settings before you leaves this menu. It is
very important. If you fail to do so, all the settings you have made will lose.
22
Page 29
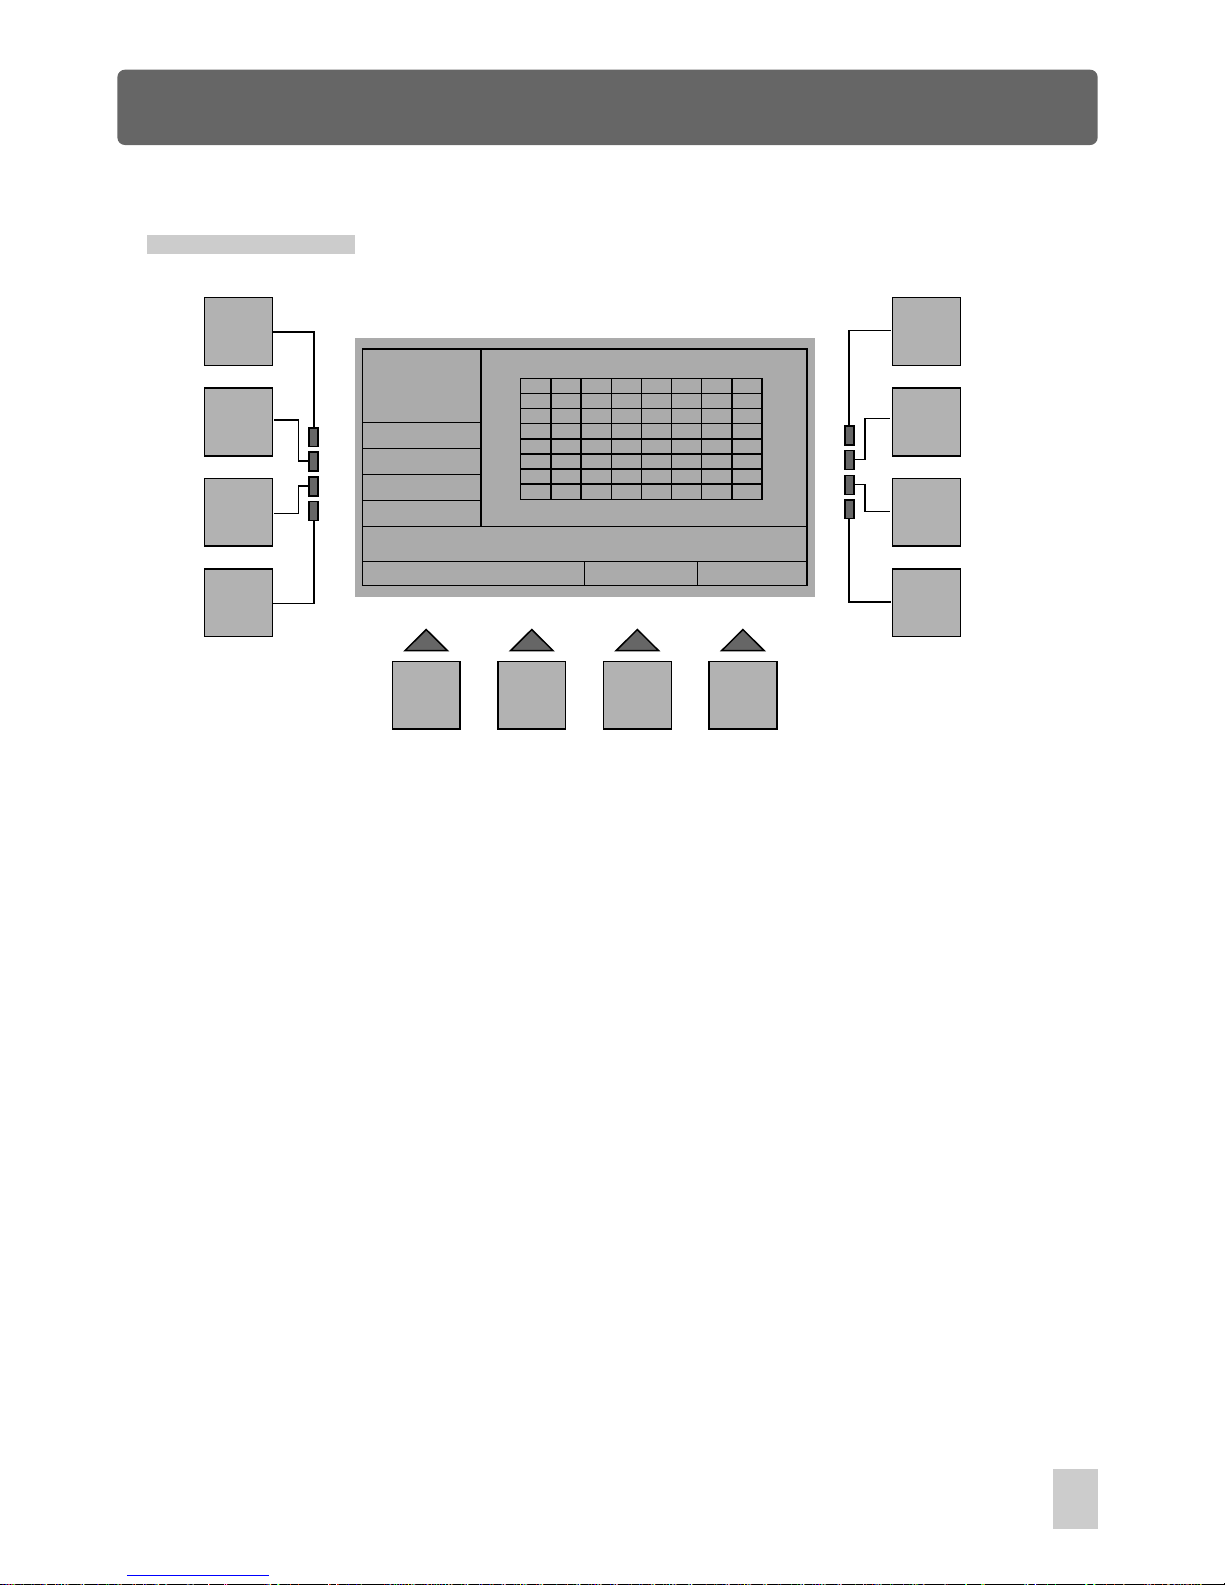
In Setup menu, press the F4(FixPatch) button to access Fixture Patch menu, a
new window will appear indicating all the 64 fixtures subjected to this console.
In this menu, you will have to assign one of the fixture type previously configured
to patch each of 64 fixtures. Press the F3(Next) or F4(Prev) button to scroll to the
fixture number (from 01-64), then press the F11(Fix. Up) or F12(Fix. Dw) button to
select the type of fixture available in the library. The type will be shown in the display.
It will be also indicated the starting channel(DMX s) of the fixture, the number of
channels(DMX l) used by the fixture and the sum channels(Tot ch) occupied by all
available fixtures.
For example:
Use F3 or F4 to scroll to number 01, next press F11 or F12 to select XXXXXX. As a
result, XXXXXX will be assigned to the first fixture on the console. Proceed in this
way to assign all 64 fixtures.
Press the F1(Esc) button to leave this menu. The storage is automatic.
Be careful that the sum of channel must not exceed 512, or an error message will
appear and require you to re-enter this menu or carry out fixture configuration
procedures when you leaves this menu.
Esc
F1
F2
F3
F4
F5
F6
F7
F8
F9 F10 F11 F12
Next
Prev
Setup Menu
Fixture Patch
Fix. Up Fix. Dw
01
09
17
25
33
41
49
57
02
10
18
26
34
42
50
58
03
11
19
27
35
43
51
59
04
12
20
28
36
44
52
60
05
13
21
29
37
45
53
61
06
14
22
30
38
46
54
62
07
15
23
31
39
47
55
63
08
16
24
32
40
48
56
64
Fix: XXXXXX
DMX s/ l
1/ 14
Tot ch
494
23
Page 30
Esc
F1
F2
F3
F4
F5
F6
F7
F8
F9 F10 F11 F12
Download Menu
Download Menu
Card PC
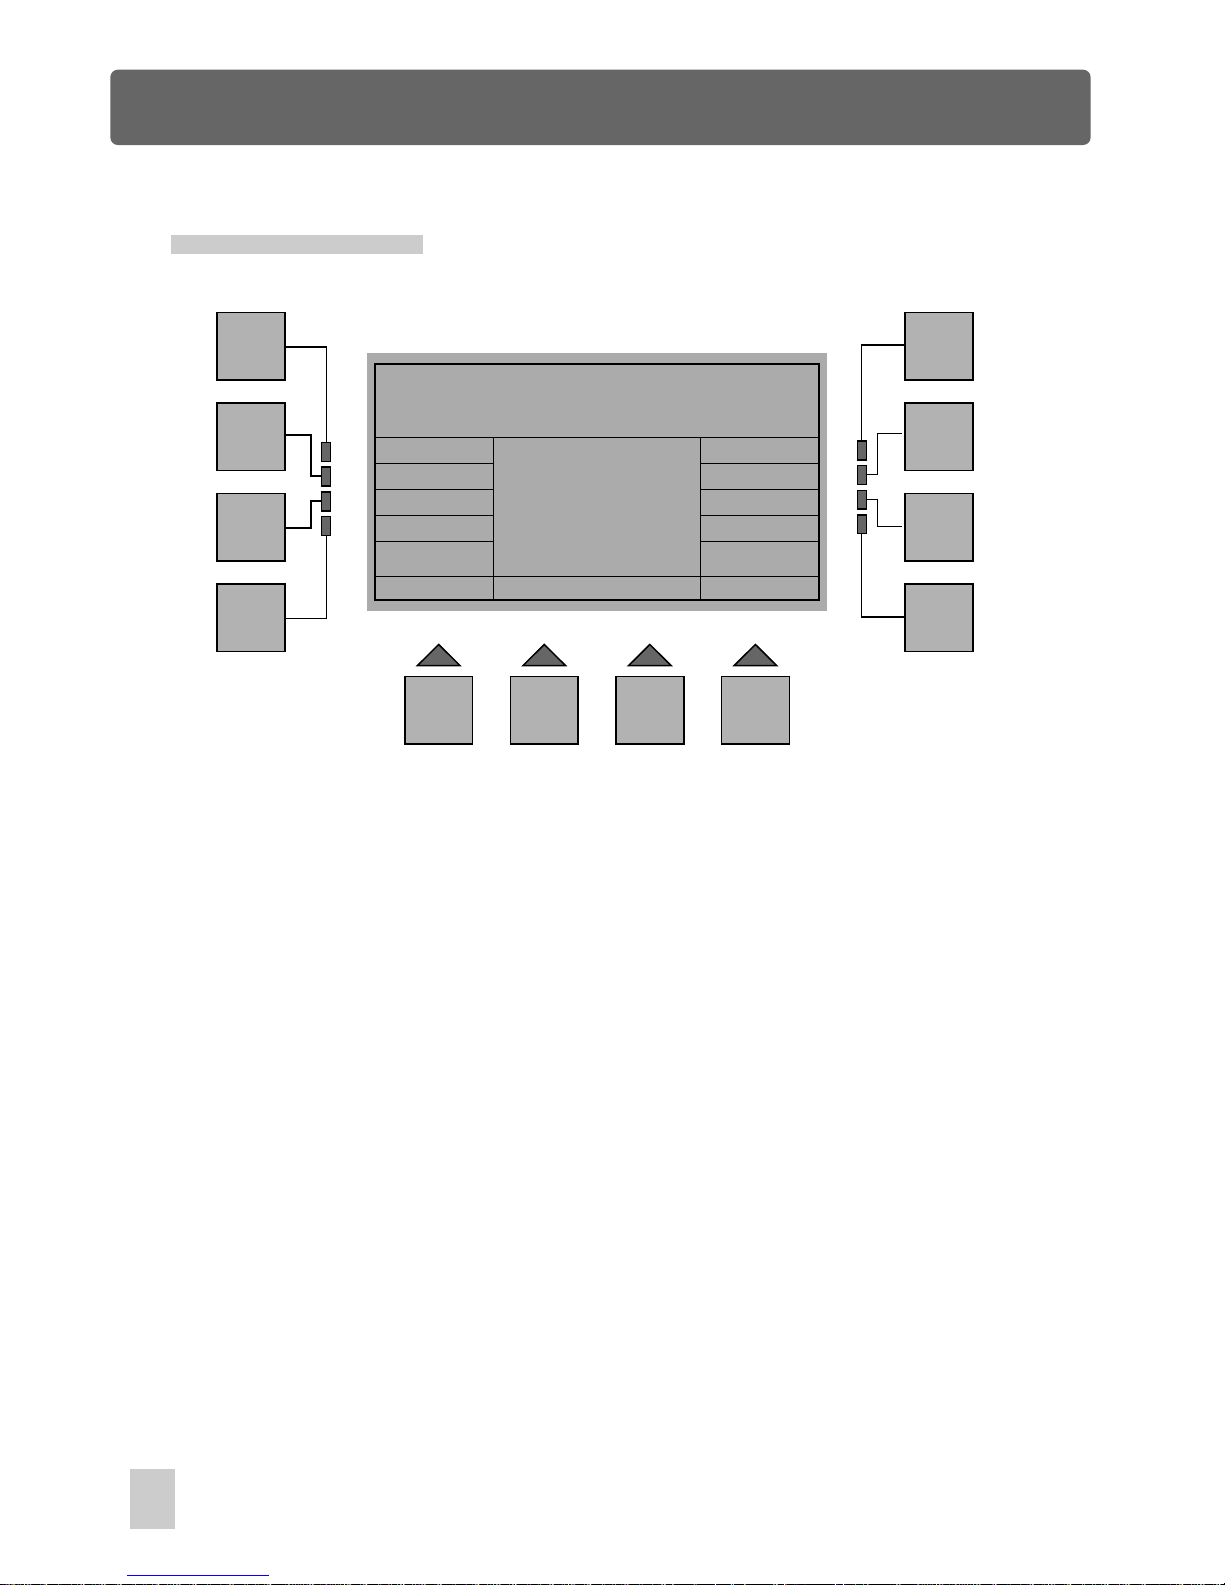
In Setup menu, press the F2(Download) button to access Download menu. In this
menu, pressing the F4(Card) button allows to access Memory Card Menu, and
pressing the F8(PC) button results in Download With PC Menu. To leave this menu,
you simply have to press the F1(Esc) button.
Setup Menu
24
Page 31
Setup Menu
Memory Card Menu
Esc
Load
Save
NameSave
F1
F2
F3
F4
F5
F6
F7
F8
F9 F10 F11 F12
Memory Card Menu
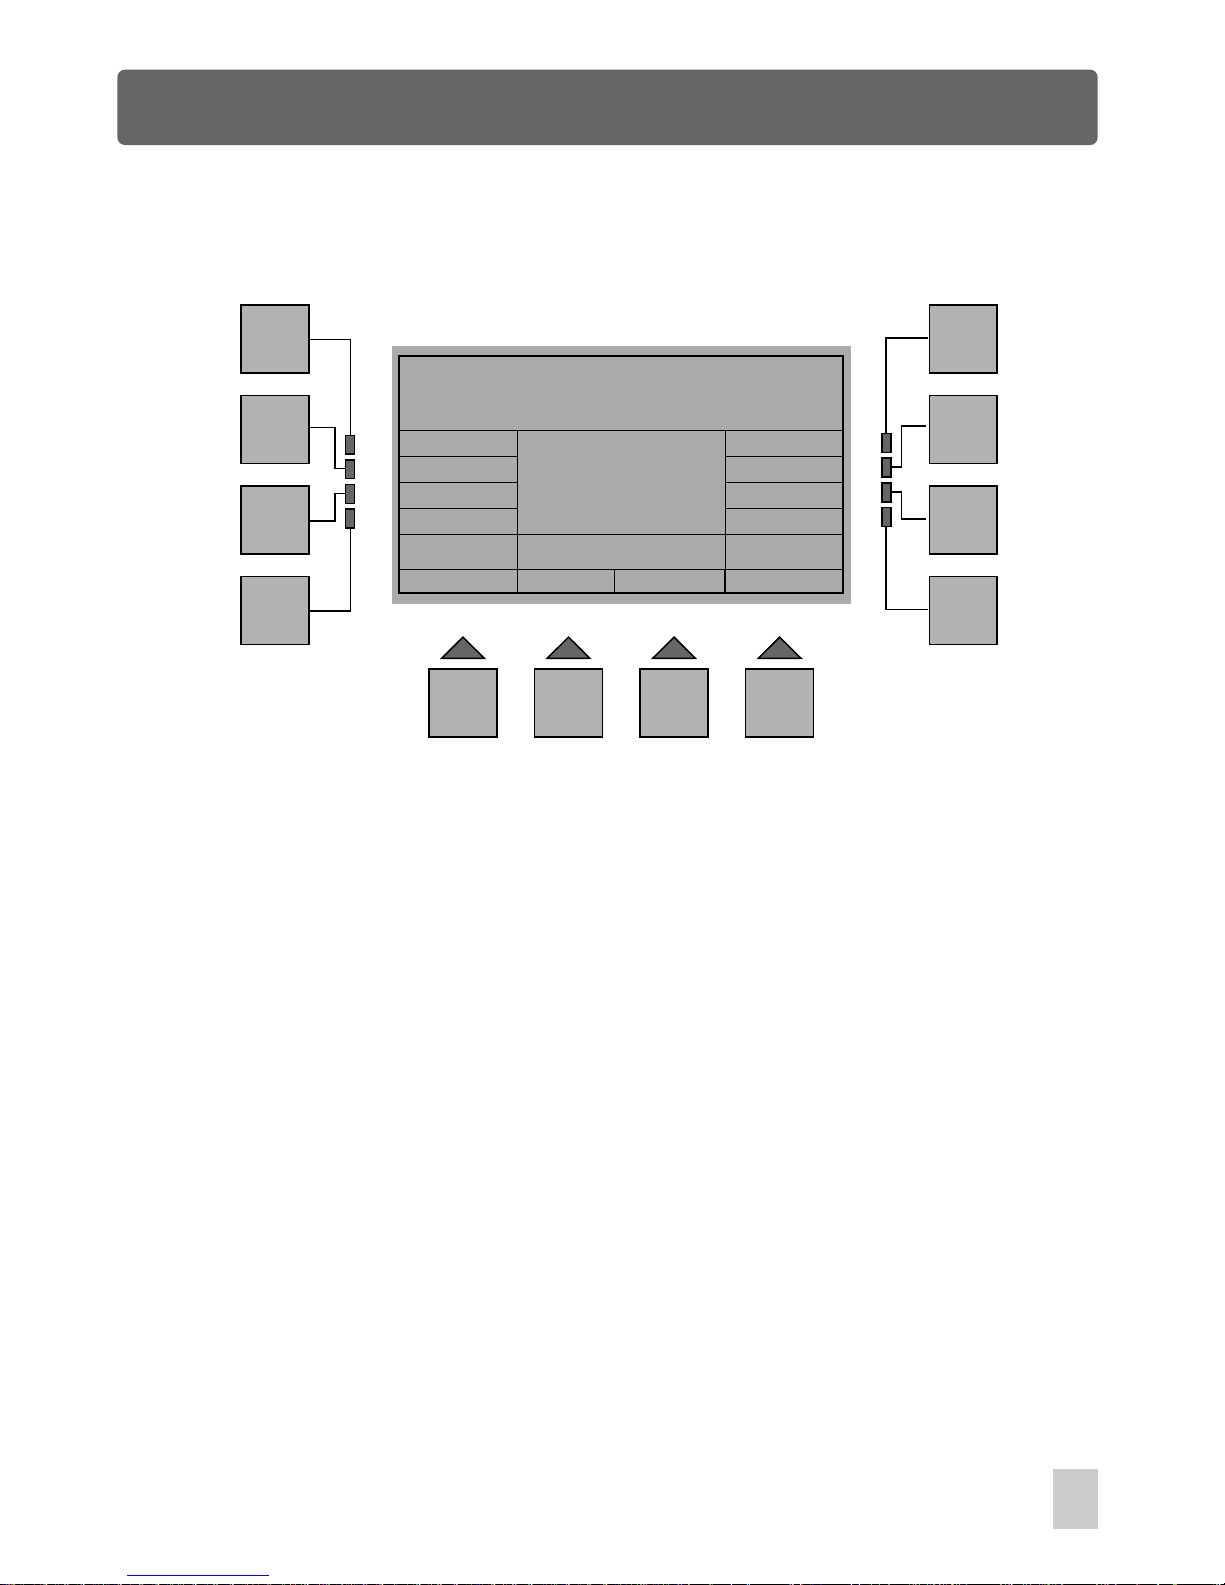
Esc :
Goes back to the previous menu.
Load:
Gives access to Memory Load From Card Menu.
Save:
Gives access to Memory Save to Card menu.
NameSave: Enables to save the zone name into the CF card.
Next/ Prev:
Allow to select the zone number between 1 and 15.
In Download menu, press the F4 button(Card) to access Memory Card menu. A
new window will appear with indications as follows:
Next Prev
Zone: 1
Zone Name:
Card Zone
XXXXXXXXXXXXX
The central box in the window shows the zone number and name. Using the faders
1-13 allows to give a zone name composed of a maximum of 13 characters.
25
Page 32
Esc
F1
F2
F3
F4
F5
F6
F7
F8
F9 F10 F11 F12
Memory Load From Card Menu
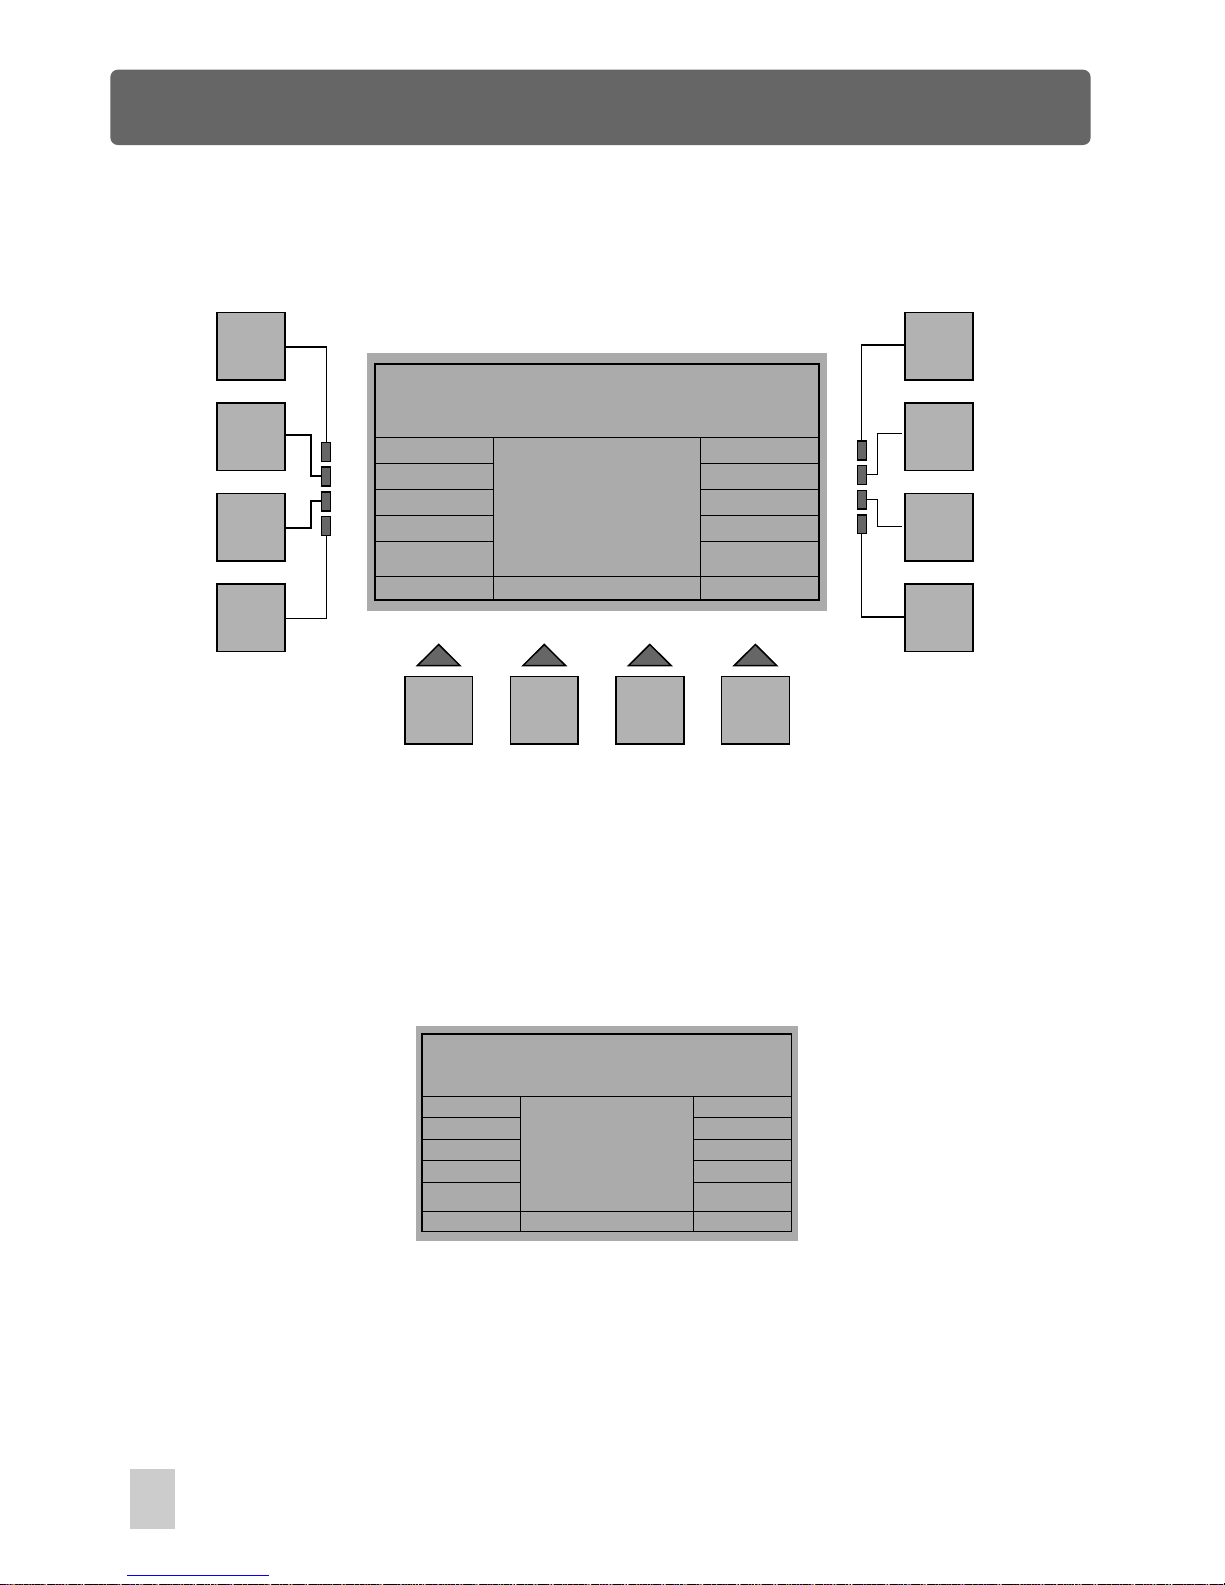
In Memory Card Menu, press the F4 button(Load), a new window will appear reminding
you which you want to load from this card.
In this menu, when you press either of the
Pressing F10(Ok) will start this loading process. The time it takes depends on the
volume of data file. Pressing F5(Show) enables to access to next menu named Show
Load From Card Menu.
F4(FixSetuP), F8(Setup), F7(Scene) or F10/
F11(Load All) buttons, you will be required to confirm by "Ok"(F10) or to exit by F1.
Memory Load From Card Menu
Load All
FixSetup Setup
Show
Scene
Esc
Show Load From Card Menu
Load All Show
Up
Load
Show: 1
Keypad
Down
In this menu, press F6(Up) or F7(Down) to choose the show(from1 to 36), you can
also press F12(Keypad) allowing to enter the show number by means of the Show
buttons. Once the show is selected, press F9(Load), then "Ok" to load this show. If
you want to load all shows available in the card, Pressing F10 or F11 (Load All Show)
will make it. Pressing F1(Esc) to go back to the previous menu.
26
Setup Menu
Page 33
Setup Menu
Memory Save to Card Menu
Memory Save to Card Menu
Esc
F1
F2
F3
F4
F5
F6
F7
F8
F9 F10 F11 F12
Save All
FixSetup Setup
Show
Scene
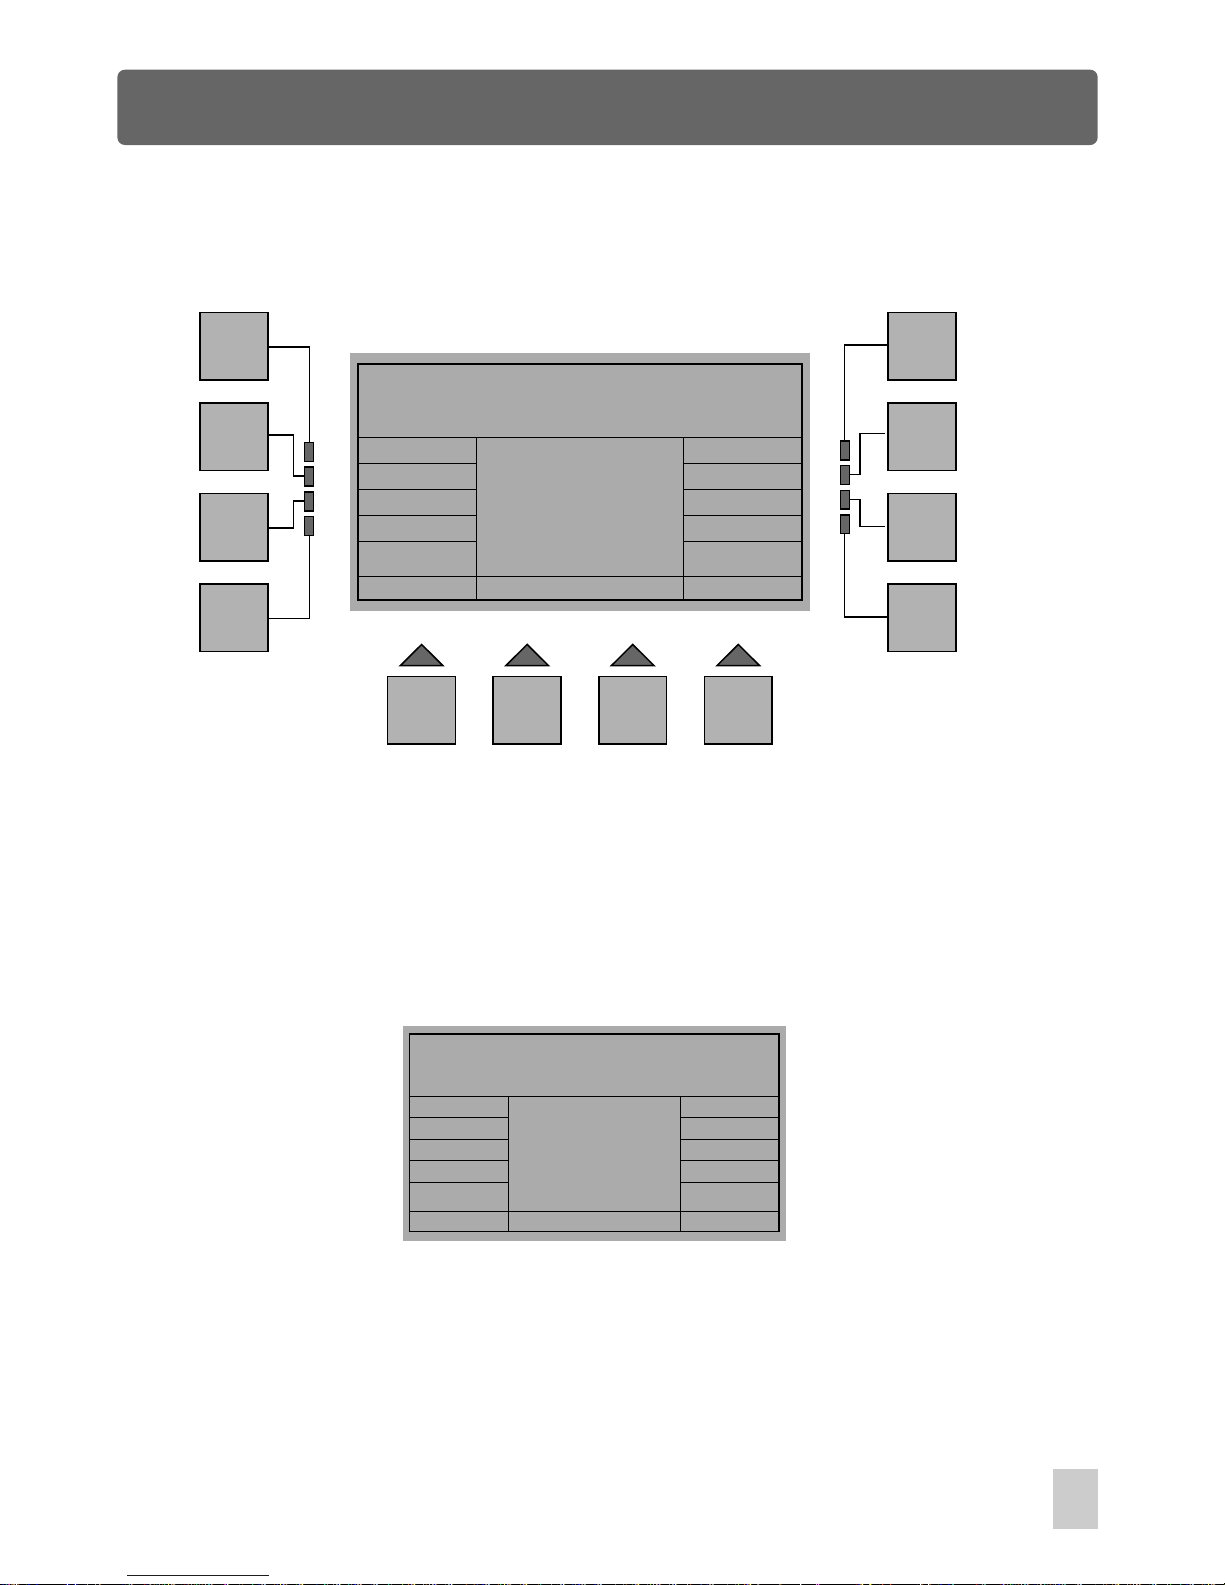
In Memory Card Menu, press the F8 button(Save), a new window will appear reminding
you which you want to save to this card.
In this menu, when you press either of the
Pressing F10(Ok) will start this saving process. The time it takes depends on the volume
of data file. Pressing F5(Show) enables to access to next menu named Show Save to
Card Menu.
F4(FixSetuP), F8(Setup), F7(Scene) or F10/
F11(Load All) buttons, you will be required to confirm by "Ok"(F10) or to exit by F1.
Esc
Show Save to Card Menu
Save All Show
Up
Save
Show: 1
Keypad
Down
In this menu, press F6(Up) or F7(Down) to choose the show(from1 to 36), you can
also use F12(Keypad) to enter the show number. Once the show is selected, press
F9(Save), then "Ok"(F10) to save this show . If you want to save all shows in the
library, Pressing F10 or F11 (Save All Show) will make it. Pressing F1(Esc) to go
back to the previous menu.
27
Page 34
Setup Menu
Esc
F1
F2
F3
F4
F5
F6
F7
F8
F9 F10 F11 F12
Download With PC Menu
Restore Backup
Download With PC Menu
Software
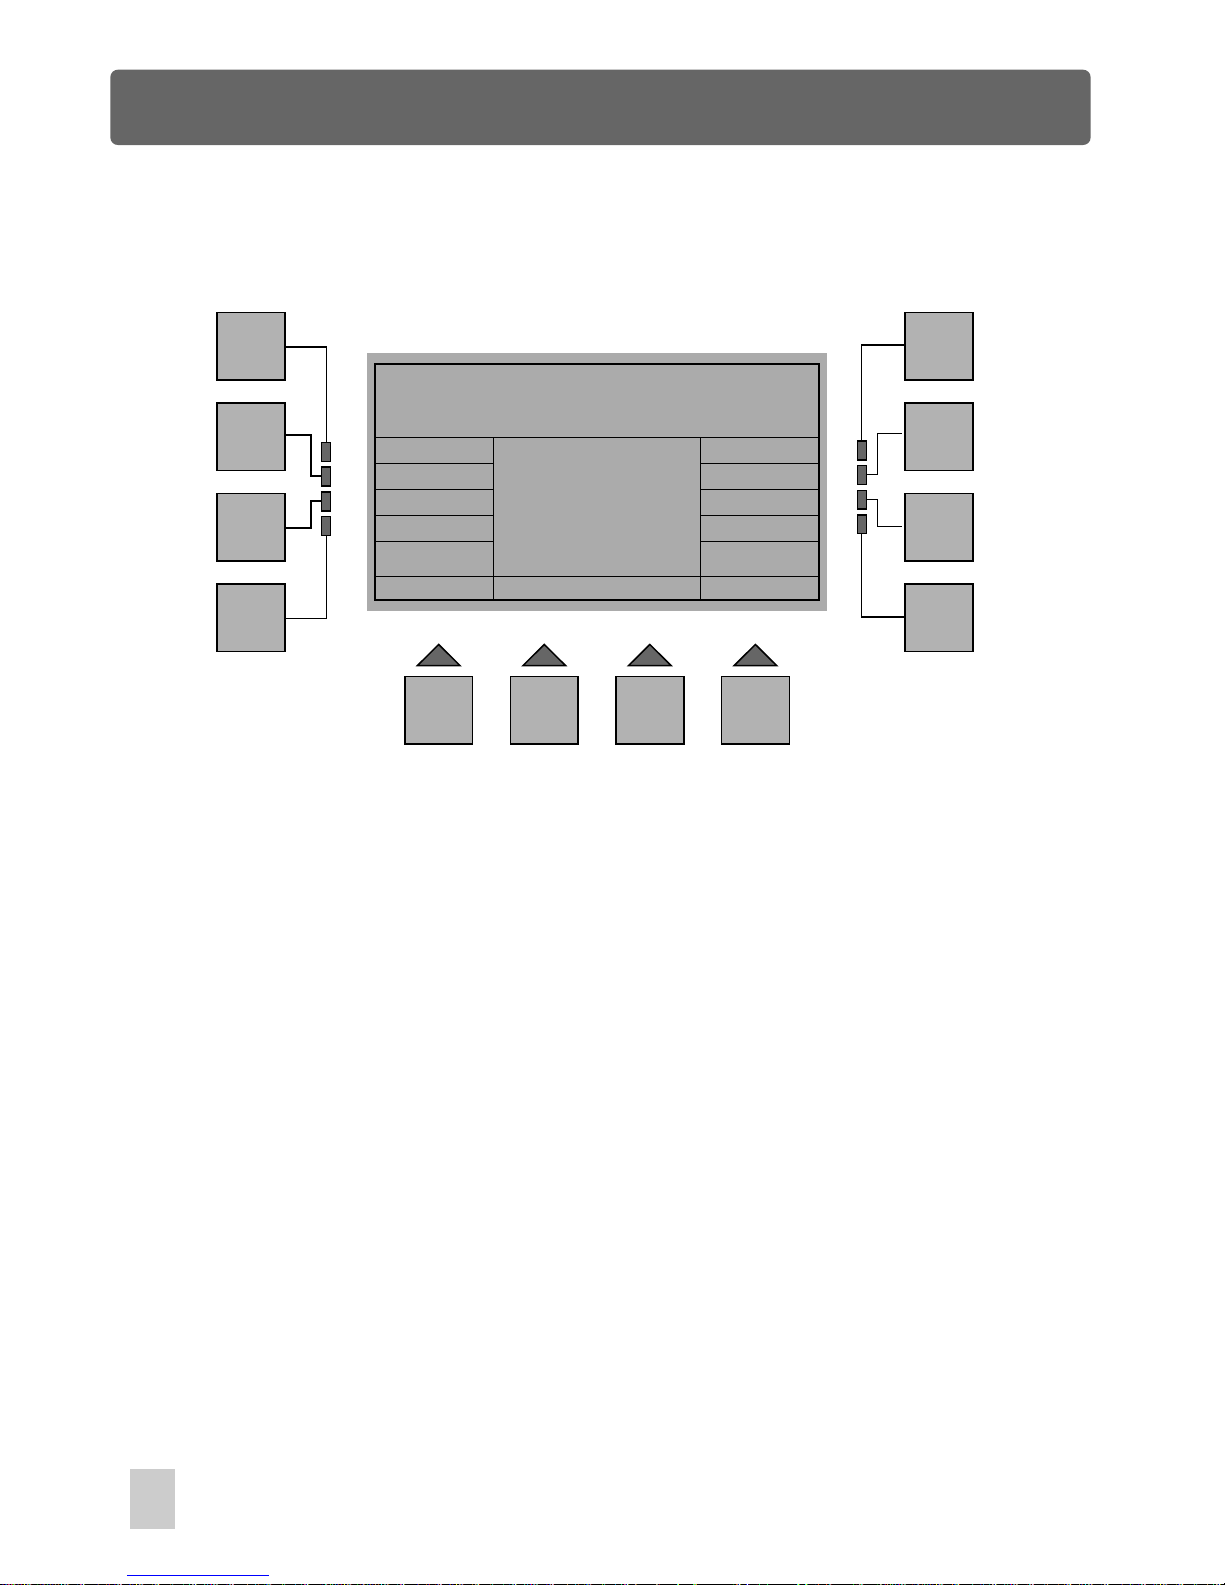
In Download menu, press the F8 button(PC) to access Download With PC menu. A
new window will appear with indications as follows:
Esc :
Goes back to the previous menu.
Restore:
This function allows to download the data files from a PC.
Backup:
Software: Enables to update the software from a PC.
This function allows to make backup copies of the data files to a PC.
28
Page 35
Setup Menu
Backup to PC Menu
Esc
F1
F2
F3
F4
F5
F6
F7
F8
F9 F10 F11 F12
FixSetup Setup
Show
Scene
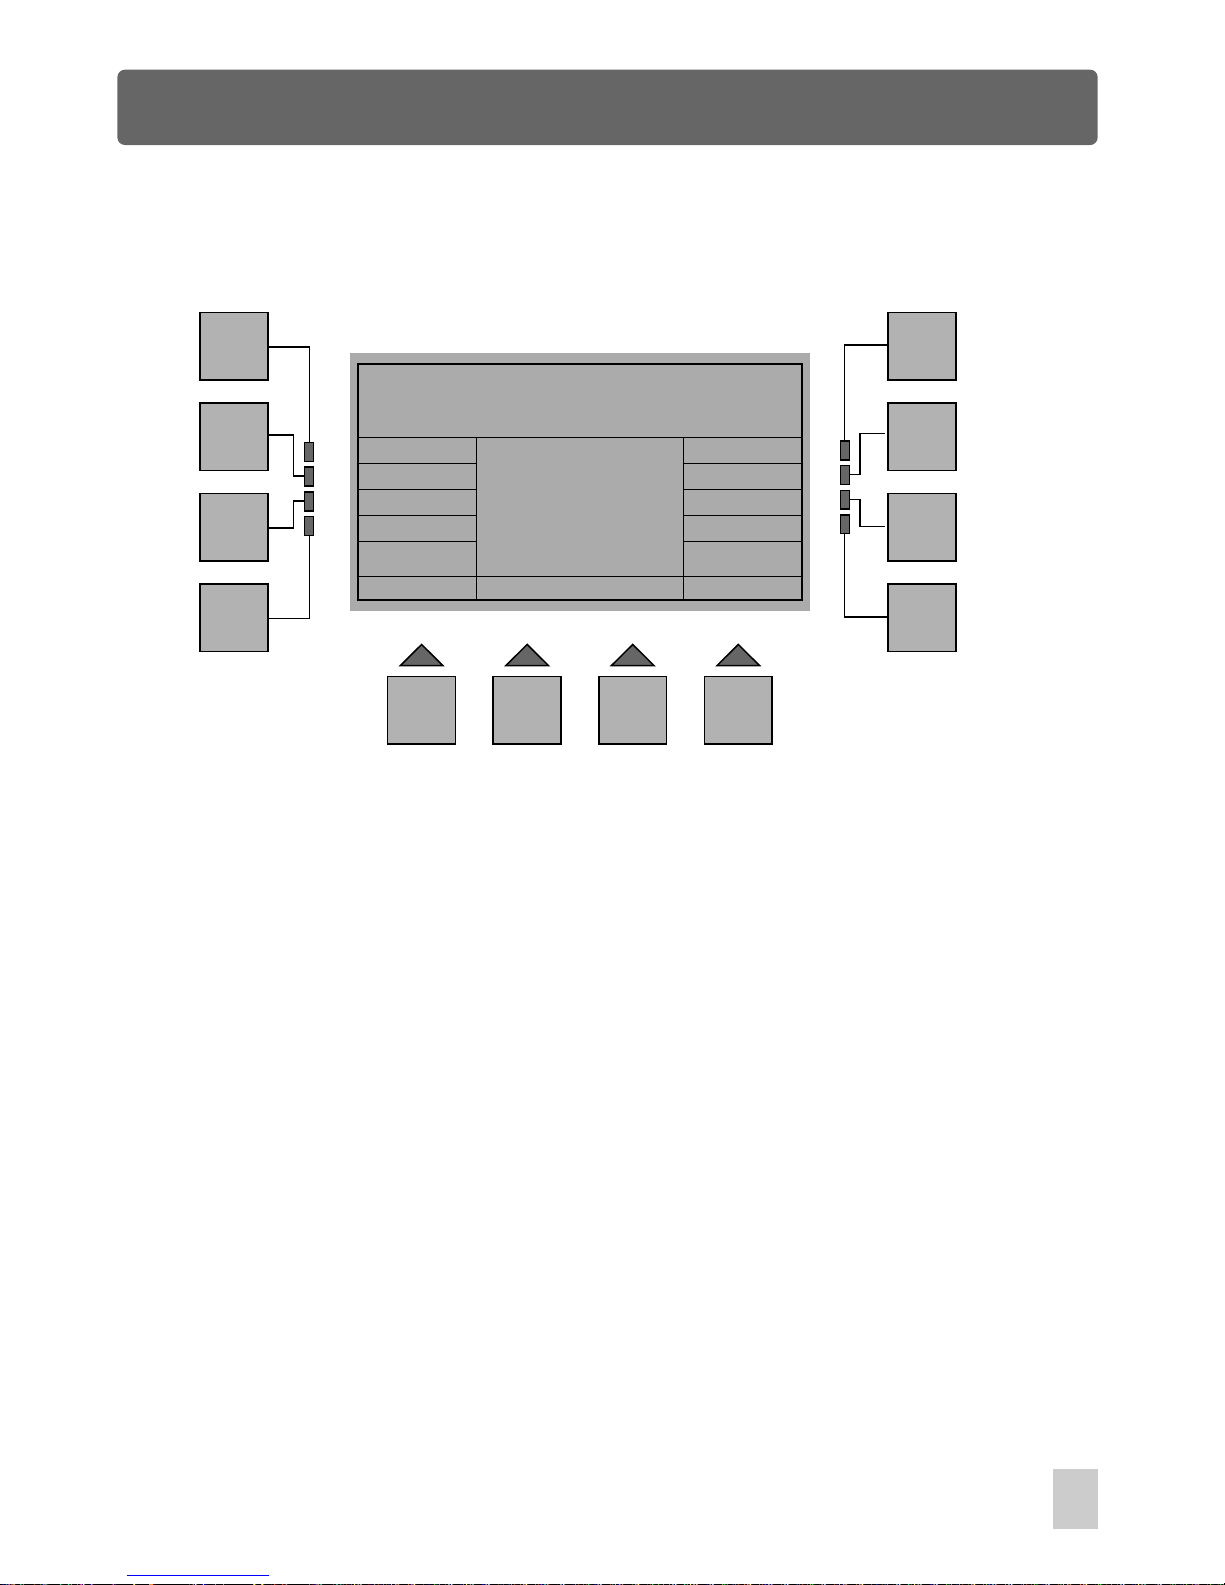
In Download With PC Menu, press the F8 button(Backup), a new window appears.
This menu allows you to make backup copies of the Fixture Setup, Setup, Scenes
and Shows to your PC via RS-232 port.
To connect to a PC, you will need a serial lap link cable available at any computer
store. A standard RS-232 cable will not work. Connect the RS-232 port on Stage
Master Pro to one of the Serial " com" ports on your PC.
You will need a PC running Windows 95/ 98 or higher to connect to Stage Master Pro.
Windows comes with an accessory called Hyper Terminal that can communicate with
Stage Master Pro via one of the "COM" ports on your PC. Determine which of your
"COM" ports is available. COM 1 is generally used for the mouse so it is always
advisable to connect your COM 2 on your PC.Stage Master Pro to
Help - RS-232 connection and Windows Configuration
Backup to PC Menu
29
Page 36

Setup Menu
You must first configure Hyper Terminal to work with Stage Master Pro. Start the
Hyper Terminal program by clicking on "Start" in Windows then "Programs" then
"Accessories" then "Hyper Terminal" then "Hypertrm". If for some reasons Hyper
Terminal is not installed on your version of Windows, install it from your Windows
CD. Go to the control panel, select Add/Remove Programs, select Windows Setup,
and then select Communication. Follow the instructions to complete the installation.
Once the Hyper Terminal Program is getting started, you will be asked to choose a
name and an icon. Name it Stage Master Pro then pick any icon then click OK. Go
to the next dialog box "Connect to" and choose "Direct to COM 2" . Ignore the
telephone number and other settings in this box then click OK. In the next dialog
box, set bits per second to 38400, data bits to 8, parity to none, stop bits to 1, flow
control to none, then click OK. You will access Hyper Terminal desktop. Click File
menu in the upper left corner of the desktop, then "Properties", then select the
"settings" tab. From the settings tab click "ASCII Setup". In the next dialog box,
leave all settings deselect, then OK. Close Hyper Terminal and you will be prompted
to save this Hyper Terminal setup. Click YES to save it then you will have a program
labeled "Stage Master Pro.ht". You may want to make a shortcut on your desktop if
you plan to use your PC with Stage Master Pro often. From this point on, whenever
necessary, you can just click Stage Master Pro.ht icon to invoke the Stage Master
Pro Hyper Terminal configuration quickly.
Once configured, you can use Hyper Terminal to send the Stage Master Pro data
file and save it on your hard disk. Connect to your PC as described hereinbefore.
Next call the version of Hyper Terminal that you created for Stage Master Pro. Click
on "Transfer" on the top menu bar and select "Capture Text". A dialog box will
appear allowing you to select a folder and name for the data file you send. Use a
name like "Stage Master Prolib.txt". Be sure to give a new file name that is not
available in this folder, because the data sent from Stage Master Pro will not be
overwritten the old and instead be added to the existed file. Click "Start" and Hyper
Terminal is now ready to receive the files from Stage Master Pro.
30
Page 37
Setup Menu
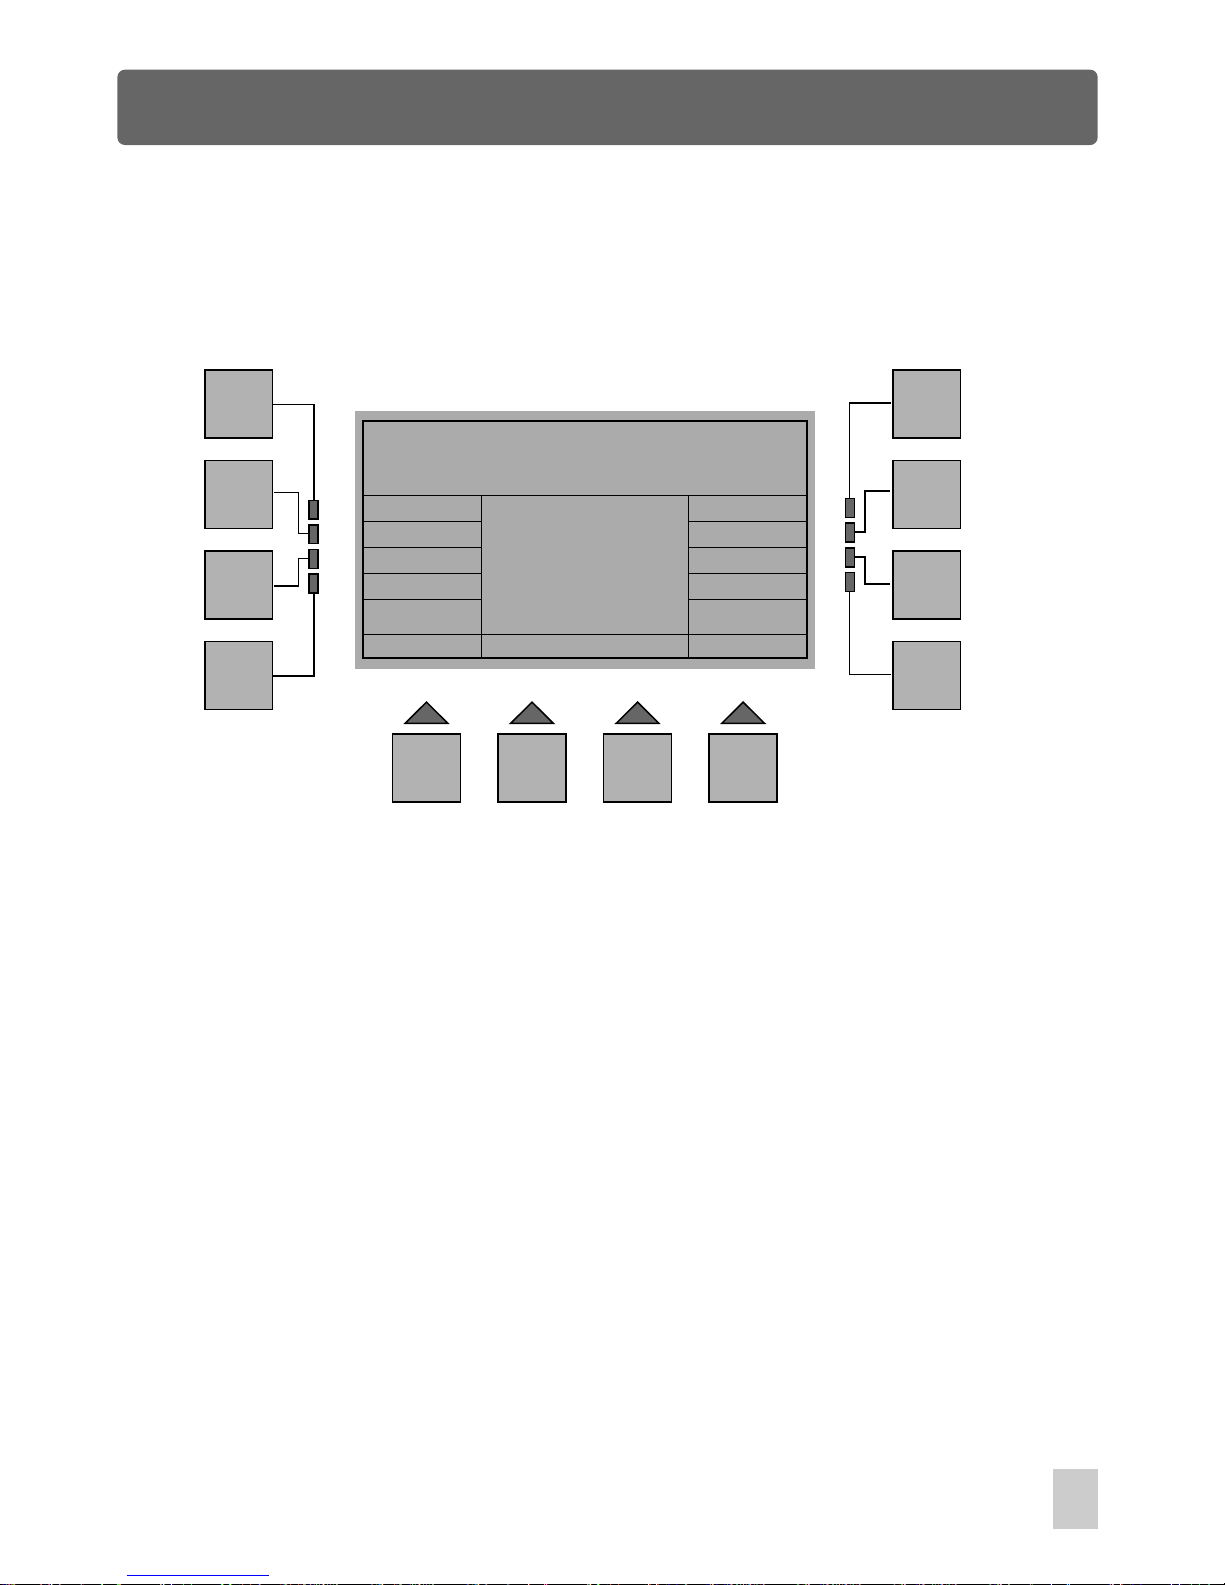
Now go to the Backup to PC Menu on Stage Master Pro, press either of the F4
(FixSetup), F7(Scene) or F8(Setup) buttons to start making backup copies to your PC.
Pressing F5(Show) enables to access to next menu named Show Backup to PC.
Show: 1
Esc
F1
F2
F3
F4
F5
F6
F7
F8
F9 F10 F11 F12
Backup
Show Backup to PC
Backup All
Up
Down
Keypad
Once the backup has been completed, you can either close Hyper Terminal or return
to the "Capture Text" pull down menu and select "Stop", the backup file will
automatically be saved your PC.
In this menu, press F6(Up) or F7(Down) to choose the show(from1 to 36), or you
can press F12(Keypad) for the entry of the show number. Once the show is selected,
press F9(Backup) to make backup copy of this show . If you want to make backup
copies of all shows in the library, Pressing F10 or F11 (Backup All ) will make it.
Pressing F1(Esc) to go back to the previous menu.
31
Page 38
Setup Menu
Restore From PC Menu
Esc
F1
F2
F3
F4
F5
F6
F7
F8
F9 F10 F11 F12
FixSetup Setup
Show
Scene
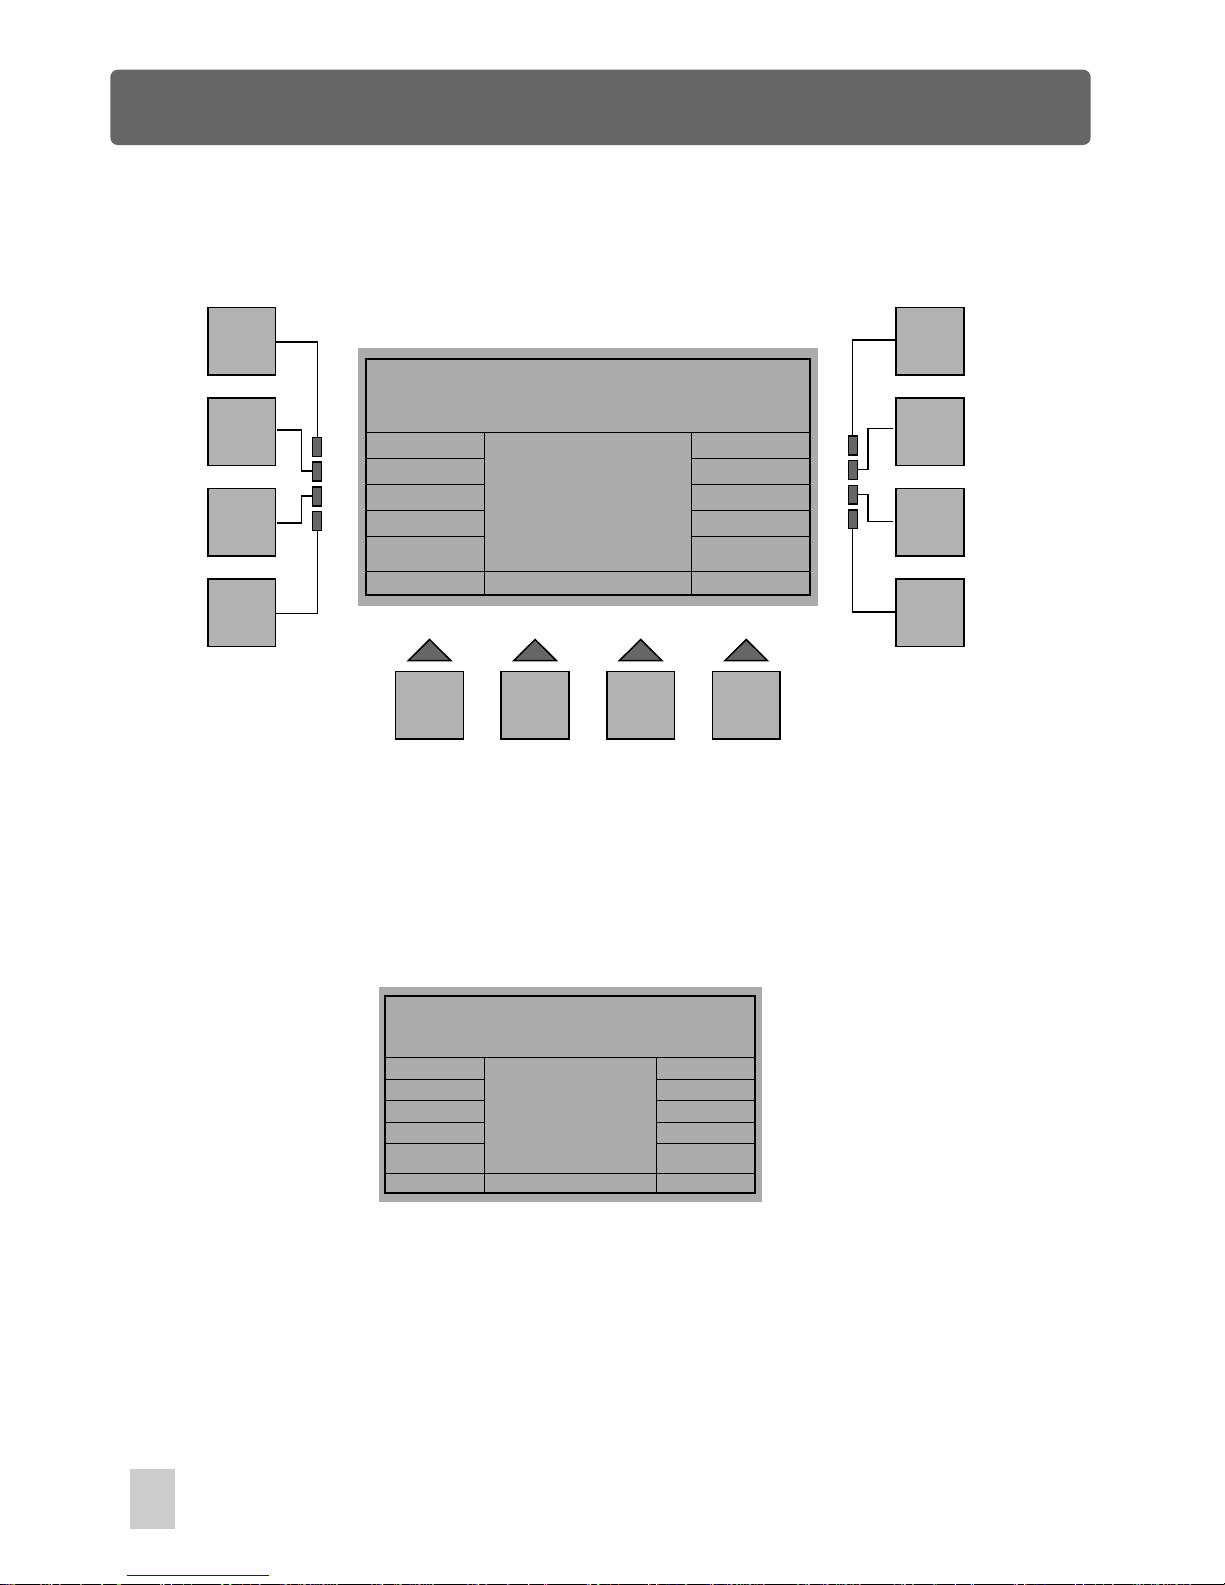
In Download With PC Menu, press the F4 button(Restore), a new window appears.
This menu allows you to download the Fixture Setup, Setup, Scenes and Shows
from your PC via RS-232 port. Press either of the F4(FixSetuP), F7(Scene) or
F8(Setup) buttons, this console is now ready to download the file from your PC.
Pressing F5(Show) enables to access to next menu named Show Restore From PC.
Restore From PC Menu
Esc
Show Restore From PC
Up
Restore
Show: 1
Keypad
Down
In this menu, press F6(Up) or F7(Down) to choose the show(from1 to 36), or you
can press F12(Keypad) for the entry of the show number Once the show is selected,
press F9(Restore) to get download ready . If you want to download all shows ,
Pressing F10 or F11 (Restore All ) will make it. Pressing F1(Esc) to go back to the
previous menu.
Restore All
32
Page 39
Setup Menu
Next call the version of Hyper Terminal that you created for Stage Master Pro. Click
on "Transfer" on the top menu bar and select "Send Text File". A dialog box will appears
allowing you to select the text file that you made when making backup copies. Find the
drive and folder where you created the file if it is not in the current window, select the
file and click on "Open". Hyper Terminal will begin to transmit the file. After the file has
been sent, the prompt information will appear in the LCD.
Update Software
In Download With PC Menu, press F10 or F11(Software) , a dialog box will appear
indicating this console is ready to update higher version software.
Software Restore, Wait ......
Press F1 Key to Exit
[ ] 0%
Call the version of Hyper Terminal that you created for Stage Master Pro. Click on
"Transfer" on the top menu bar and select "Send Text File". A dialog box will appear
allowing you to select the text file we provided(We will provide you the higher version
software in Text type file). Find the drive and folder where the file is located, select the
file and click on "Open". Hyper Terminal will begin to transmit the file. It will take about
two minutes to transfer the file. After the file has been sent, Stage Master Pro will reboot
its system and get started with its procedures. If any errors have been detected, Stage
Master Pro will give error information. Check your connections and retry.
33
Page 40
Setup Menu
Esc
F1
F2
F3
F4
F5
F6
F7
F8
F9 F10 F11 F12
Miscellaneous Menu
ShowMode Display
Software
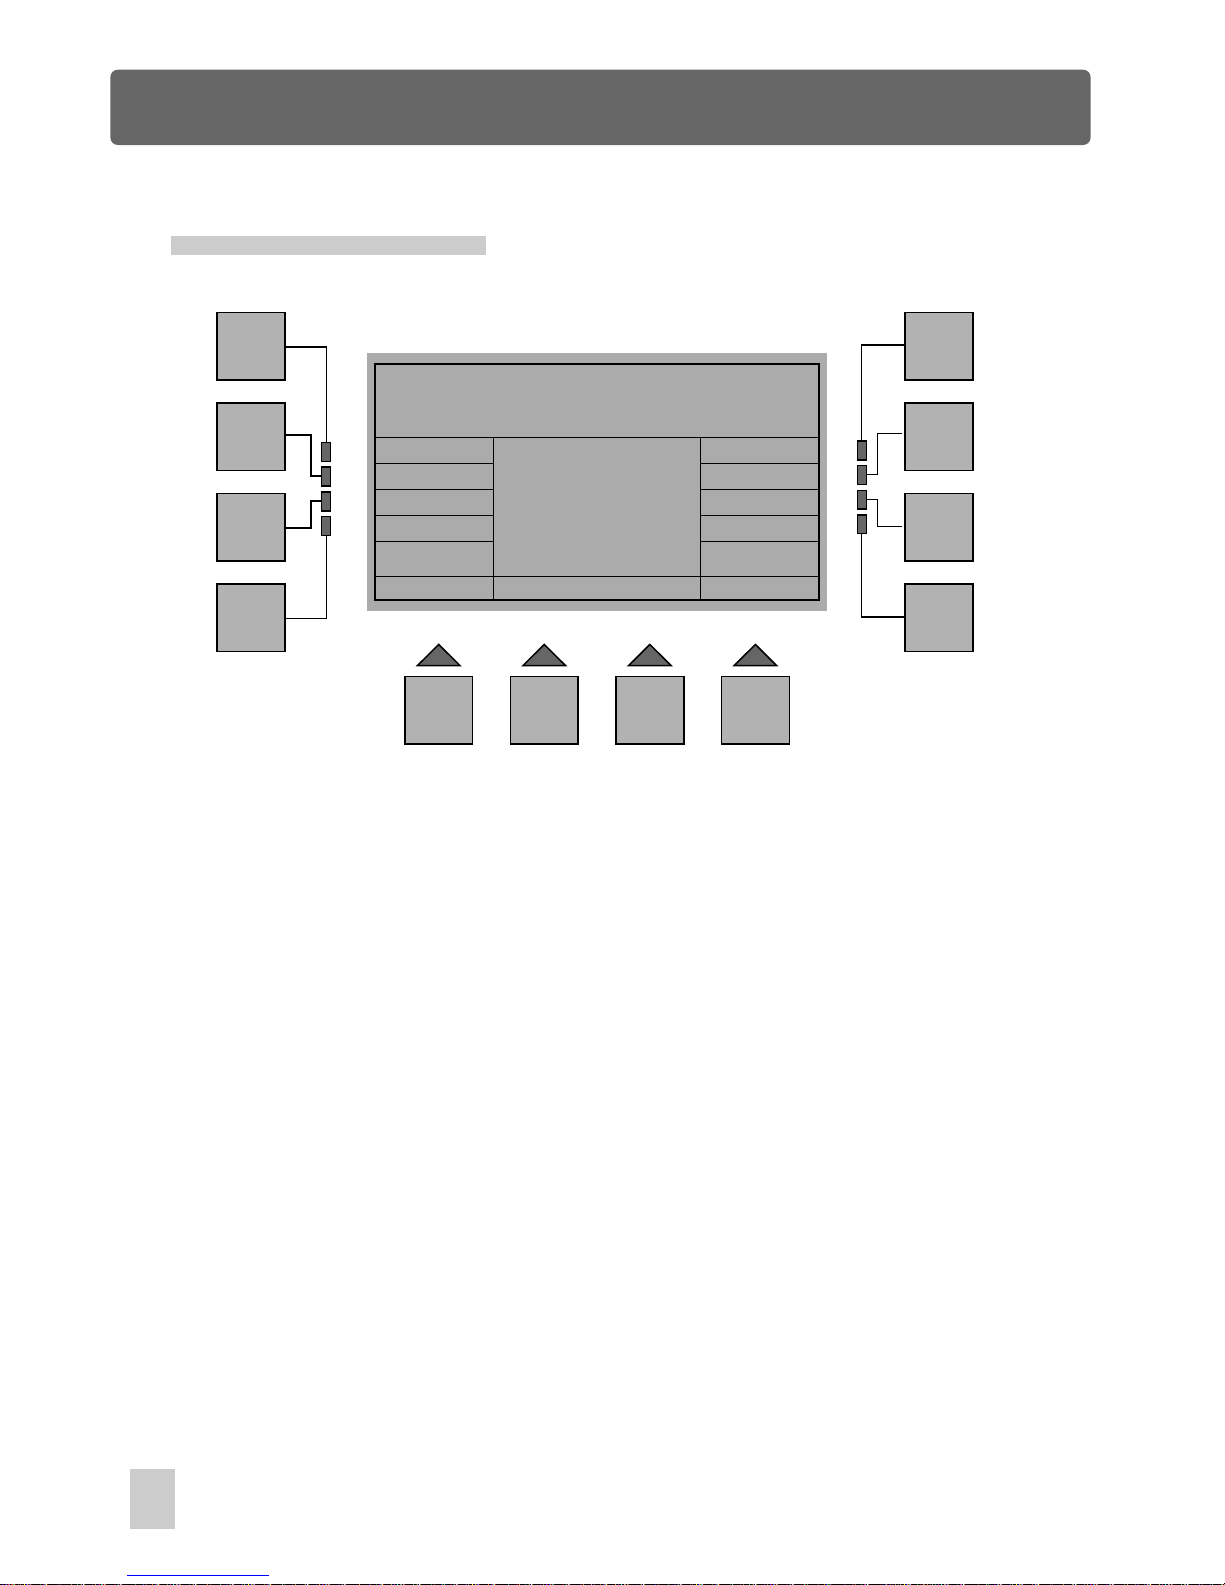
In Setup menu, press the F8 button(More) to access Setup Miscellaneous Menu. A
new window will appear with indications as follows:
Esc :
Goes back to the previous menu.
Joystick:
Gives access to Joystick Configuration.
Auto Run:
Allows to enable or disable the selected show or sequencer to run
automatically as soon as this console is switched on.
Setup Miscellaneous Menu
Auto Run
Joystick
Dimmer
Beeper
MIDI
ShowMode :
Allows to select between Multi Show and Single Show.
Beeper :
Beeper Enable/ Disable
MIDI :
Gives access to MIDI configuration.
Dimmer :
Enables to adjust gooseneck dimmer.
Display :
Enables to adjust dispaly contrast.
34
Page 41
Setup Menu
Joystick Configuration
Esc
F1
F2
F3
F4
F5
F6
F7
F8
F9 F10 F11 F12
Mode
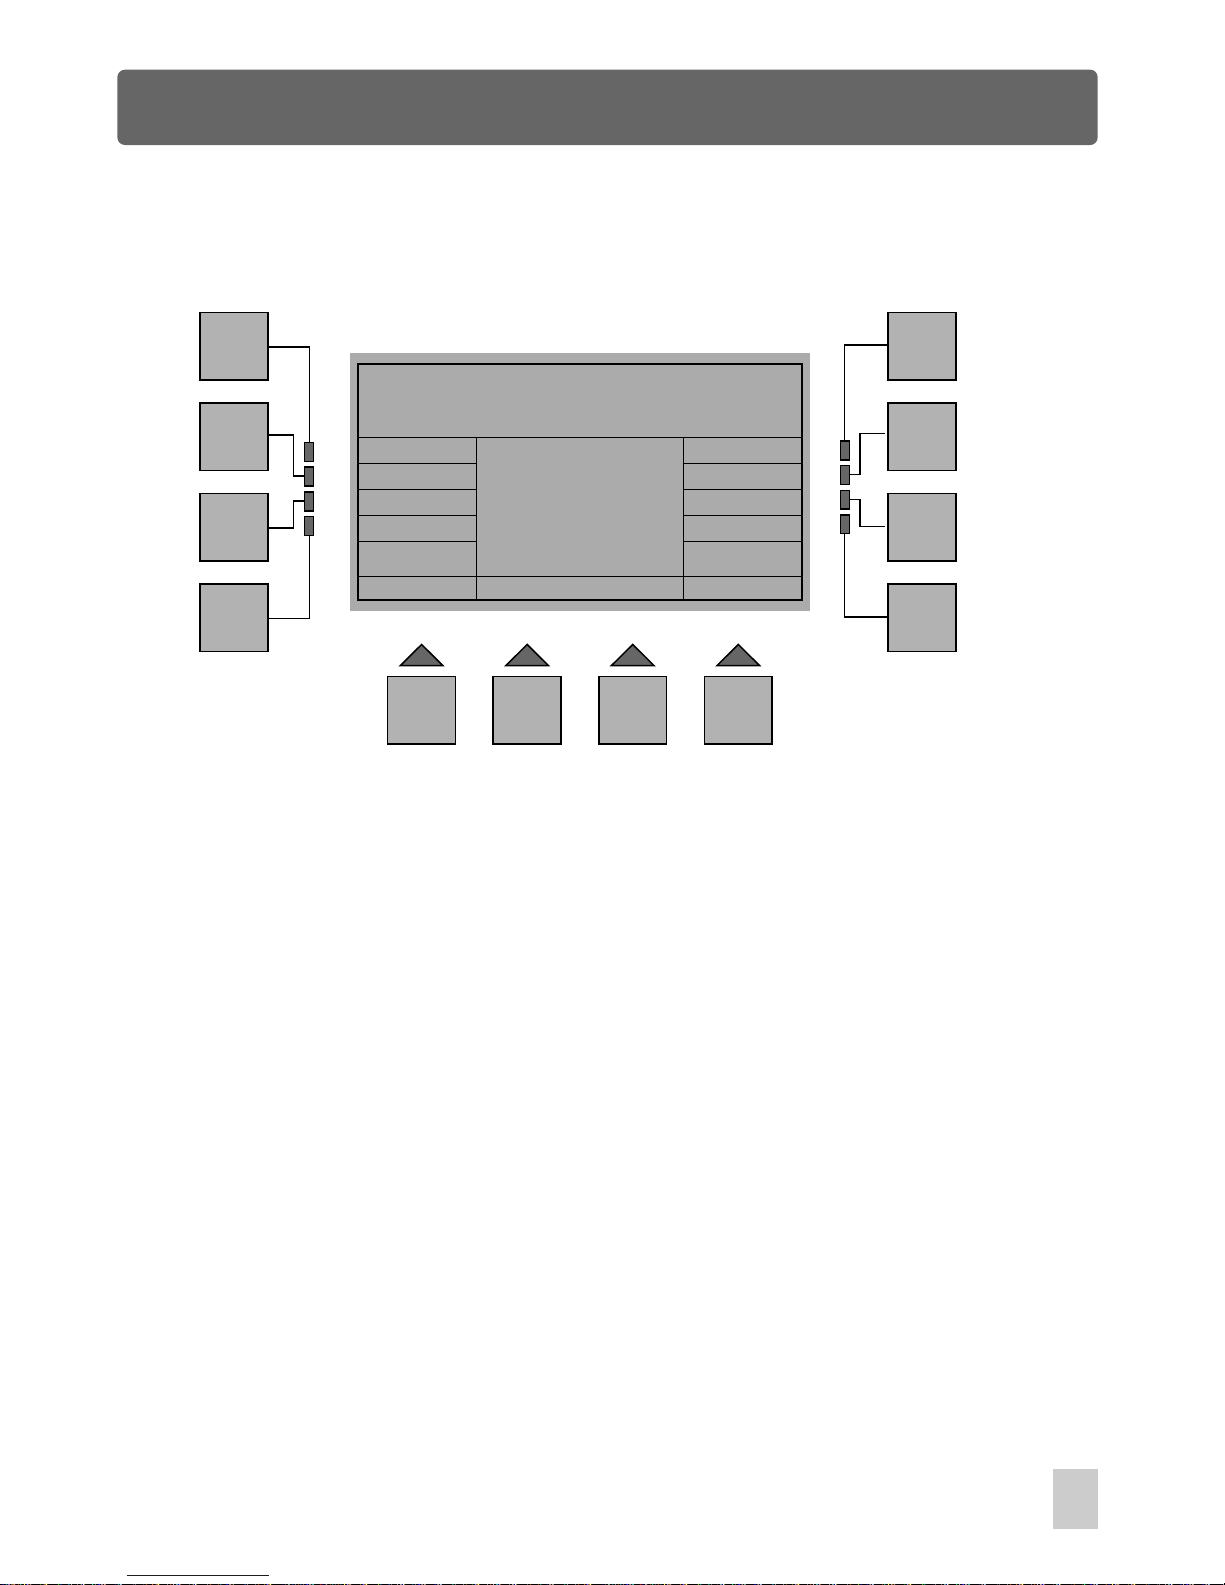
In Miscellaneous Menu, press F2(Joystick), a new window appears indicating the
current Joystick Mode. This menu offers you 5 options to choose the Joystick mode
using the F4(Mode) button, they are:
Joystick Configuration
Mode: VFixMed
Dynamic :
To a short move we have a slow increase of DMX values, to a
larger move we have a speed increase.
VFixLow :
Continuous increase of DMX value at low speed.
VFixMed :
VFixHigh :
Propors :
The value is absolute and given by the joystick;
central position 128.
Continuous increase of DMX value at medium speed.
Continuous increase of DMX value at high speed.
Press the F1(Esc) button to go back to the previous menu. The storage is
automatic.
35
Page 42
Setup Menu
Auto Run Mode
Esc
F1
F2
F3
F4
F5
F6
F7
F8
F9 F10 F11 F12
Mode: Disable
Auto Run Mode Selection
Mode
Show: SEQ.
In Miscellaneous Menu, press F3(Auto Run), a new window will appear. This menu
allows to run automatically the show or sequencer as soon as this console is switched
on. You can enable or disable this function by p , and by means of
fader 1 you can select the show number or the sequencer required to be executed.
ressing F4(Mode)
Press the F1(Esc) button to go back to the previous menu. The storage is
automatic.
36
Page 43
Setup Menu
Single/ Multi Show Mode
Esc
F1
F2
F3
F4
F5
F6
F7
F8
F9 F10 F11 F12
Mode: Single
Show Selection Mode
Mode
In Miscellaneous Menu, press F4(ShowMode), a new window will appear. Pressing
the F4(Mode) button allows you to choose whether the show in execution will be
Single or Multi.
Press the F1(Esc) button to go back to the previous menu. The storage is
automatic.
37
Page 44
Setup Menu
MIDI Configuration
Esc
F1
F2
F3
F4
F5
F6
F7
F8
F9 F10 F11 F12
Mode...: Dis
Mode
MIDI CH: 1
In Miscellaneous Menu, press F5(MIDI), a new window will appear. Pressing the F4
(Mode) allows to enable or disable MIDI mode, and using fader 1 enables you to
scroll to the MIDI channel number matching that of MIDI Keyboard or sequencer.
Press the F1(Esc) button to go back to the previous menu. The storage is
automatic.
MIDI Configuration
38
Page 45
Setup Menu
Beeper Configuration
Esc
F1
F2
F3
F4
F5
F6
F7
F8
F9 F10 F11 F12
Mode: Enable
Mode
In Miscellaneous Menu, press F6(Beeper), a new window will appear. Pressing
the F4(Mode) button allows you to enable or disable the buzzer which sends out
an acoustics signal.
Press the F1(Esc) button to go back to the previous menu. The storage is
automatic.
Beeper Configuration
39
Page 46
Setup Menu
Gooseneck Dimmer Adjustment
Esc
F1
F2
F3
F4
F5
F6
F7
F8
F9 F10 F11 F12
Dimmer: 50
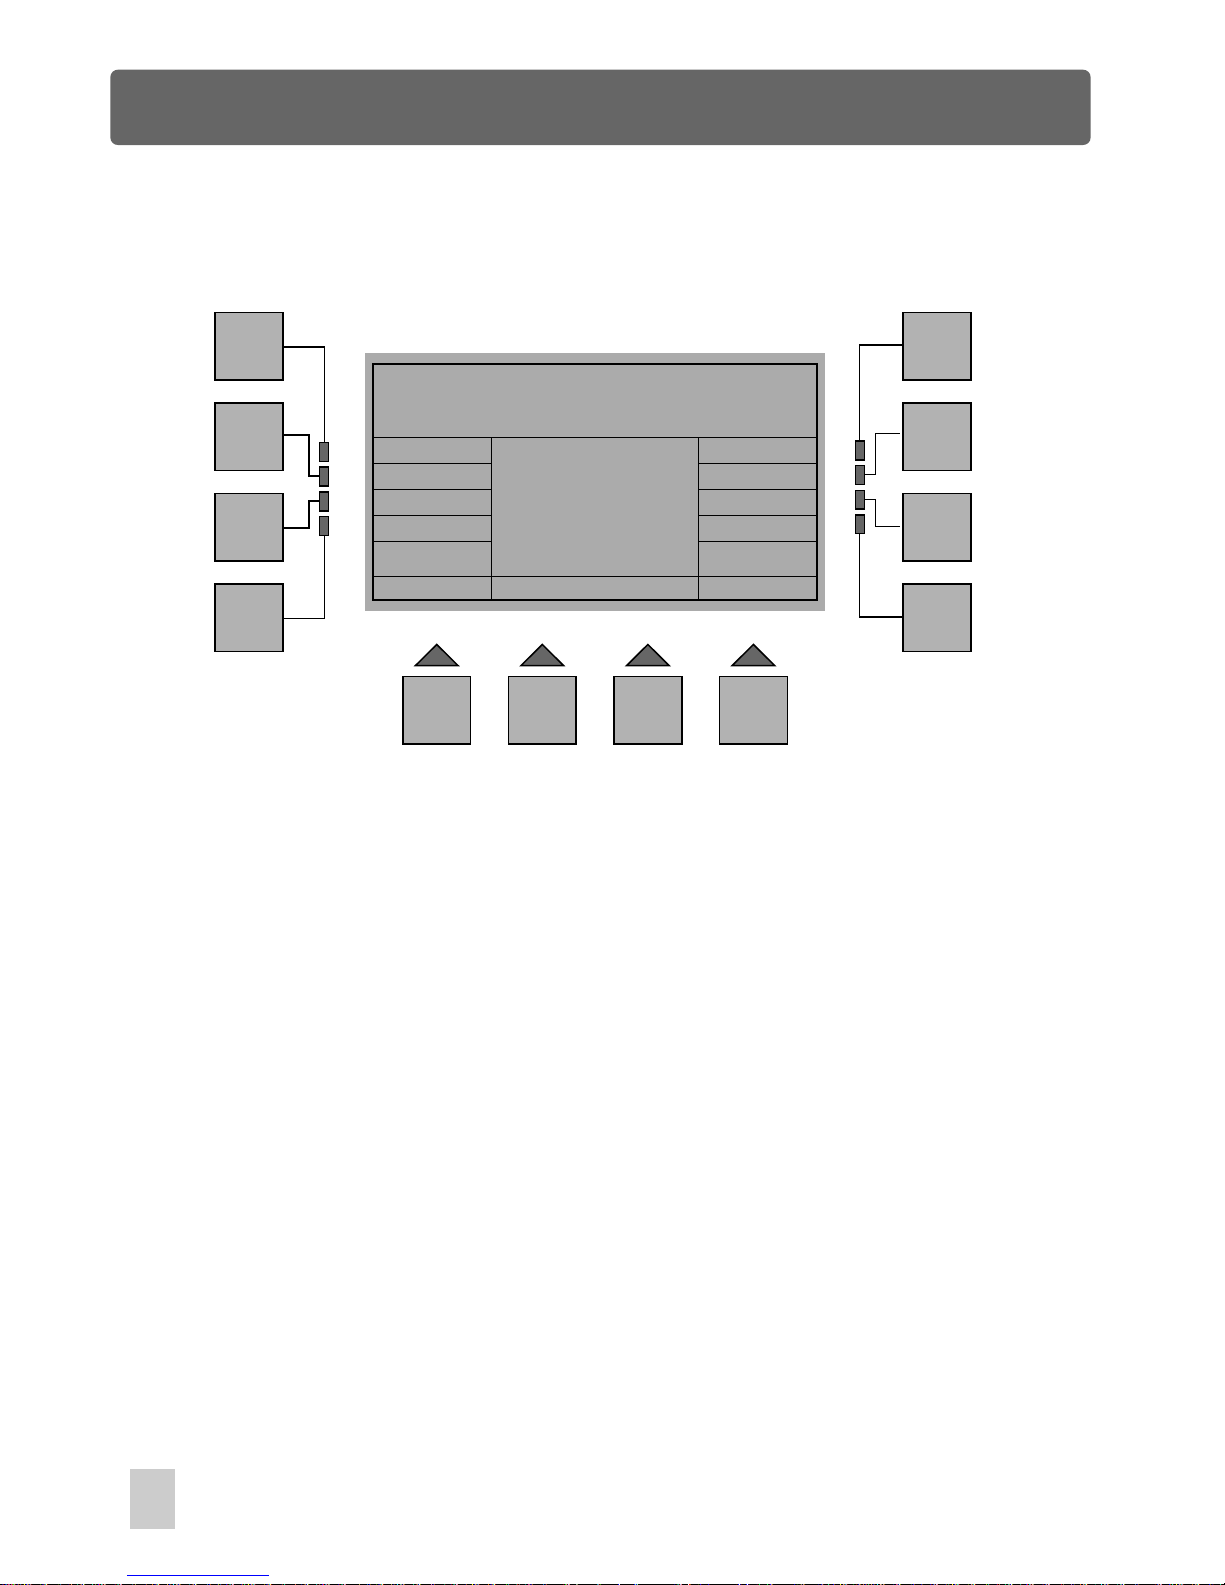
In Miscellaneous Menu, press F7(Dimmer), a new window will appear. In this menu,
using the fader 1 allows you to adjust the dimming level of the gooseneck light from
zero to full intensity. Out of the adjustment, "Off" indicates the gooseneck light gives
zero output, "100" indicates it is fully on.
Press the F1(Esc) button to go back to the previous menu. The storage is
automatic.
Gooseneck Dimmer Adjustment
40
Page 47
Setup Menu
Display Adjustment
Esc
F1
F2
F3
F4
F5
F6
F7
F8
F9 F10 F11 F12
Contrast: 100
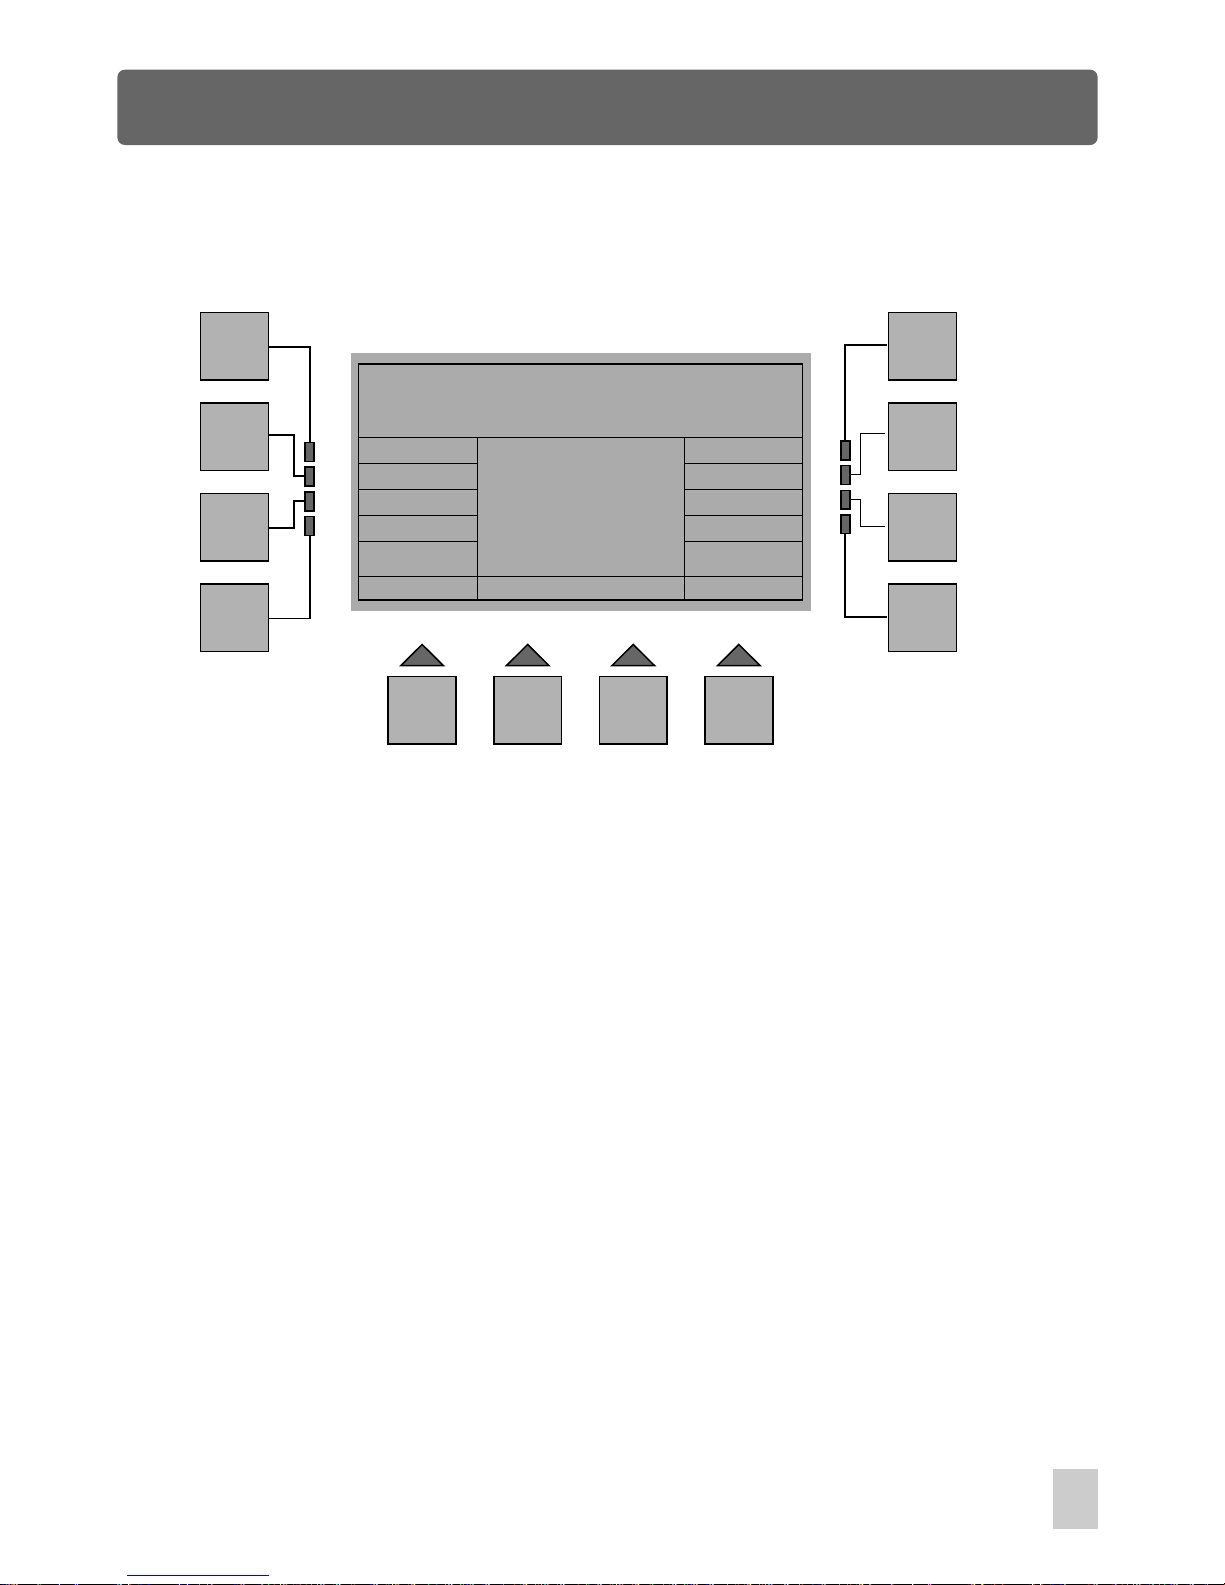
In Miscellaneous Menu, press F8(Display), a new window will appear. You can
adjust the display contrast by means of fader 1(from 1 to 100).
Press the F1(Esc) button to go back to the previous menu. The storage is
automatic.
Display Adjustment
41
Page 48
Setup Menu
Music Gain Adjustment
Esc
F1
F2
F3
F4
F5
F6
F7
F8
F9 F10 F11 F12
Gain: 1
Test: [ ]
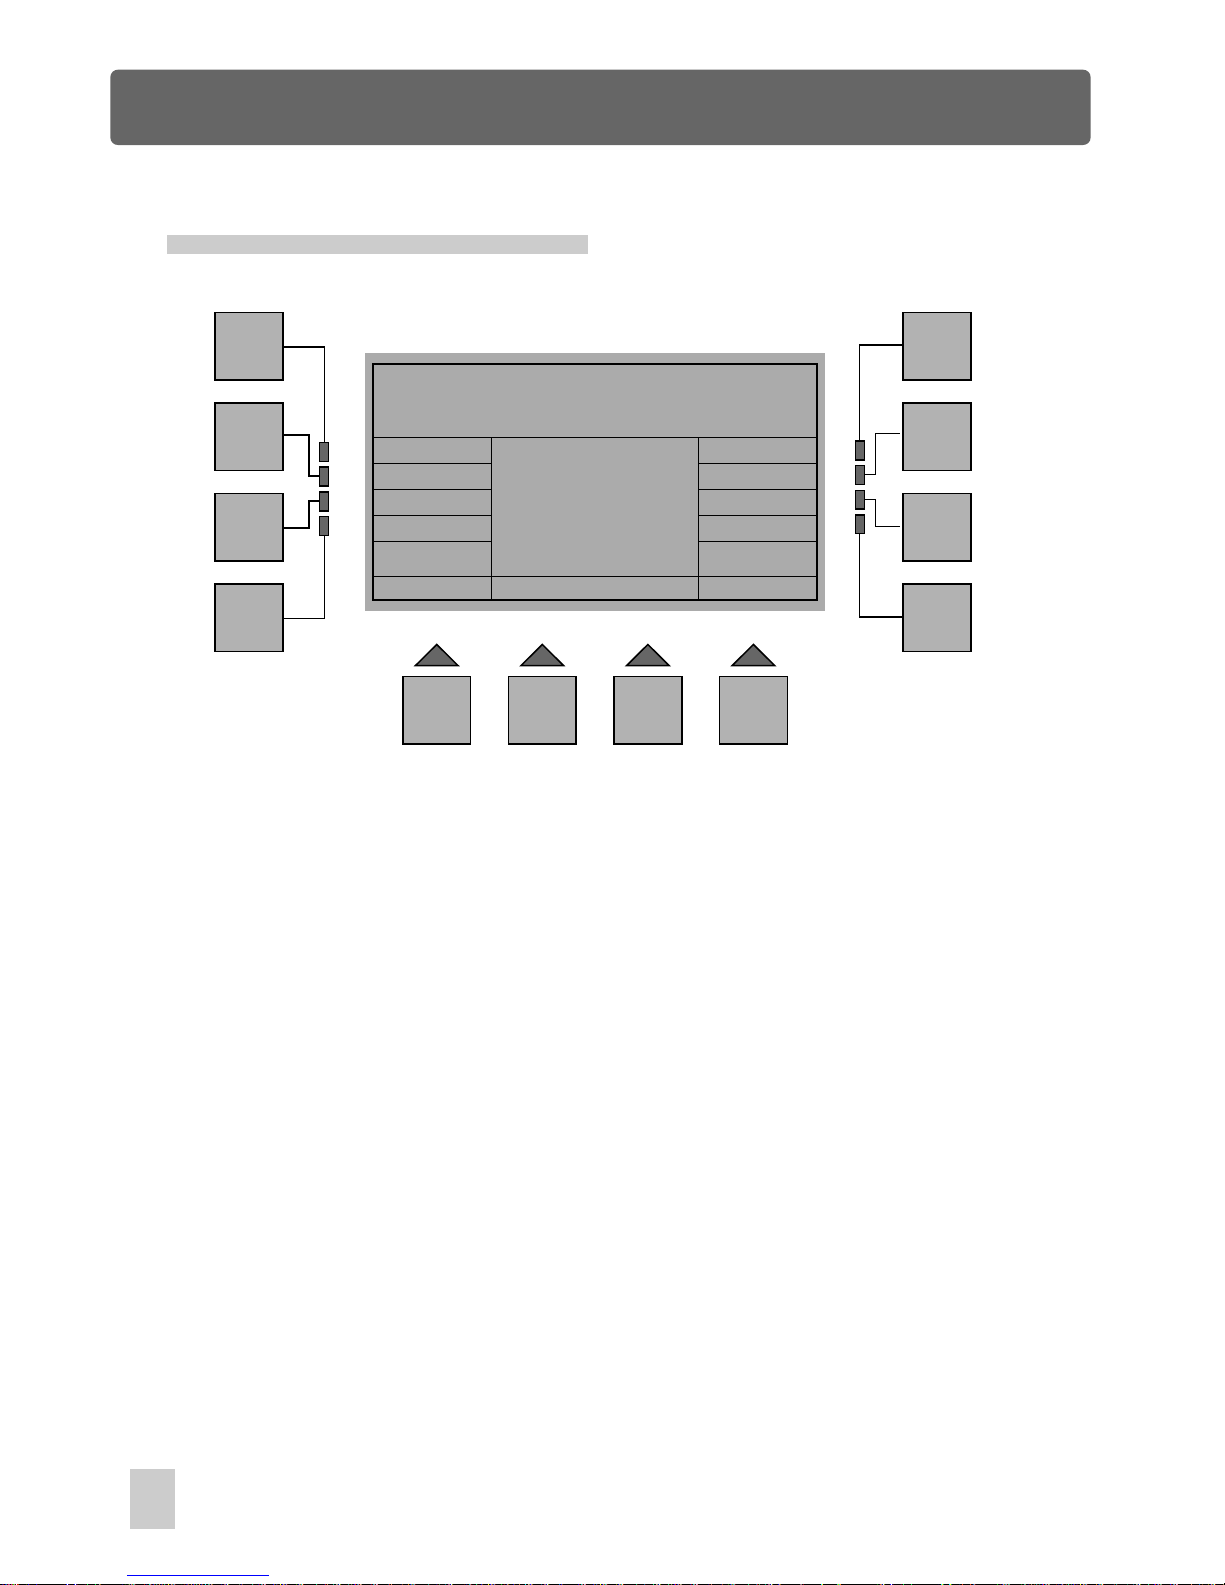
In Setup Menu, press F10 or F11(Music Gain) to access Music Gain Adjustment. In
this menu, using the fader 1 allows to adjust music gain from 1 to 100. The line Test
and the brackets will be used to test whether the audio sensitivity is suitable or not.
The cursor within the brackets will flash once when it detects the music beat. As a
result, you can adjust the optimum music gain.
Press the F1(Esc) button to go back to the previous menu. The storage is automatic.
Music Gain Adjustment
42
Page 49
Setup Menu
Esc
F1
F2
F3
F4
F5
F6
F7
F8
F9 F10 F11 F12
Insert your Password
Press the F1(Esc) button to go back to the previous menu if you intend to abort
this procedure.
Change Password
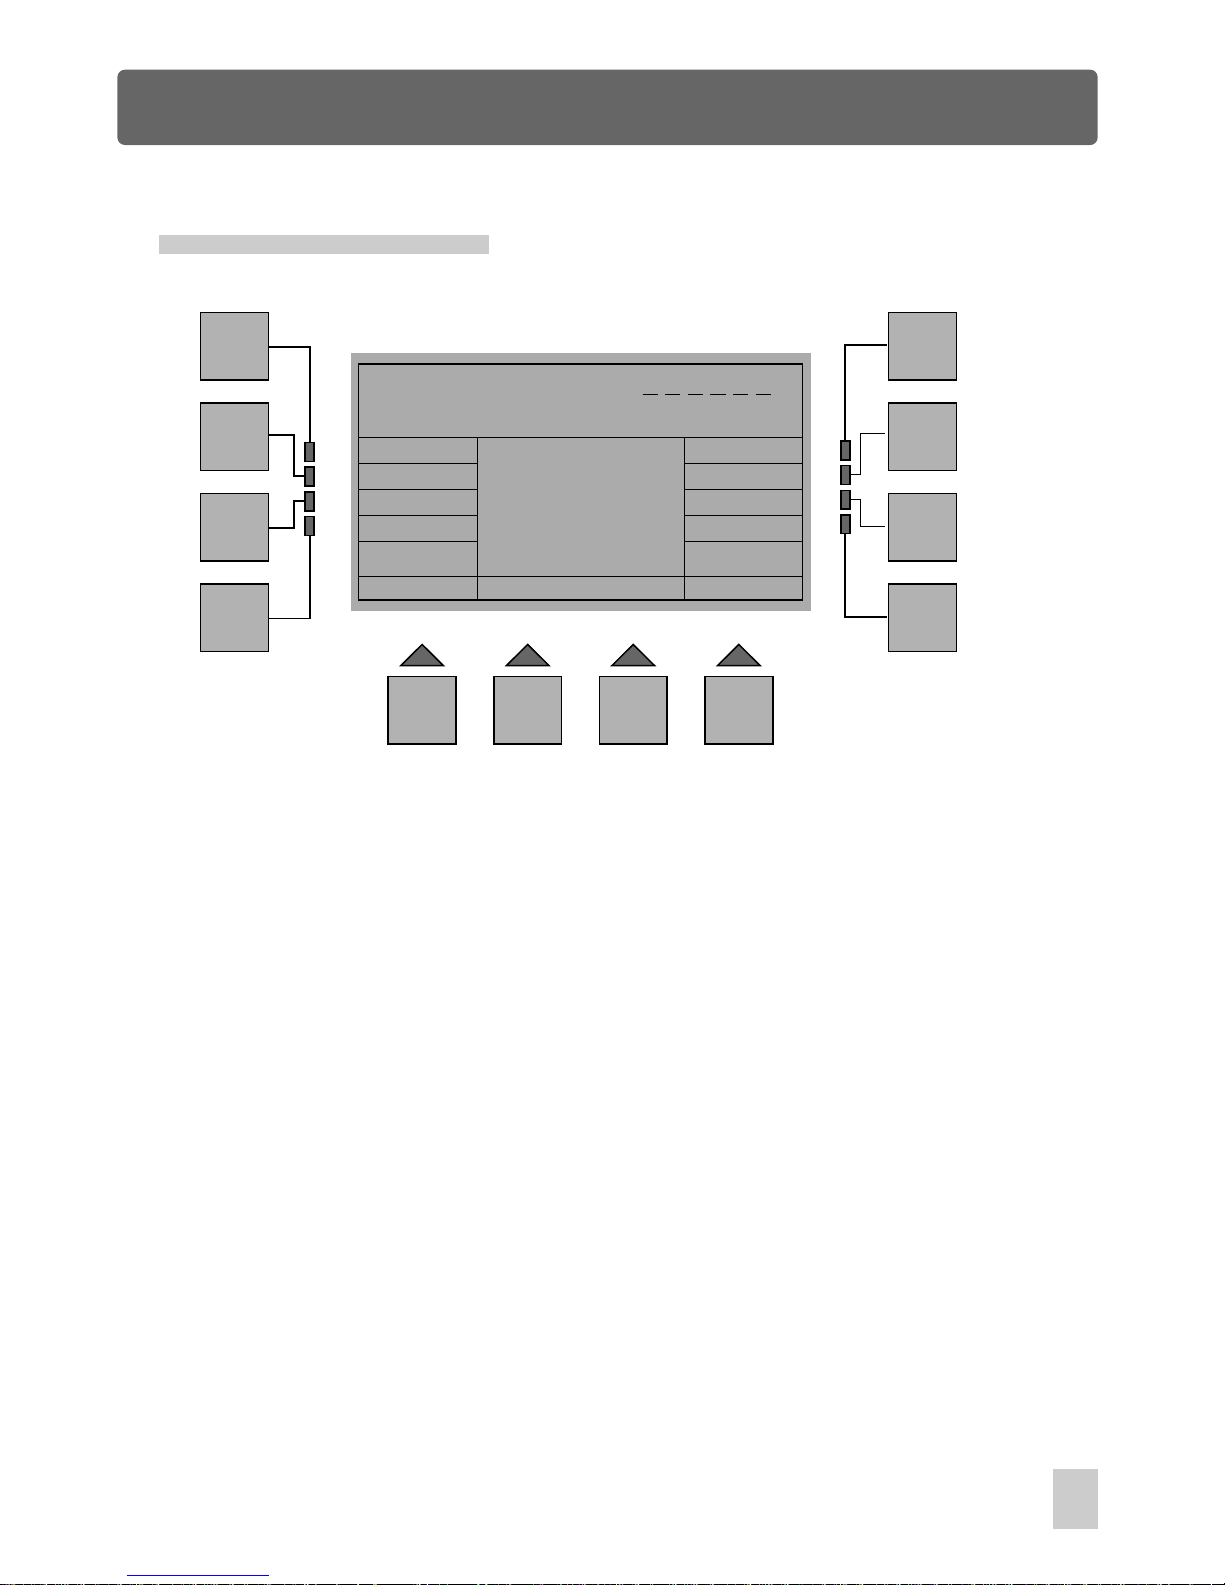
In Setup Menu, press F9(Password) , you will be required to insert your current
password. When you have entered the password correctly, you will be required
to give a new password. Use the Show buttons to enter your new password,
next repeat the same password. As a result, the new password replaces the old
one successfully. If you fail to change the password, it will return to Setup menu
automatically.
43
Page 50
Setup Menu
Reset
Esc
F1
F2
F3
F4
F5
F6
F7
F8
F9 F10 F11 F12
!! All data will be deleted !!
Ok
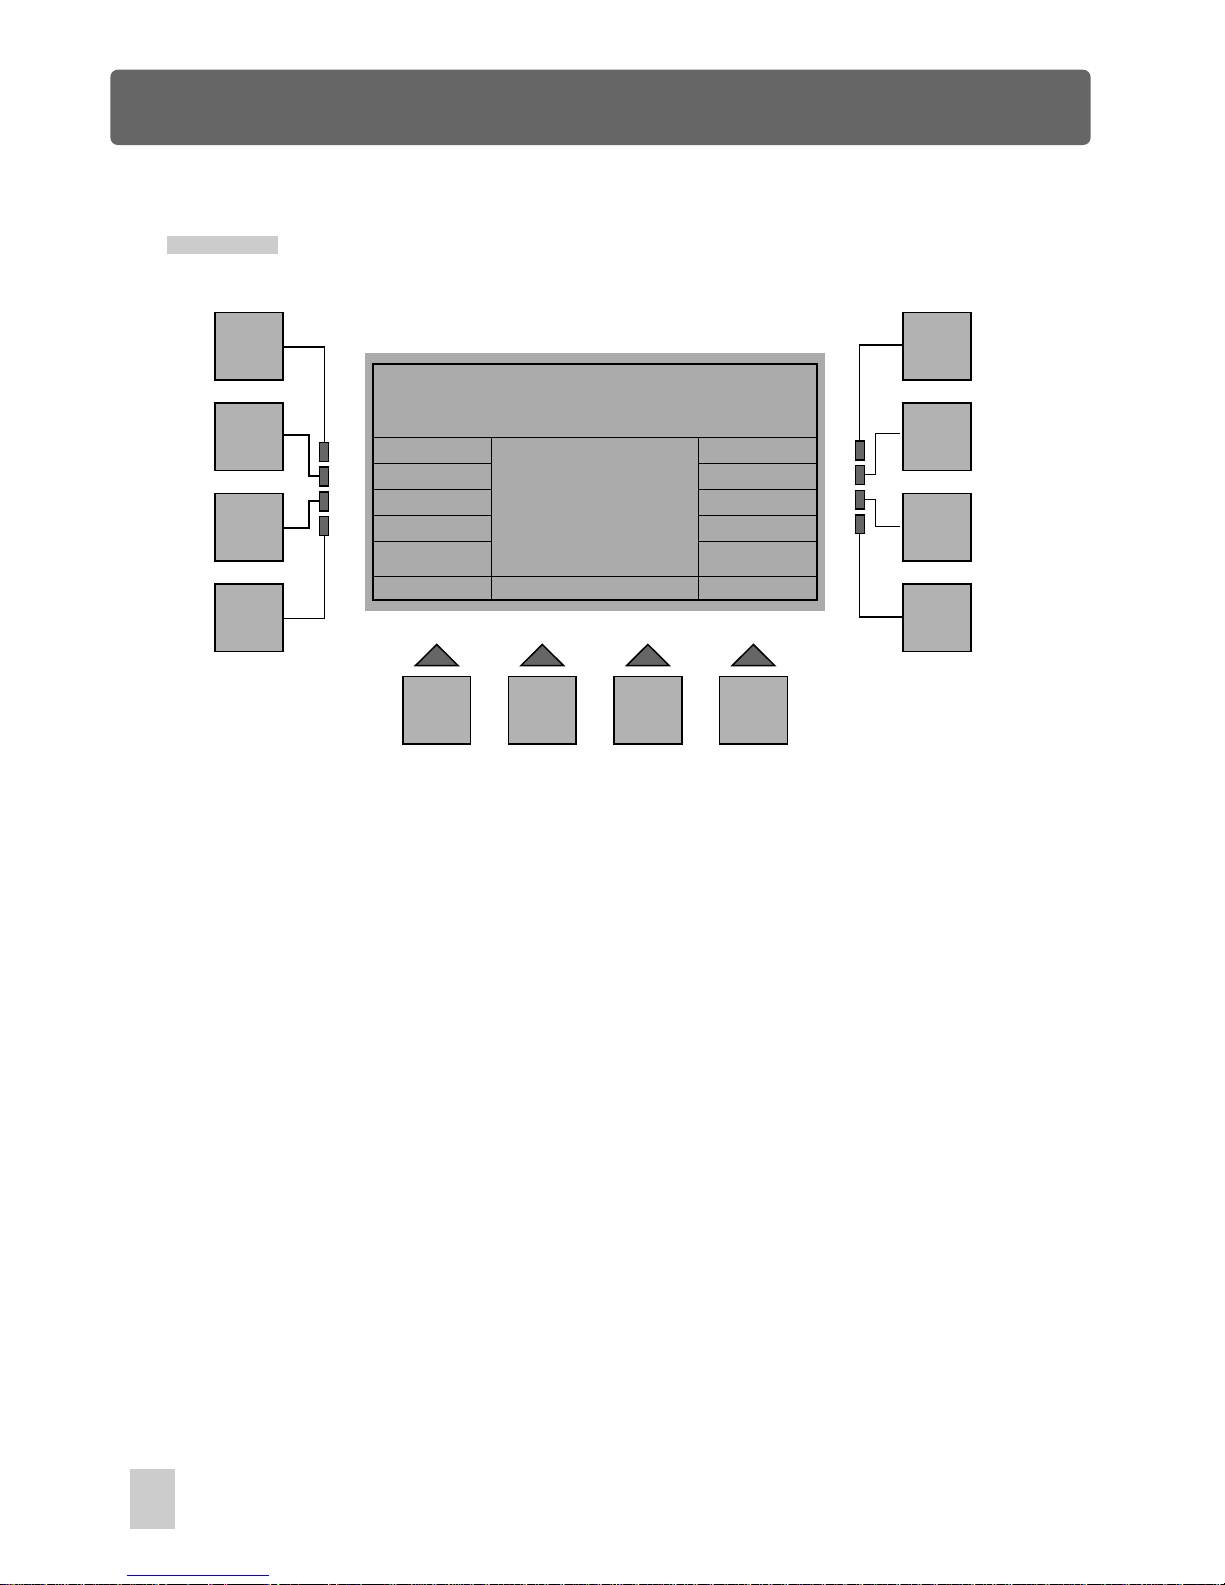
In Setup Menu, press F12(Reset), you will be required to insert your password. After
entry of password, you will access the Reset menu immediately. This menu gives a
warning message, which reminds that all data files, including the shows, scenes and
the library will be deleted if you confirm this reset.
Press the F5(Ok) button to delete all the data files and restore settings to default value.
Press the F1(Esc) button to abort this reset and to go back to the previous menu.
44
Page 51
Edit Show Menu
M
255
CH
1-4
5-8
9-12
13-16
000
025
000
000
000
255
128
000
000
000
000
000
000
000
000
255
X 255
XF 000
Y 255
YF 000
Esc
Step Up
Step Dw
Step-Key
Utility
Run
Ch-Key
Step : 2
Show: 1
Clr Fix. Delete Insert
Update
Fix: - -
DMX s/l
G-Crs
2.0
G-Std
5.0
multi
F1
F2
F3
F4
F5
F6
F7
F8
F9 F10 F11 F12
S-Crs
2.0
S-Std
2.0
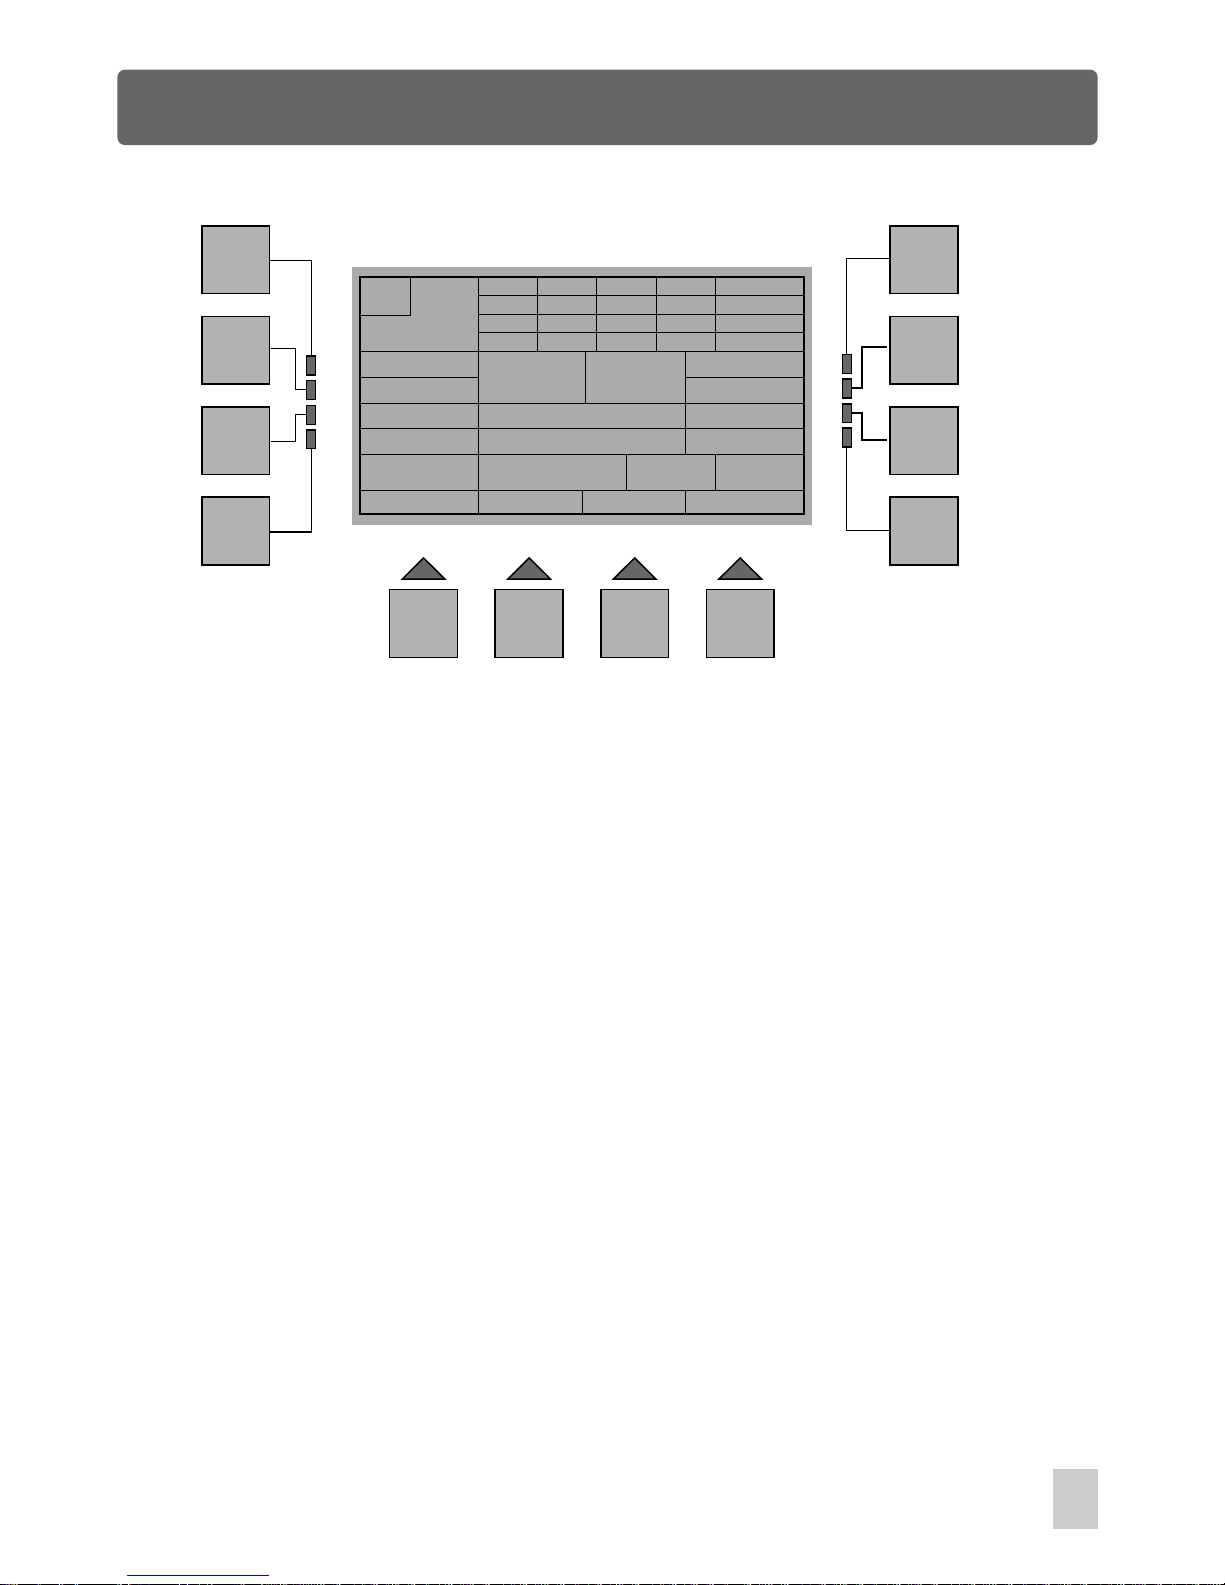
Esc :
Goes back to the previous menu.
Step Up:
Goes to the step by raising the step.
Step Dw:
Step-Key: Goes to the step by entry of step number, max. or min. Step.
Utility:
Gives access to Show Edit Utility.
Run:
Step demo to test the running effect.
In Homepage phase, press the F3 button(ShowEdit), you will be required to select a
show you want to work on. After entry of a show number by means of the Show
buttons, you will access Edit Show menu immediately. The console allows you to
record up to 36 shows through this menu. In this menu, the information indications are
detailed as follows:
multi
Goes to the step by lowering the step.
Ch-Key:
Clr Fix.:
Delete:
Insert:
Update:
S-Crs:
S-Std:
Numerical entry of the selected channel.
Release all manual fixtures.
Delete the current step.
Insert a new step.
Modify the current step.
Fade time of the current step
Standing time of the current step.
45
Page 52
Insert/ Delete/ Update Steps
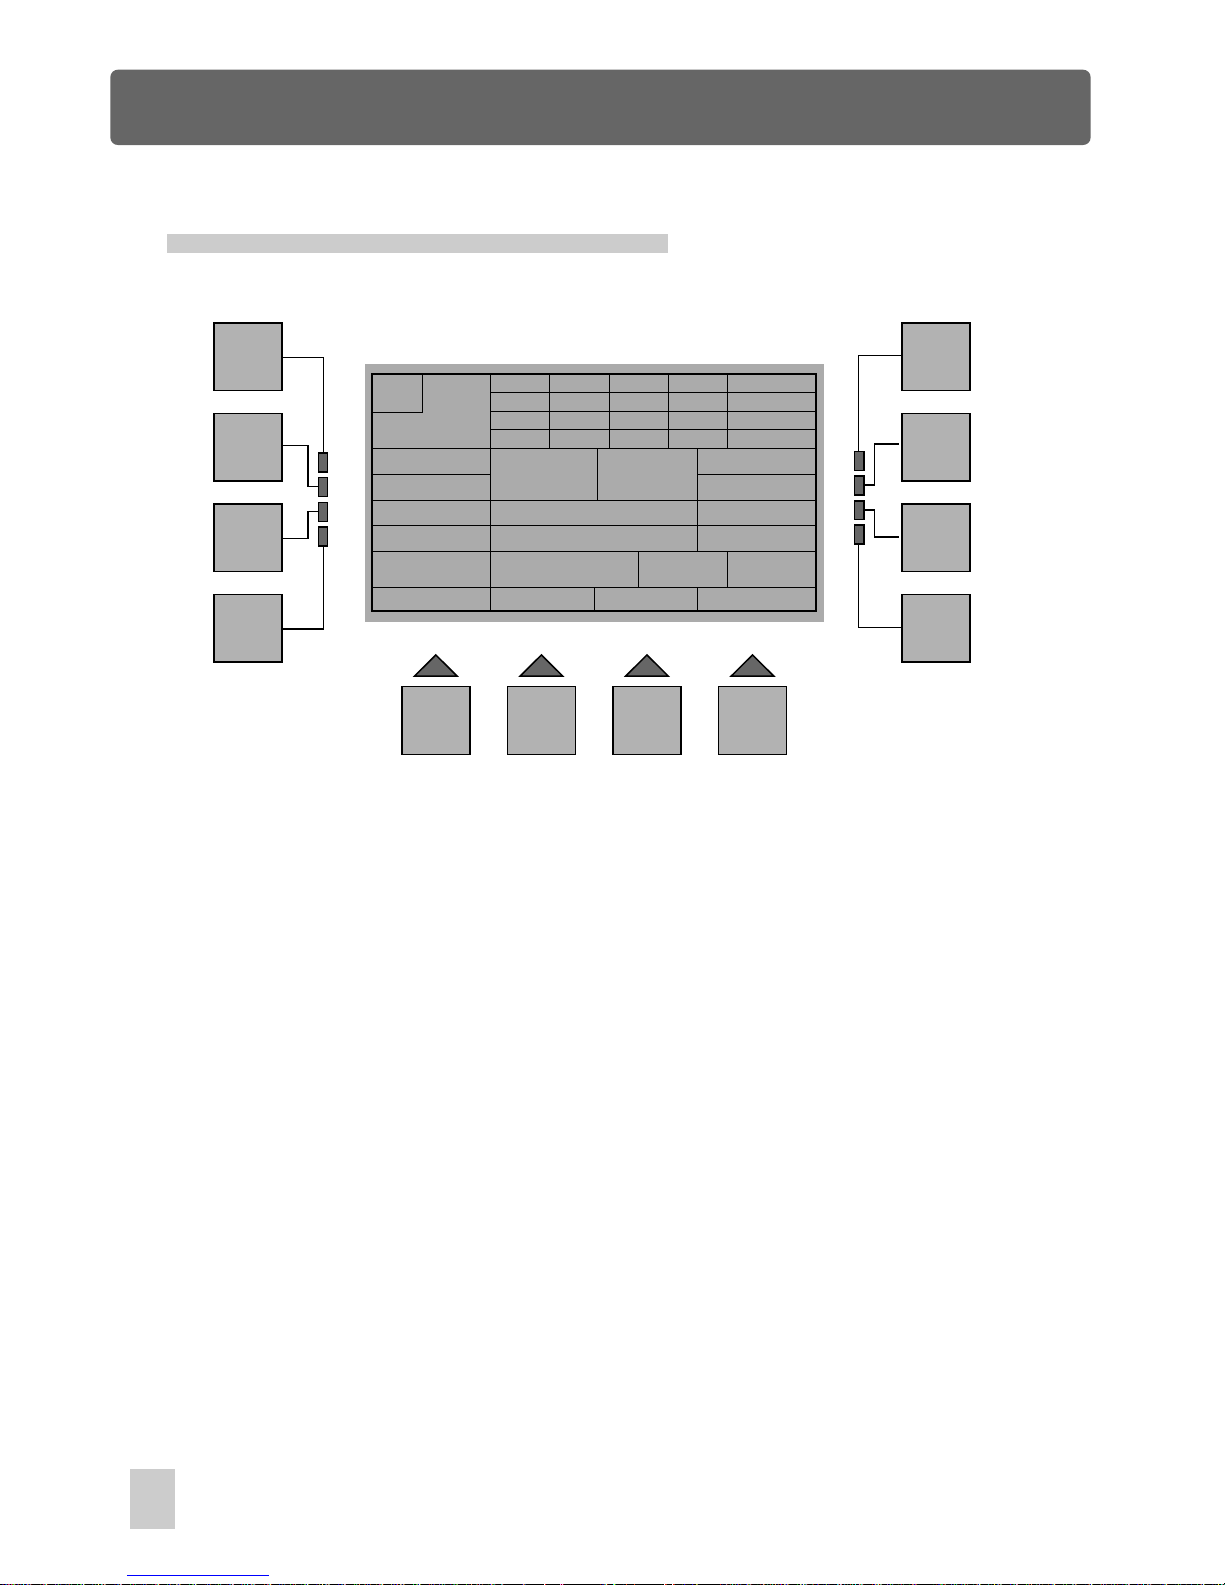
In Edit Show Menu, you can use the Fixture buttons in combination with Bank
buttons to create a new step, or call and employ the scene as a step. Press
F11(Insert) to add a step after the current step.
If you intend to delete a step from this show, first use F2(Step Up), F3(Step Dw) or F4
(Step-Key) to select the step number, next press F10(Delete). You will be required to
confirm by "Ok" or to exit by the F1 button. "Ok" confirms this deletion, as a result, this
step will be deleted.
When the step consists of fixtures, you can use the Fixture buttons to modify the step
as you desire. When you are sure your modification, simply press the F12(Update) button.
You will be required to confirm by "Ok" or to exit by the F1 button. "Ok" confirms this
modification, as a result, the old will be replaced by this new one.
When the step originates from a scene, you can call another scene to replace the old
one so that you can update the step.
M
255
CH
1-4
5-8
9-12
13-16
000
025
000
000
000
255
128
000
000
000
000
000
000
000
000
255
X 255
XF 000
Y 255
YF 000
Esc
Step Up
Step Dw
Step-Key
Utility
Run
Ch-Key
Step : 2
Show: 1
Clr Fix. Delete Insert
Update
Fix: - -
DMX s/l
G-Crs
2.0
G-Std
5.0
multi
F1
F2
F3
F4
F5
F6
F7
F8
F9 F10 F11 F12
S-Crs
2.0
S-Std
2.0
multi
46
Edit Show Menu
Page 53
Show Edit Utility
Esc
F1
F2
F3
F4
F5
F6
F7
F8
F9 F10 F11 F12
Show: 2
Clr Show
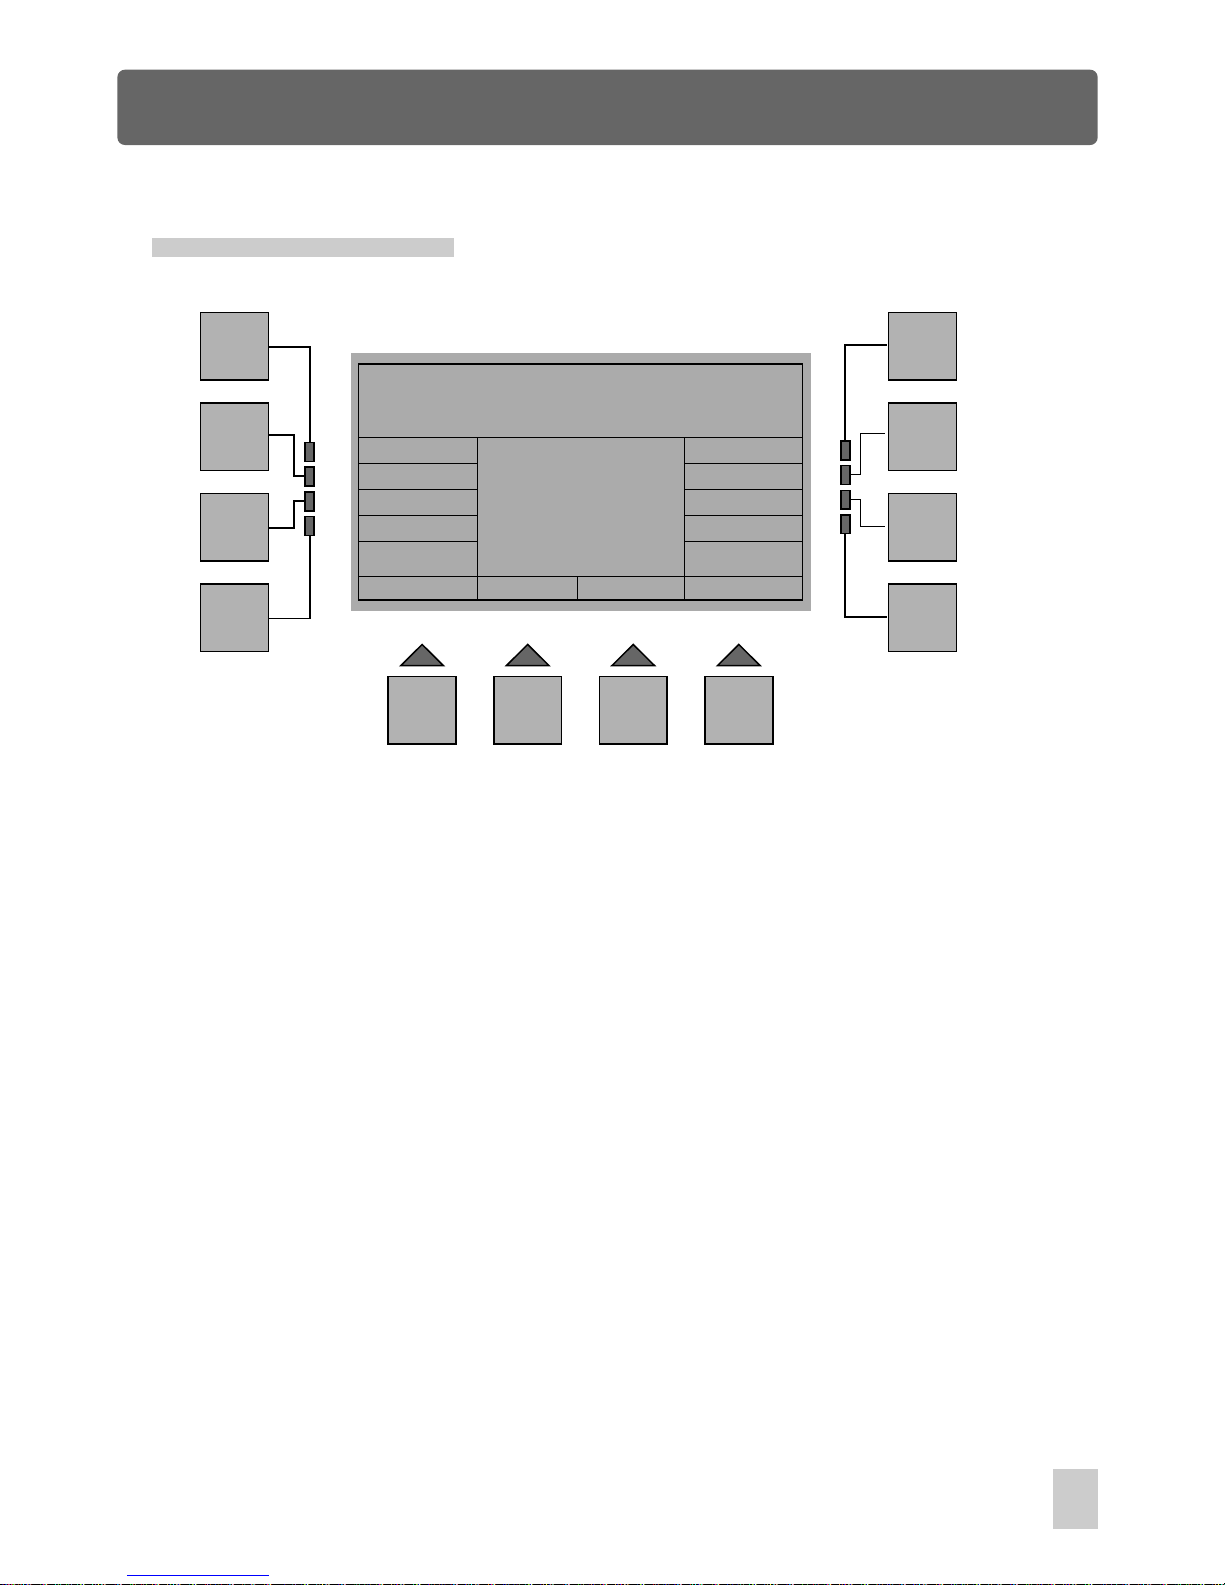
In Edit Show Menu, press F6(Utility) to access Show Edit Utility. The options available
are as follows:
Show Edit Utility
Clone Erase Copy ShowAll
InsShow
CpyShow
Memory Used
0%
[ ----------- ]
Esc :
Goes back to the previous menu.
Clr Show:
Allows to clear a show.
InsShow:
CpyShow: Enables to copy a show to replace another one
Clone:
Allows to clone the step(scene) so that you can modify the step
Erase:
Enables to erase one or more steps from this show
Enables to add a show after a step
Copy:
ShowAll:
Enables to copy one or more steps and add them after a step
Shows the fixture patch and the fixtures used for this show
In this menu, the central box of the window displays the current show and
memory used.
47
Edit Show Menu
Page 54
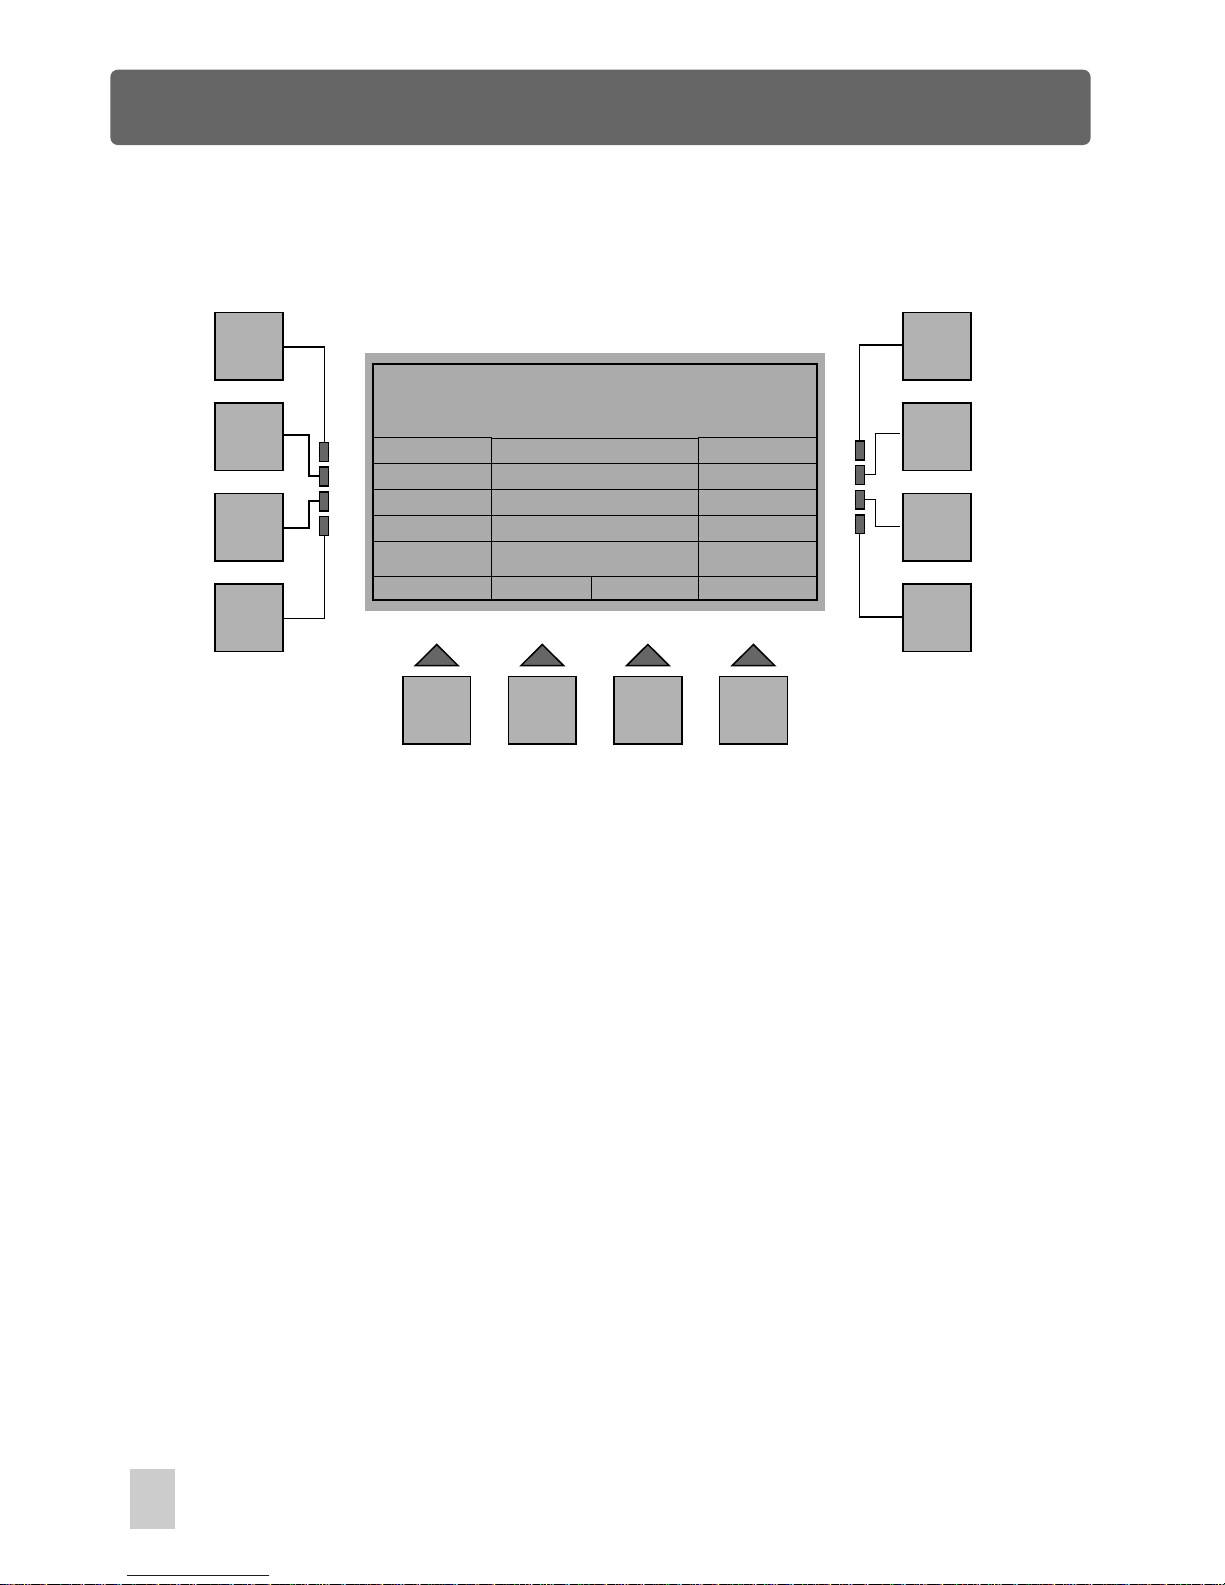
Add a Show After
Esc
F1
F2
F3
F4
F5
F6
F7
F8
F9 F10 F11 F12
Show Insert
In To
In Show Edit Utility Menu, press F7(InsShow) to access Show Insert menu. This
menu allows you to add a show in to another show.
First press F3(Show) to position the cursor ">>" in Show line, use F6(Up), F7(Down)
or F12(Keypad) to select the show(from 1 to 36).
Next
step after which you intend to add a show.
Press F10(Insert), you
press F4(In To) to position the cursor ">>" in In To line, use F6(Up), F7(Down)
or F12(Keypad) to select the
will be required to confirm by "Ok" or to exit by the F1
button. "Ok" confirms this operation, as a result, this show will be added after
the step.
Press the F1(Esc) button to go back to the previous menu.
Show
Insert
Keypad
Up
Down
>> 1
9
48
Edit Show Menu
Page 55
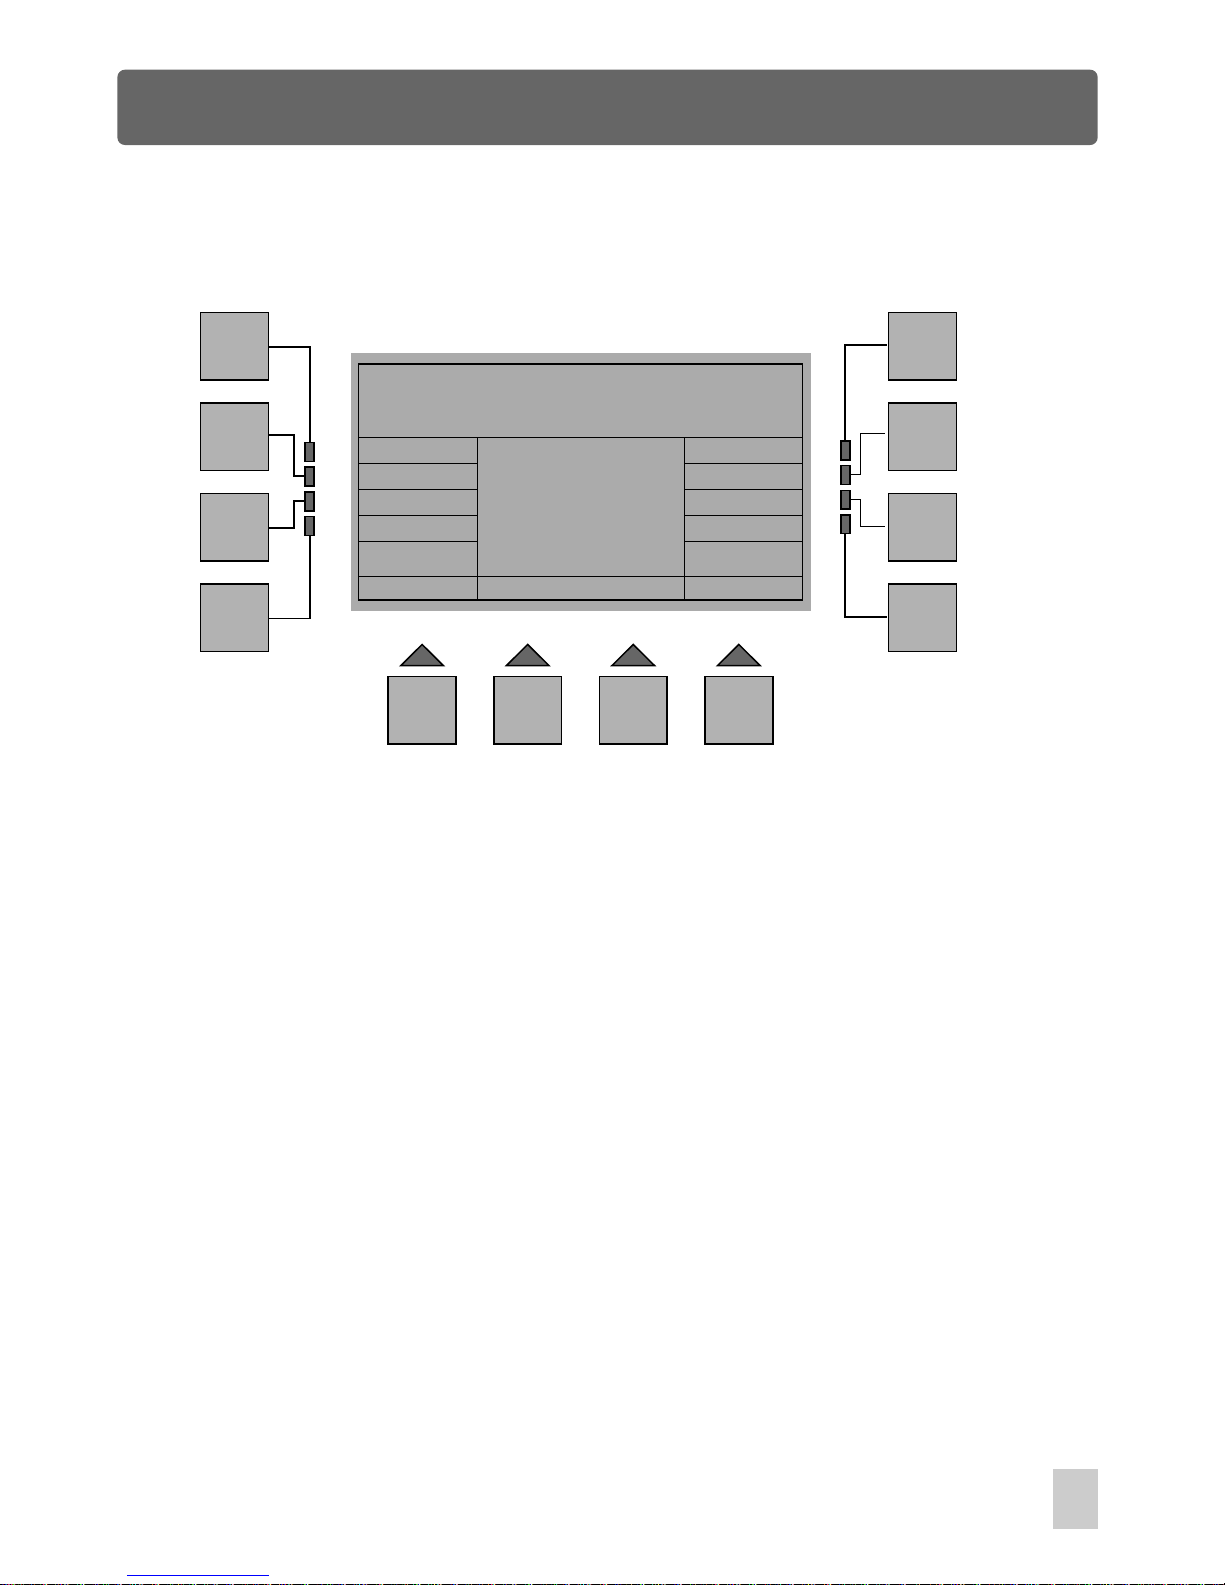
Show Copy Menu
Esc
F1
F2
F3
F4
F5
F6
F7
F8
F9 F10 F11 F12
Copy Show 1
to
Show: 6
Show Copy Menu
In Show Edit Utility Menu, press F8(CpyShow) to access Show Copy menu. This
menu allows you to updated a show with the current show.
First use F6(Up), F7(Down) or F12(Keypad) to select the show required to be
replaced. Next press F9(Copy), you will be required to confirm by "Ok" or to exit by
the F1 button. "Ok" confirms this operation. In this case, show 6 will be replaced by
show 1.
Press the F1(Esc) button to go back to the previous menu.
Copy
Up
Down
Keypad
49
Edit Show Menu
Page 56
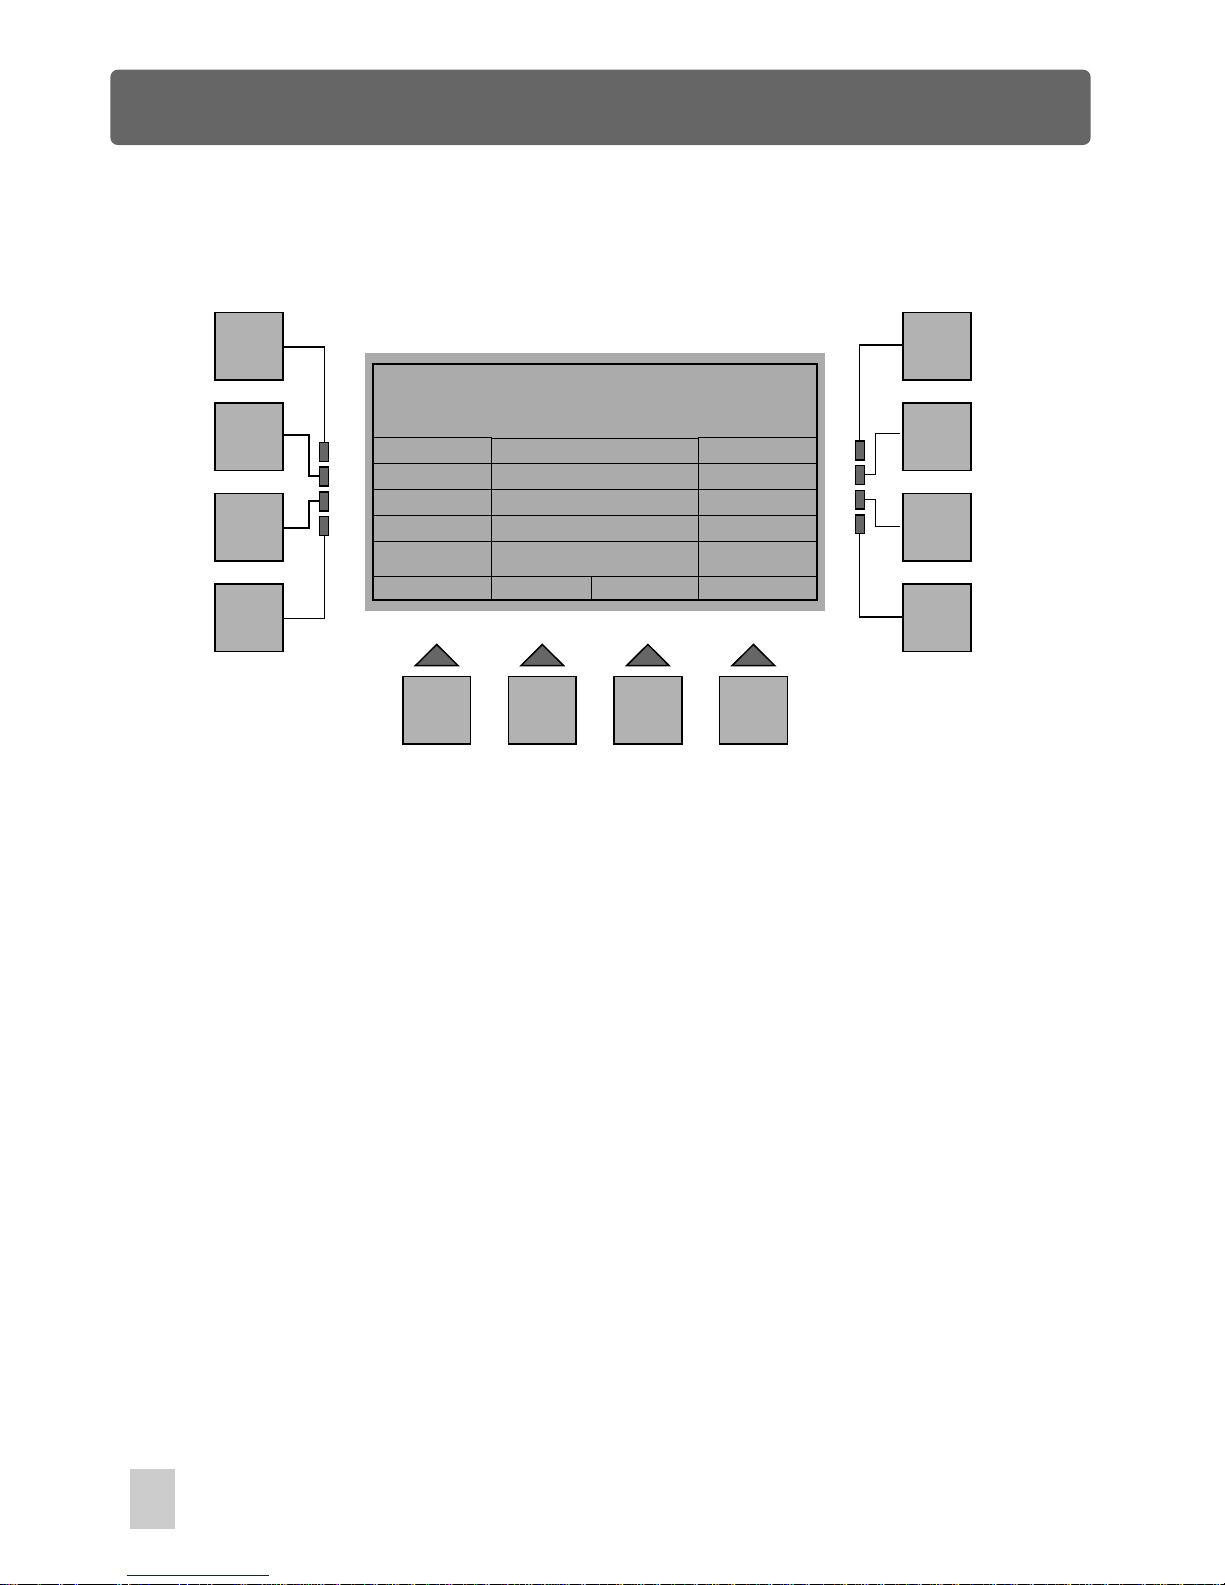
Erase one or more Steps
Esc
F1
F2
F3
F4
F5
F6
F7
F8
F9 F10 F11 F12
Step Multi Erase
End
Start
Erase
Keypad
Up
Down
>> 1
9
50
Edit Show Menu
In Show Edit Utility Menu, press F10(Erase) to access Step Multi Erase menu. This
menu allows you to erase one or more steps from the show.
First press F3(Start) to move the forward cursor ">>" in line with , then you can
select starting step .
Next press F4(End) to move the forward cursor ">>" in line with End, select the end
step by means of .
Press F10(Erase), you
Start
using F6(Up), F7(Down) or F12(Keypad)
F6(Up), F7(Down) or F12(Keypad)
will be required to confirm by "Ok" or to exit by the F1 button.
"Ok" confirms this operation, as a result, these steps from the starting to end step will
be erased. In this case, the steps from 1 to 9 will be deleted from this show.
Press the F1(Esc) button to go back to the previous menu.
Page 57
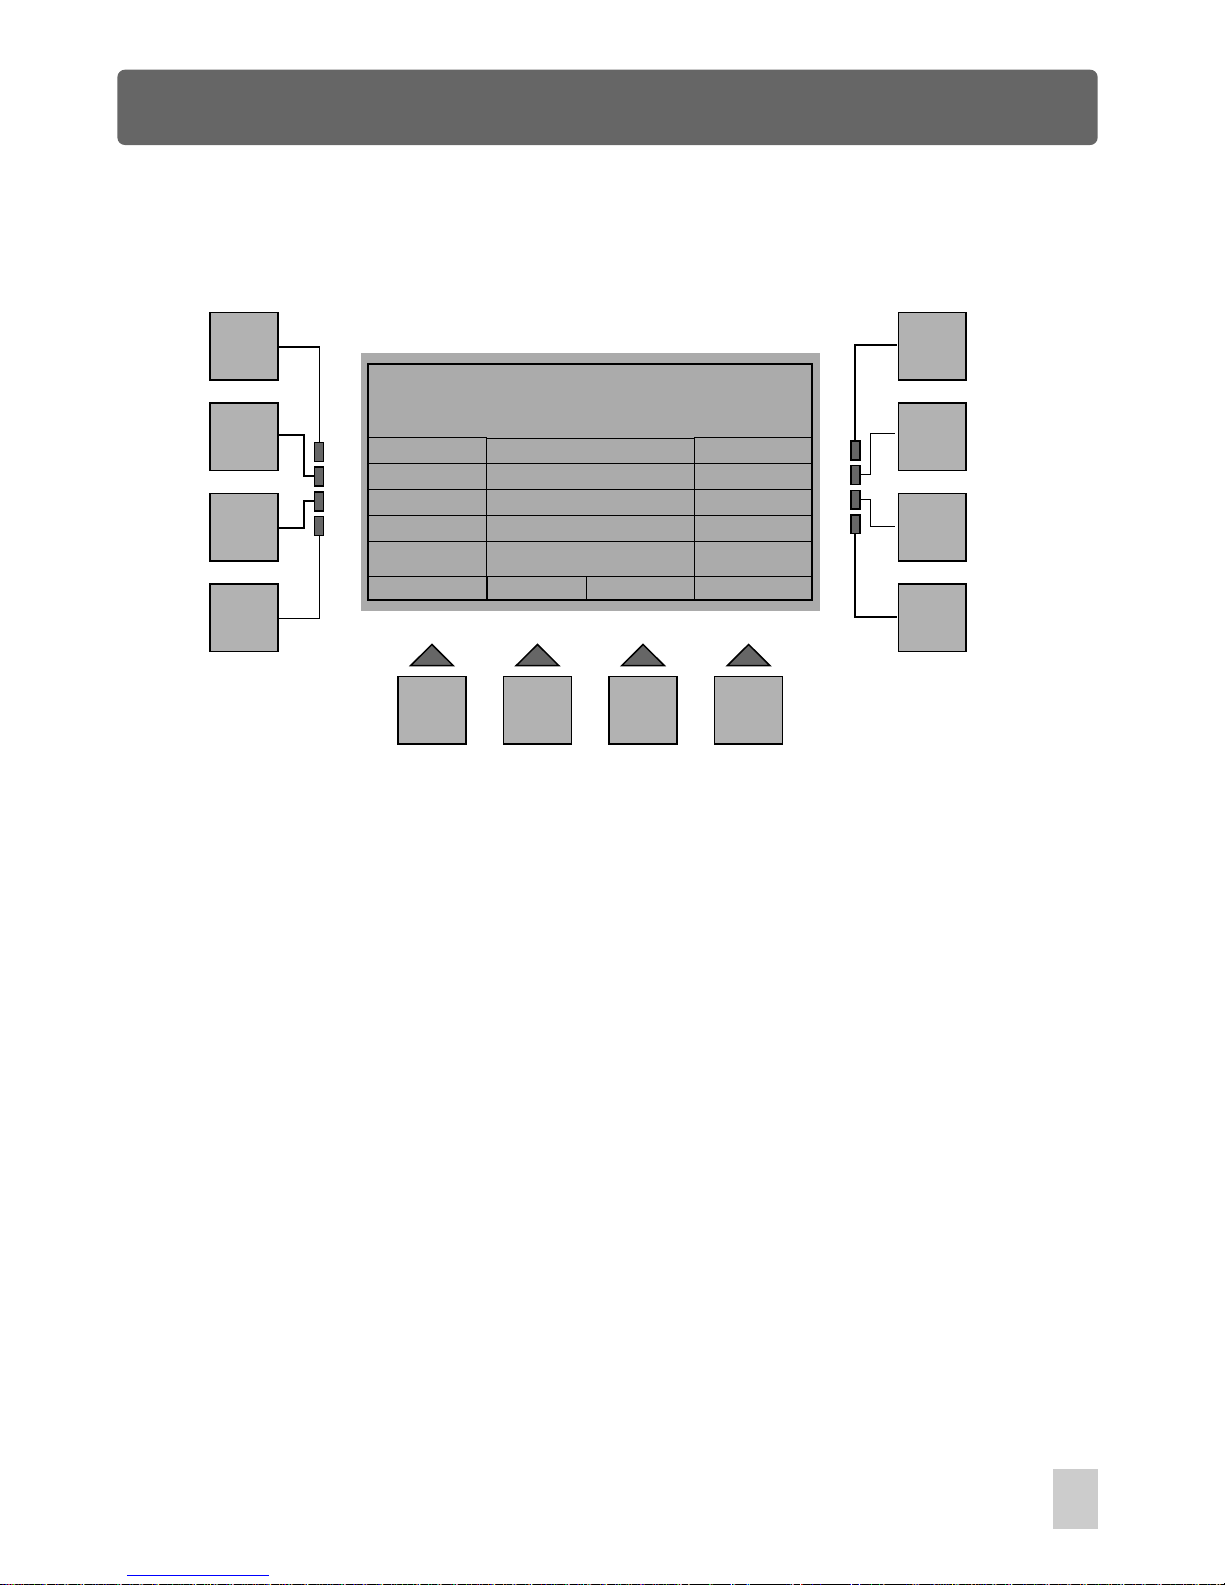
Step Multi Copy
Step Multi Copy
Esc
F1
F2
F3
F4
F5
F6
F7
F8
F9 F10 F11 F12
End
Start
Copy
Keypad
Up
Down
5
9
In To
>> 1
51
Edit Show Menu
In Show Edit Utility Menu, press F11(Copy) to access Step Multi Copy menu. This
menu allows you to copy multi steps and add them after a step.
First press F2(Start) to move the forward cursor ">>" in line with , use F6(Up),
F7(Down) or F12(Keypad) to select the starting step. Next select the end step.
Then select the step after which you intend add these steps. Press F10(Copy),
you
Start
will be required to confirm by "Ok" or to exit by the F1 button.
"Ok" confirms this operation. In this case, these 5 steps from step 1 to step 5 will
be added after the step 9 of this show.
Press the F1(Esc) button to go back to the previous menu.
Page 58
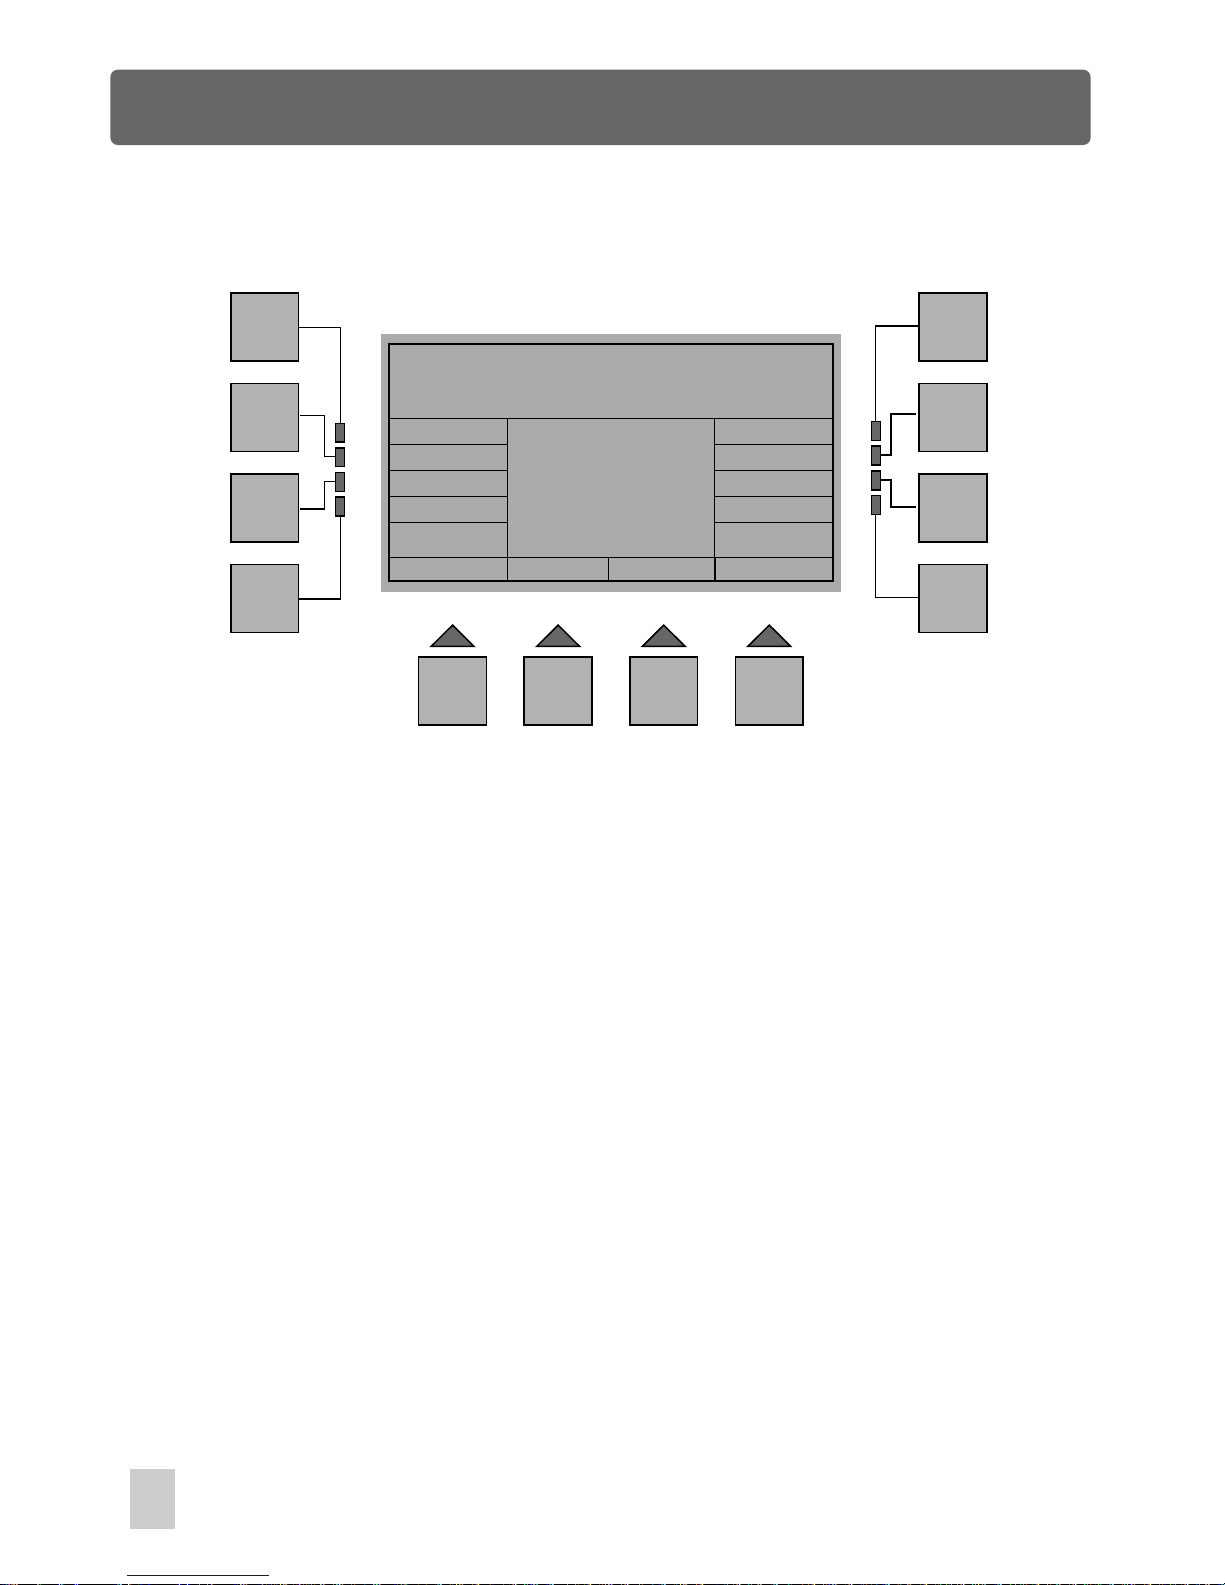
Clear a Show
Esc
F1
F2
F3
F4
F5
F6
F7
F8
F9 F10 F11 F12
Show: 2
Clr Show
Show Edit Utility
Clone Erase Copy ShowAll
InsShow
CpyShow
Memory Used
5%
[ ----------- ]
In Show Edit Utility Menu, press F4(Clr Show) to clear the current show. You will be
required to confirm by "Ok" or to exit by the F1 button.
"Ok" confirms this operation, as a result, this show will be cleared and no step will
be available in this show.
Clone
In Show Edit Utility Menu, press F5(Clone) to clone the current step(scene), the step
will not any longer subject to the scene. If there is not enough memory space for the
clone, you will be reminded with prompt "Out of Memory".
ShowAll
In Show Edit Utility Menu, press F12(ShowAll) to get acquainted with the Fixture Patch
and the fixtures available in the show.
52
Edit Show Menu
Page 59
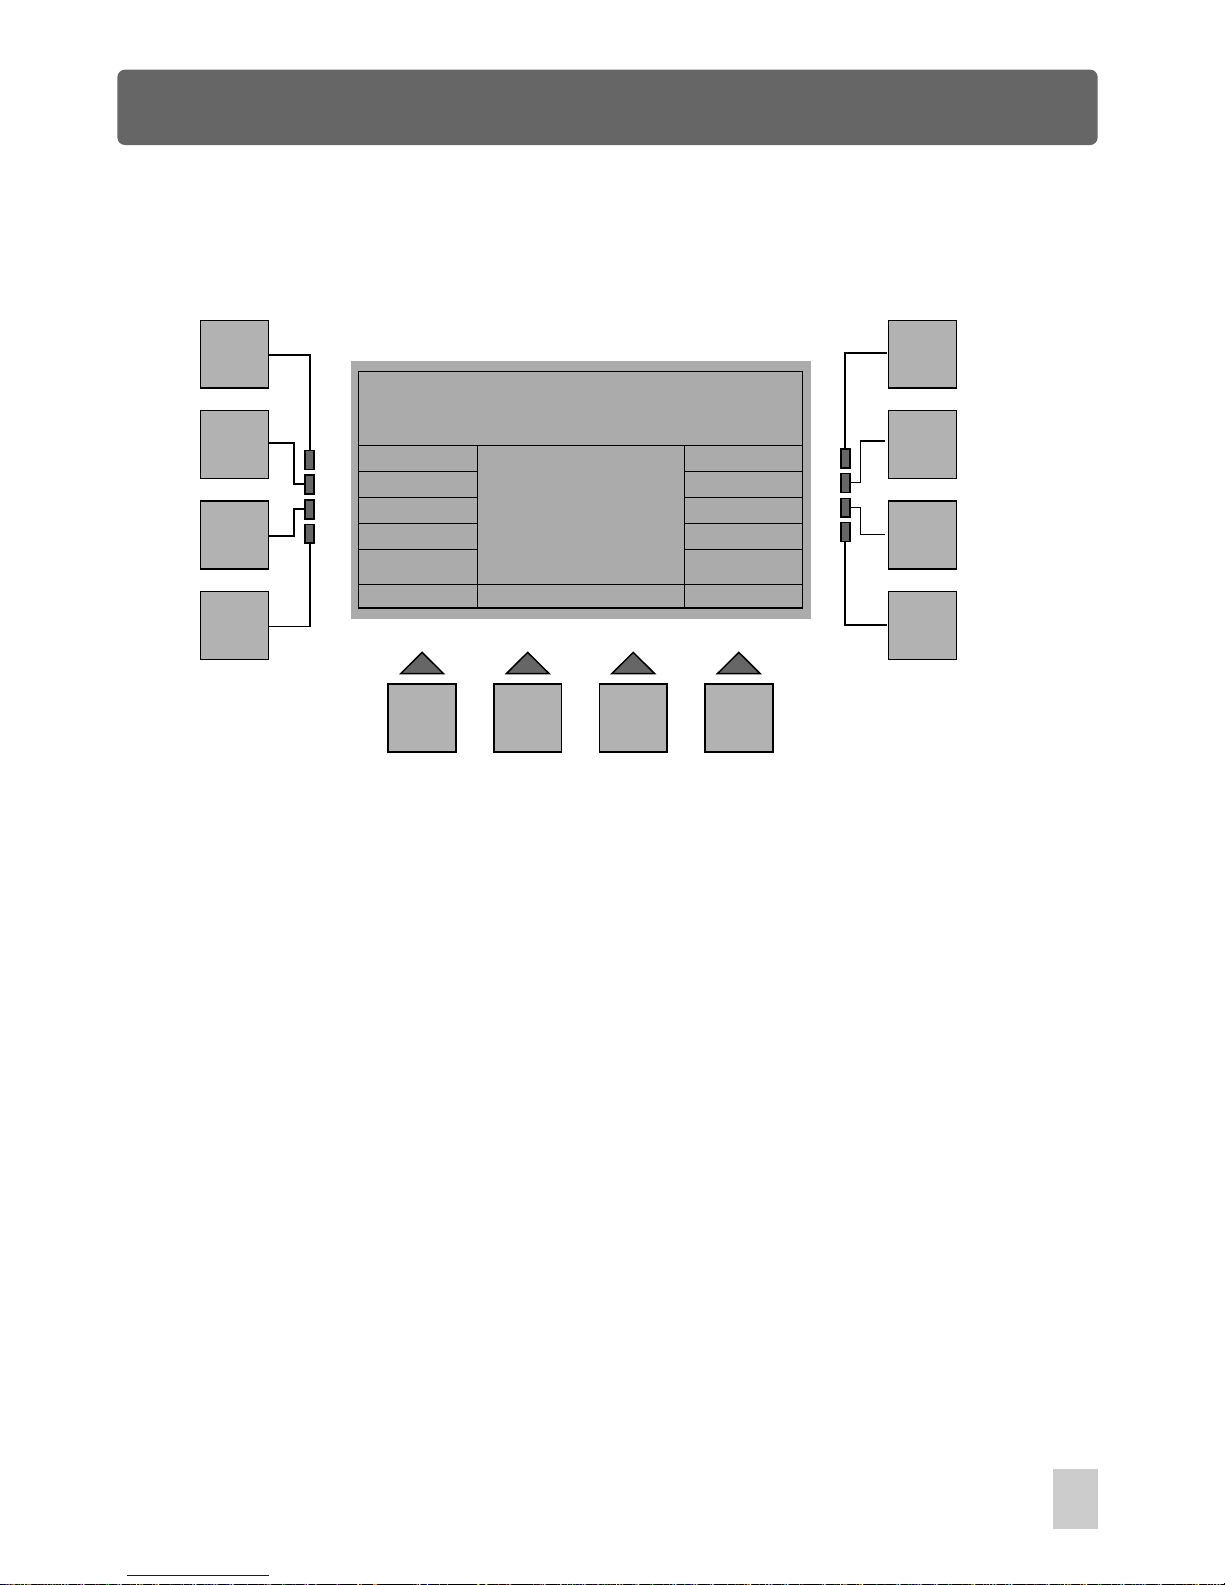
Scene Menu
Esc
F1
F2
F3
F4
F5
F6
F7
F8
F9 F10 F11 F12
Scene Menu
Used
In Homepage phase, press the F8 button(Scene) to access Scene Menu. A window
appears with some indications. The options available are detailed as follows:
Copy
Edit
Save
Esc :
Goes back to the previous menu.
Used:
Allows you to get acquainted with out of 128 scenes which is not
used in the shows
Copy:
Edit: Enables to create a new scene by means of the Fixture buttons.
Save:
Allows to capture the manual fixtures and to save as a scene.
Enables to copy any desired scenes to any position.
Scene Menu Window
53
Page 60
Scene Menu
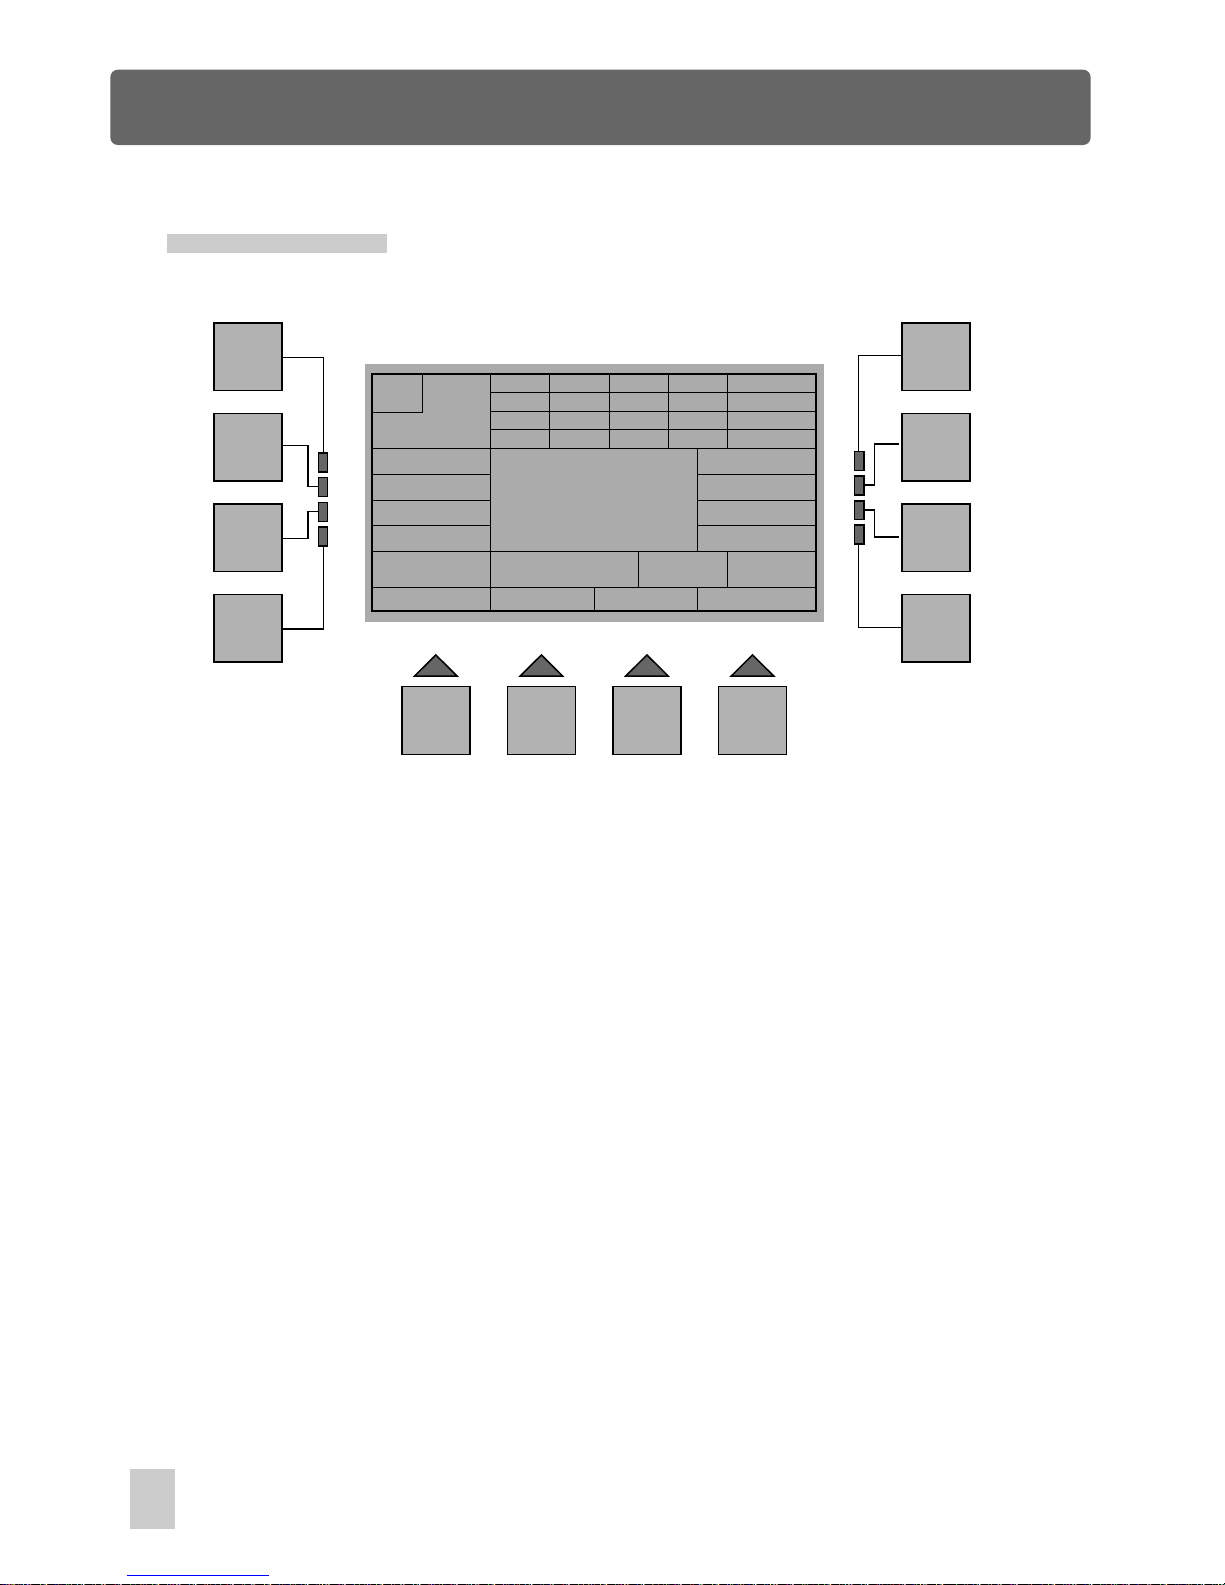
Edit Scenes
In Scene Menu, press the F6(Edit) button, you will be required to select the target
scene you intend to edit. Use the Scene buttons in combination with Bank buttons
1-8 to select the scene, a new window will appear immediately reminding you to
start editing.
Use the Fixture buttons in combination with Bank buttons 1-4 to create a new scene.
Once completion, press the F12(Update) button, You will be required to confirm by
"Ok" or to exit by the F1 button. "Ok" confirms this operation, as a result, this show
will be saved. In this case, if there is a old scene 1, the new scene 1 will replace the
old one.
Press the F1(Esc) button to go back to the previous menu.
M
255
CH
1-4
5-8
9-12
13-16
000
025
000
000
000
255
128
000
000
000
000
000
000
000
000
255
X 255
XF 000
Y 255
YF 000
Esc
Scene: 1
Update
Fix: - -
DMX s/l
multi
F1
F2
F3
F4
F5
F6
F7
F8
F9 F10 F11 F12
multi
54
Page 61
Scene Menu
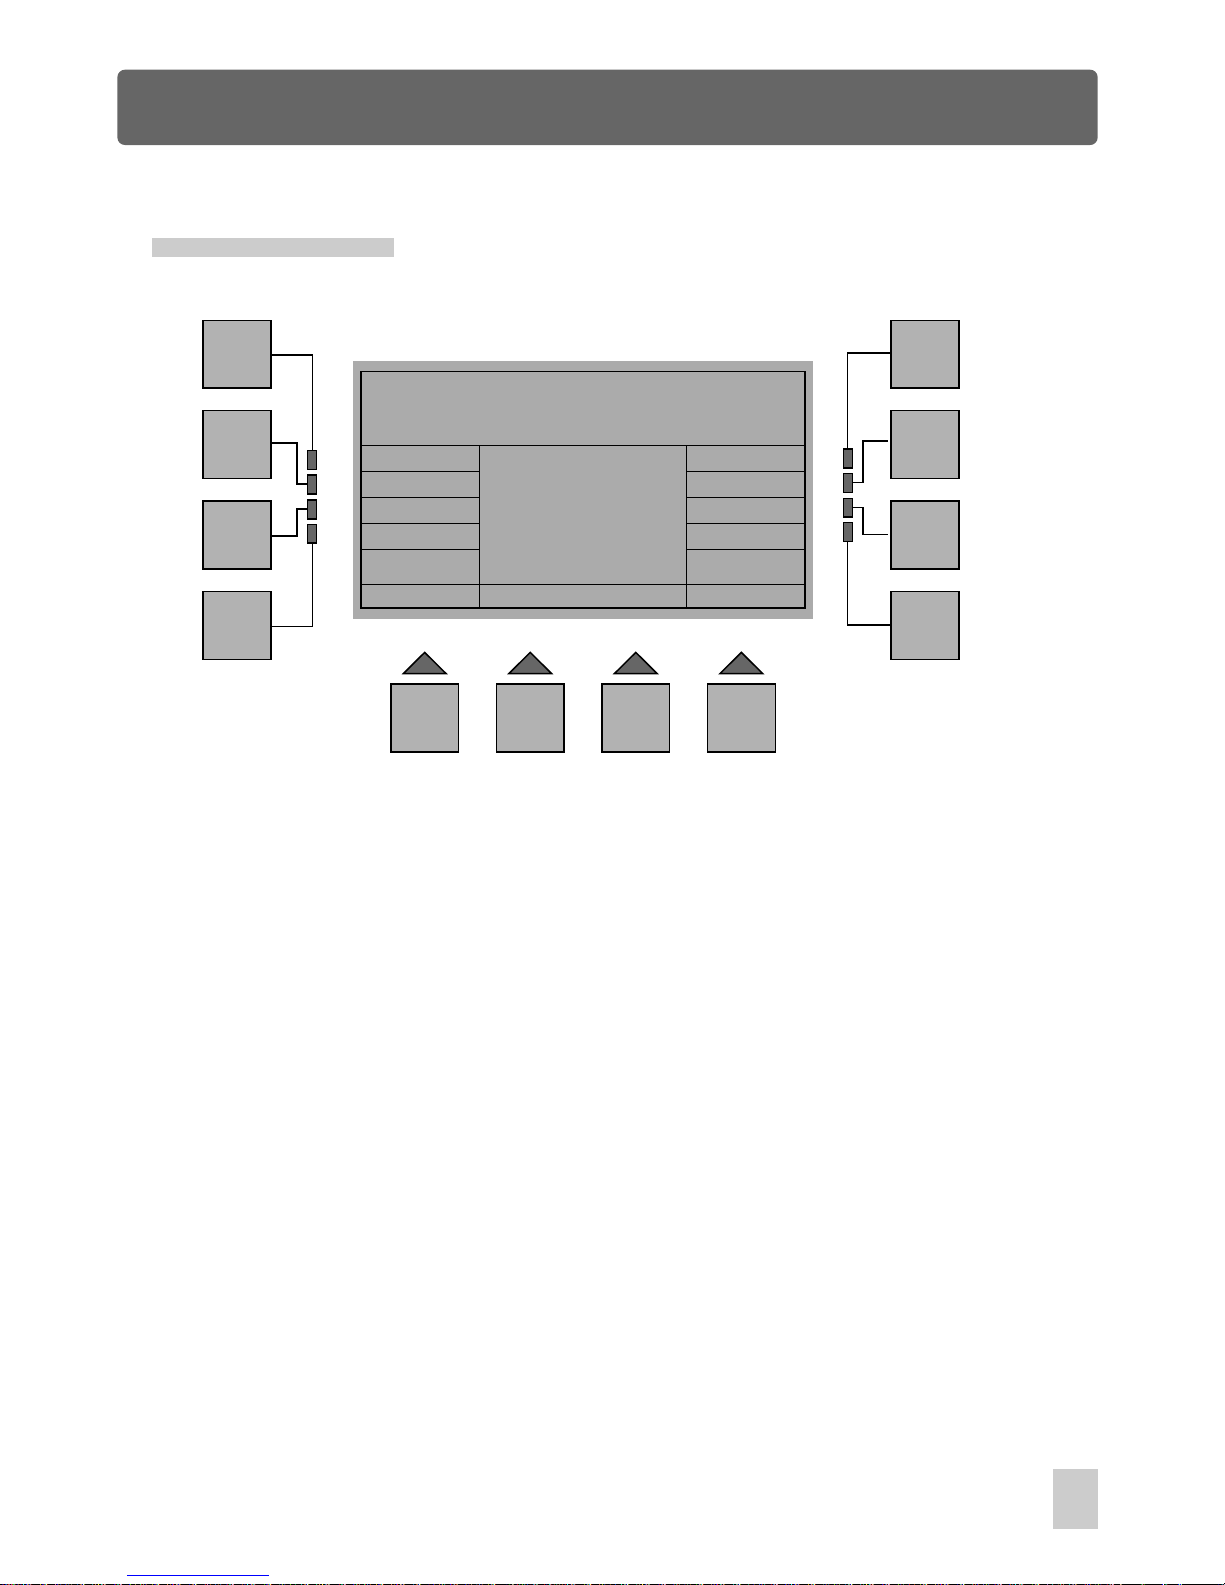
Copy Scenes
Esc
F1
F2
F3
F4
F5
F6
F7
F8
F9 F10 F11 F12
Scene Menu
Used
Copy
Edit
Save
In Scene Menu, press the F5(Copy) button, you will be required to select the source
scene you intend to copy. Use the Scene buttons in combination with Bank buttons
1-8 to select the scene, then "Ok" continues this procedure.
Next you will be required to select the target scene. Once the target scene is selected,
you will be required to confirm by "Ok" or to exit by F1(Esc).
"Ok" confirms this copy procedure. For instance, if you choose source scene 1 and
target scene 2, as a result, the scene 2 will be replaced by scene 1.
Press the F1(Esc) button to go back to the previous menu.
55
Page 62
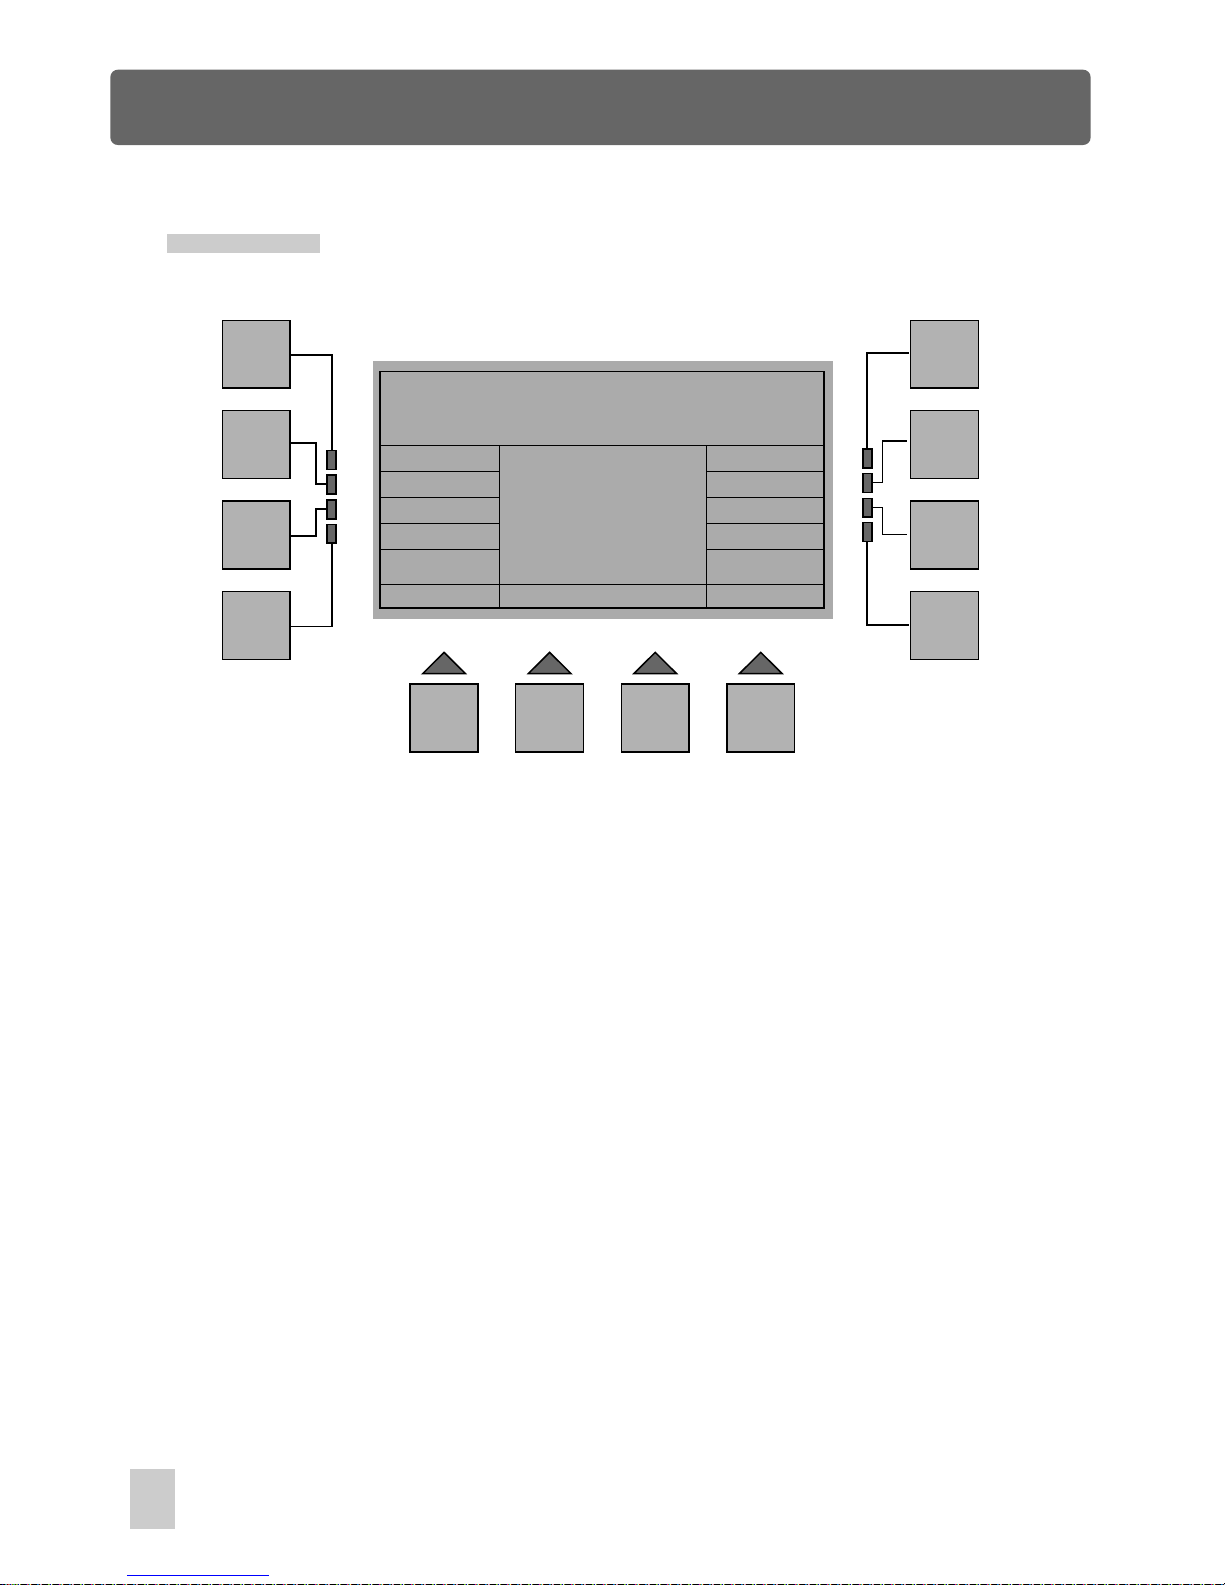
Scene Menu
Save As
In Scene Menu, press the F8(Save) button, you will be required to select the target
scene you intend to save as. Use the Scene buttons in combination with Bank
buttons 1-8 to select the scene, then press "Ok" to confirm this selection and F1
(Esc) to exit.
This function allows to capture the scenes made by manual fixtures and save as
a permanent scene.
Press the F1(Esc) button to go back to the previous menu.
Esc
F1
F2
F3
F4
F5
F6
F7
F8
F9 F10 F11 F12
Scene Menu
Used
Copy
Edit
Save
56
Page 63

Page 64

24-004-0968
Stage Master Pro User Instruction
Rev 1.2 July 2003
 Loading...