

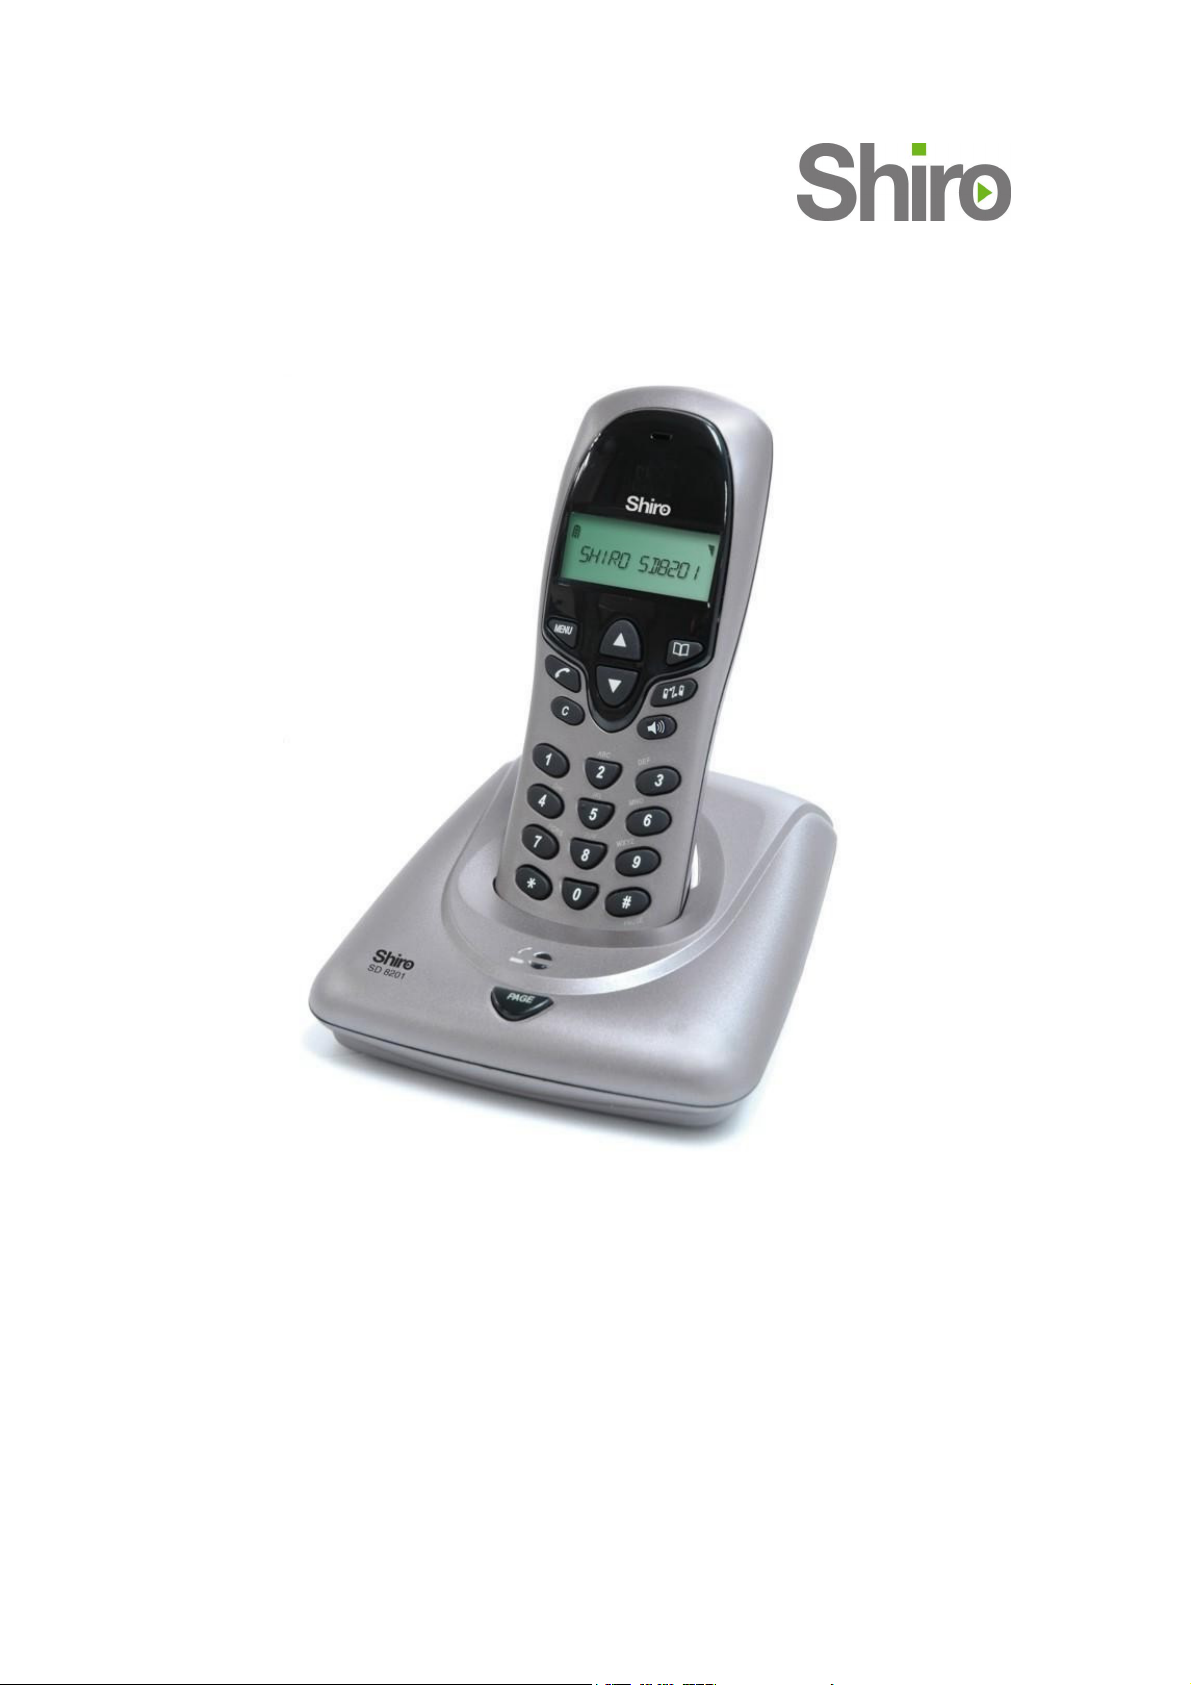
Shiro SD8201 User Manual
• User Manual •
SD8201
Digital Enhanced Cordless Communication
UUsseerr MMaannuuaall
Contents
WHAT THE SYMBOLS MEAN............................................................ 1
KEYPAD DESCRIPTION (HANDSET + BASE UNIT ..................................... 2
SETTING UP YOUR TELEPHONE....................................................... 3
INSTALLATION........................................................................... 4
IMPORTANT SAFETY INFORMATION .................................................. 5
WARRANTY INFORMATION............................................................. 5
MAKING AND ANSWERING CALLS ..................................................... 6
PHONEBOOK............................................................................. 6
CALL LOGS............................................................................... 7
BASE SETTINGS.......................................................................... 9
HANDSET REGISTRATION .............................................................11
INTERCOM AND TRANSFER ........................................................... 11
TROUBLESHOOTING ................................................................... 12
TECHNICAL DETAILS...................................................................13
DECLARATION OF CONFORMITY ..................................................... 13
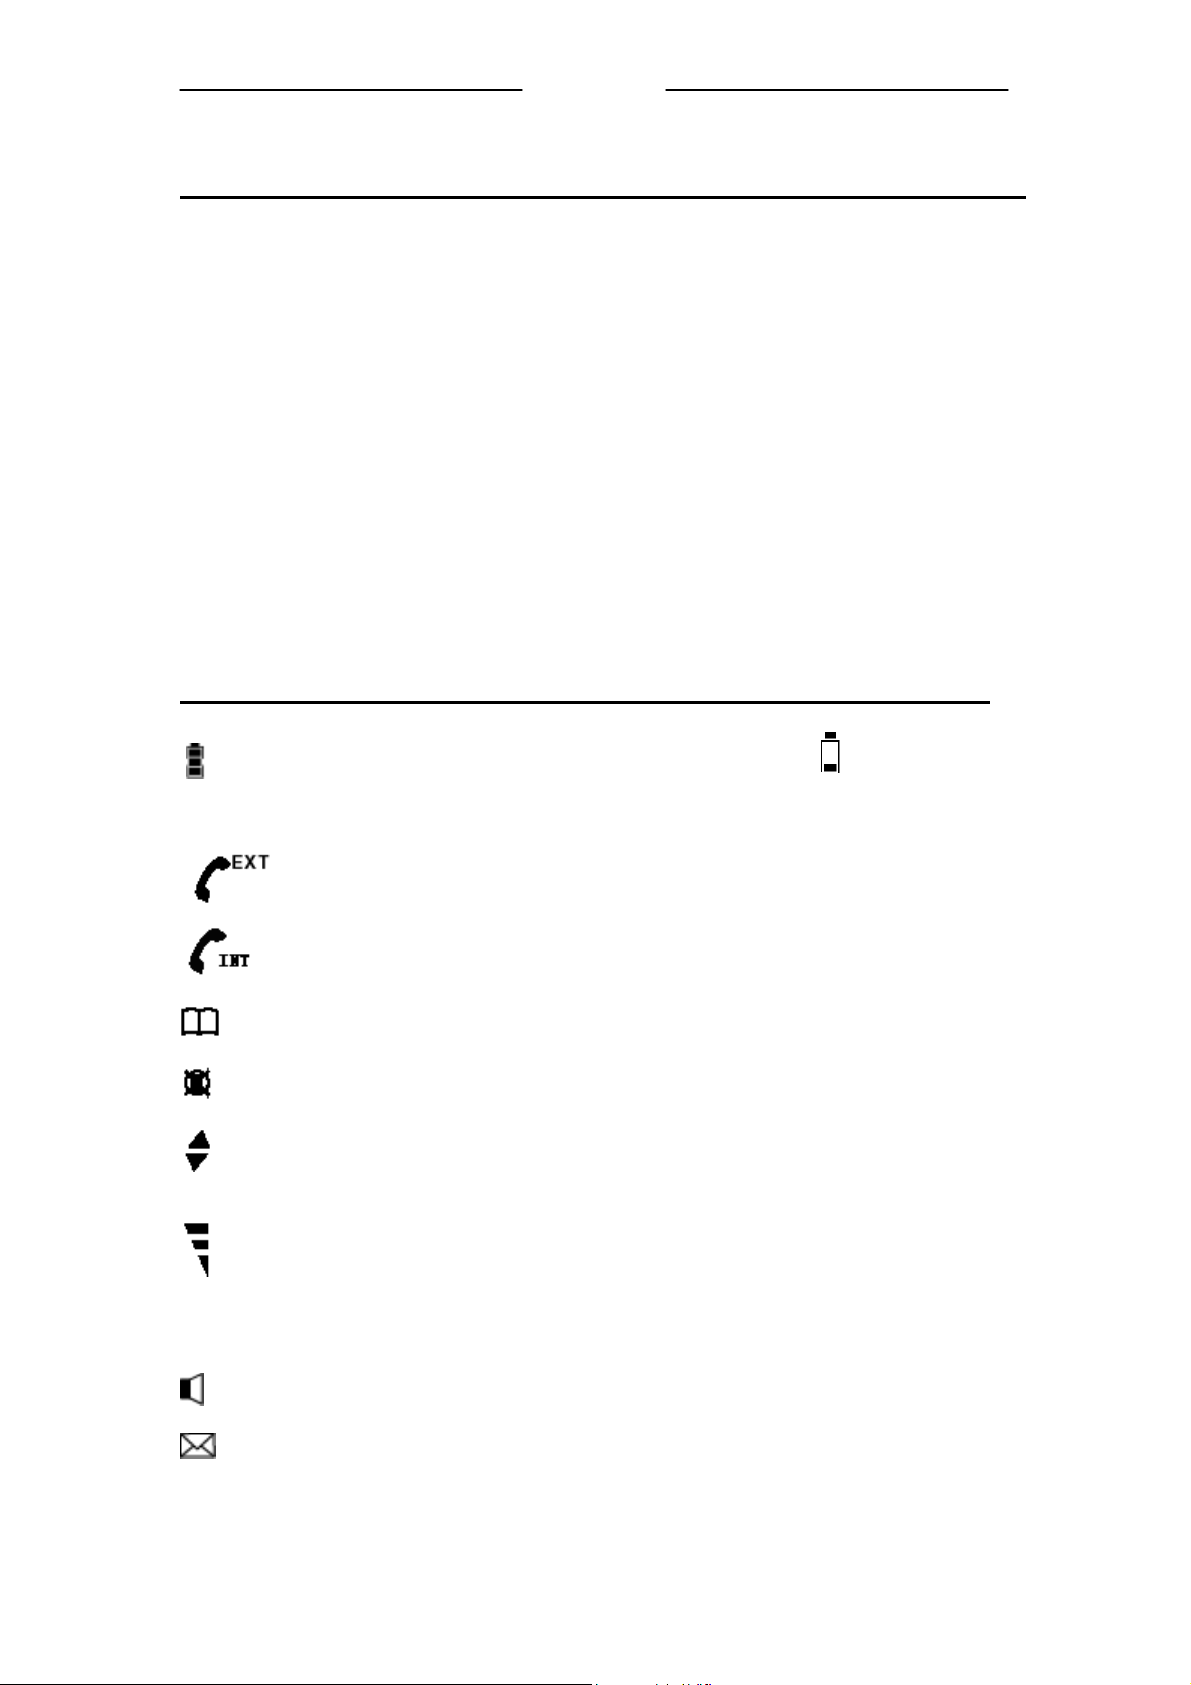
WHAT THE SYMBOLS MEAN
Battery charge level Whenever this shows ‘nearly empty’ ( ), put the
handset on the base unit to charge the batteries. While the
battery is being charged, the level shown will keep
changing.
Outside call
Intercom call You are connected to an intercom call.
Phone book Show the names and numbers of stored record.
Mute Your handset's microphone is muted.
Up and down arrows To browse through the programming menu for more
Signal level Shows the strength of the signal between the handset and
You are connected to an outside call.
options.
base unit, and flashes when you are out of range of the
base unit, when the level is low, or the symbol is flashing,
move closer to base unit.
Speakerphone Your handset’s loudspeaker is on.
Messages You have missed call.
1
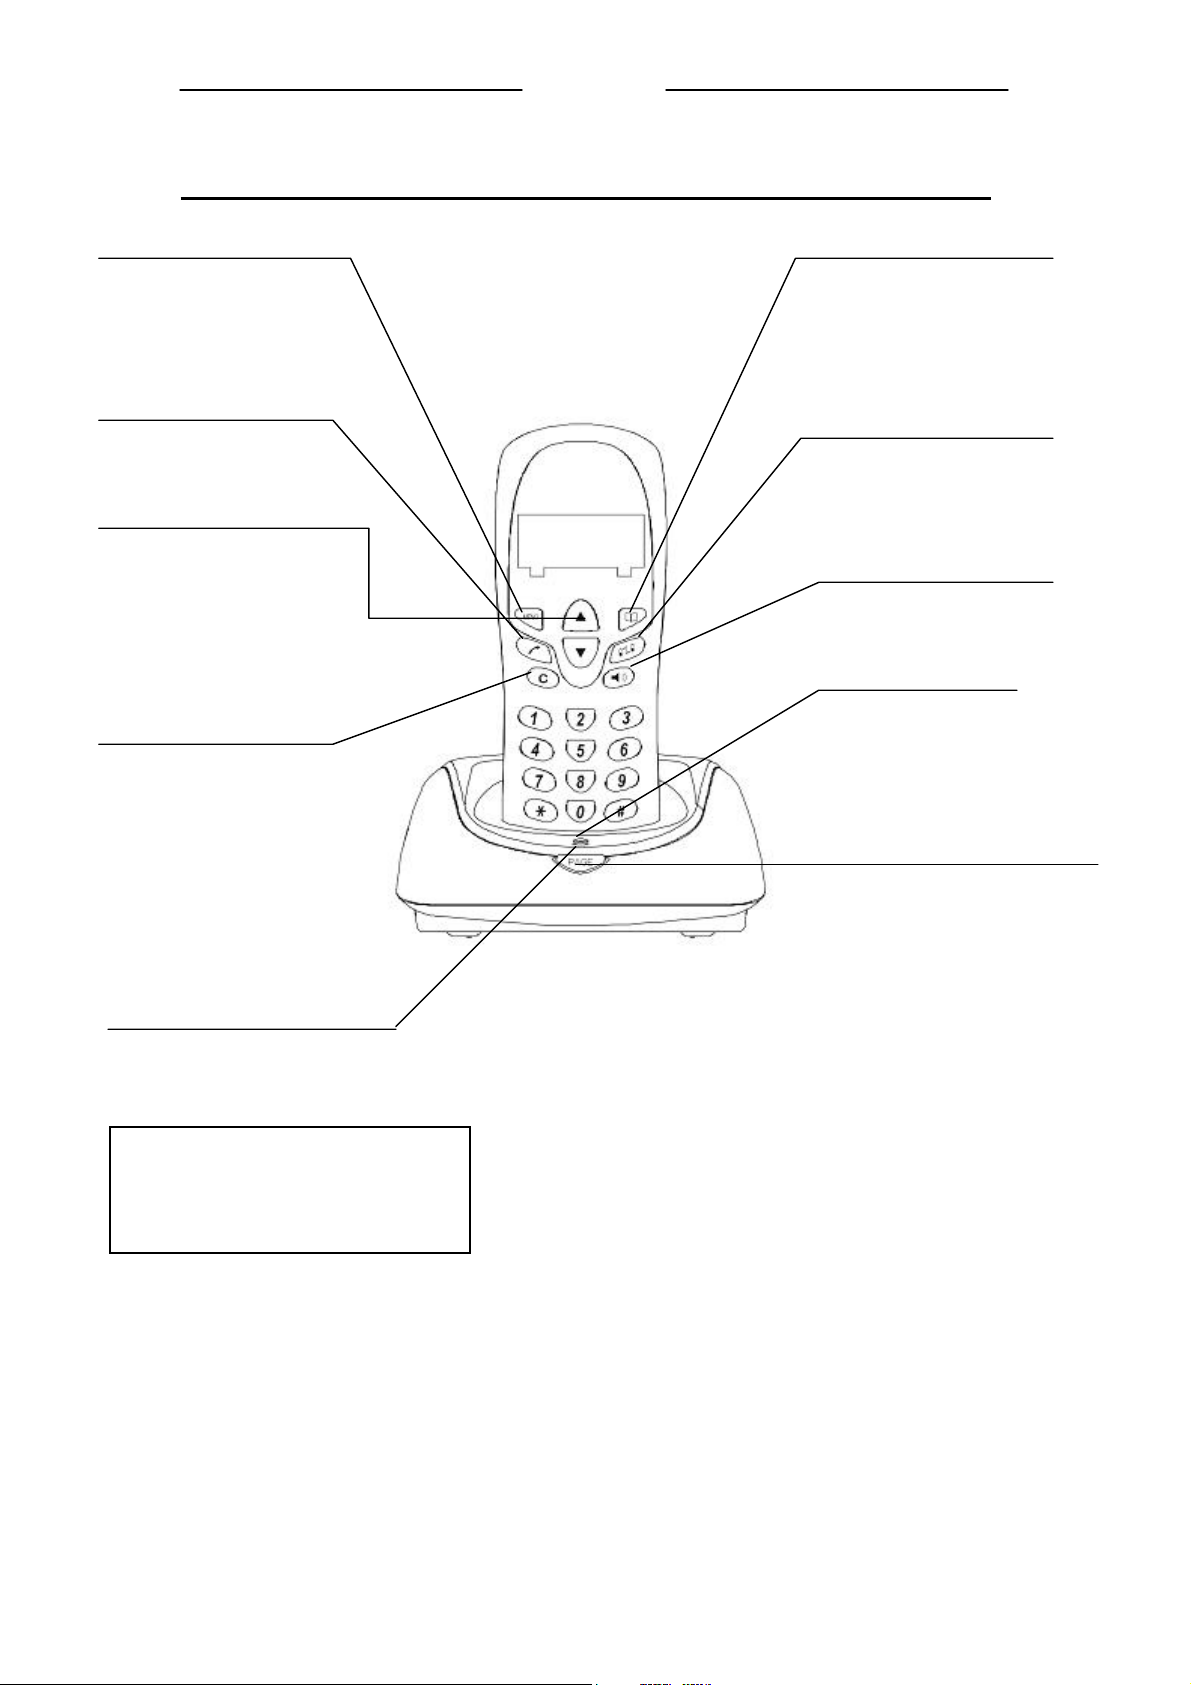
KEYPAD DESCRIPTION (HANDSET + BASE UNIT) AS
MENU Button
Press to enter menu mode and
enter sub-menu. With the key
“*” to lock or unlock the
keyboard
CALL Button
Press to begin, answer and
end a telephone call.
UP and DOWN Button
In standby mode, press to show
phonebook list
Press during programming to
move through the menu.
Press during a call to change the
volume in the earpiece.
Clear button
Press and hold (2-3seconds)
to switch the handset on and
off.
Press during programming to
go back to the previous
option, or to clear digits one
by one from the display.
Press during a call to mute
the microphone
CHARGE light
.
UUsseerr MMaannuuaall
Phonebook Button
In standby mode, press to enter
phonebook menu.
Press to confirm selection.
You need the button if your phone is
connected to a PABX
INT Button
Press to make an intercom
call (if you have more than
one handset)
SPEAKERPHONE Button
Press to turn the
speakerphone ON/OFF
IN USE light
The IN USE light
comes on when you
have a connection to
the telephone line.
HANDSET LOCATOR button
Press this to make the
handset ring,
if you cannot remember
where you put it.
Press it again to stop the
handset ringing.
The CHARGE light comes on
when the handset's batteries are
being charged.
Before you can use the handset to make
calls for the first time, you will need to
fit and fully charge the battery for 15
hours.
2

UUsseerr MMaannuuaall
SETTING UP YOUR TELEPHONE
Connection and conditions for use
You can connect your SD8201 to a direct exchange line (DEL), a line connected to a local
exchange, with its own phone number; to an extension socket connected to a DEL; or to an
extension on an approved compatible PBX. Do not connect the SD8201 as an extension to a
payphone.
How many phones can you connect?
The ringer equivalence numbers (RENs) of all instruments (phones, fax machines, etc.)
connected to an exchange line must not add up to more than 4, otherwise, one or more of
them may not ring and/or answer calls correctly. The SD8201 has a REN of 1, and most
other telephones have a REN of 1 unless marked otherwise.
Radio signals between handset and base unit
To use your handset and base unit together, you must be able to establish a radio link
between them. Be aware that:
• Sitting the base unit as high as possible will give better results, in a two-storey
house, the best position may be on the first-floor landing.
• Any large metal object, like a fridge, a mirror or a filing cabinet, between the
handset and base unit may block the radio signal.
• Other solid structures, like walls, may reduce the signal strength.
Choosing a site for the base unit
The base unit should be placed on a level surface, in a position where:
• The mains adapter plug will reach a 230-V AC switched mains supply socket; never
try to lengthen the mains power cable.
• The telephone cable will reach your telephone line socket or extension socket.
• It is not close to another telephone, this can cause radio interference.
• It is not close to a sink, bath or shower, or anywhere else where it might get wet.
• It is not close to other electrical equipment, fridges, washing machines, microwave
ovens, TVs, fluorescent lights, etc.
What's in this pack
Please check the box contents for completeness.
If any parts are missing, return complete box to
your supplier.
• The cordless handset
• The base unit
• 2x rechargeable battery
• A telephone line cable (different from country to country)
• A mains power lead and adaptor (different from country to
country)
• Charger pods (not available for single handset)
• User manual
Note: Keep your proof of purchase to support any warranty claim.
3
UUsseerr MMaannuuaall
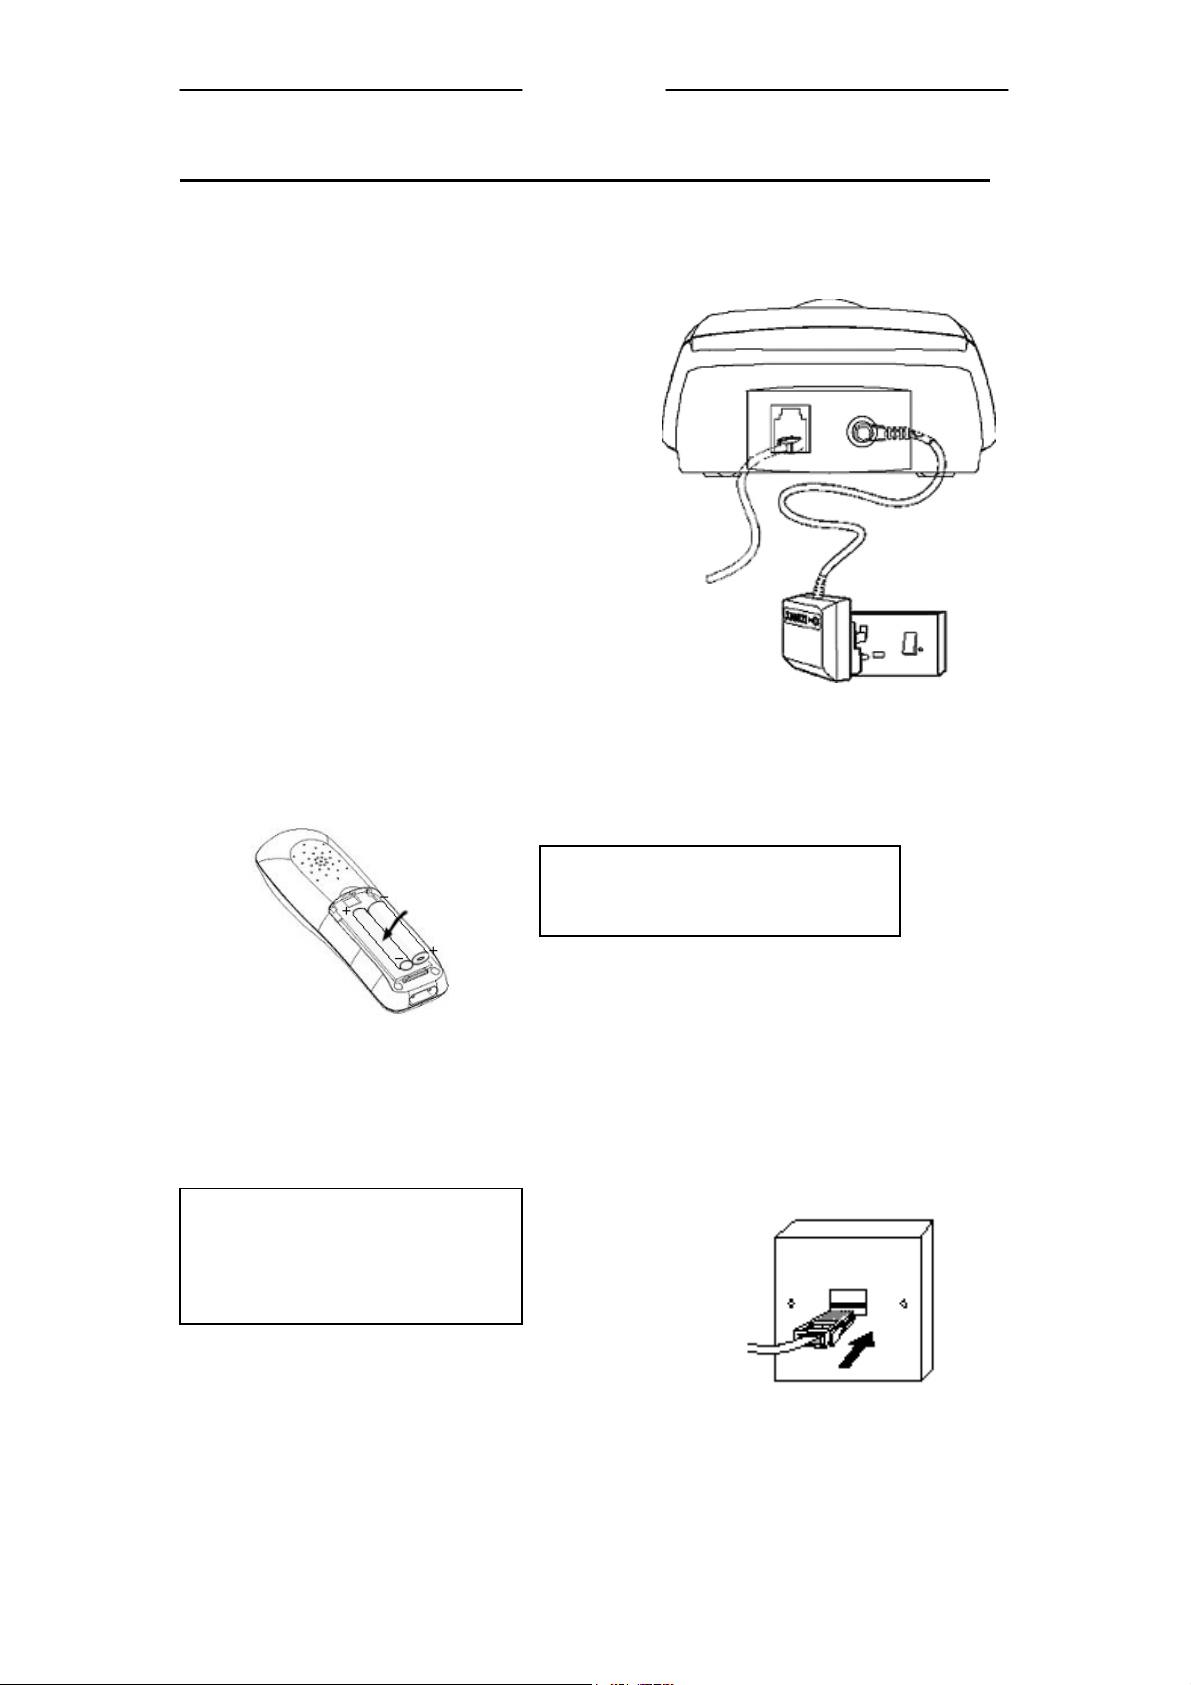
INSTALLATION
1. Choose a suitable site for the base unit
Make sure it is not near to another telephone, nor to other electrical equipment.
2. Plug the mains power
lead and the telephone
line cord into the rear of
the base unit
3. Plug the mains adapter
into a 230 V AC, 50 Hz
mains socket, with the
switch on the socket set to OFF
Note: The illustration of adaptor
may vary from country to country.
4. Switch on mains power at the socket
5. Fit the battery in the handset(s)
Insert the battery pack as shown. Fit the battery compartment cover,
Sliding it until it clicks firmly into position.
6. Connect the base unit to the telephone line
Switch off power at the mains socket.
Insert the telephone line plug into the socket.
Switch mains power back on
Make sure the mains socket is
switched on if you want to use
the phone---it will not work
without electrical power.
Note:
1. The charge pod does not have a connection
telephone line.
2. When Handset is placed onto the charge pod, a
red light lights up to indicate it is charging.
3. The illustration of telephone's socket may vary
from country to country.
Please note the battery cell polarity
during insert.
to the
Use the plug to raise the shutter
before pushing it into the socket
4
 Loading...