

SHIMWOO ELECTRONICS SC33TT User Manual
October 2008
900303-001
Single-Frequency Remote Control
User Guide
About This Guide
This guide explains the setup and operation of TouchTunes wireless remote control, P/N 700194-001.
Package Contents
• Remote control (part number 700194-001).
• Mounting bracket.
• 2 AAA alkaline batteries.
• This guide.
Overview
TouchTunes’ new wireless remote control is a single-frequency remote that transmits a 433.92 MHz (ASK) signal
II
for jukeboxes with the new receiver/demodulator (Allegro, Ovation, Maestro
, Allegro MX-1).
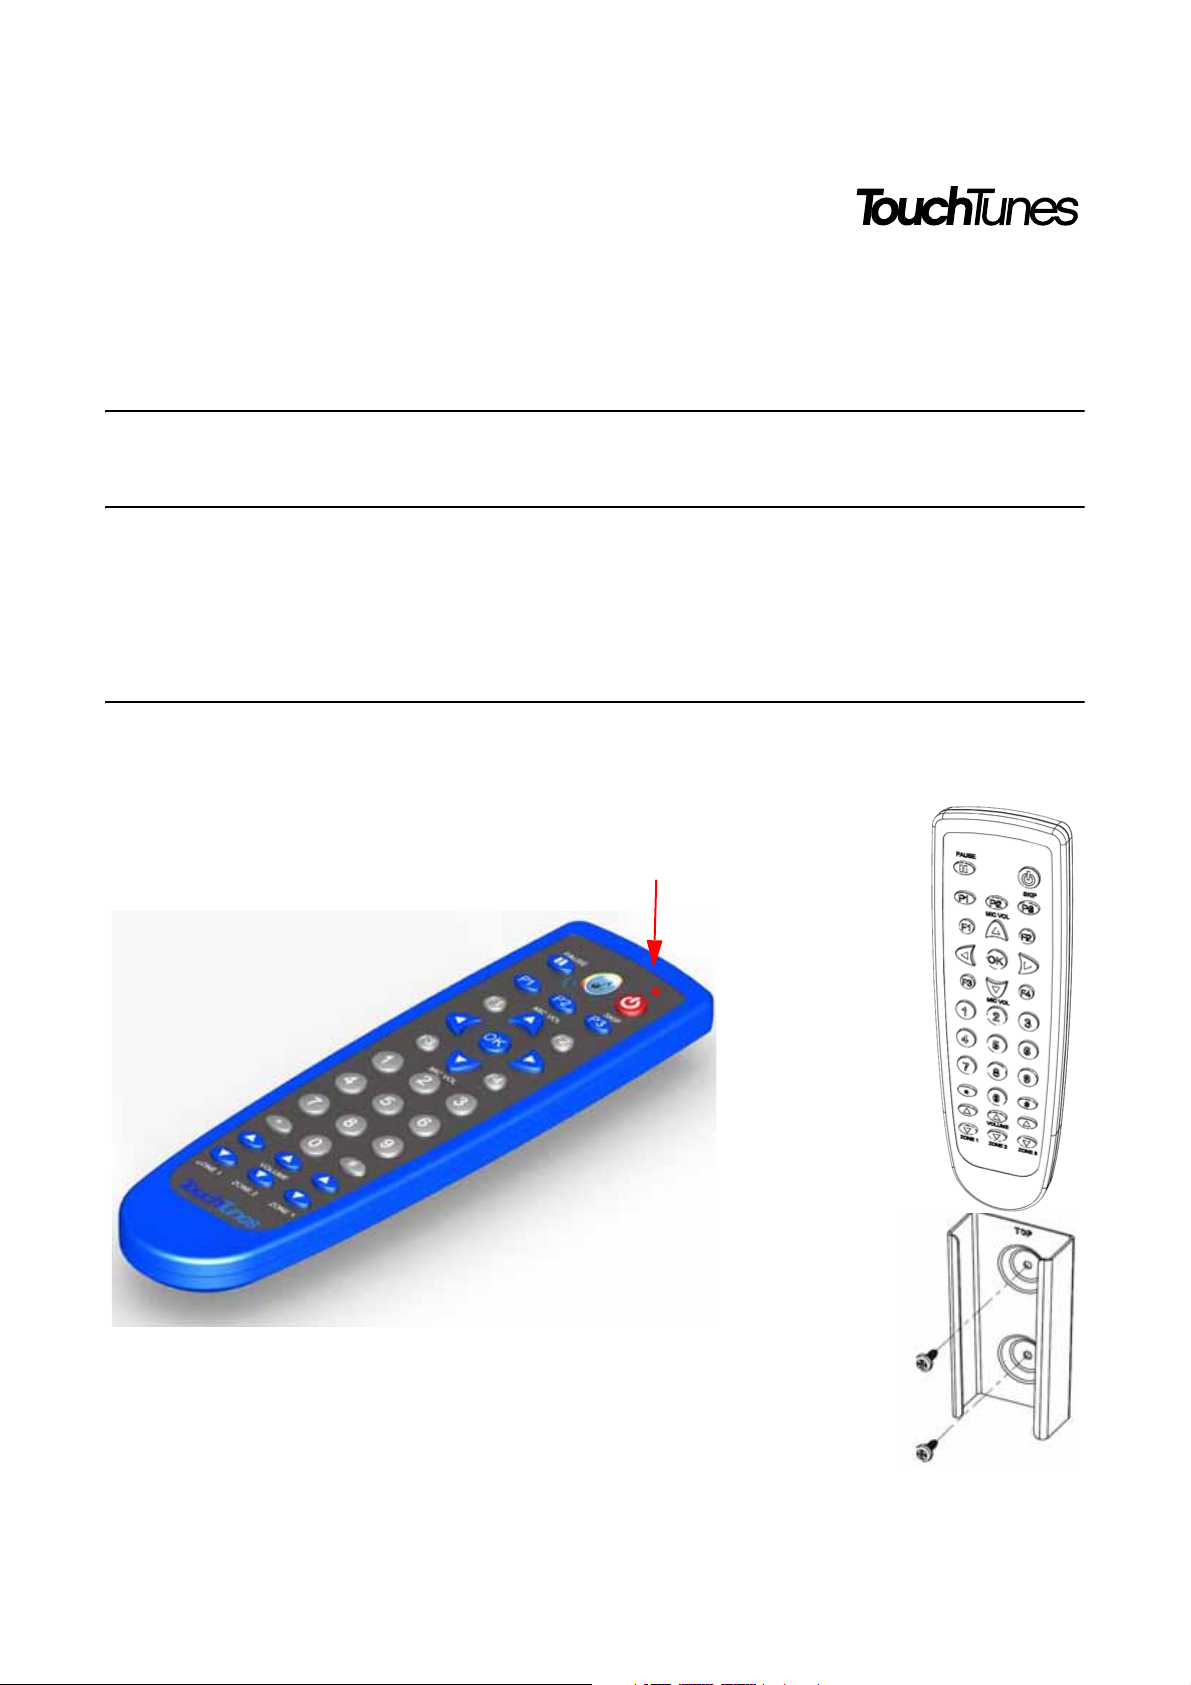
The red indicator LED flashes
when the remote transmits or
when it is being programmed.
Use the mounting bracket to
install the remote control on a
wall for easy access.
Fasten the bracket to the wall
with two screws as illustrated.
Figure 1-1 Single-Frequency Wireless Remote
1of6
The remote is compatible with both the MJS and JCB jukebox computers, and comprises the following features
and improvements:
• Improved range and reliability.
• Lighter weight and more robust.
• Improved battery life.
• Integrated flash memory ensures that remote does not lose its ID when batteries drain.
• New membrane and plastic framing with greater resistance to liquids.
The remote control is RF-based. This eliminates the need to point it directly at the jukebox when using it. It has a
range of up to 200 feet depending on the type of the obstructions between it and the jukebox. Concrete and metal
provide more of a barrier than wood or plaster. The remote control can also be affected by interference from other
RF-based devices.
The remote control is powered by two 1.5V AAA batteries. Insert the batteries in the compartment on the rear of the
remote. Use only high-quality alkaline batteries.
Setting the Remote Control ID
By default, the remote control ID is set to 000. To change it, do the following:
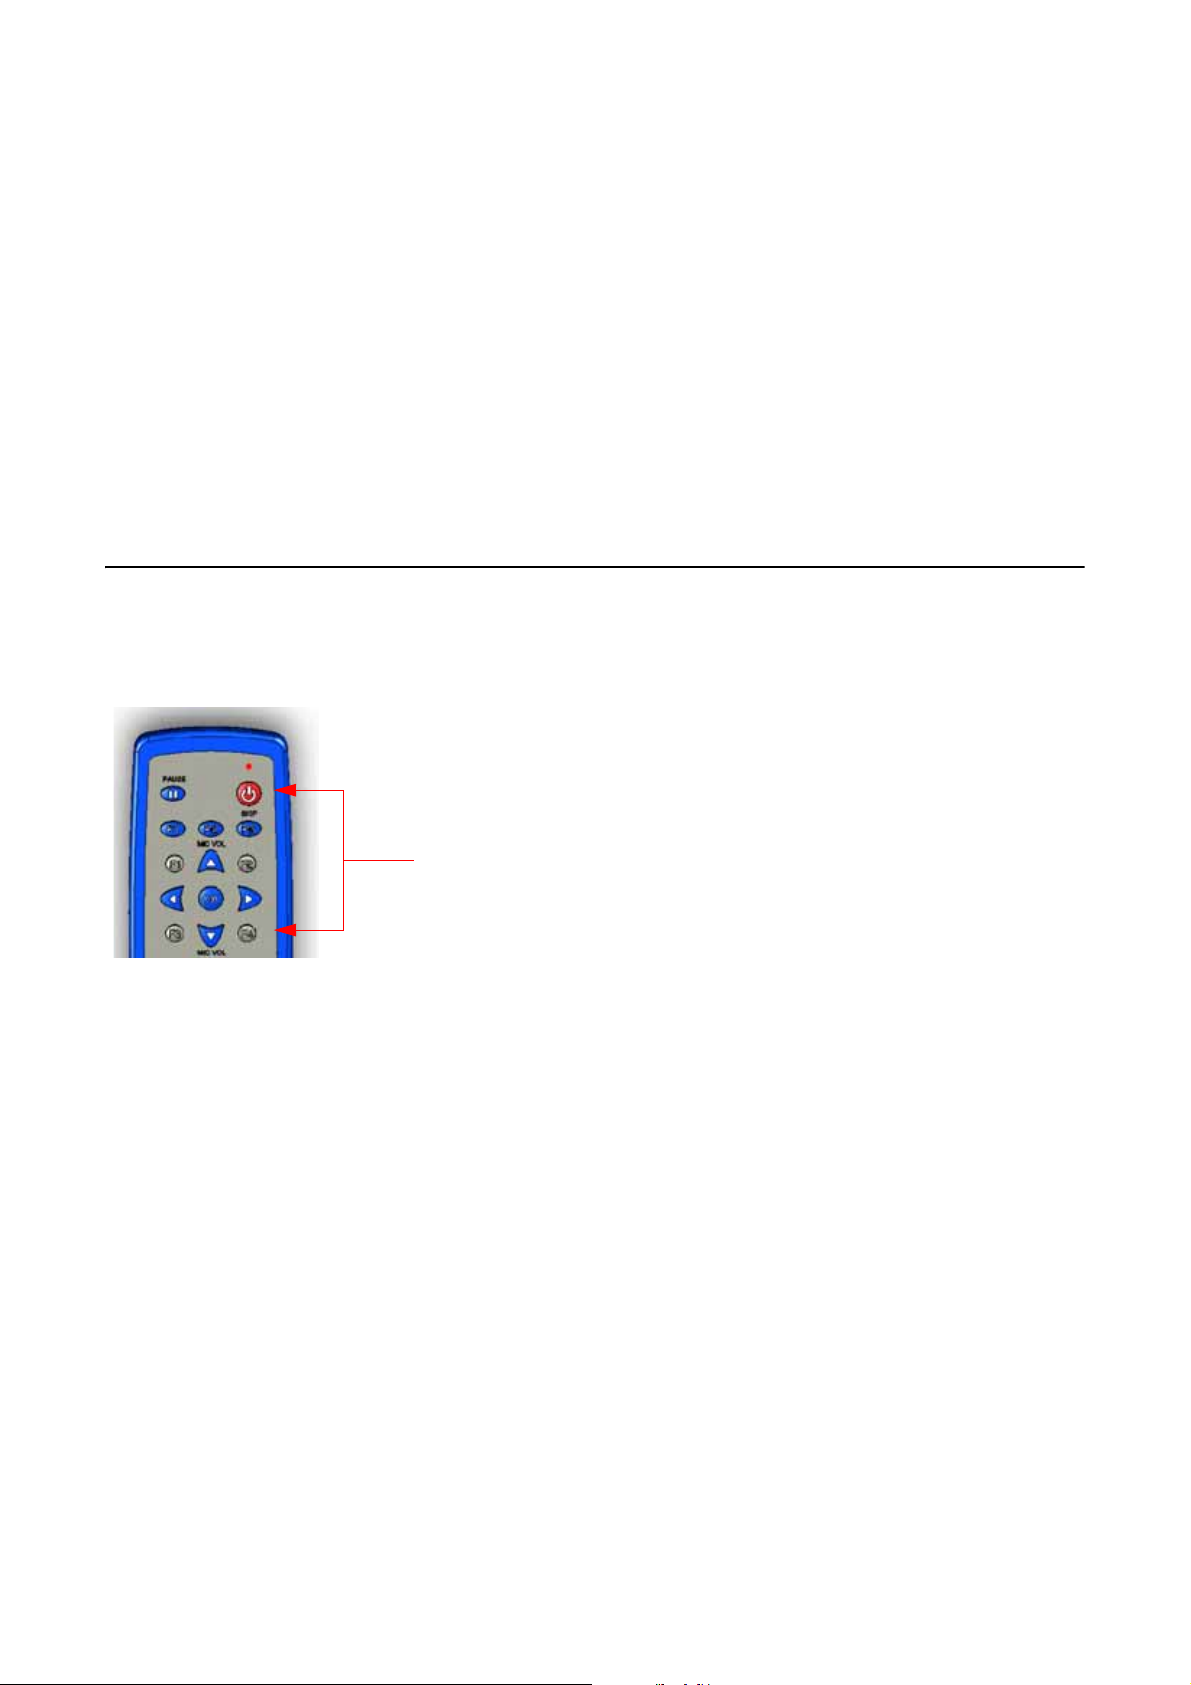
1. Press the
times.
Figure 1-2 Setting Remote ID
2. Enter the new three-digit code to use. The new code must be in the range 000 to 255.
3. The red indicator light will light up for three seconds to confirm your selection. If you enter an invalid code the
light will blink five times.
4. You must now have the jukebox re-learn the remote ID.
POWER and F4 keys at the same time and hold them down until the red indicator light blinks two
Press and hold to set remote
control ID.
2 of 6
 Loading...