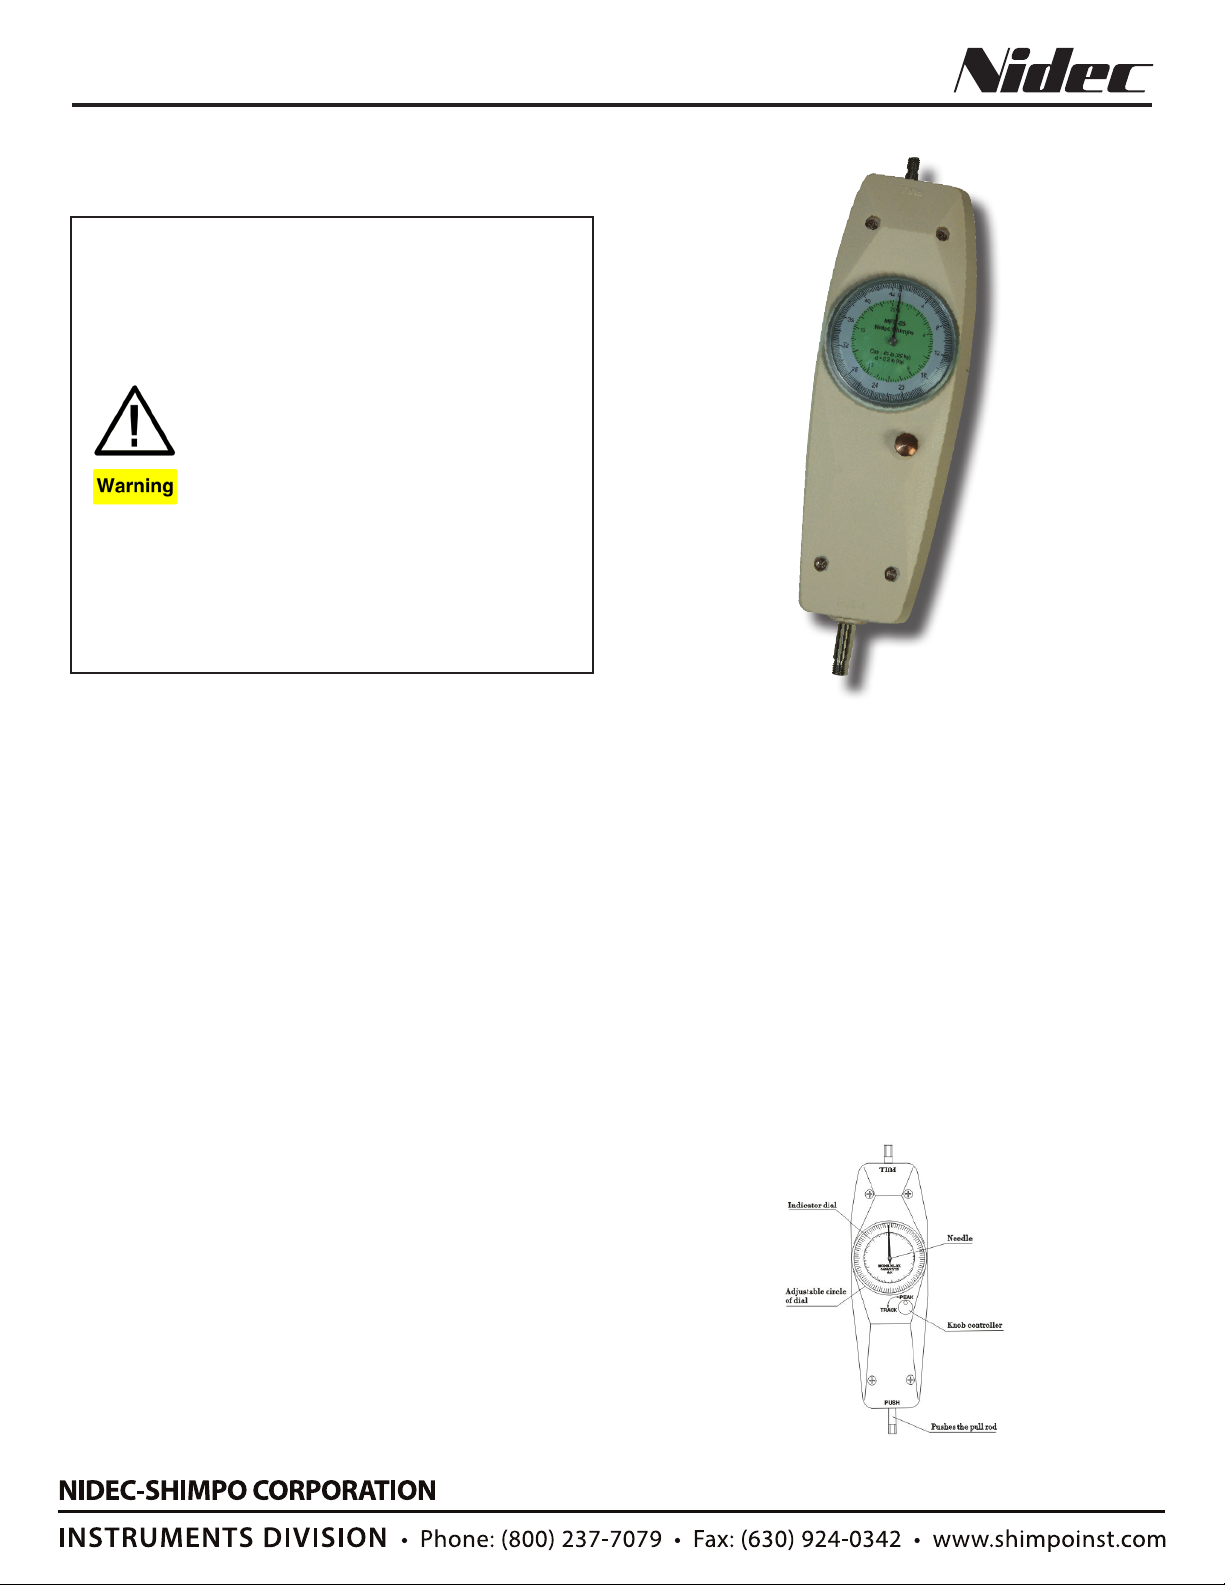
Shimpo MFD-03, MFD-05, MFD-04, MFD-02, MFD-06 Instruction Manual

Series MFD Analog Force Gauge
Operation Manual
Do not operate or store instrument in the following
locations:
Explosive areas, near water, oil, dust or chemicals; areas where the temperatures can exceed 104°F
(40° C)
Take precaution to not drop the force gauge. Damage
to the sensor may occur.
Do not modify, disassemble or attempt to repair the
unit. Send to the factory for proper repair.
If upon delivery damage to the unit is detected, do not
operate the unit. Notify the shipping carrier immediately to obtain damage claim instructions.
Only measure forces that are in line with the measuring shaft. Do not attempt to take any measurements
(tension or compression) at any angle. Failure to keep
measurements in line will damage the instrument.
Do not exceed capacity of unit.
Accuracy may be affected if unit is exposed to high
humidity, dust or extreme shock.
The MFD Series Analog Force Gauge with compact size are easy
to operate and convenient to carry. They display the units of lb and
kilogram at the same time. The PEAK/TRACK knob allows the user
to easily switch between peak load testing or continuous load testing. The MFD’s are excellent products which are widely applied in
electric, electric appliance, hardware, automobile parts, lighter and
ignition system, light industry, mechanical, textile and a many more
for testing of compression or tension, insertion force, or destructive
analysis. Please read the manual carefully before using this instrument.
When vertically placed to use, especially when installing attachment,
do not apply load as needle will move from the dead weight result of
the attachment. Re-zero dial so zero [O] is aligned with needle. This
tares the attachment load for proper test results.
Note: If often exceeding max allowed capacity the internal operation
spring will gradually wear and lead to incorrect test performance.
Please do not overload to maintain life of the machine.
SPECIFICATIONS
Accuracy: ±1% F.S.
Display Analog: 2˝ in diameter (50 mm); rotatable 360˚ for taring
purposes
Live/Peak Mode: Selectable
Needle Update: Immediate
Threaded Insert: 4 on back for mounting inserts
Overload Capacity: 120% of range
Rod Travel: 10 mm (0.39 in)
Work Environment: No vibration
Product Weight: 1.25 lb (0.57 kg)
Package Weight: 2.2 lb (1 kg)
Warranty: 1 year
Included Accessories: Carrying case and attachments (flat
head, hook, chisel, notched head, cone head, extension rod),
mounting screws.

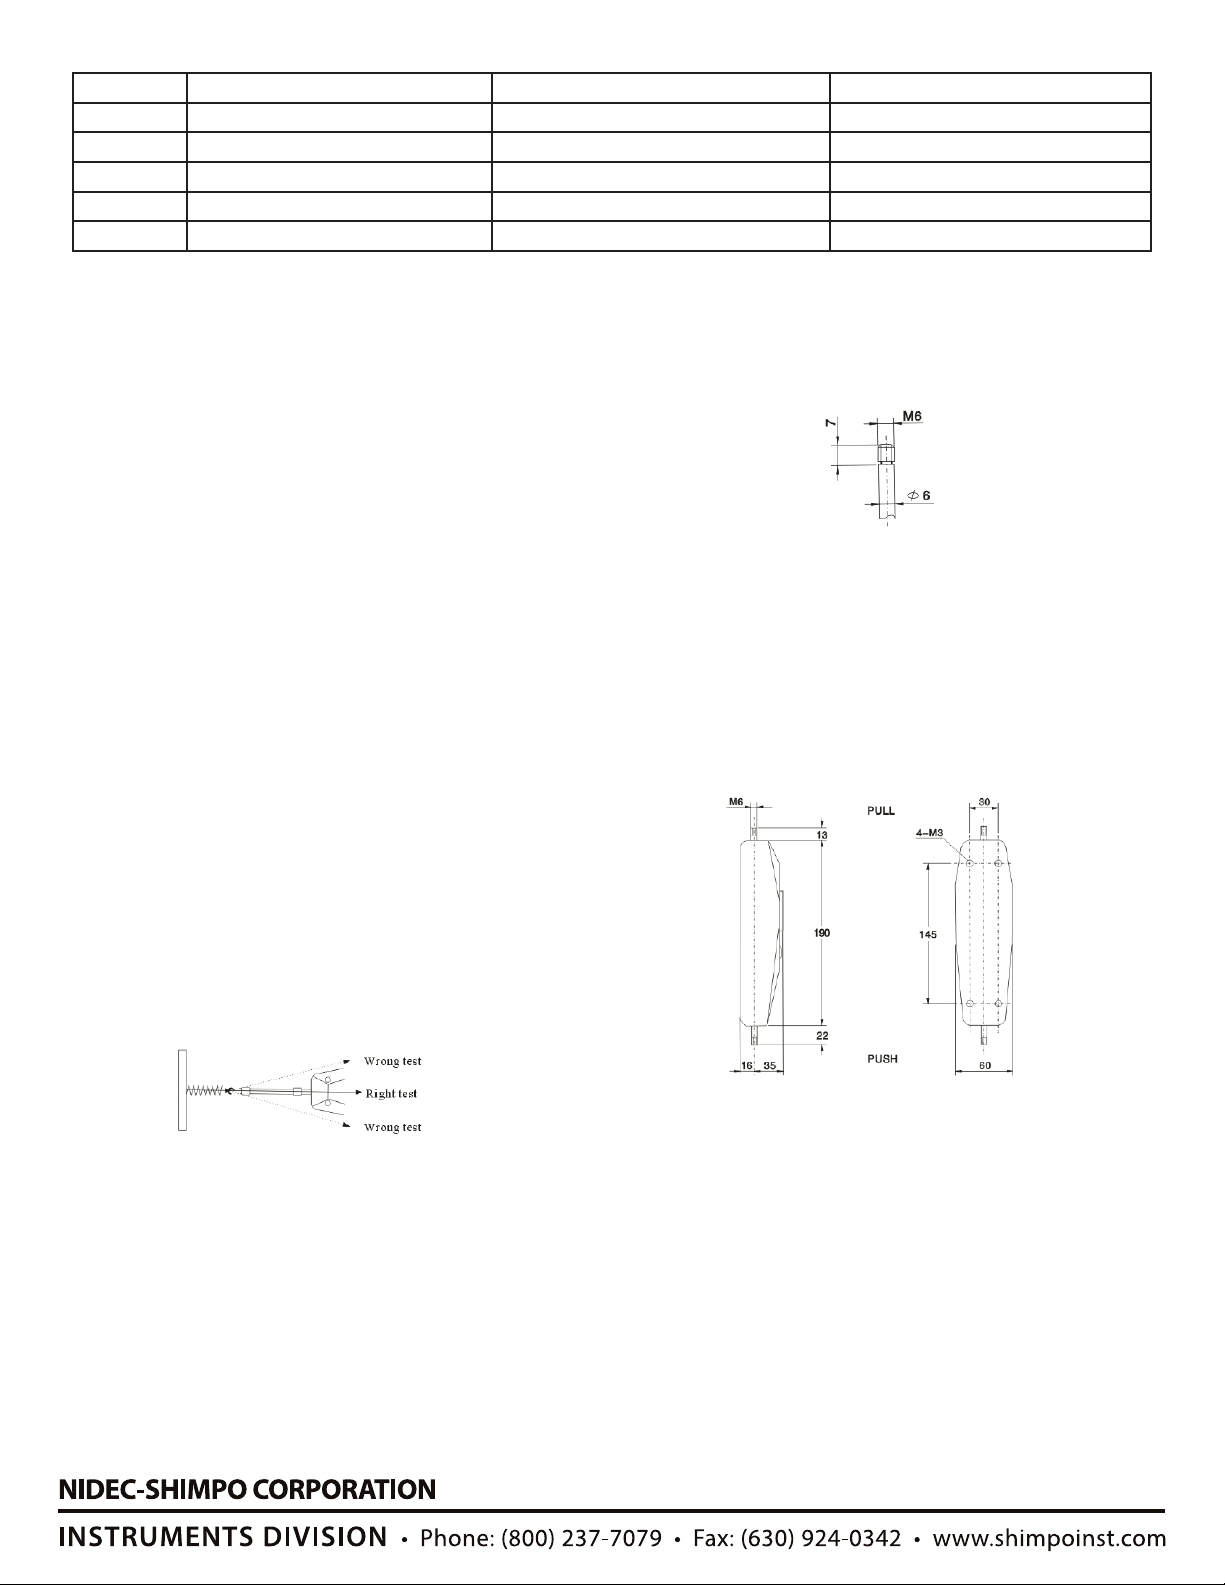
Model Range Capacity Resolution Min. Load
MFD-02 4.5 lb (2 kg) 0.02 lb (0.02 kg) 0.45 Ib (0.2 kg)
MFD-03 11 lb (5 kg) 0.05 lb (0.05 kg) 1 Ib (0.5 kg)
MFD-04 22 lb (10 kg) 0.1 lb (0.1 kg) 2.2 Ib (1.1 kg)
MFD-05 45 lb (20 kg) 0.2 lb (0.2 kg) 4.5 Ib (2.2 kg)
MFD-06 110 lb (50 kg) 0.5 lb (0.5 kg) 11 Ib (5.5 kg)
OPERATION
Preparation Before Test
Choose appropriate attachment and install it on the gauge before
test.
(1) Pull Test: Choose pull attachment and install it on the connector
marked [PULL].
(2) Push Test: Choose push attachment and install it on the connector marked [PUSH].
(3) Use of Extension Rod: When it isn’t possible to reach item under
test, add extension rod with attachment.
Note: When operating, tested object and gauge must be on the
same straight line. If not properly aligned, correct load values are
not possible and damage to gauge may occur.
(4) Confirm operation method by the location of the knob controller:
Changing from [PEAK] or [TRACK]: Lightly press knob inward, then
turn it to align dot on knob (•) with either [TRACK] or [PEAK] text on
the gauge.
Note: After testing, place the dot (•) in the [PEAK] location. If knob
is left in the place of [TRACK] for an extended period, the life of the
inner springs will shorten.
(5) Adjustments of indicator dial: Confirm needle aims at zero [O]
on dial. If not, turn adjustable outer circle of dial until needle aligns
with zero [O] on
gauge face.
Attachments
In order for the gauge to produce a stable value, please utilize included attachments. If your company wants to utilize its own attachments, please refer to size of attachment connector.
Maintenance
(1)Do not apply loads exceeding the max test range of gauge to
avoid damaging instrument..
(2)Do not put or use gauge in low or high temperature and humidity
locations. Please store and use it in the specified environment.
(3)If there is something wrong with gauge, please contact the original sales department you purchased from.
DIMENSIONS
Testing
(1) Please tightly hold gauge by hands or appropriate stands to perform test. When testing, please place tested object and gauge on
the same straight line. If they are not aligned, test will not be accurate.
(2) Change of load mode testing
(a) When knob controller is in [TRACK] mode, the needle moves in
accordance with changes in force.
(b) When knob controller is in [PEAK] mode, the needle records
Max. value of load and remains at that maximum force until pressing
inward on the controller knob. Once knob is pushed, the needle returns to zero position as long as the tested force is removed.
 Loading...