


www.shercousa.com
Sherco Carb Jetting
Instructions
This manual provides instructions on how to remove and reinstall the
stock carburetor, it also shows you how to change the pilot jet and
the main jet. It is intended to be used for all Sherco 1.25 – 2.9 Trials
Motorcycles.
The motorcycle shown is a new 2002, 2.9, the one that you are
working on may be slightly different but the principles shown will
apply to all of the models indicated.
The technician shown in the photographs is David Chaves who
received his training at the Sherco factory in Spain. David is also a
member of Team Sherco and is competing in the NATC national
series as a Champ rider.
The stock jets are: Pilot 30 – 33, Main 124 – 126.
Sherco USA recommends a 36 pilot and a 118 main for most North
American applications. Altitude, temperature and atmospheric
conditions all have an effect on carburetion. Your local dealer should
be able to advise you as to the best jetting for your area.
The float height should be set at 18.5mm.
If you have any question or are not certain about any procedure call
Ryan Young Products on 1-800-607-8742.
1/15/2004 Sherco Carb Jetting 1
www.shercousa.com
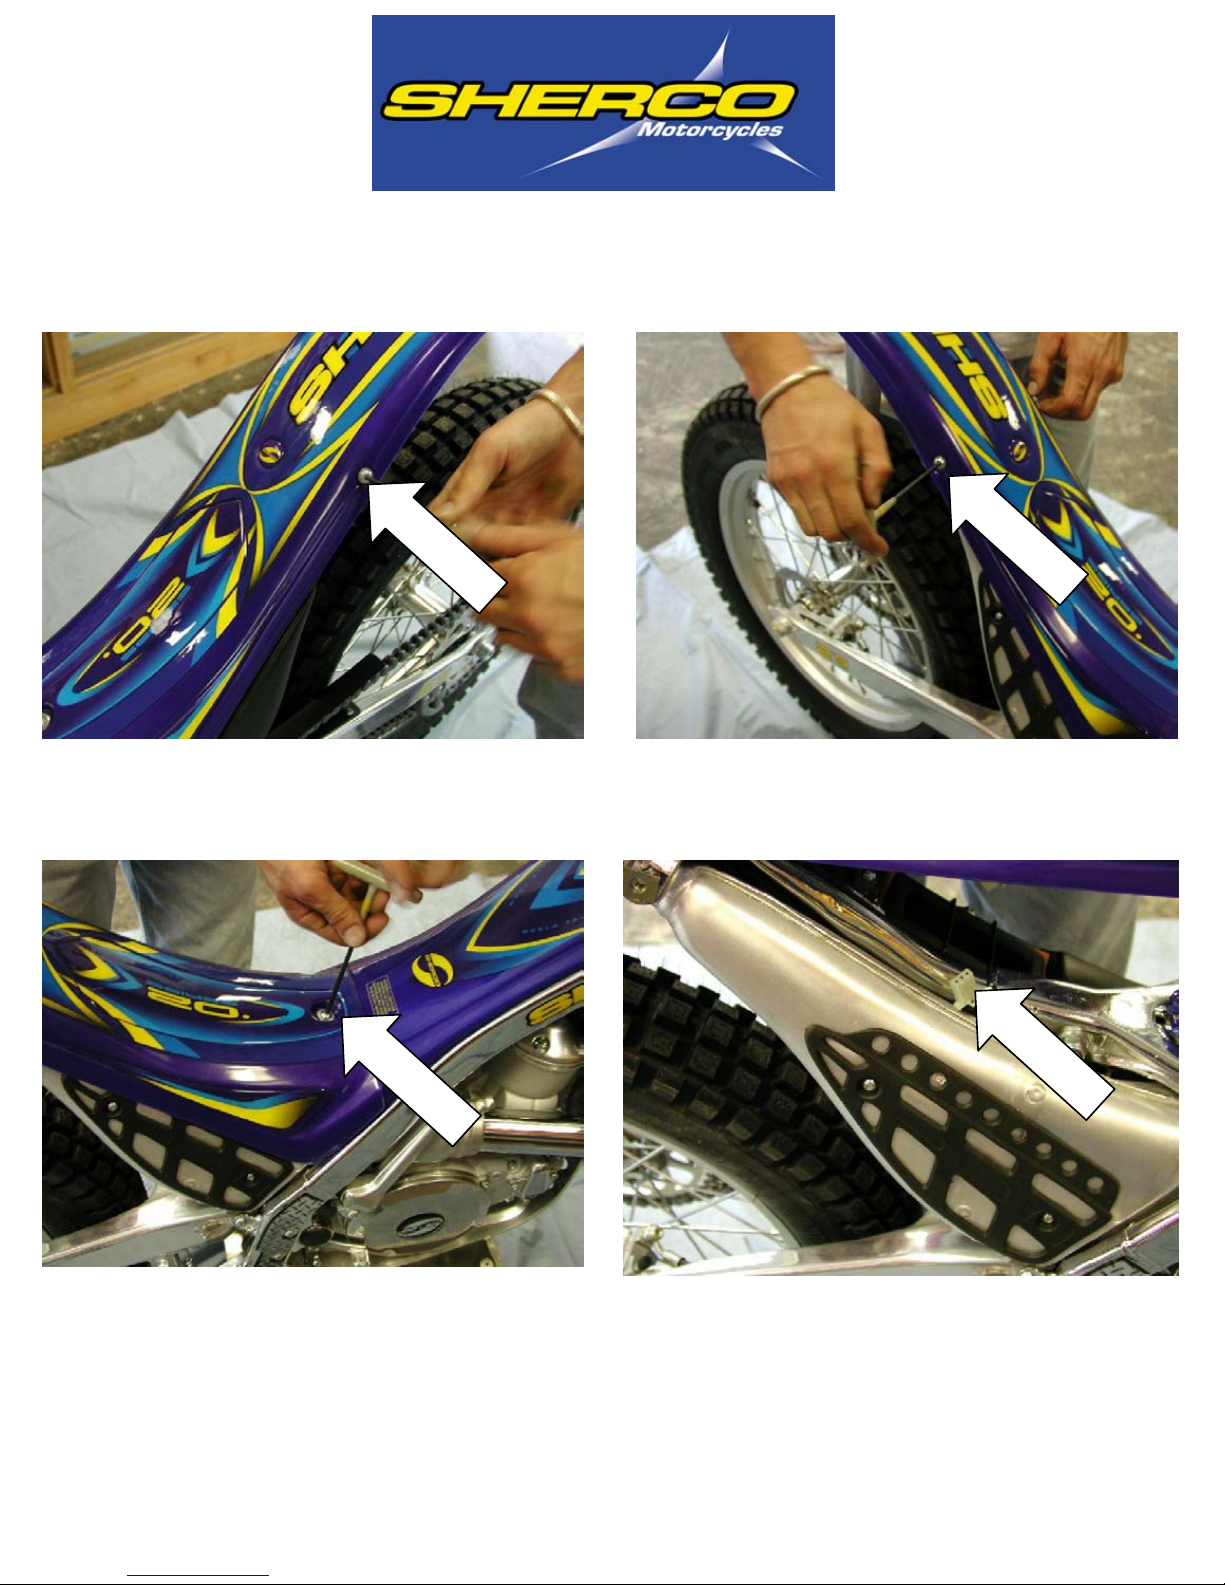
The First Step is to Remove the Rear Fender.
Remove the 2 rear fender mounting bolts.
Remove the front mounting
bolt.
1/15/2004 Sherco Carb Jetting 2
Disconnect the taillight
harness.
www.shercousa.com
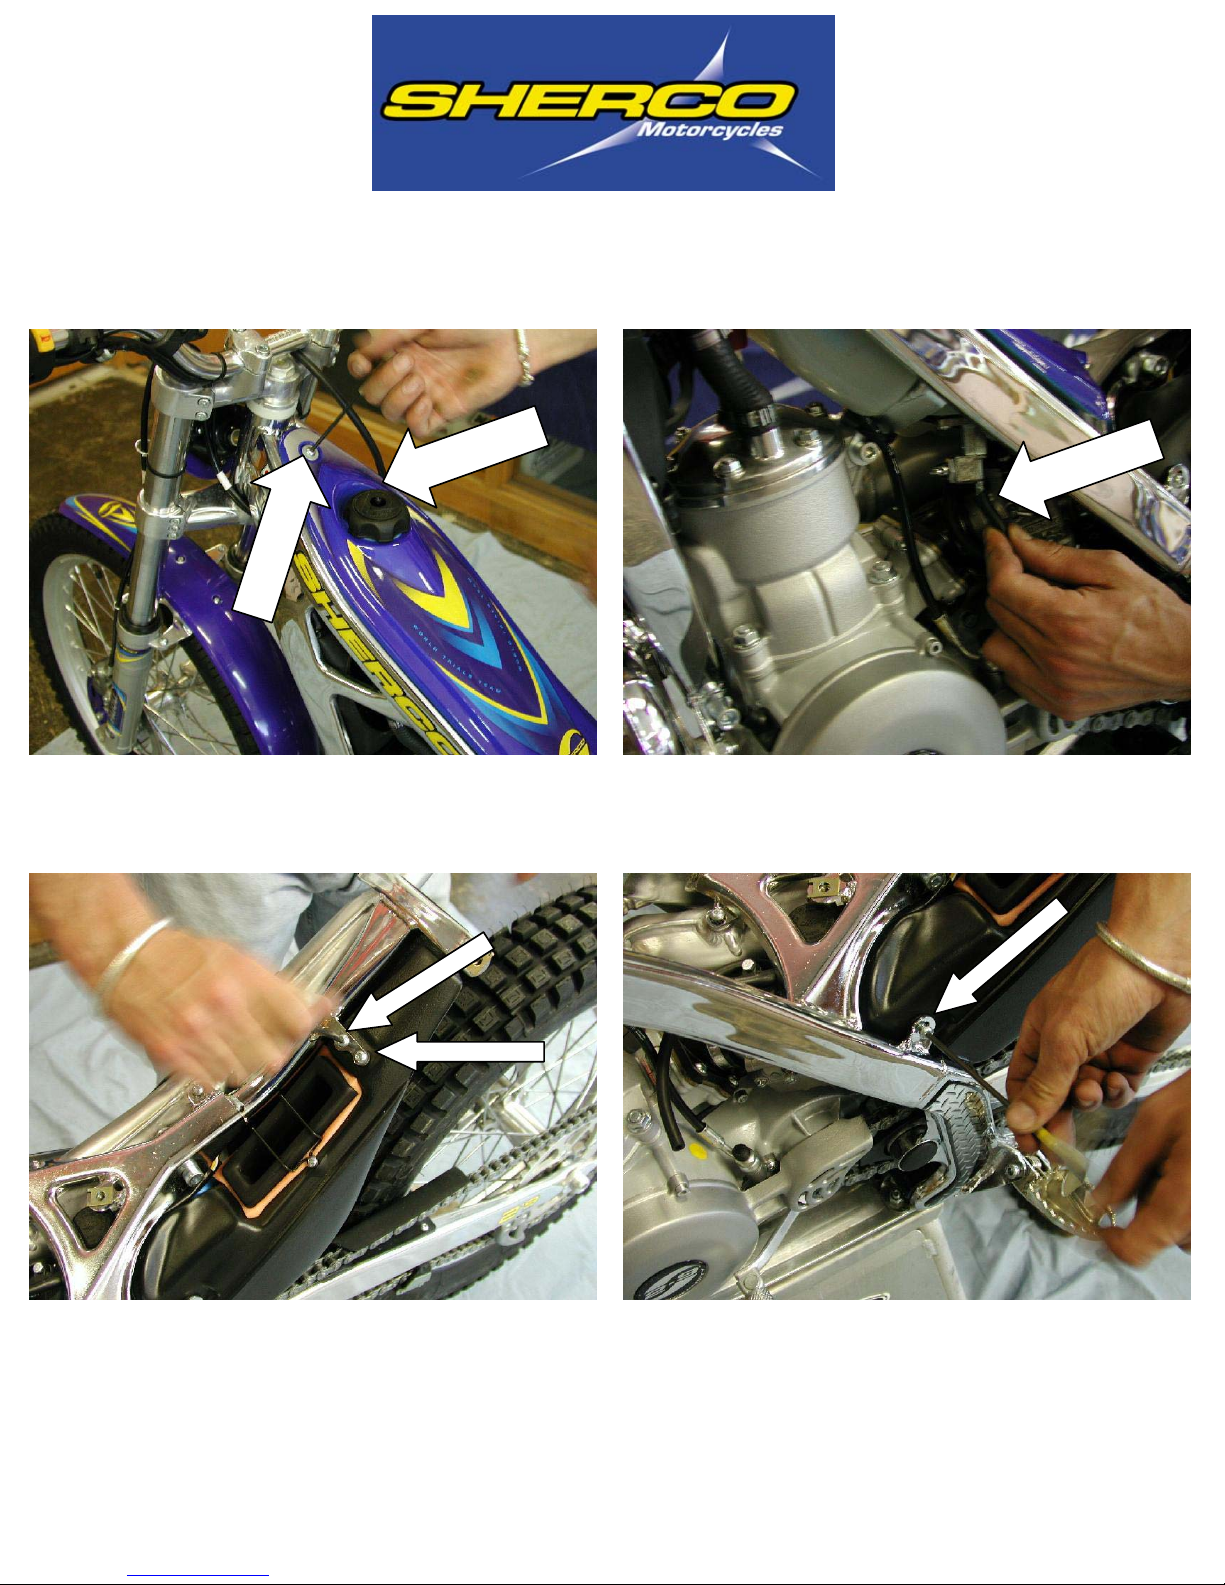
The Second Step is to Remove the Fuel Tank
Remove the top fuel tank mounting bolt and disconnect the
fuel overflow line and the fuel line.
Remove the airbox by removing the 3 mounting screws.
1/15/2004 Sherco Carb Jetting 3
www.shercousa.com
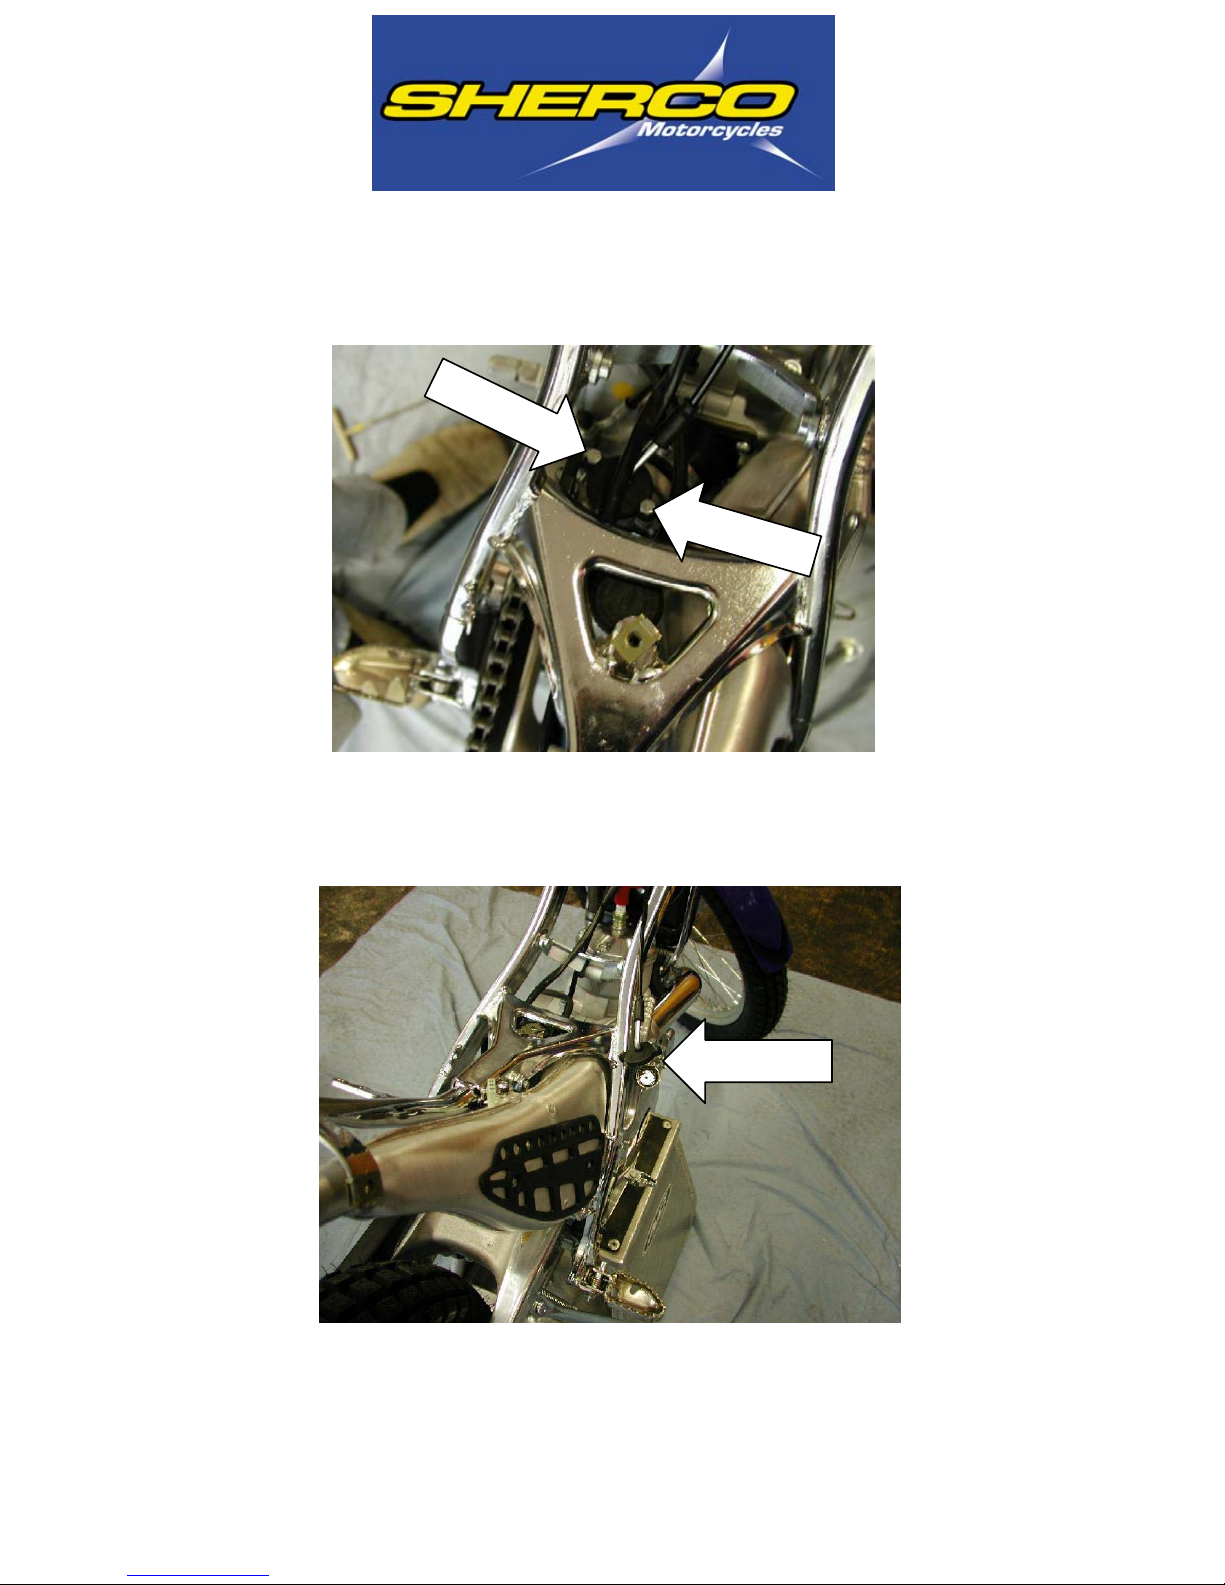
Air Box Removal Continued
Notice that David is loosening the rear clamp, the
one that attaches the air box to the rubber manifold.
Do not loosen the clamp that attaches the rubber
manifold to the carburetor.
1/15/2004 Sherco Carb Jetting 4
www.shercousa.com
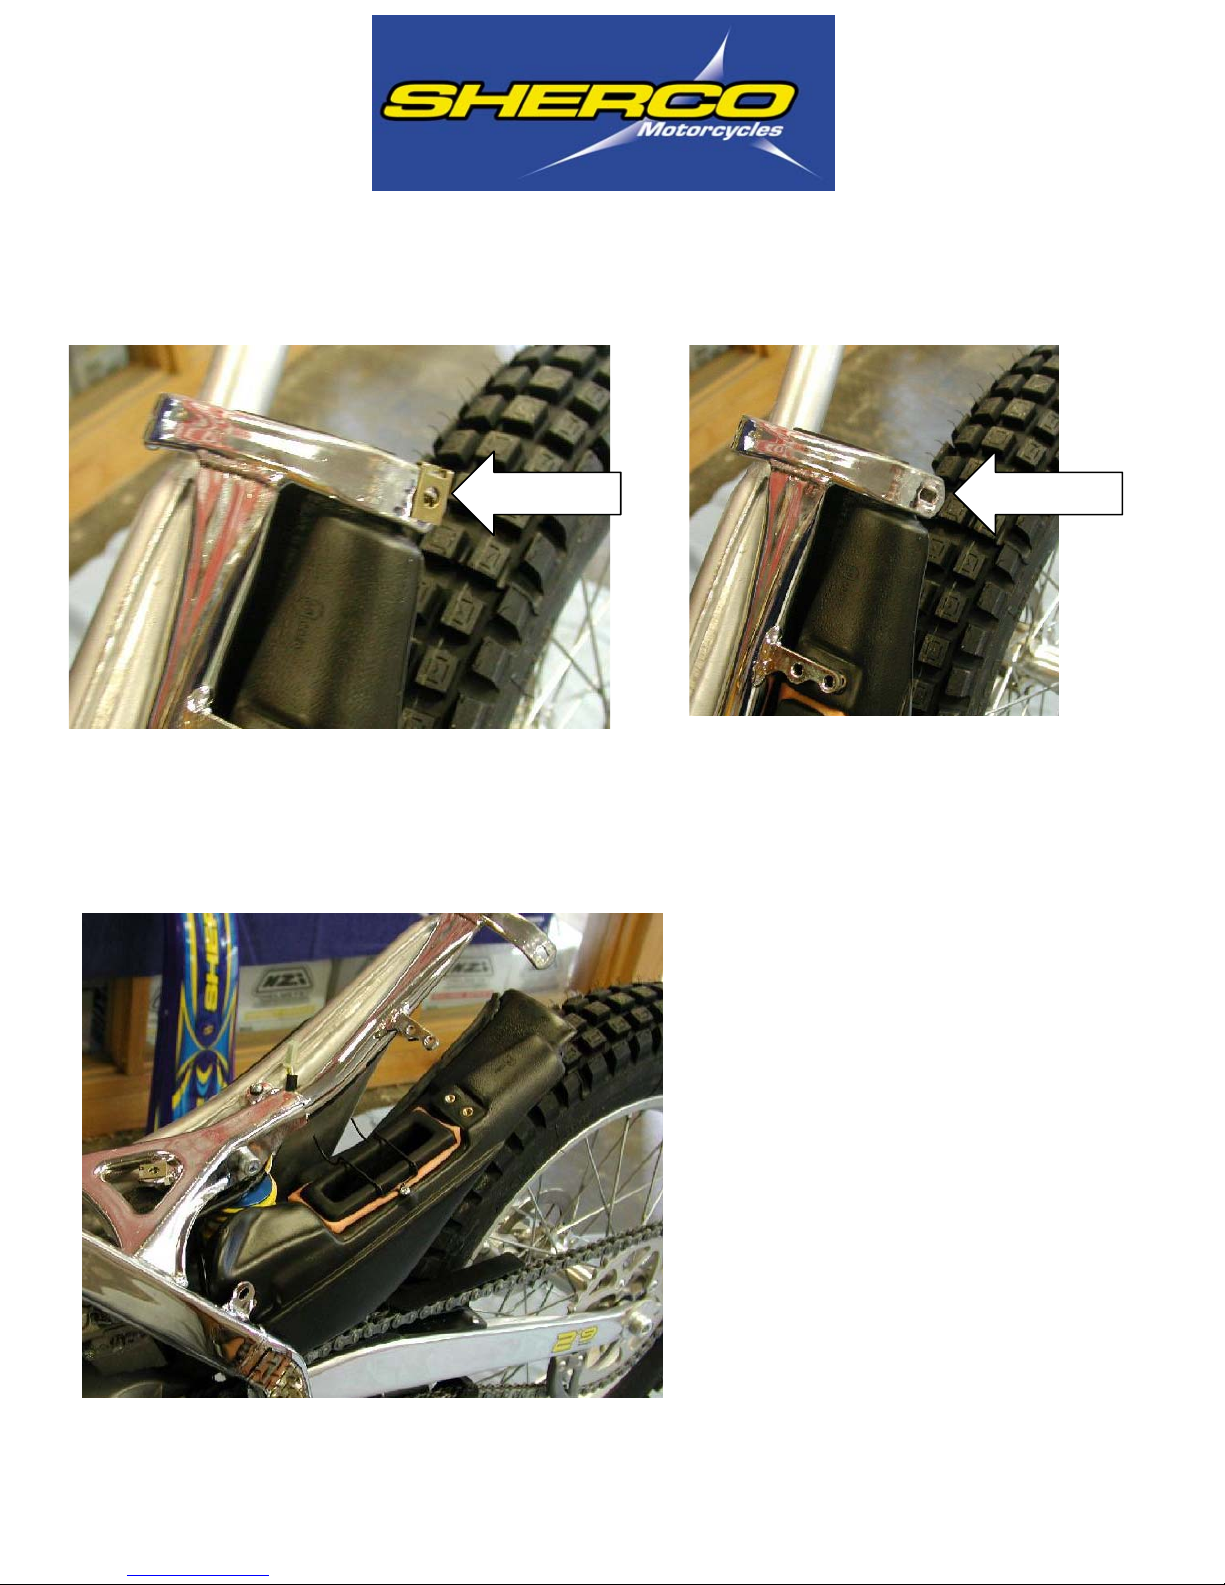
To facilitate the removal of the air box remove the
fender retaining nut.
Remove the air box
and set it aside.
1/15/2004 Sherco Carb Jetting 5
www.shercousa.com
Slide Removal
Loosen the 2 screws that retain the carb slide,
remove it and set it aside.
David hangs it over the side of the frame as shown.
1/15/2004 Sherco Carb Jetting 6

www.shercousa.com
Loosen the manifold clamp at the carburetor.
Remove the carburetor from the frame as shown.
1/15/2004 Sherco Carb Jetting 7

www.shercousa.com
Changing the Jets
Set the carburetor on a clean surface.
Use a 14 mm wrench and remove the main jet holder.
1/15/2004 Sherco Carb Jetting 8

www.shercousa.com
Main Jet
Main jet holder
Set the float bowl
upright as shown in
order to keep the floats
from falling out of the
bowl.
1/15/2004 Sherco Carb Jetting 9

www.shercousa.com
To change the main jet
hold it in a 14 mm box
end wrench and use a
straight screw driver
that fits it tight, remove
it and replace it with the
appropriate one for your
operating conditions.
The pilot jet is located
in the body of the
carburetor as shown,
to change it use a
straight screw driver
that fits it tight, remove
it and replace it with
the appropriate one for
your conditions.
1/15/2004 Sherco Carb Jetting 10

www.shercousa.com
Replacing the Float Bowl
Notice how David holds the carburetor body and the
float bowl, this method insures that the floats do not
fall out of the bowl.
Install and tighten the main jet holder.
1/15/2004 Sherco Carb Jetting 11

www.shercousa.com
The jets are changed and the carburetor is ready to be
reinstalled.
For the most part the assembly process is just the
disassembly reversed.
We will make note of a few things that David does to
make the job go smoother.
1/15/2004 Sherco Carb Jetting 12

www.shercousa.com
Carburetor Installation Tips
David routes the fuel line under the engine breather
line as shown.
1/15/2004 Sherco Carb Jetting 13

www.shercousa.com
Install the carb as shown.
1/15/2004 Sherco Carb Jetting 14

www.shercousa.com
Reinstall the slide, look to make sure that it is installed
properly.
David operates the throttle
and makes sure that the
slide is operating properly.
This is CRITICAL, take
your time and do this
right.
1/15/2004 Sherco Carb Jetting 15

www.shercousa.com
David installs the
air box and the
fuel tank before
he tightens the
carburetor
clamps. He does
this so that he
can rotate the
carburetor in
order to provide
operating
clearance for the
choke lever.
1/15/2004 Sherco Carb Jetting 16

www.shercousa.com
Rotate the carburetor so that the choke lever
operates properly. Now tighten the manifold clamps.
1/15/2004 Sherco Carb Jetting 17

www.shercousa.com
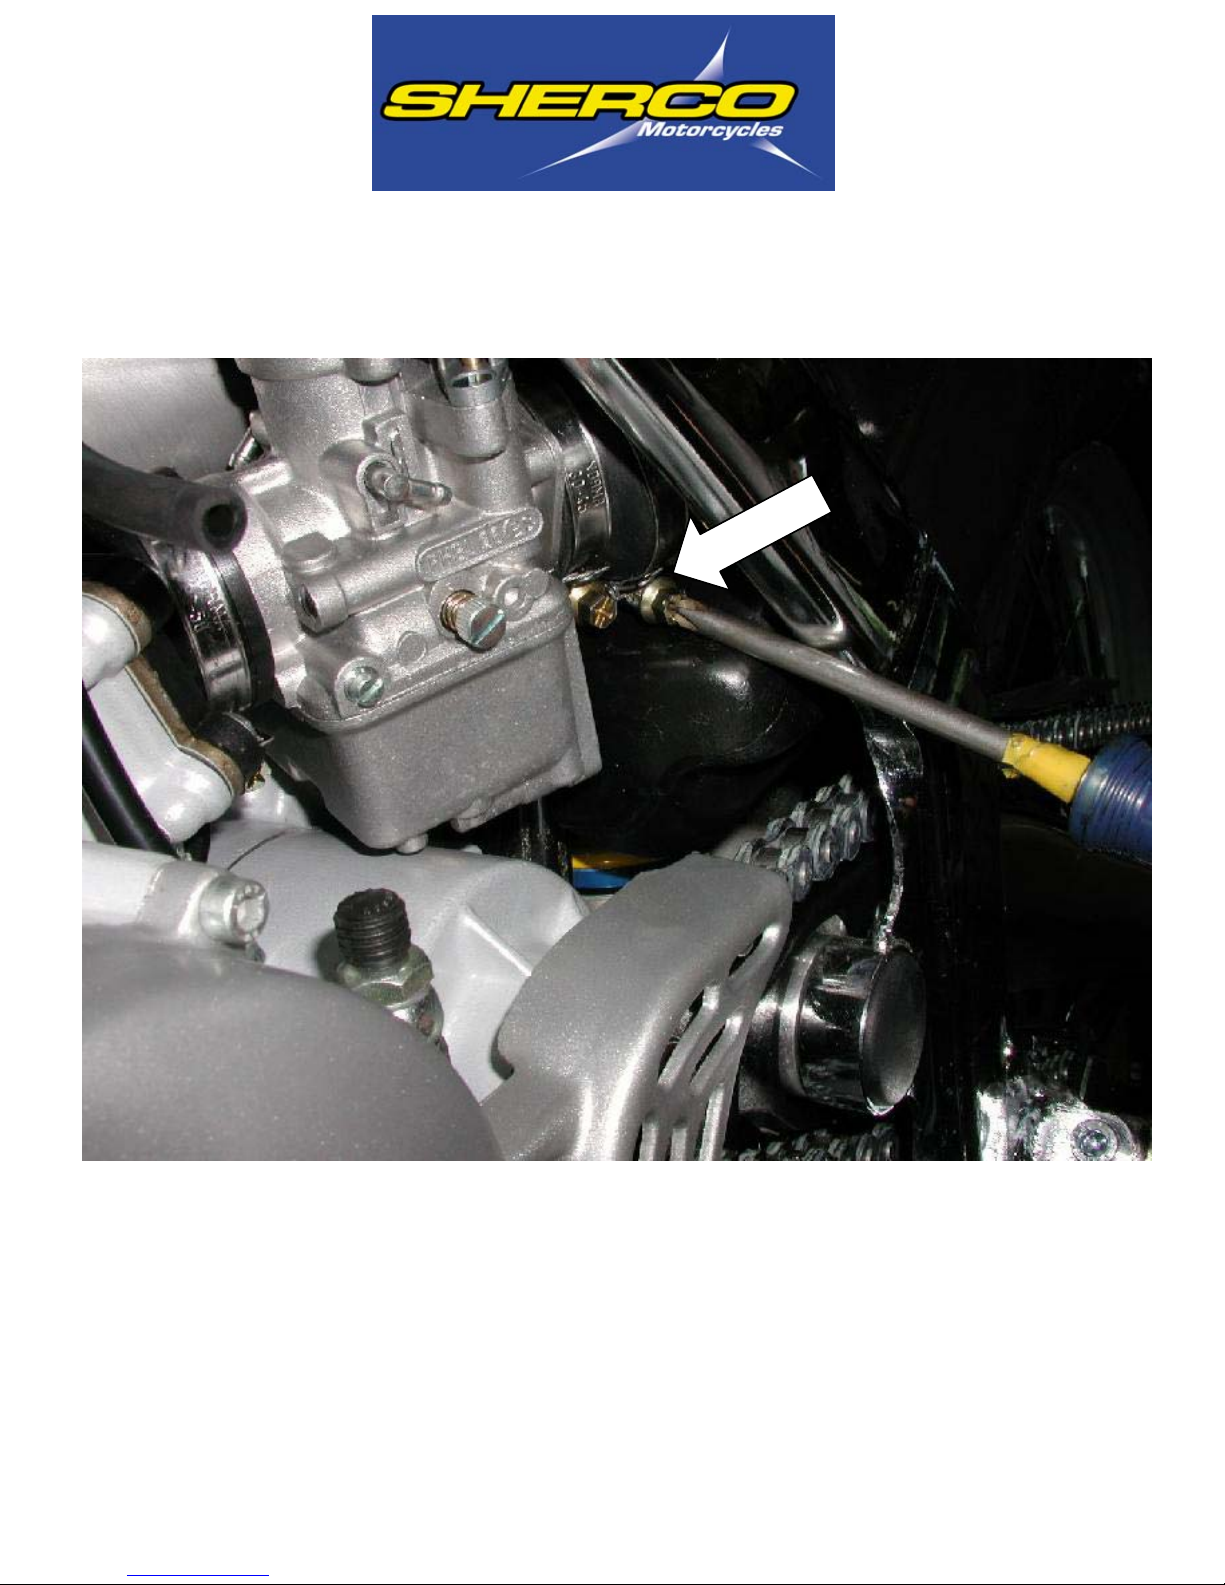
External Carburetor Adjustments
There are 2 screws that allow you to make
adjustments to the carburetor, the one on the right is
the idle adjustment screw and the one on the left is
the “GAS” screw.
Turning the idle screw in (clockwise), increases the
idle speed, turning it out decreases the idle speed.
Turning the “GAS” screw out (counter clockwise)
makes the idle mixture richer and turning it in makes
it leaner.
1/15/2004 Sherco Carb Jetting 18

www.shercousa.com
Tighten all the bolts, connect the fuel lines, install the
rear fender and the bike is ready to be test ridden.
If you have any questions or are not certain about any
procedure call Ryan Young Products on 1-800-607-
8742.
1/15/2004 Sherco Carb Jetting 19
 Loading...