

SHERCO 1.25, 2.9 Assembly Instructions Manual

www.shercousa.com
Sherco Motorcycle
Assembly Instructions
This manual is intended to be used as an
assembly guide for the Sherco 1.25 – 2.9 Trials
Motorcycles. The motorcycle shown in the
pictures is a new 2002, 2.9, the one that you are
assembling may be slightly different but the
principles shown will apply to all of the models
indicated.
The technician shown in the photographs is
David Chaves who received his training at the
Sherco factory in Spain. David is also a member
of Team Sherco and is competing in the NATC
national series as a Champ rider.
The pictures start out showing the bike in the
crate and progress through the complete
assembly process.
If you have any question or are not certain
about any procedure call Ryan Young Products
on 1-800-607-8742.
7/22/2002 Sherco Assembly
1
Instructions
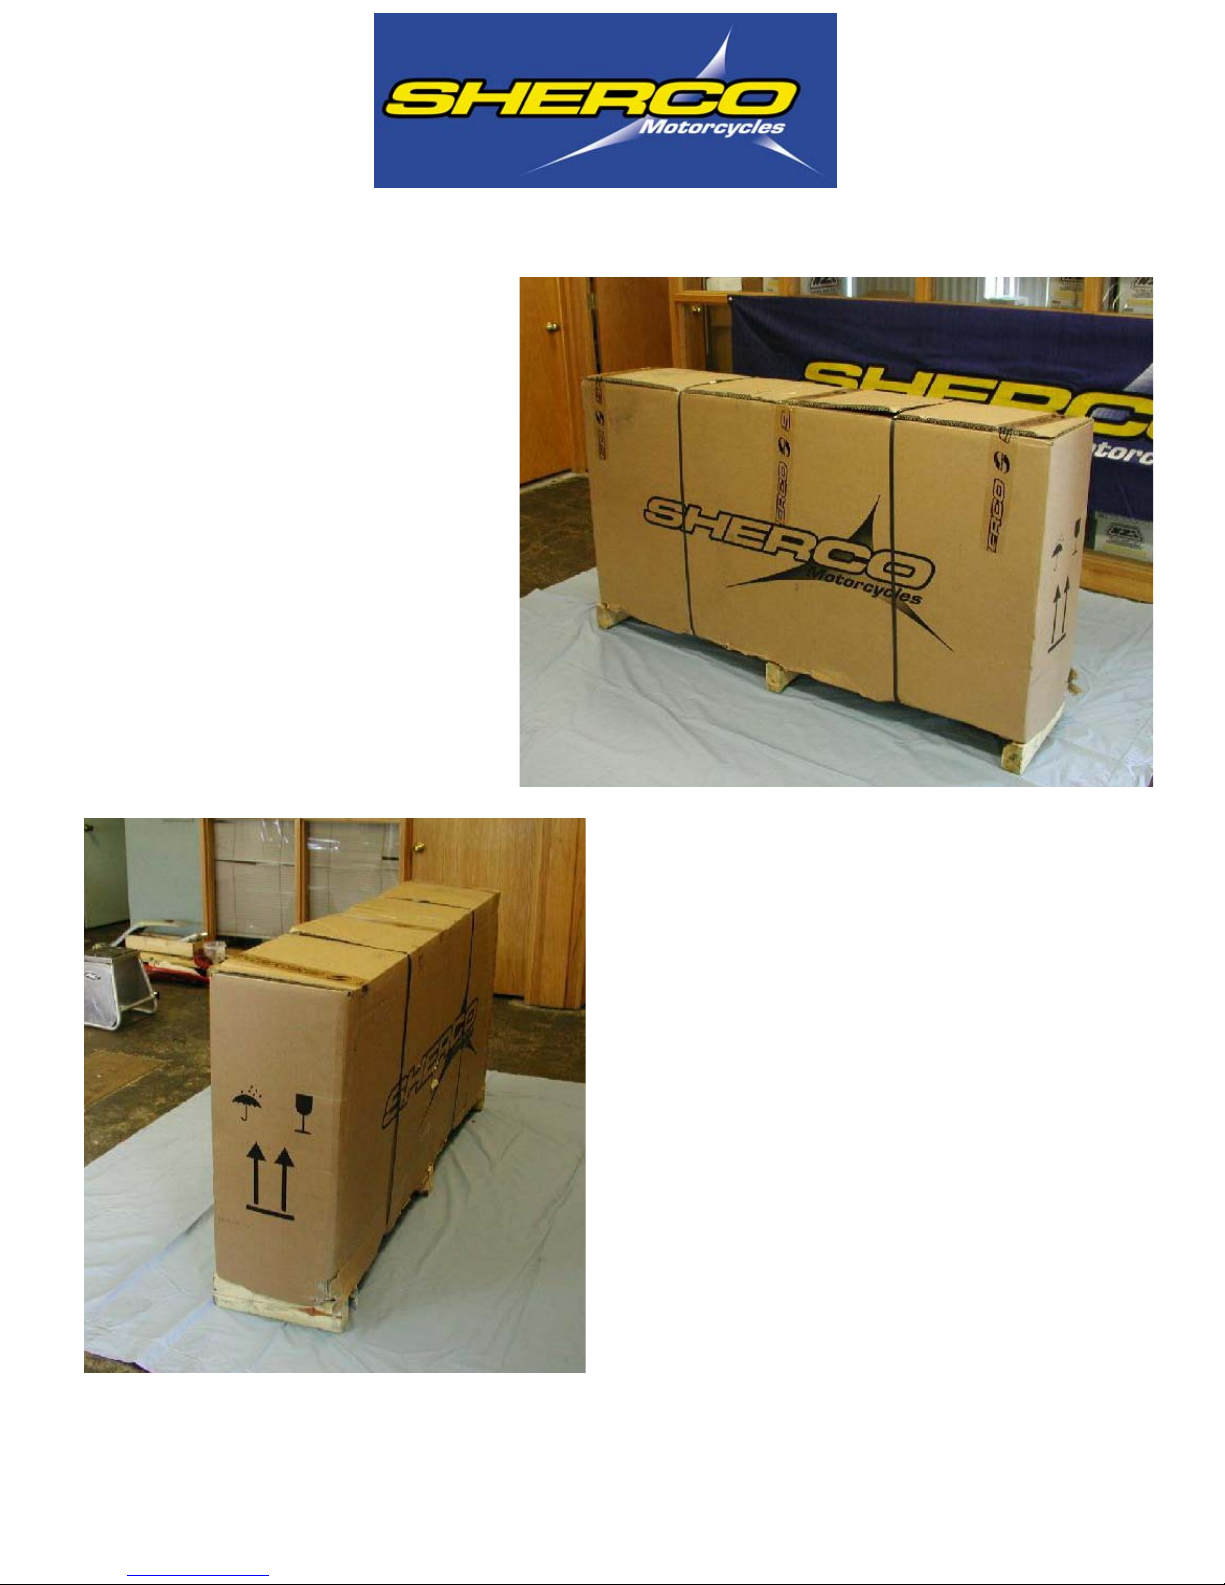
These pictures
show how the bike
is packaged and
shipped from the
factory.
www.shercousa.com
Set the crate upright as
shown.
7/22/2002 Sherco Assembly
2
Instructions
www.shercousa.com
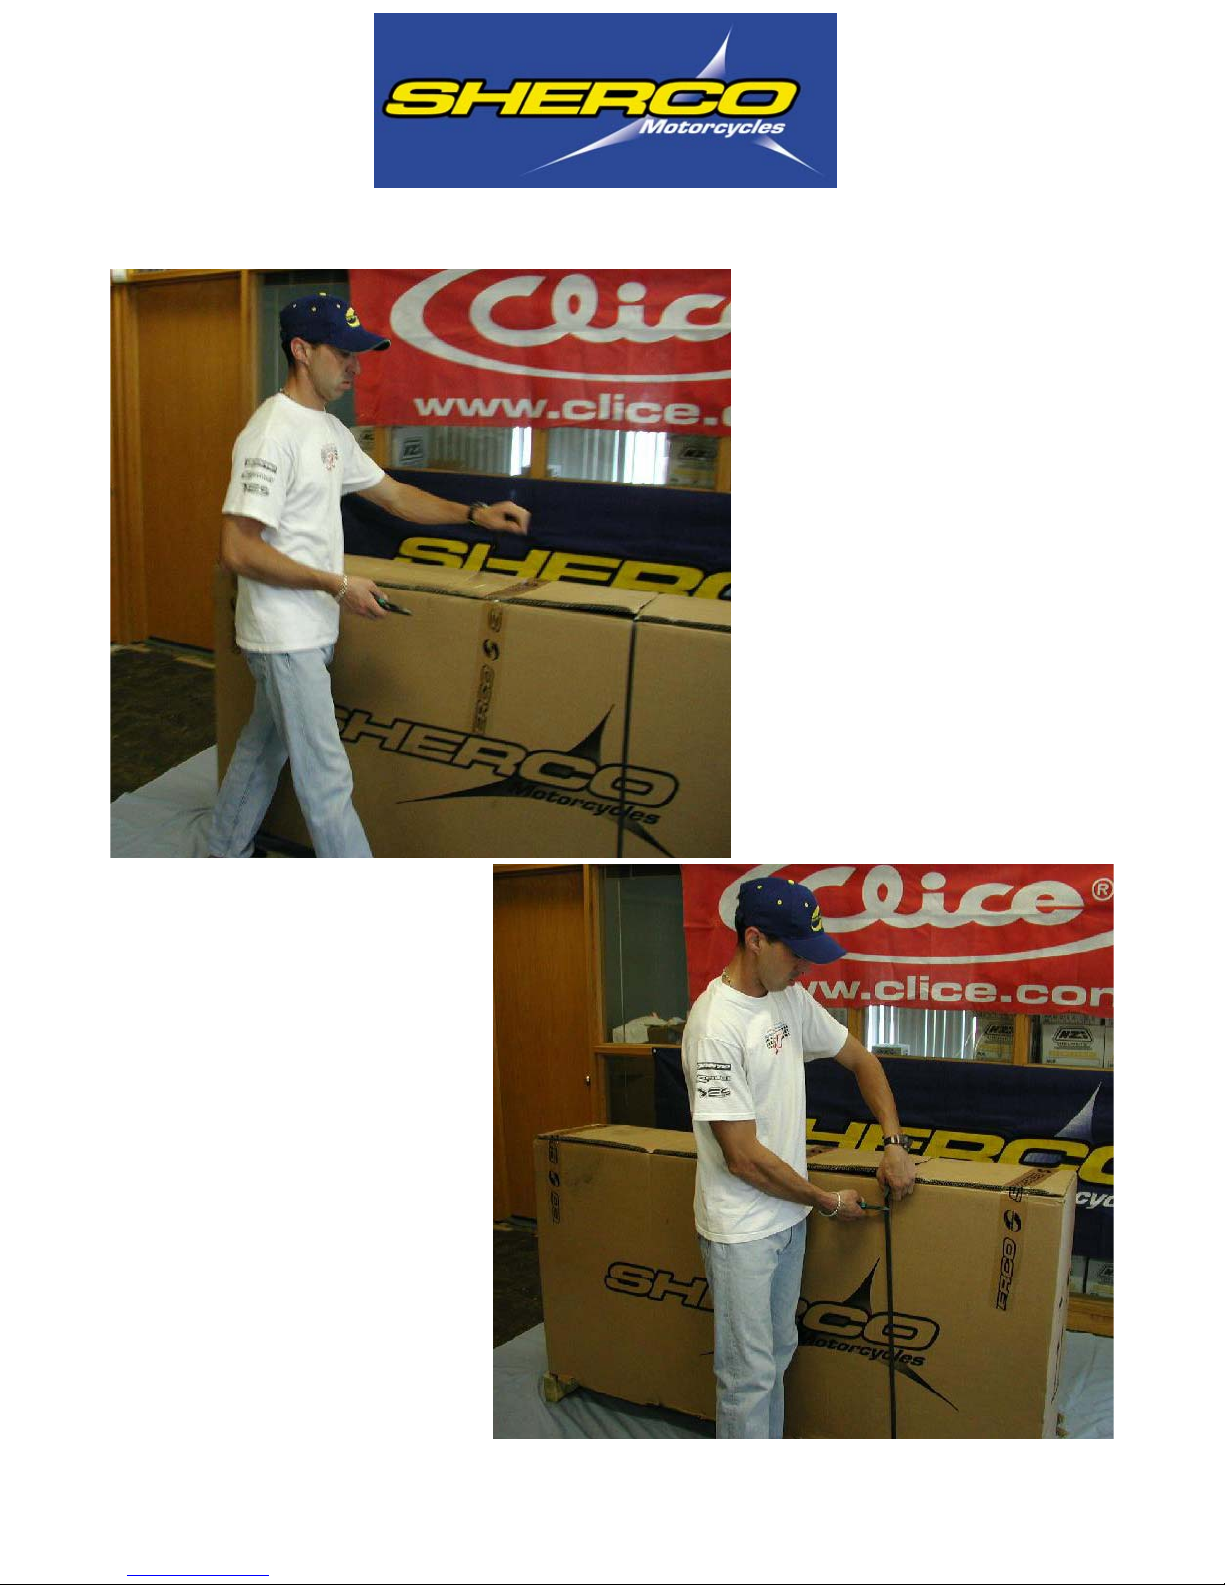
Preparation for
assembly.
Remove both of the
straps.
7/22/2002 Sherco Assembly
Instructions
3
www.shercousa.com
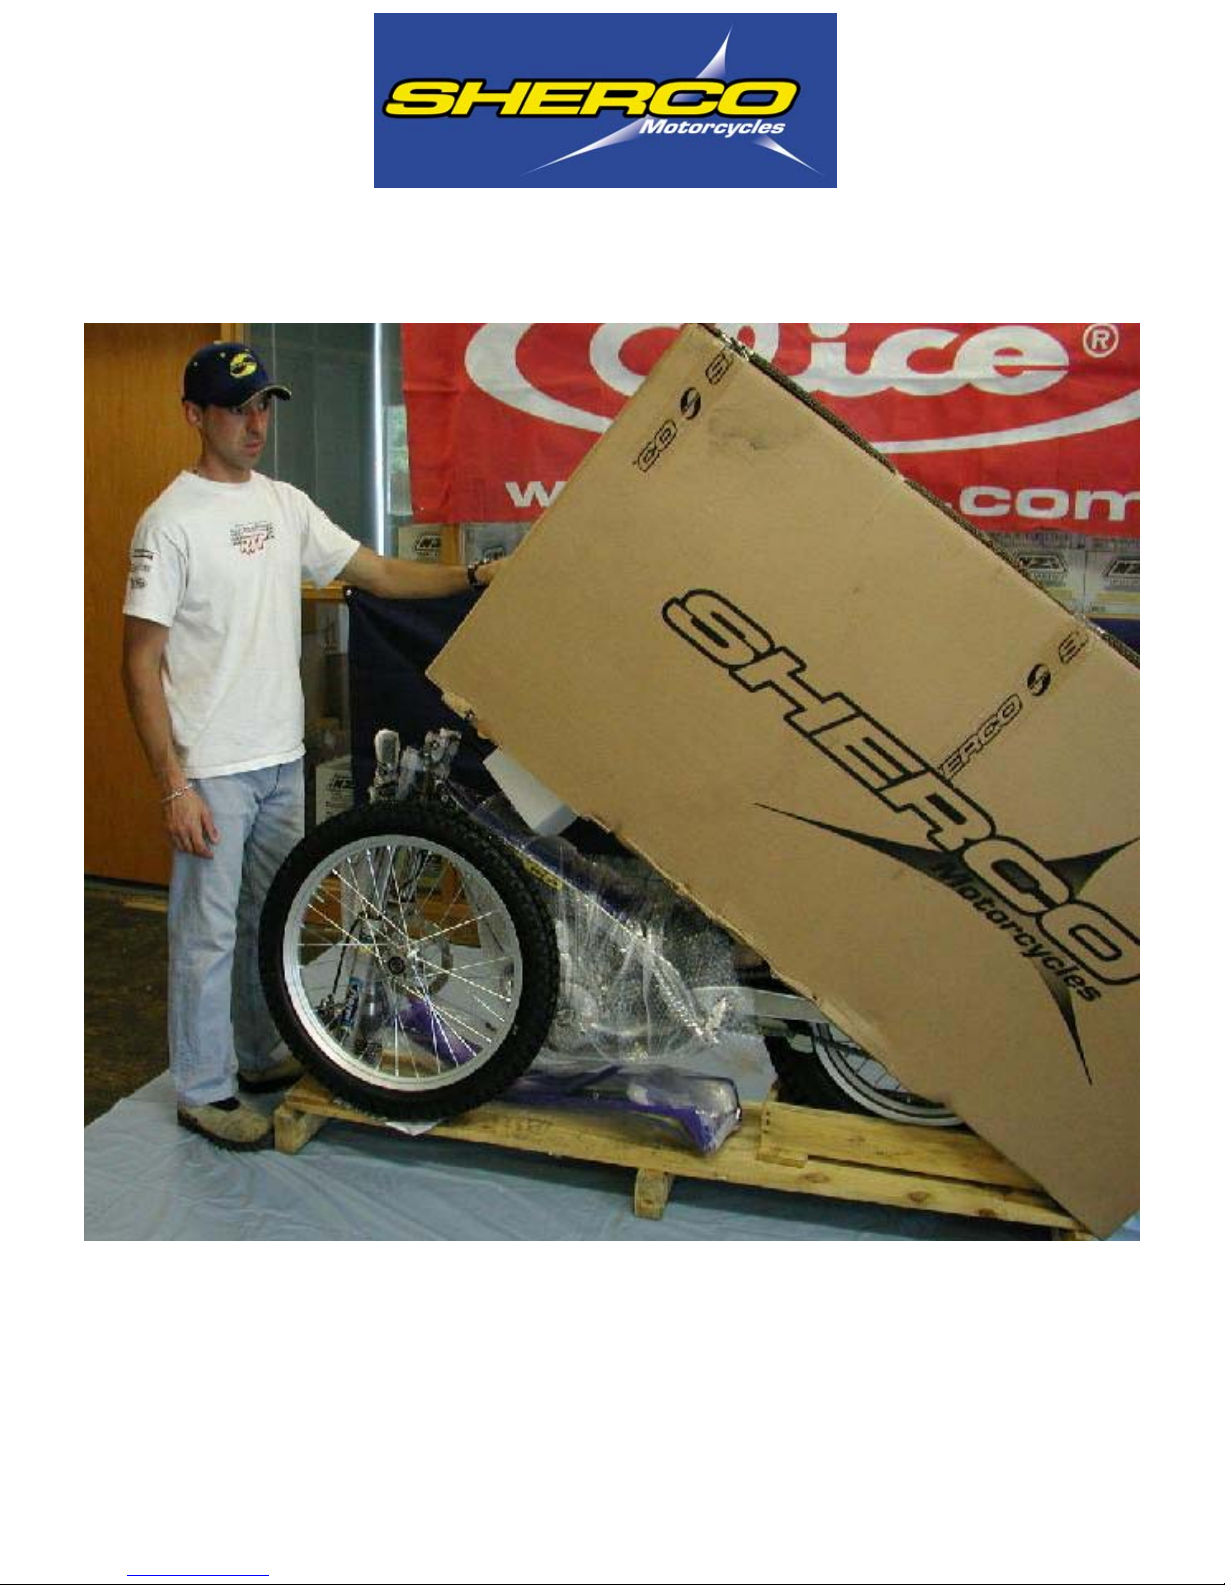
Lift the box off of the bike and set aside.
7/22/2002 Sherco Assembly
4
Instructions
www.shercousa.com
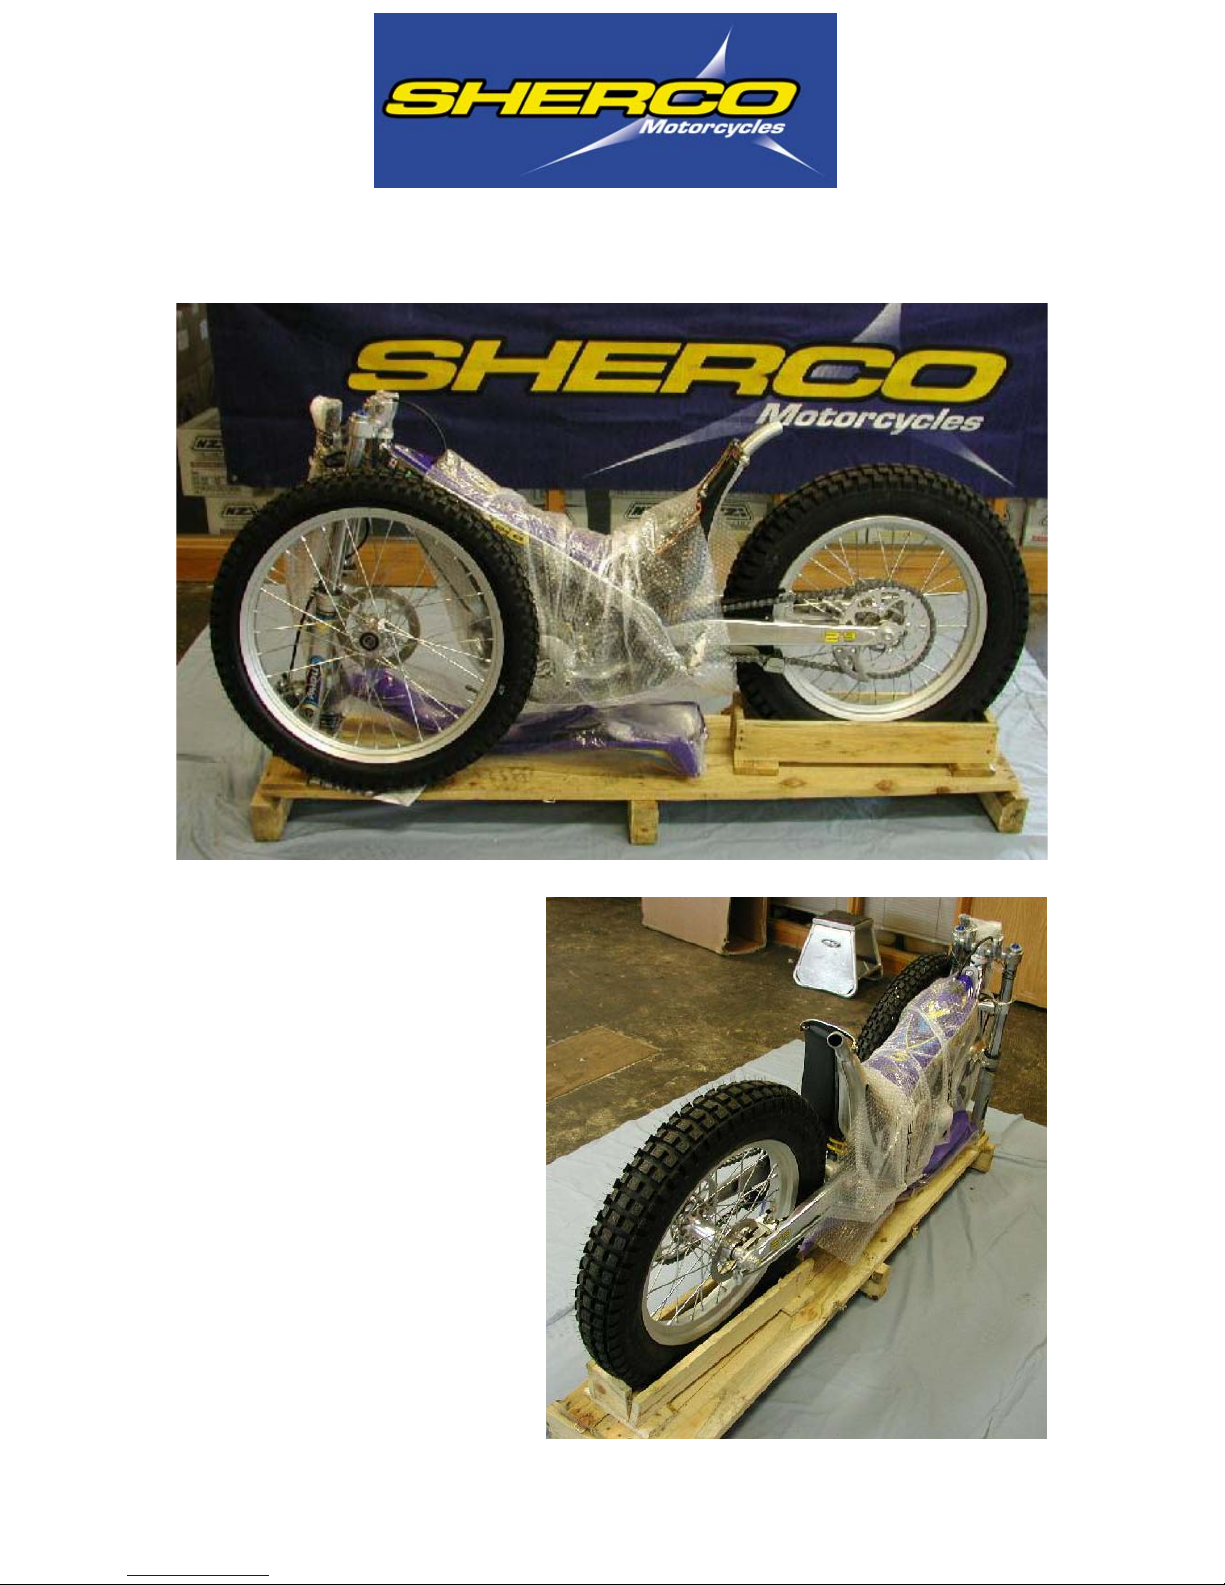
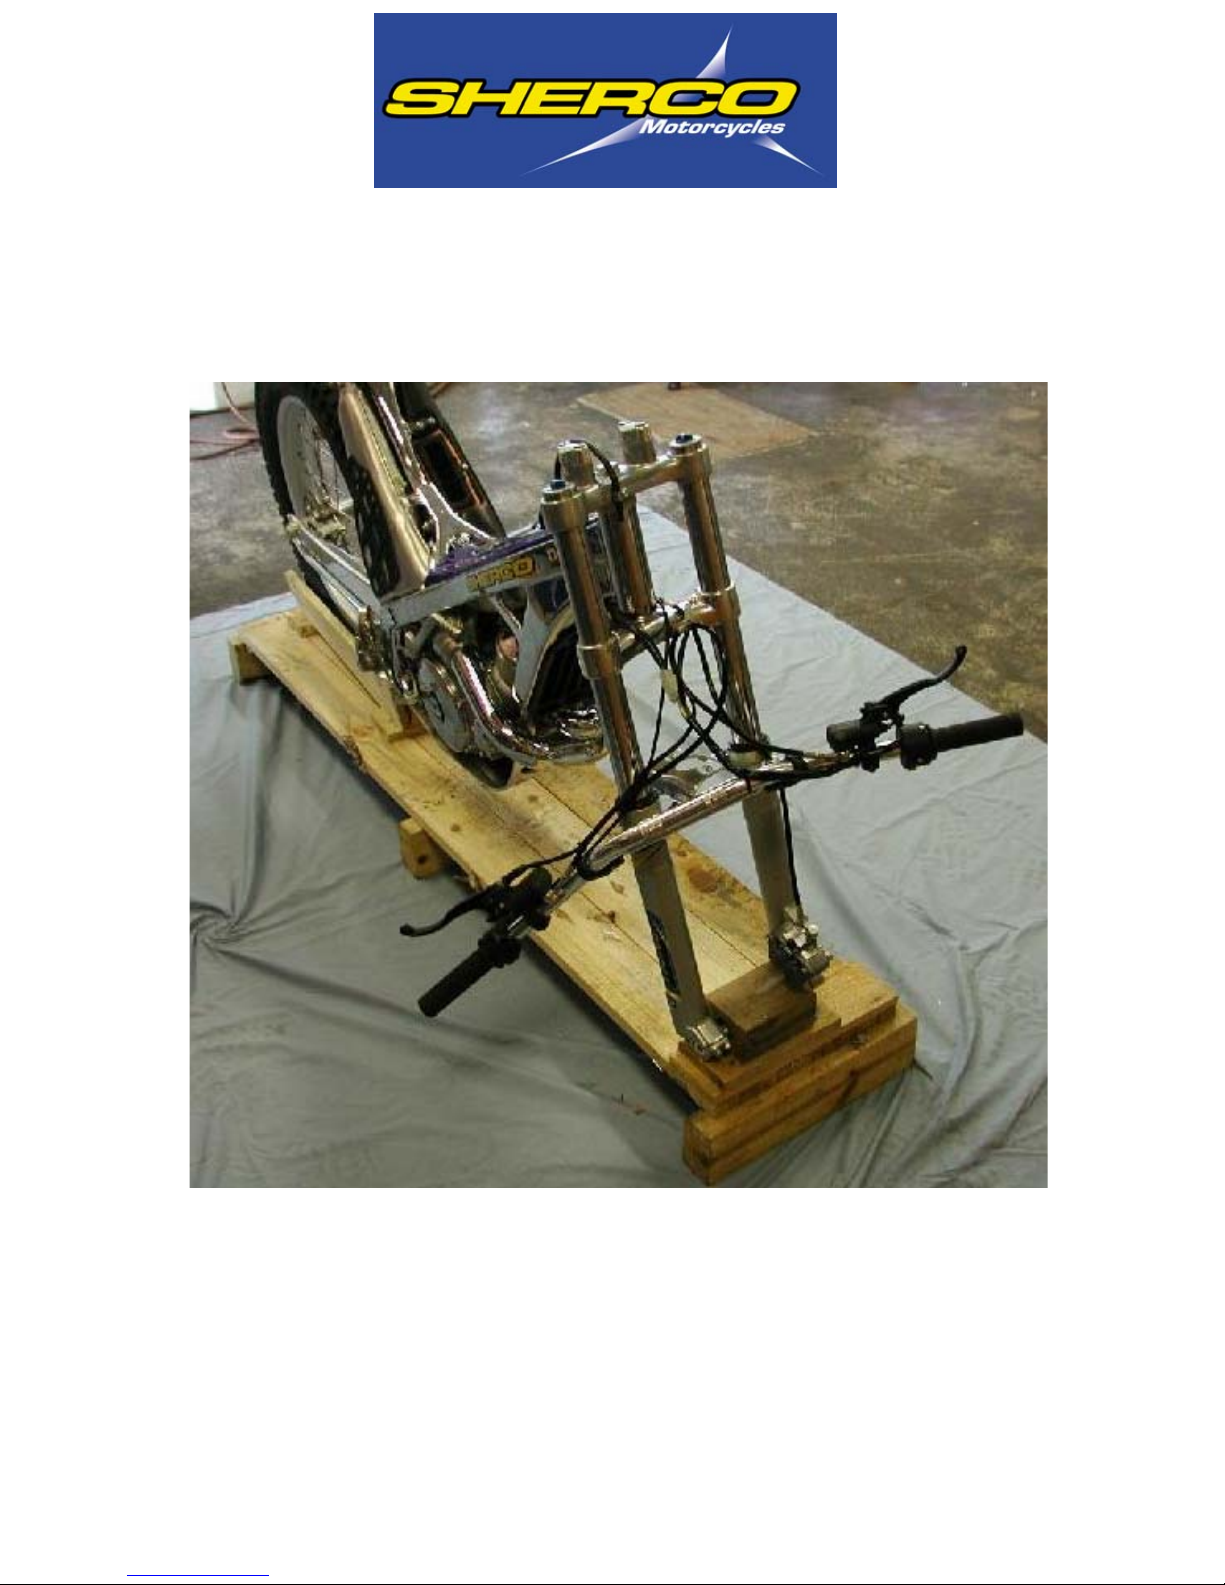
These pictures
show the bike in
it’s shipping
configuration.
7/22/2002 Sherco Assembly
5
Instructions
www.shercousa.com
This picture shows how the axle bolt is used
to retain the bike to the crate.
7/22/2002 Sherco Assembly
6
Instructions

www.shercousa.com
Set the front wheel and the package containing
the plastic parts aside.
7/22/2002 Sherco Assembly
7
Instructions

www.shercousa.com
Carefully remove all of the protective plastic wrap.
7/22/2002 Sherco Assembly
8
Instructions
www.shercousa.com
The bike is now ready to be assembled.
7/22/2002 Sherco Assembly
9
Instructions
www.shercousa.com
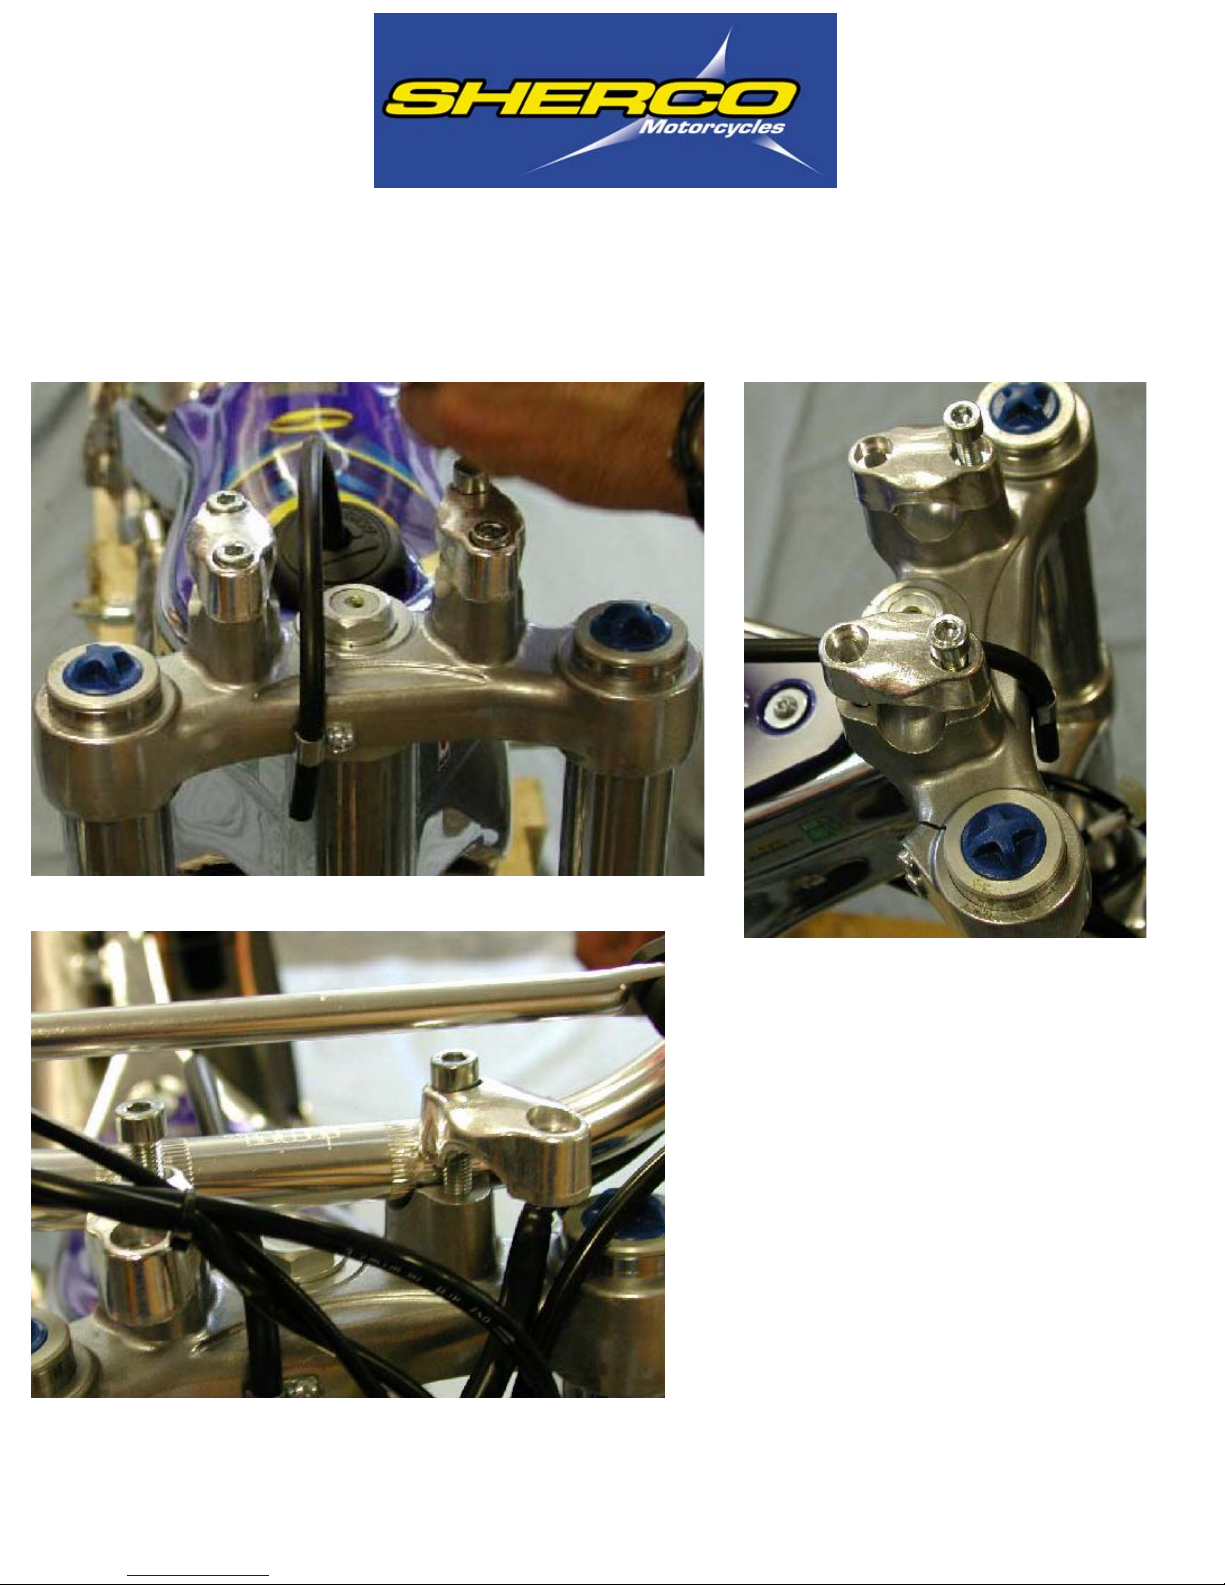
Handlebar Installation
David removes the 2 rear
bolts and loosens the
front 2, This allows him to
install the handlebars
without having to
completely remove the
clamps.
7/22/2002 Sherco Assembly
Instructions
10
www.shercousa.com
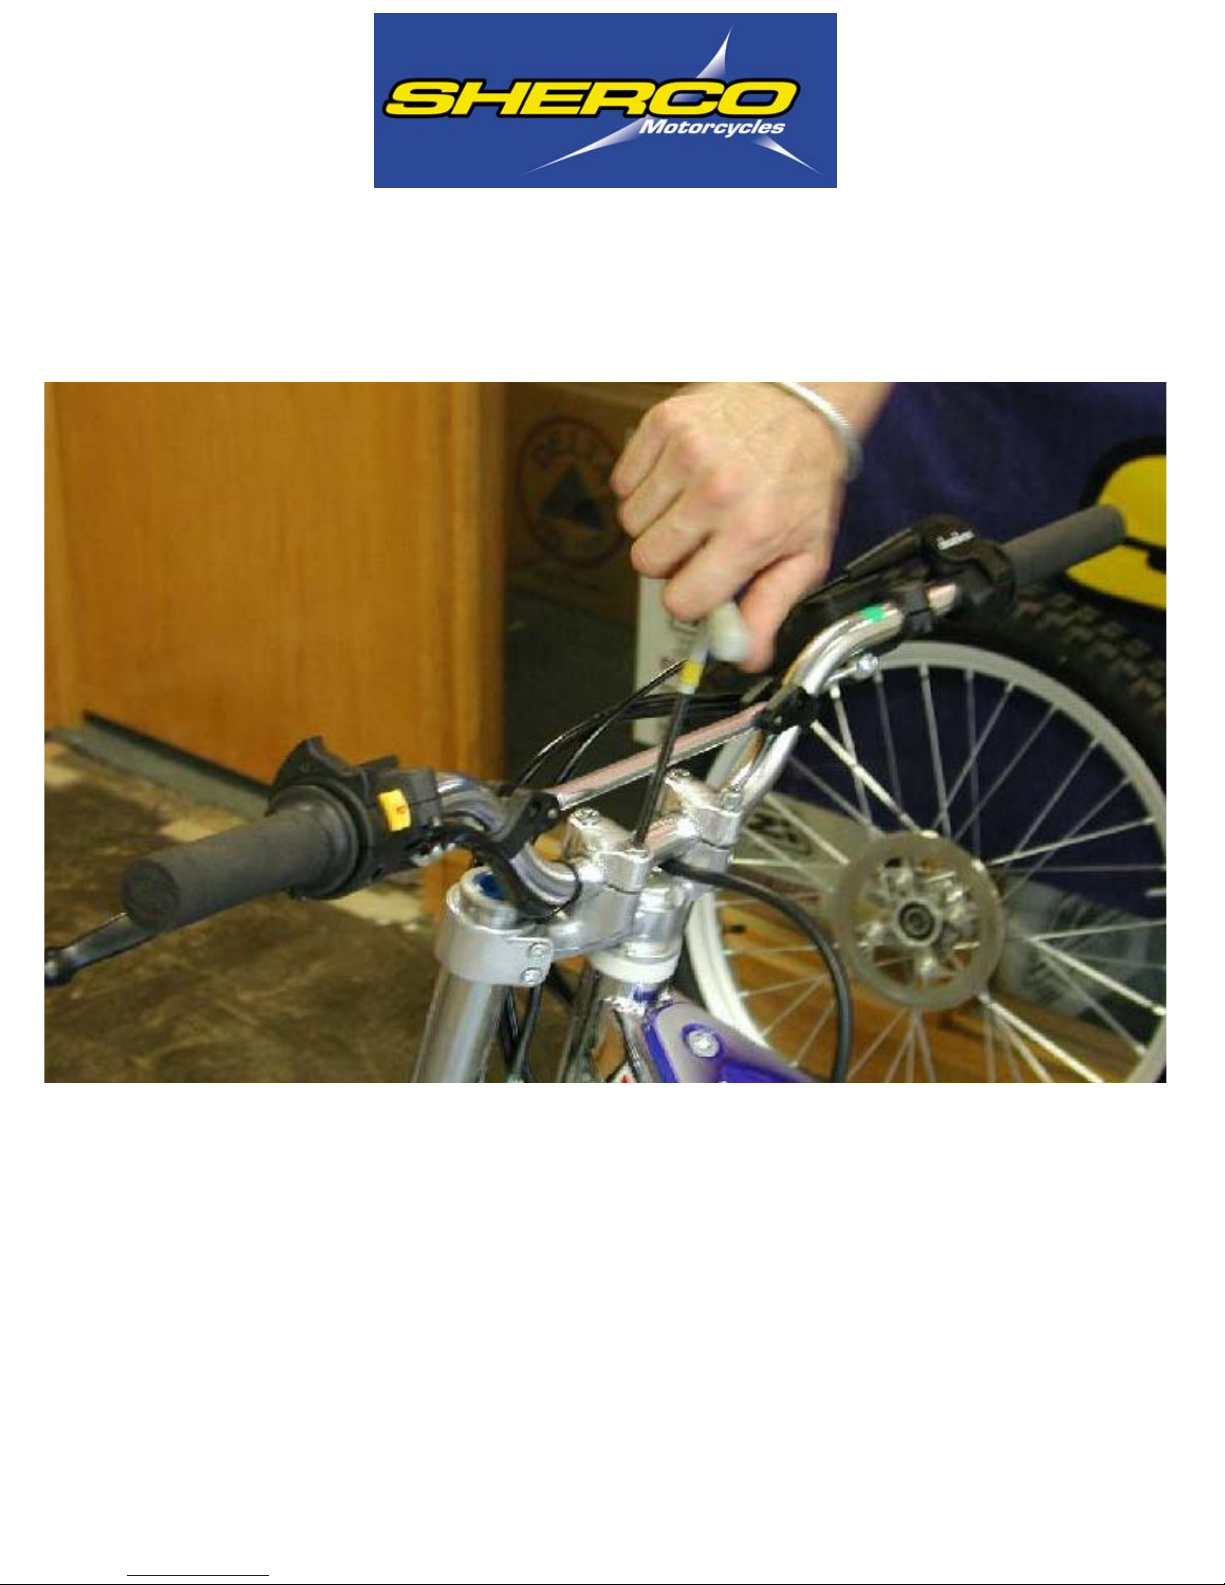
The handlebar adjustment is unique to each rider,
David usually rolls them forward. These 4 bolts
should be tightened to 15 ft lbs.
7/22/2002 Sherco Assembly
11
Instructions
www.shercousa.com
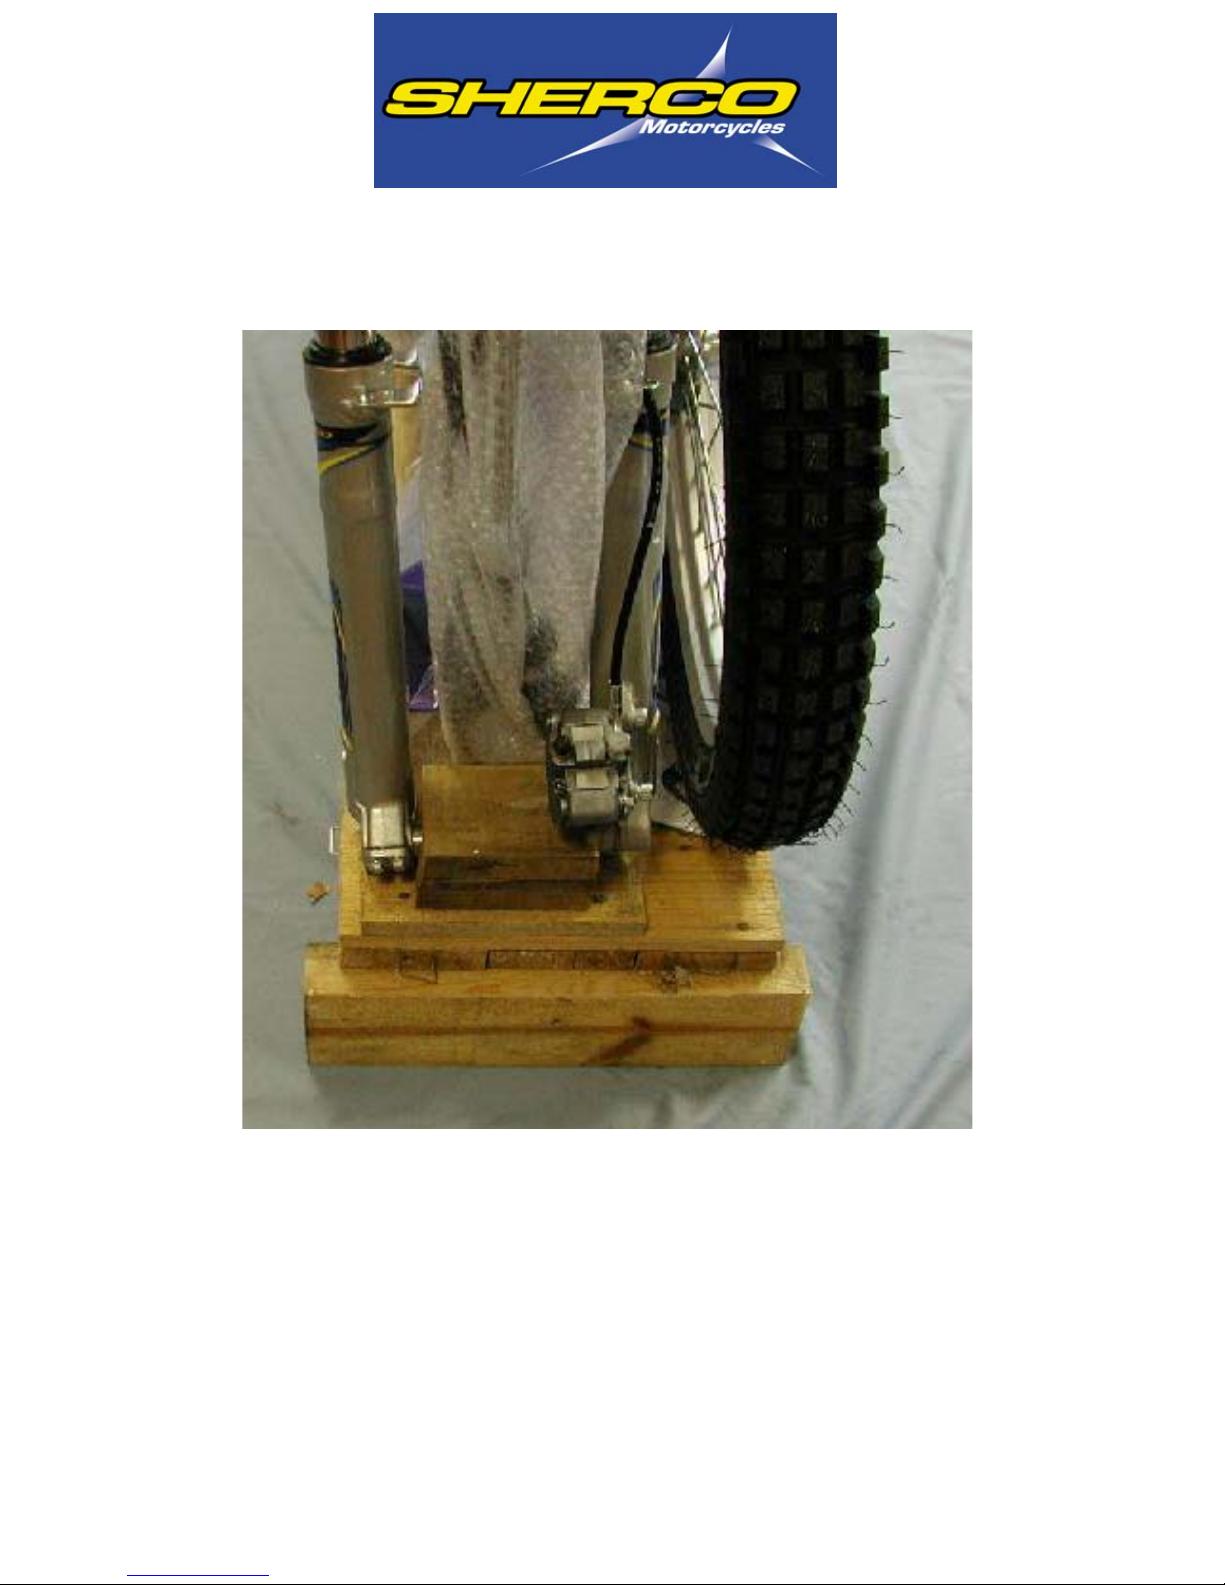
In order to remove the bike from the wooden crate
you must remove the front axle. The first step is to
loosen the 2 bolts on the front of the fork leg.
7/22/2002 Sherco Assembly
12
Instructions
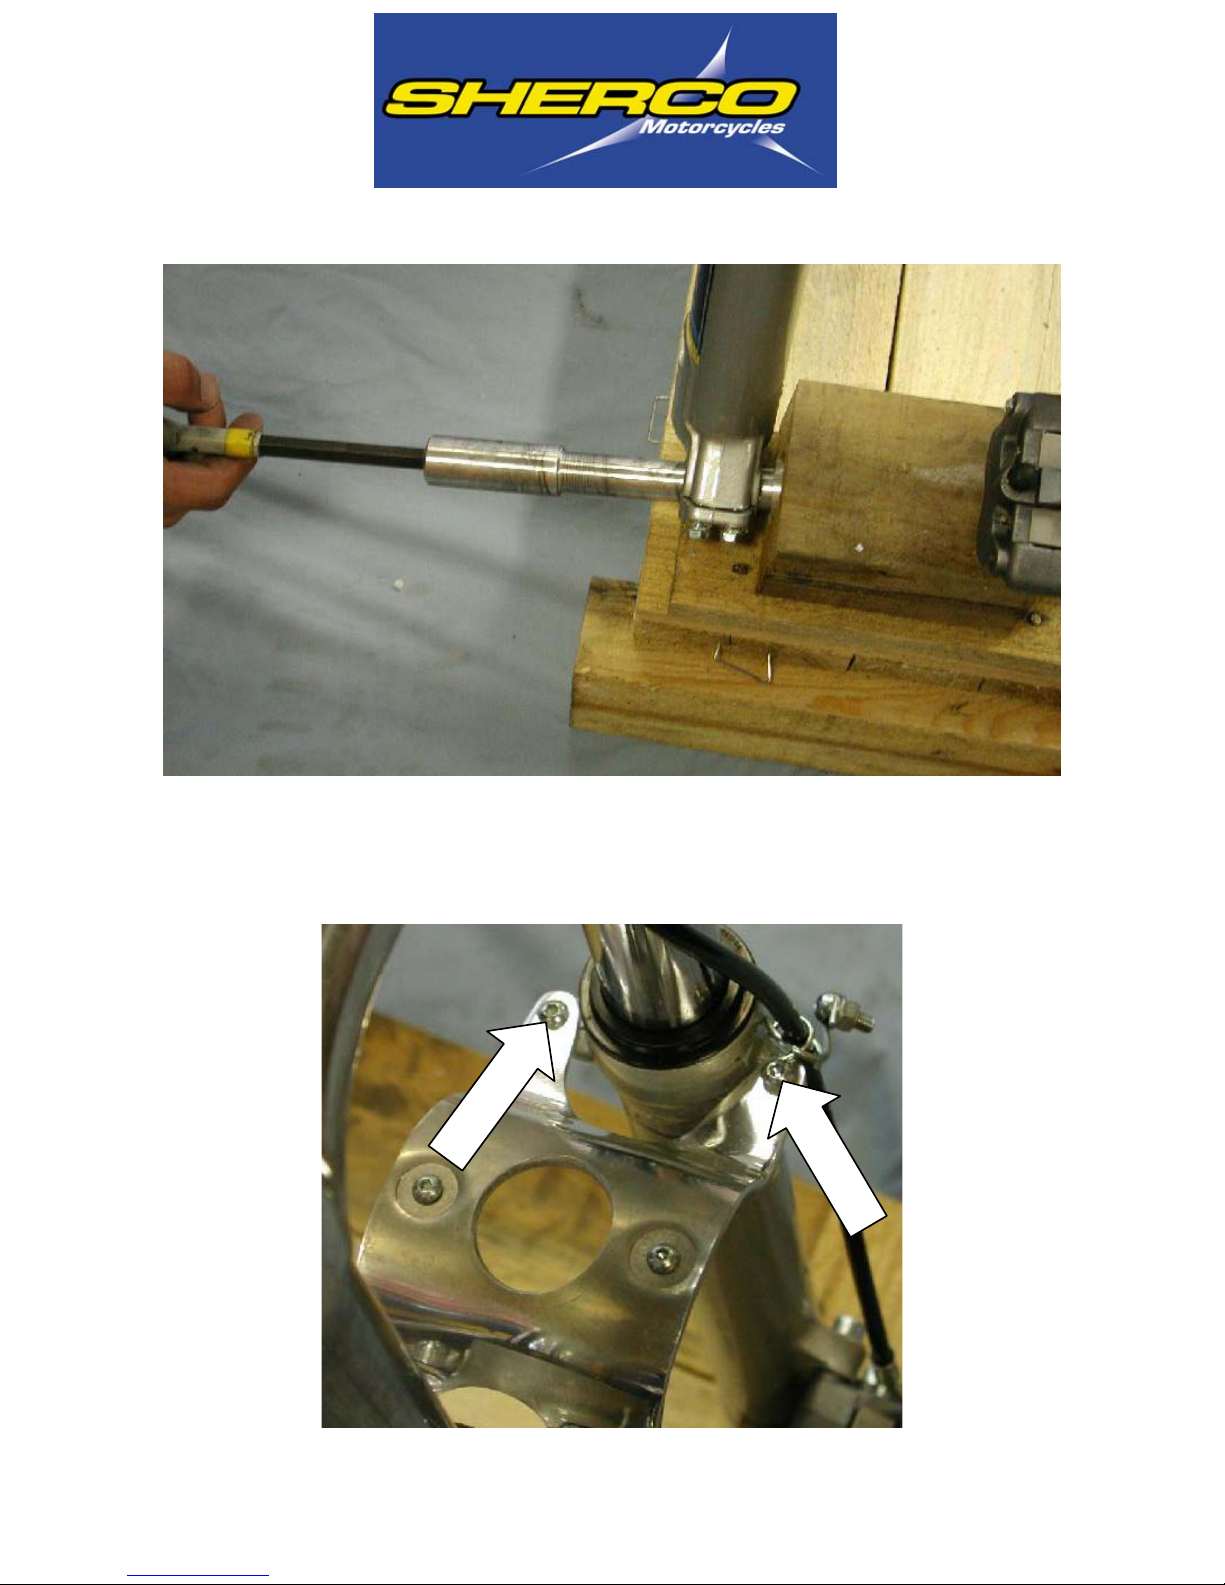
www.shercousa.com
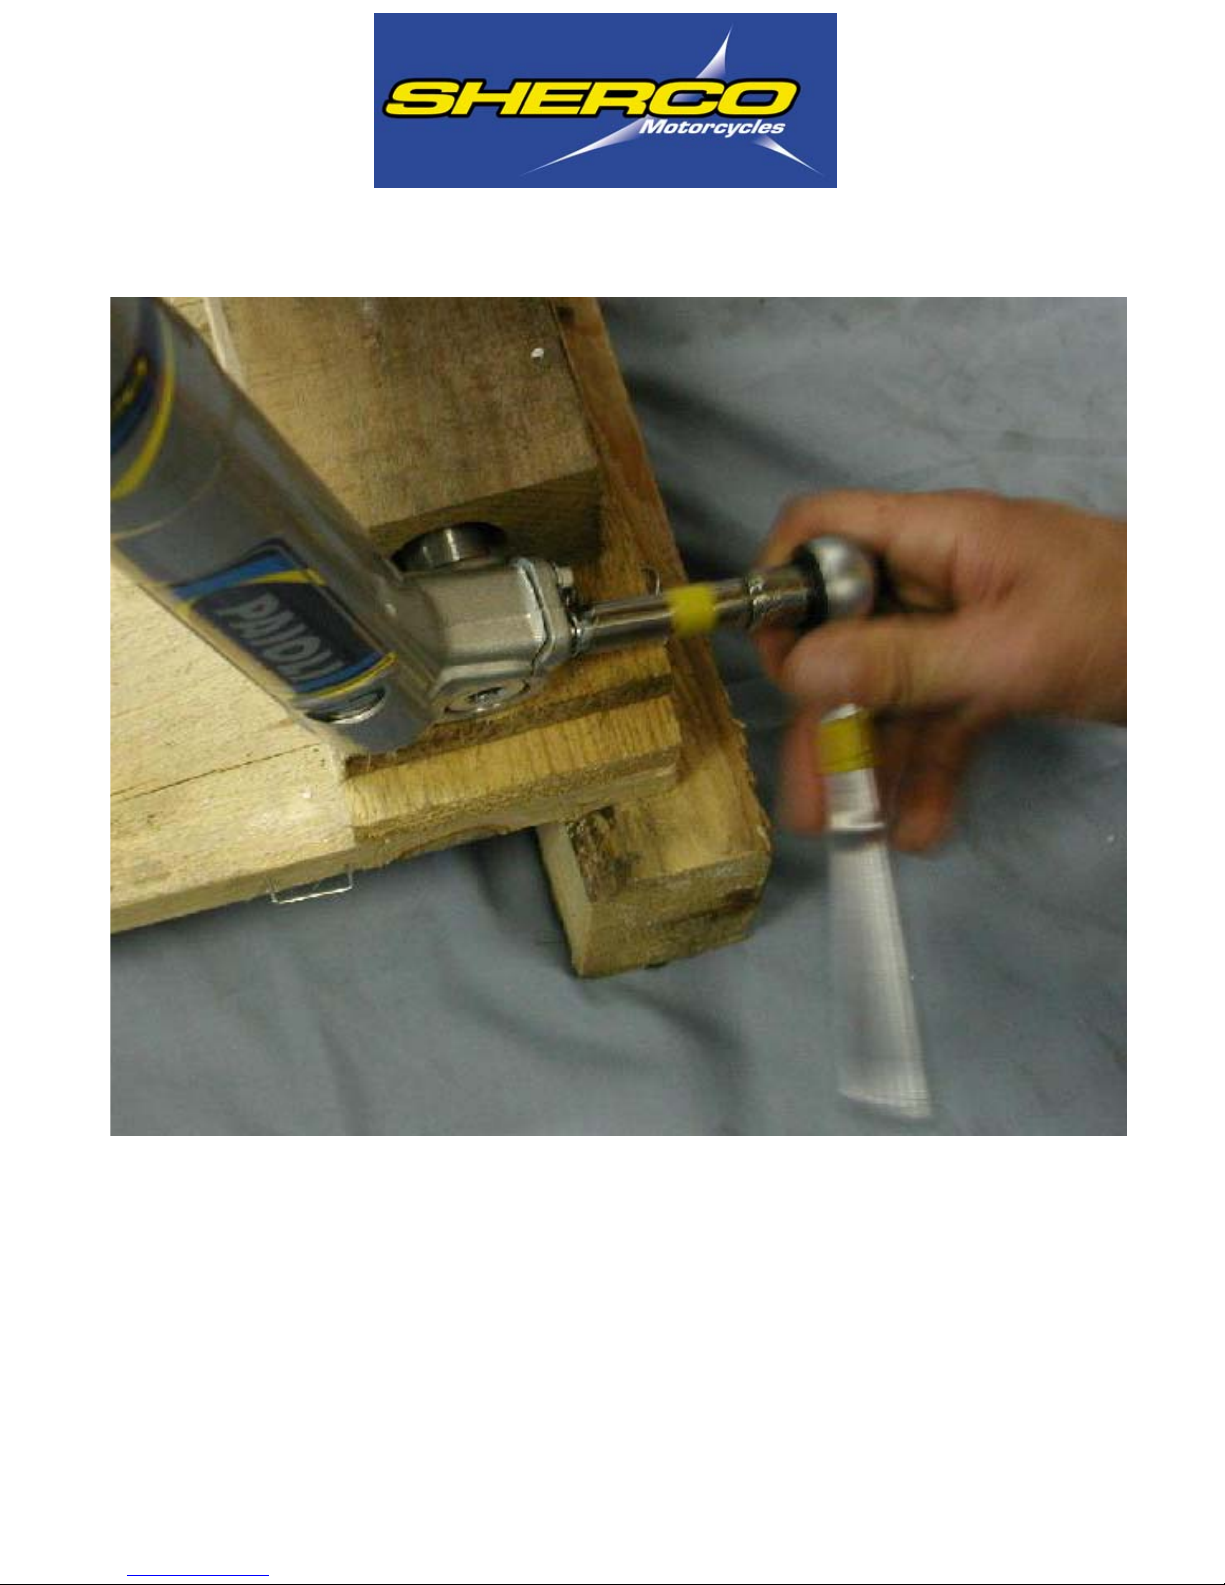
Carefully remove the front axle, If it is in a bind you
may have to loosen the fork brace bolts.
7/22/2002 Sherco Assembly
13
Instructions
www.shercousa.com
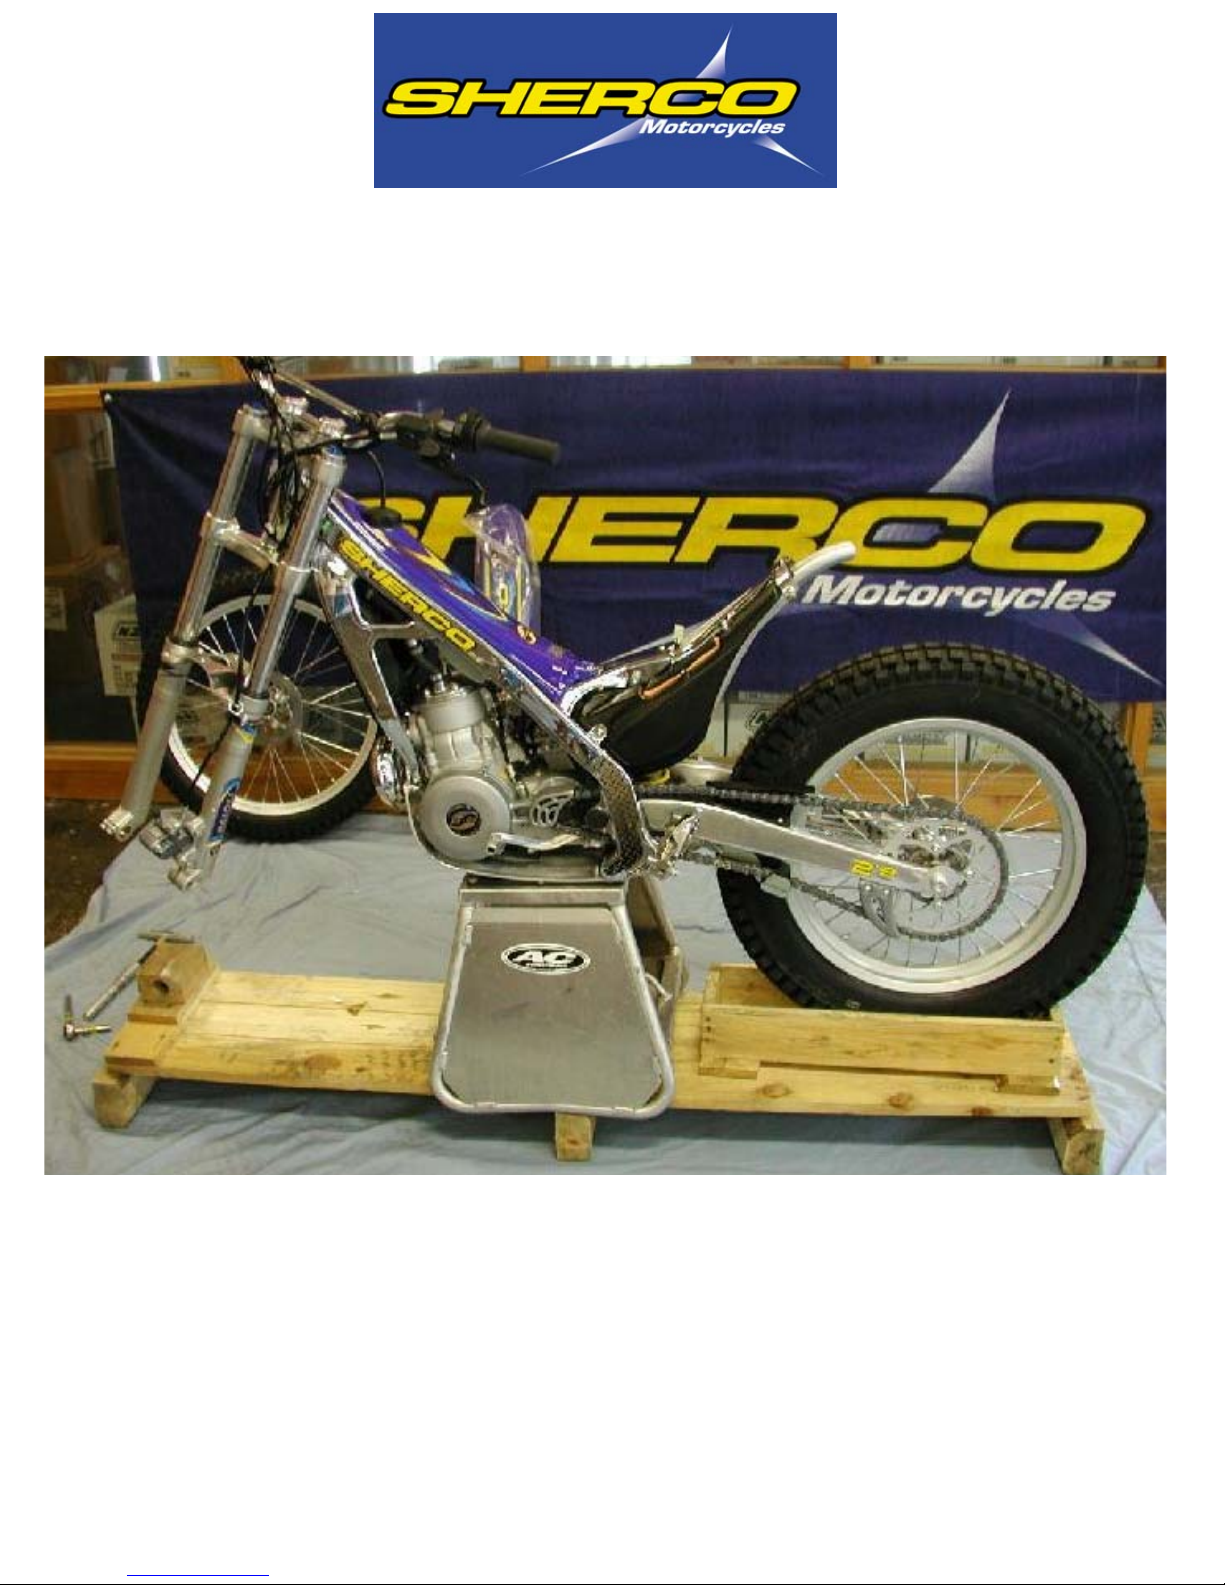
Front Wheel Installation
David now sets the bike on a stand so that he can install
7/22/2002 Sherco Assembly
the front wheel.
14
Instructions
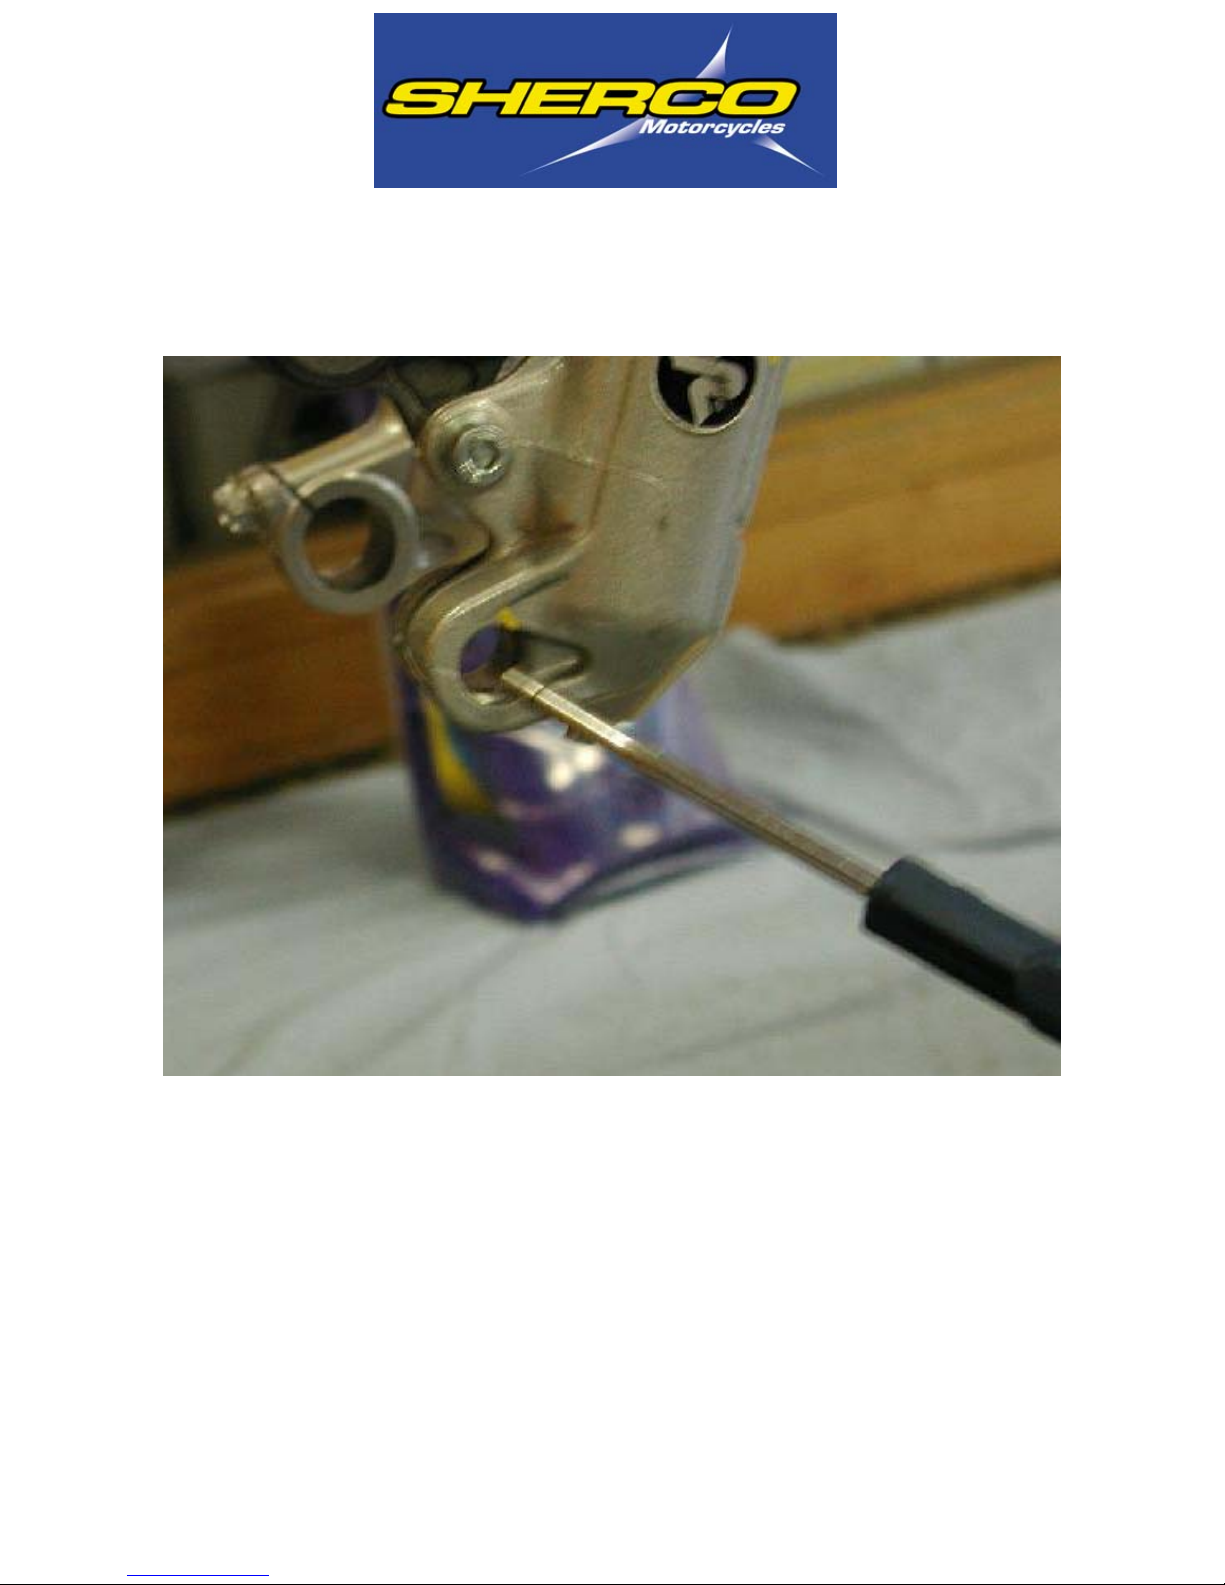
www.shercousa.com
Make sure that the threads in the fork are clean,
David uses an air gun and blows out any foreign
material that may be present.
7/22/2002 Sherco Assembly
15
Instructions
 Loading...