

Page 1
TOLDO MAX AP
Manual de Ensamble
®
DESCRIPCIÓN MODELO #
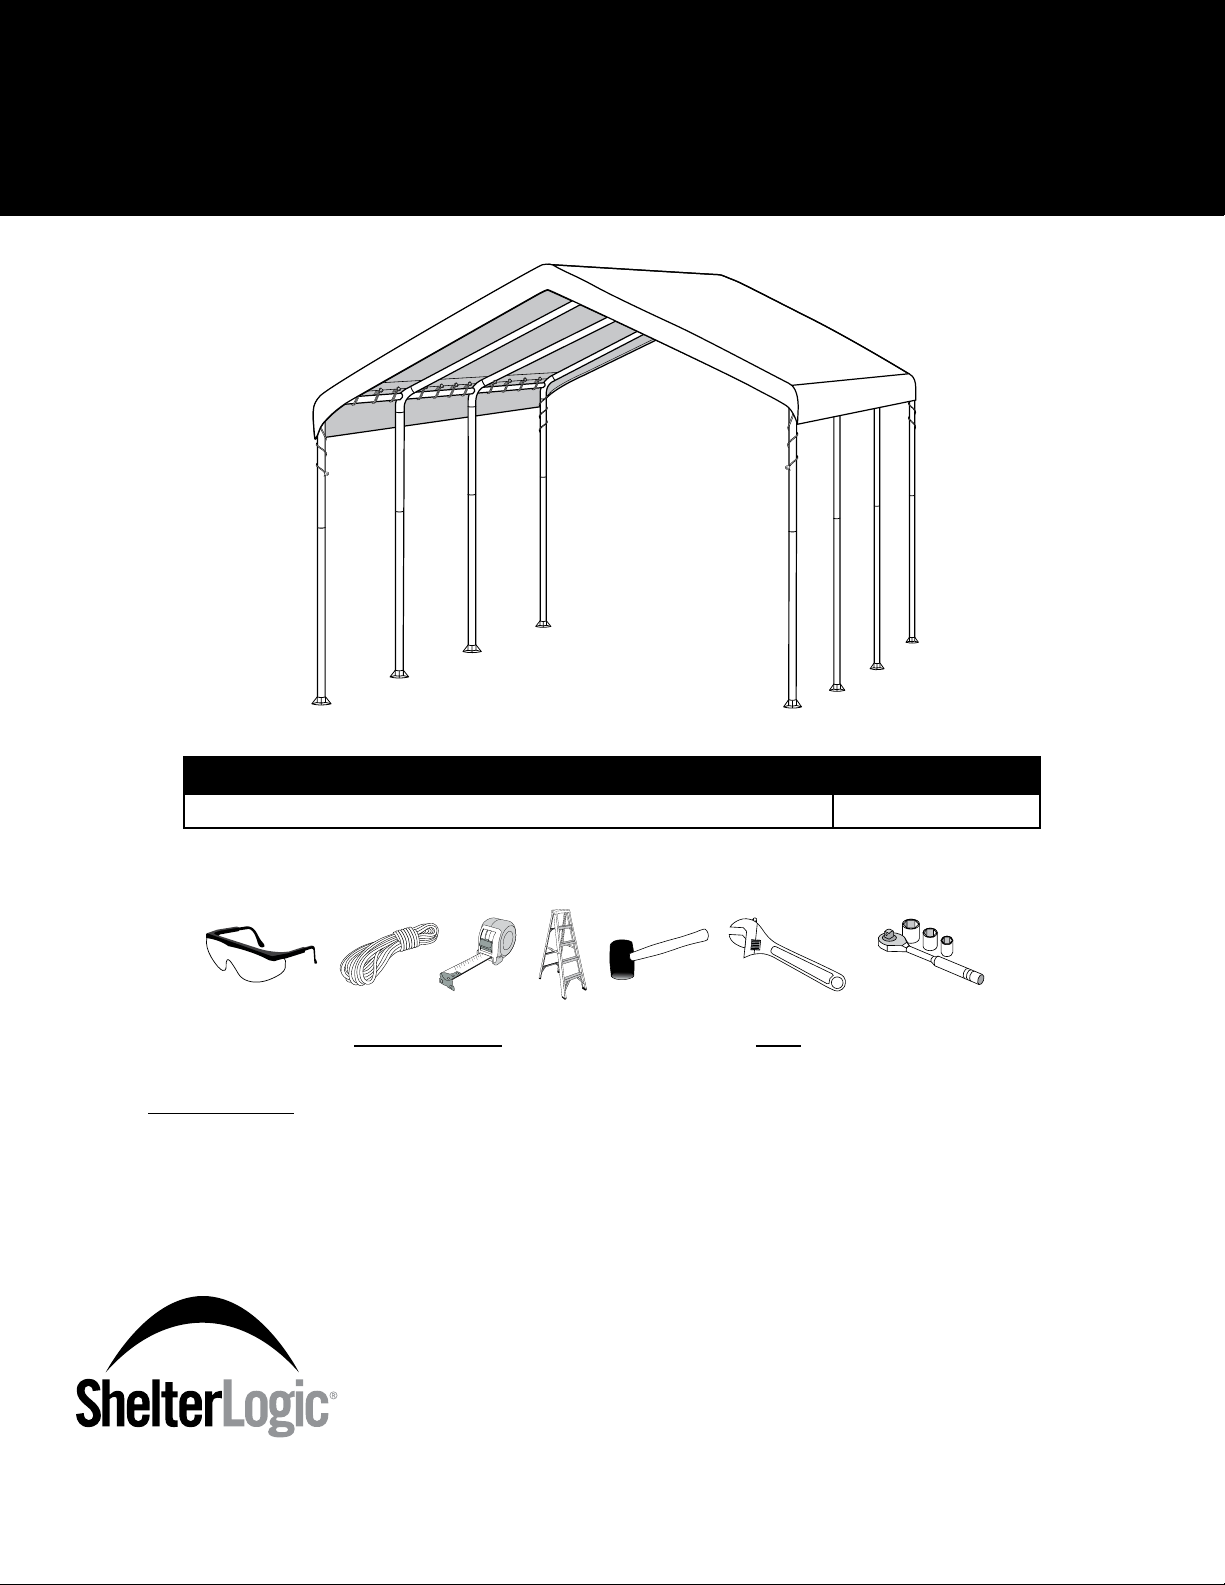
Toldo MAX AP™ de 3,05 m x 6,1 m - 8 Postes - Blanco 23545
HERRAMIENTAS RECOMENDADAS
O
Por favor lea las instrucciones COMPLETAMENTE antes de ensamblar. Esta carpa DEBE de estar anclada de manera asegurada.
ESTA ES UNA ESTRUCTURA TEMPORAL Y NO SE RECOMIENDA COMO ESTRUCTURA PERMANENTE.
Antes de empezar: se recomiendan 2 o más personas para ensamblar, el tiempo aproximado de ensamble son 2 horas.
Importado por/Imported by:
Servicios Home Depot, S. de R.L. de C.V.
Ricardo Margain 605, Santa Engracia,
San Pedro Garza García,
Nuevo León, C.P. 66267 México
150 Callender Road
Watertown, CT 06795
www.shelterlogic.com
R.F.C.: SHD-940509-I58
Tel. 01 800 00 46633
7/16"
mm
11
4/2/14
Página 1 05_23545_D1
Page 2
ATENCIÓN:
Este toldo está hecho con materiales de calidad disponibles y está diseñado para quedarle a la cubierta de tela incluida de Shelter
®
Logic
Corp. Los toldos Shelter Logic® Corp. ofrecen protección contra el sol, lluvia, hojas de árbol, nieve lijera y excremento de
pájaros. Por favor asegure el anclaje apropiadamente de la estructura de Shelter Logic
información detallada de anclaje. Anclaje apropiado, el mantener la cubierta ajustada y libre de nieve y basura es responsabilidad del
consumidor. Por favor lea y entienda los detalles de instalación, advertencia y precauciones antes de iniciar su instalación.
®
Corp. Vea las instrucciones para más
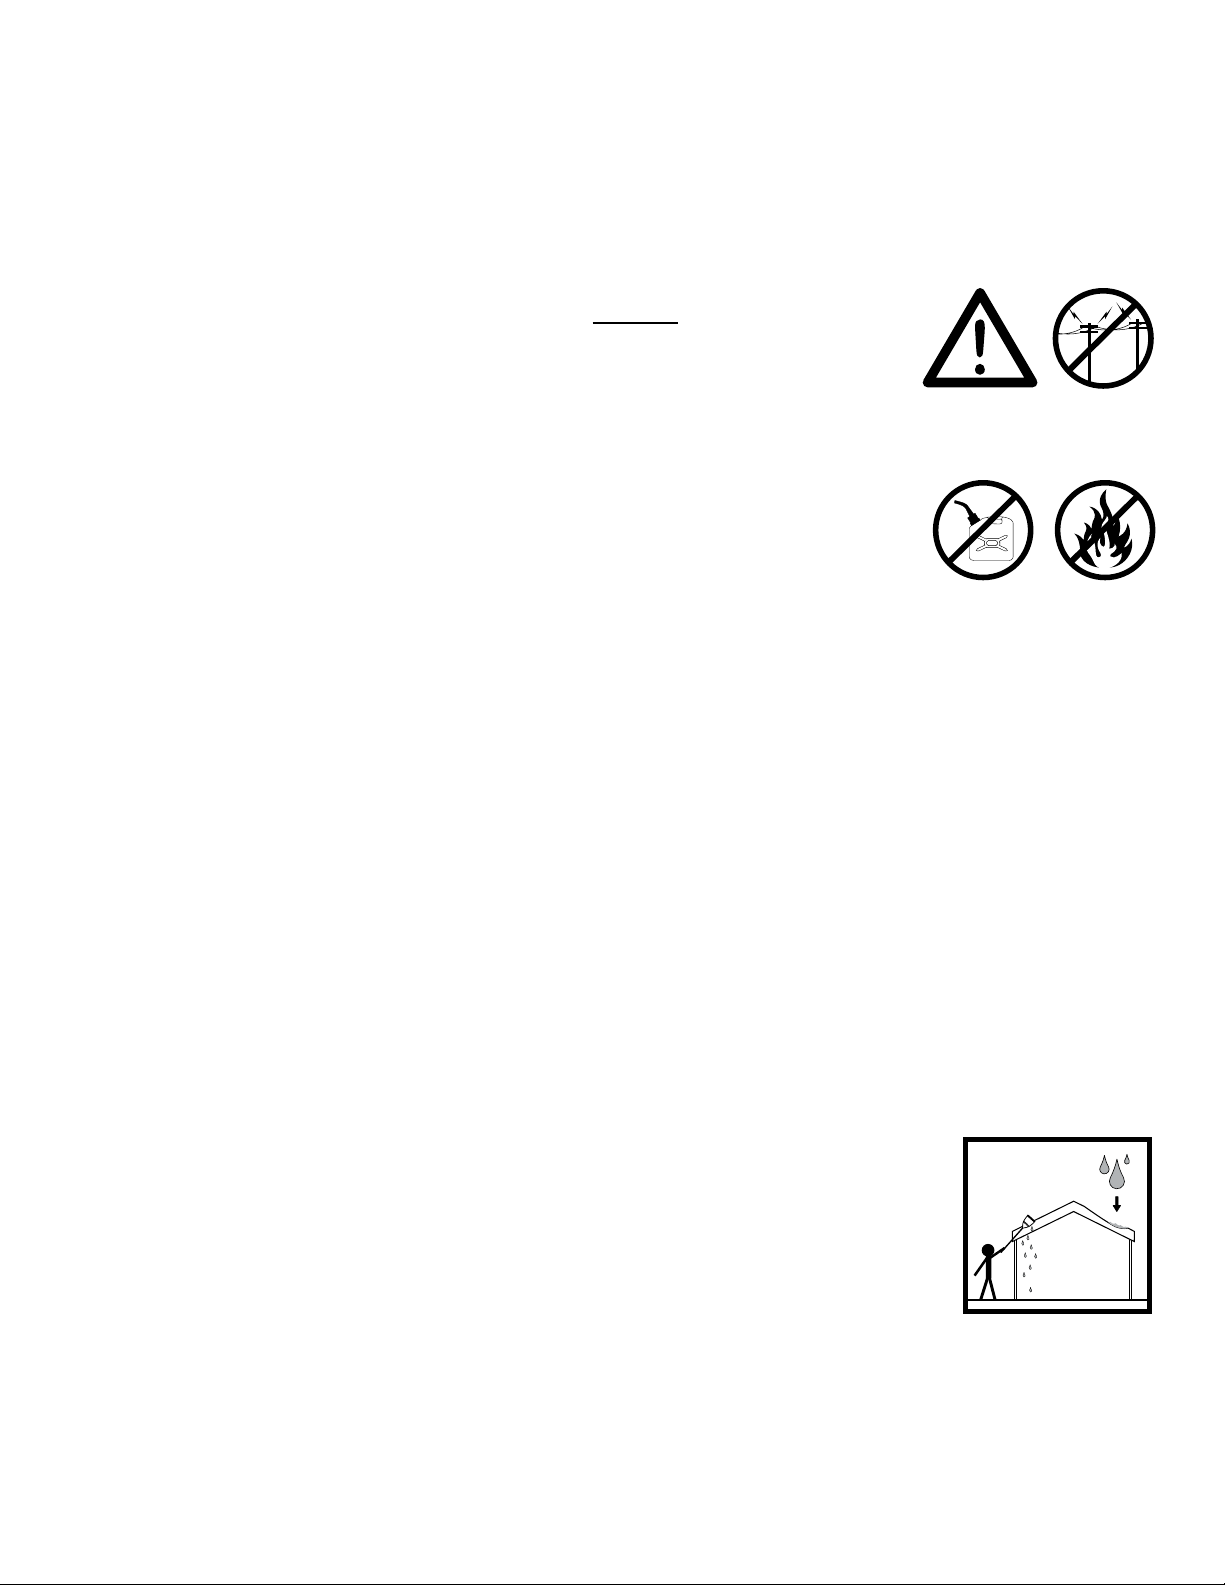
PELIGRO:
Antes de su instalación, consulte todos los códigos municipales locales con respecto a la instalación de
carpas temporales. Elija la ubicación de la carpa cuidadosamente. PELIGRO: Manténgala alejada de
cables eléctricos. Revise que no haya cables de utilidad, ramas de árboles u otras estructuras. NO lo
instale cerca de cables del techo u otras estructuras que puedan acumular nieve, hielo o deslizamientos
excesivos hacia la carpa. NO cuelgue objetos del techo o cables de soporte.
ADVERTENCIA:
Riesgo de incendio. NO lo use con artefactos humeantes o de ama abierta (incluyendo asadores,
fogones, freidoras, ahumadores o linterna de combustible). NO almacene líquidos inamables (gasolina,
queroseno, gas propano, etc.) dentro o cerca de la carpa. No lo exponga a ninguna fuente de ama
abierta.
PRECAUCIÓN:
Tenga PRECAUCIÓN cuando esté parando el marco. Tenga protección ocular durante la instalación. Asegure y atornille los
postes superiores durante el ensamble. Tenga cuidado de los extremos de los postes. Use protección ocular cuando instale
las cuerdas elásticas bungee. Las cuerdas bungee están bajo tensión extrema y puede causar lesiones serias a los ojos.
Por favor use precaución cuando las aplique, debido a que puede soltarse de su mano y causar lesiones.
PRECAUCIÓN: ANCLAJE E INSTALACIÓN APROPIADA DEL MARCO:
NOTA: EL ANCLAJE APROPIADO DEL MARCO ES LA RESPONSABILIDAD DEL CONSUMIDOR. Shelter Logic® Corp. no es
responsa-ble por daños a la toldo o los contenidos guardados debajo de ella provinientes de actos de la naturaleza. Aquella toldo
que no esté anclada de manera segura tienen el potencial de volar causando daños. Periódicamente revise el anclaje para asegurar
la estabilidad de la toldo. El sistema de anclaje preferido es el uso de estacas atornilladas a cemento para el marco. Shelter Logic
Corp. no puede ser responsable si el toldo vuela.
NOTA: Su marco y cubierta del toldo pueden ser removidos y almacenados rápidamente antes de experimentar condiciones severas
del clima. Si hay pronósticos de fuertes vientos y climas severos en su área, le recomendamos remover la cubierta. Revise con su
proveedor de seguro para cualquier daño como si fuera otra estructura al aire libre o reclamo de propiedad personal.
®
CUIDADO Y LIMPIEZA:
Un toldo apretado asegurará una larga vida y desempeño. Siempre mantenga la cubierta apretada. Un
material suelto puede acelerar la deterioración del toldo. Inmediatamente remueva cualquier acumulación
de agua de lluvia, nieve o hielo de la estructura con una escoba, trapeador u otro instrumento con lado
suave. Use extremo cuidado cuando remueva la nieve de la cubierta, siempre remuévala desde afuera de
la estructura. NO use cloro o productos abrasivos para limpiar la carpa. La carpa puede limpiarse fácilmente
con agua y jabón suave.
Cubiertas por una o más de las siguientes Patentes de E.U.A. y patentes pendientes: 6,871,614; 6,994,099; 7,296,584; D 430,306; D 415,571; D 414,564; D 409,310; D 415,572
Página 2 05_23545_D1
Page 3
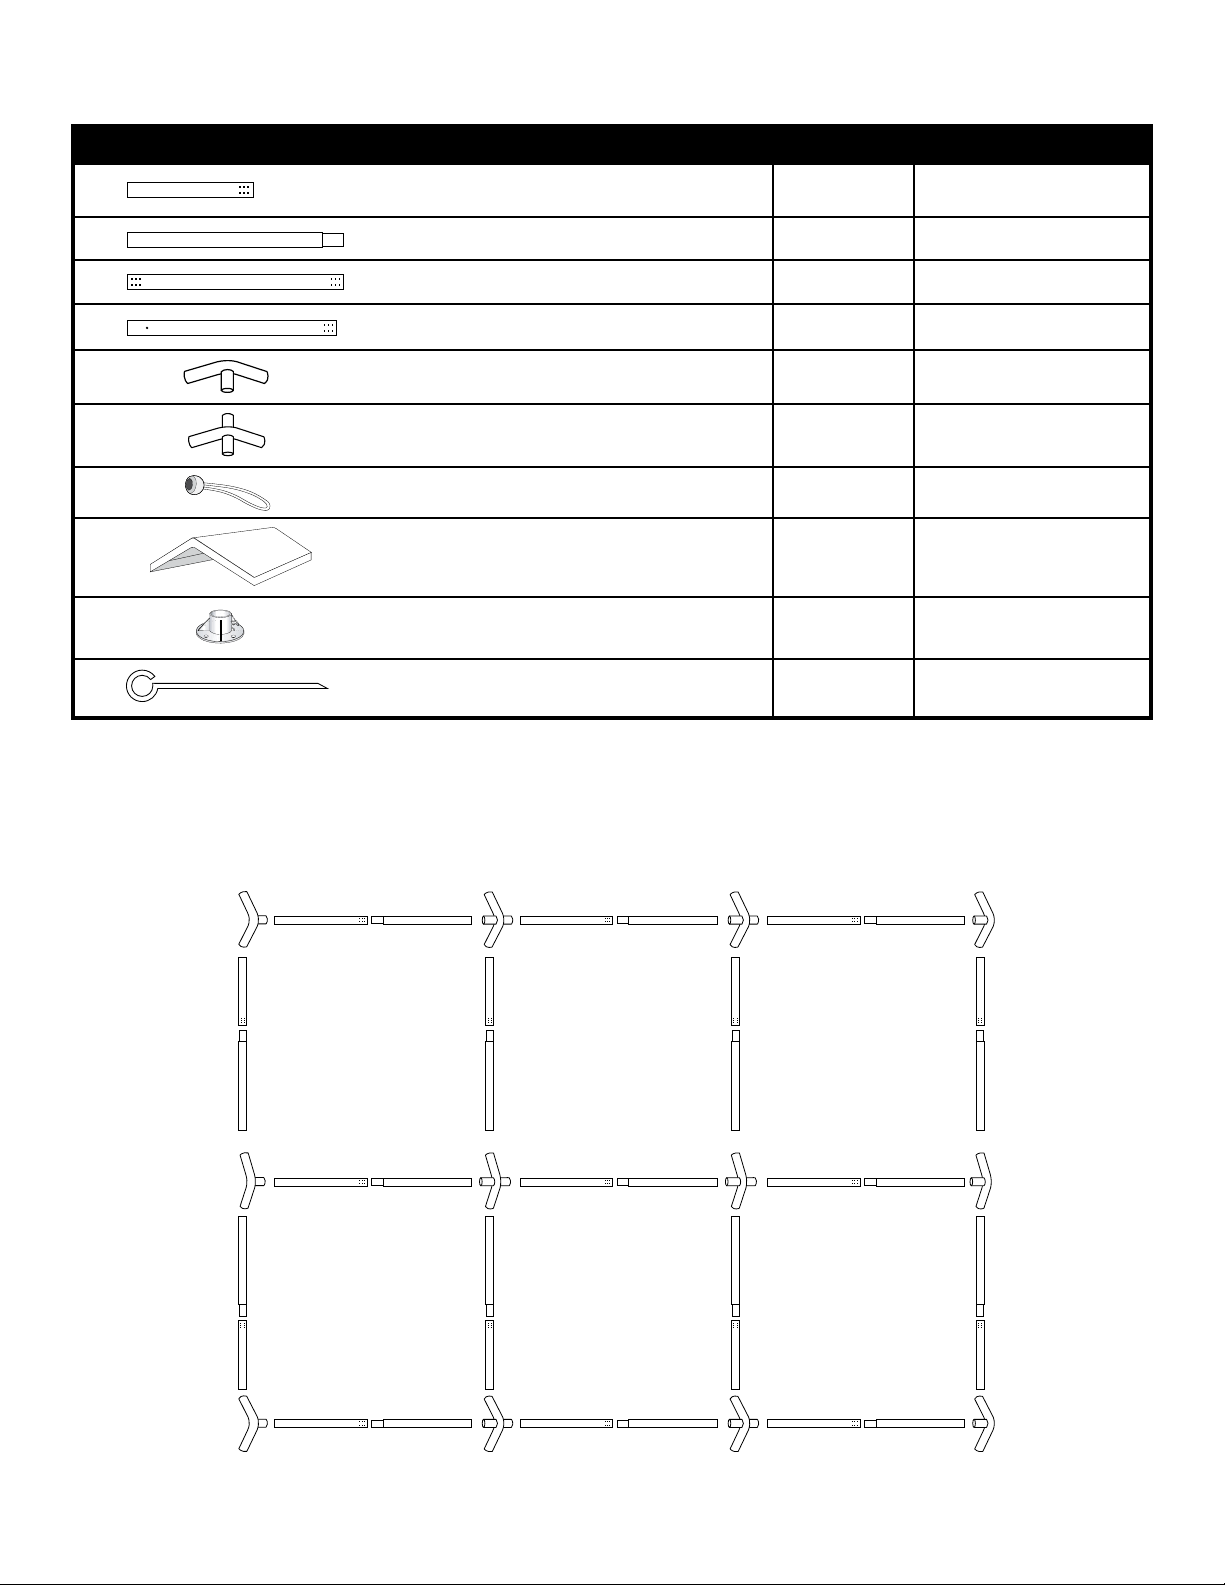
Lista de Partes - Toldo MAX AP™ de 3,05 m x 6,1 m - 8 Postes - Modelo #23545
Descripción de Partes:
Cantidad Parte #
Postes de Travesaño de 61,98 cm
Postes de 1,03 m 25 13103
Postes Horizontales de 1 m 9 13107
Postes de Patas de 99 cm 8 13105
Conectores de 3 vías de la armazón
Conectores de 4 vías de la armazón
Cuerdas Bungee
8
13104
6 13101
6 13102
24 10066
1Cubierta 802200
8Base de las Patas
8Anclas
802916
10431
1. DIAGRAMA DEL MARCO
13101
13107 13107 13107
13104 13104 13104
13103 13103 13103
13101
13107 13107 13107
FRENTE
13103 13103 13103
13104 13104 13104
13107 13107 13107
13103 13103 13103
13103 13103 13103
13103 13103 13103
13102 13101
13102 13101
13102
13104
13103
13102
13103
13104
REVERSO
13101
13102 13101
Página 3 05_23545_D1
13102
Page 4

2. ENSAMBLE DEL MARCO DEL TECHO
NOTA: Introduzca los tubos con cuñas dentro de los extremos lisos en las
marcas dobladas.
Tubos de conexiones acuñadas
13103 13104
Marcas
Dobladas
3. ENSAMBLE LAS PATAS Y ADJUNTE AL MARCO
DEL TECHO
A. Adjunte todas las patas a un lado primero. Permita que el otro lado del marco
repose sobre la tierra. Repita el proceso en el lado opuesto.
Ensamble del Poste de la Pata
13105
13103
802916
4. ANCLA DEL MARCO
Hay cuatro agujeros en cada base de la pata que el ancla necesita ir ahí.
A. Seleccione un agujero en cada base de la pata. Introduzca cada ancla
dentro de la tierra hasta que la cabeza redonda esté tocando la base de
la pata.
B. Introduzca una ancla dentro de todas las ocho bases para pata.
Este es un anclaje temporal. No se recomienda para uso permanente.
Página 4 05_23545_D1
Anclando las Bases de las Patas
10431
13103
802916
Page 5

5. COLOQUE EL TOLDO Y ASEGURELA AL MARCO
A. Coloque la cubierta sobre el marco ensamblado con los paneles de oricios hacia abajo, alineados con
los rieles horizontales.
B. Cerciórese de que la cubierta esté apropiadamente alineada en el marco, asegure las cuatro esquinas del
toldo con cuerdas bungee (10066) al marco primero. Adjunte las cuerdas bungee restantes.
Reajuste las cuerdas bungee en posición a lo largo del poste según se necesite para asegurarse de que el toldo
quede apretado y uniforme en el marco.
Paneles con oricios para
cuerdas bungee
Panel con oricios
802200
Paneles con oricios para cuerdas bungee
Panel con
oricios
10066
Introduzca la cuerda bungee a través de los oricios
802200
Asegure la Cuerda Bungee alrededor de la bola plástica
6. APRIETE LA CUBIERTA CON TWIST TITE™
A. Envuelva la cuerda con la bola plástica y el gancho "S" en las esquinas
del toldo alrededor de las esquinas de los postes de la patas.
B. Envuelva cada poste de pata hacia la parte de adentro del toldo hasta que
se apriete. Gire los postes de las patas equitativamente para asegurarse
que la cubierta esté alineada durante el apretado.
Apriete la Toldo Twist-Tite™
10072
13101
13105
Página 5 05_23545_D1
Page 6

MAX AP
Assembly Manual
®
CANOPY
OR
23545
7/16"
mm
11
10 ft. x 20 ft. MAX AP™ Canopy - 8 Leg - White
RECOMMENDED TOOLS
Please read instructions COMPLETELY before assembly. This shelter MUST be securely anchored.
THIS IS A TEMPORARY STRUCTURE AND NOT RECOMMENDED AS A PERMANENT STRUCTURE.
Before you start: 2 or more individuals recommended for assembly, approximate time 2 hours.
150 Callender Road
Watertown, CT 06795
www.shelterlogic.com
4/2/14
05_23545_D1Page 6
Page 7

ATTENTION:
This shelter product is manufactured with quality materials. It is designed to t the ShelterLogic
ShelterLogic
and light snow. Please anchor this ShelterLogic
®
Corp. Shelters offer storage and protection from damage caused by sun, light rain, tree sap, animal - bird excrement
®
Corp. structure properly. See manual for more anchoring details. Proper anchoring,
keeping cover tight and free of snow and debris is the responsibility of the consumer. Please read and understand the installation detail,
warnings and cautions prior to beginning installation. If you have any questions call the customer service number listed below. Please
refer to the warranty card inside this package.
®
Corp. custom fabric cover included.
DANGER:
Prior to installation, consult with all local municipal codes regarding installation of temporary shelters.
Choose the location of your shelter carefully. DANGER: Keep away from electrical wires. Check for
overhead utility lines, tree branches or other structures. Check for underground pipes or wires before
you dig. DO NOT install near roof lines or other structures that could shed snow, ice or excessive run
off onto your shelter. DO NOT hang objects from the roof or support cables.
WARNING:
Risk of re. DO NOT smoke or use open ame devices (including grills, re pits, deep fryers, smokers or
lanterns) in or around the shelter. DO NOT store ammable liquids (gasoline, kerosene, propane, etc.) in
or around your shelter. Do not expose top or sides of the shelter to open re or other ame source.
CAUTION:
Use CAUTION when erecting the frame. Use safety goggles during installation. Secure and bolt together
overhead poles during assembly. Beware of pole ends.
PROPER ANCHORING AND INSTALLATION OF FRAME:
PROPER ANCHORING OF THE FRAME IS THE RESPONSIBILITY OF THE CONSUMER.
ShelterLogic
securely has the potential to y away causing damage, and is not covered under the warranty. Periodically check the anchors to ensure
stability of shelter. The preferred anchoring system includes the use of bolted cement wedge lags for the frame. ShelterLogic
cannot be responsible for any shelter that blows away. NOTE: Your shelter’s cover can be quickly removed and stored prior to severe
weather conditions. If strong winds or severe weather is forecast in your area, we recommend removal of cover. Check with your insurance carrier for any damage as you would for any other outdoor structure or personal property claims.
®
Corp.
is not responsible for damage to the unit or the contents from acts of nature. Any shelter that is not anchored
®
Corp.
CARE AND CLEANING:
A tight cover ensures longer life and performance. Always maintain a tight cover. Loose fabric can accelerate
deterioration of cover fabric. Immediately remove any accumulated snow or ice from the roof structure with
a broom, mop or other soft-sided instrument. Use extreme caution when removing snow from cover- always
remove from outside the structure. DO NOT use hard-edged tools or instruments like rakes or shovels to
remove snow. This could result in punctures to the cover. DO NOT use bleach or harsh abrasive products to
clean the fabric cover. Cover is easily cleaned with mild soap and water.
Covered by U.S. Patents and patents pending: 6,871,614; 6,994,099; 7,296,584; D 430,306; D 415,571; D 414,564; D 409,310; D 415,572
05_23545_D1Page 7
Page 8

10 ft. x 20 ft. MAX AP Canopy - 8 Leg - Parts List - Model #23545
Description of Parts:
Quantity Part #
Rafter Poles, Swedge 24.4 in.
Poles, Swedge 40.7 in. 25 13103
Cross Poles 39.5 in. 9 13107
Leg Poles 39 in. 8 13105
3 - Way Frame Connectors
4 - Way Frame Connectors
Bungee Cords
8
13104
6 13101
6 13102
24 10066
1Cover 802200
8Base Feet
8Anchors
802916
10431
1. LAY OUT ROOF FRAME
13101
13107 13107 13107
13104 13104 13104
13103 13103 13103
13101
13107 13107 13107
13103 13103 13103
13103 13103 13103
FRONT
13103 13103 13103
13104 13104 13104
13107 13107 13107
13103 13103 13103
13102 13101
13102 13101
13102
13104
13103
13102
13103
13104
REAR
13101
13102 13101
13102
05_23545_D1Page 8
Page 9

2. ASSEMBLE ROOF FRAME
NOTE: Swedged tubes insert into plain ends at the crimp marks.
3. ASSEMBLE LEGS & ATTACH TO ROOF FRAME
A. Attach all legs to one side rst. Let the other side of roof frame rest on the
ground. Repeat for opposite side.
Swedged Tubes Connections
13103
Crimp Marks
13104
Leg Pole Assembly
13105
4. ANCHOR THE FRAME
There are four holes on each base foot that the anchor can go into.
A. Select a hole in each base foot. Insert each anchor into the ground until
the round head is touching the base foot.
B. Insert one anchor into all eight base feet.
This is a temporary spike anchor. Not intended for permanent use.
13103
802916
Anchoring Base Feet
10431
13103
802916
05_23545_D1Page 9
Page 10

5. PLACE COVER AND SECURE TO CANOPY FRAME
A. Place cover over assembled roof frame with grommet panels facing down, aligned with cross rails.
B. Make sure the cover is properly aligned on the frame, secure the four corners of the cover with bungees
(10066) to the frame rst. Attach remaining bungees.
Re-adjust bungees position along cross pole as needed to ensure a tight and even t of the cover to the frame.
Grommet Panels for Bungees
Grommet Panel
802200
Grommet Panels for Bungees
Grommet
Panel
10066
802200
6. TIGHTEN THE COVER WITH TWIST TITE
Insert Bungee Cord Through Grommet Hole
™
A. Wrap the cord with plastic ball and "S" hook at the corners of the cover
around the corner leg poles. Insert "S" hook into the hole of the corner
leg poles.
B. Twist each leg pole toward the inside of the shelter until the cover
becomes tight. Twist the leg poles equally to ensure the cover stays
aligned during tightening.
Secure Bungee Around Plastic Ball
Twist-Tite™ Tighten Cover
10072
13101
13105
05_23545_D1Page 10
 Loading...