

Shaw Shawdirect Installation Manual

SHAWDIRECT DIGITAL SATELLITE TV
Dual Satellite Installation Manual
MULTIPLE AWARD-WINNING
24/7/365SERVICE
Your simple guide
Your simple guide
to simple installation.
to simple installation.
Your ultimate television experience is here! Simply follow the steps
outlined in this manual to install your system and you’ll be enjoying
amazing 100% digital satellite TV in no time. Before you begin,
we’d like to better acquaint you with Shaw Direct.
With over 490 channels and growing, including your favourites
in HD, Shaw Direct provides flexible programming options to suit
every customer. We also provide 24/7/365 award-winning customer
support for any of your questions. Our 100% Canadian service team
is happy to help you at one of our three call centres in Calgary,
Mississauga and Montreal.
Here are a few of the great things you'll enjoy as a
Shaw Direct customer:
TAKE A VACATION FROM YOUR BILL
When you go on holidays so can your bill, with our seasonal
disconnect program.
UNIQUE ELLIPTICAL DISH
Get the power of two satellites in one, plus great reception,
rain or shine.
EXTENSIVE FREE PREVIEWS
Over 30,000 hours of previews per year so you can sample before
you buy.
We also offer accessories to enhance your experience, like:
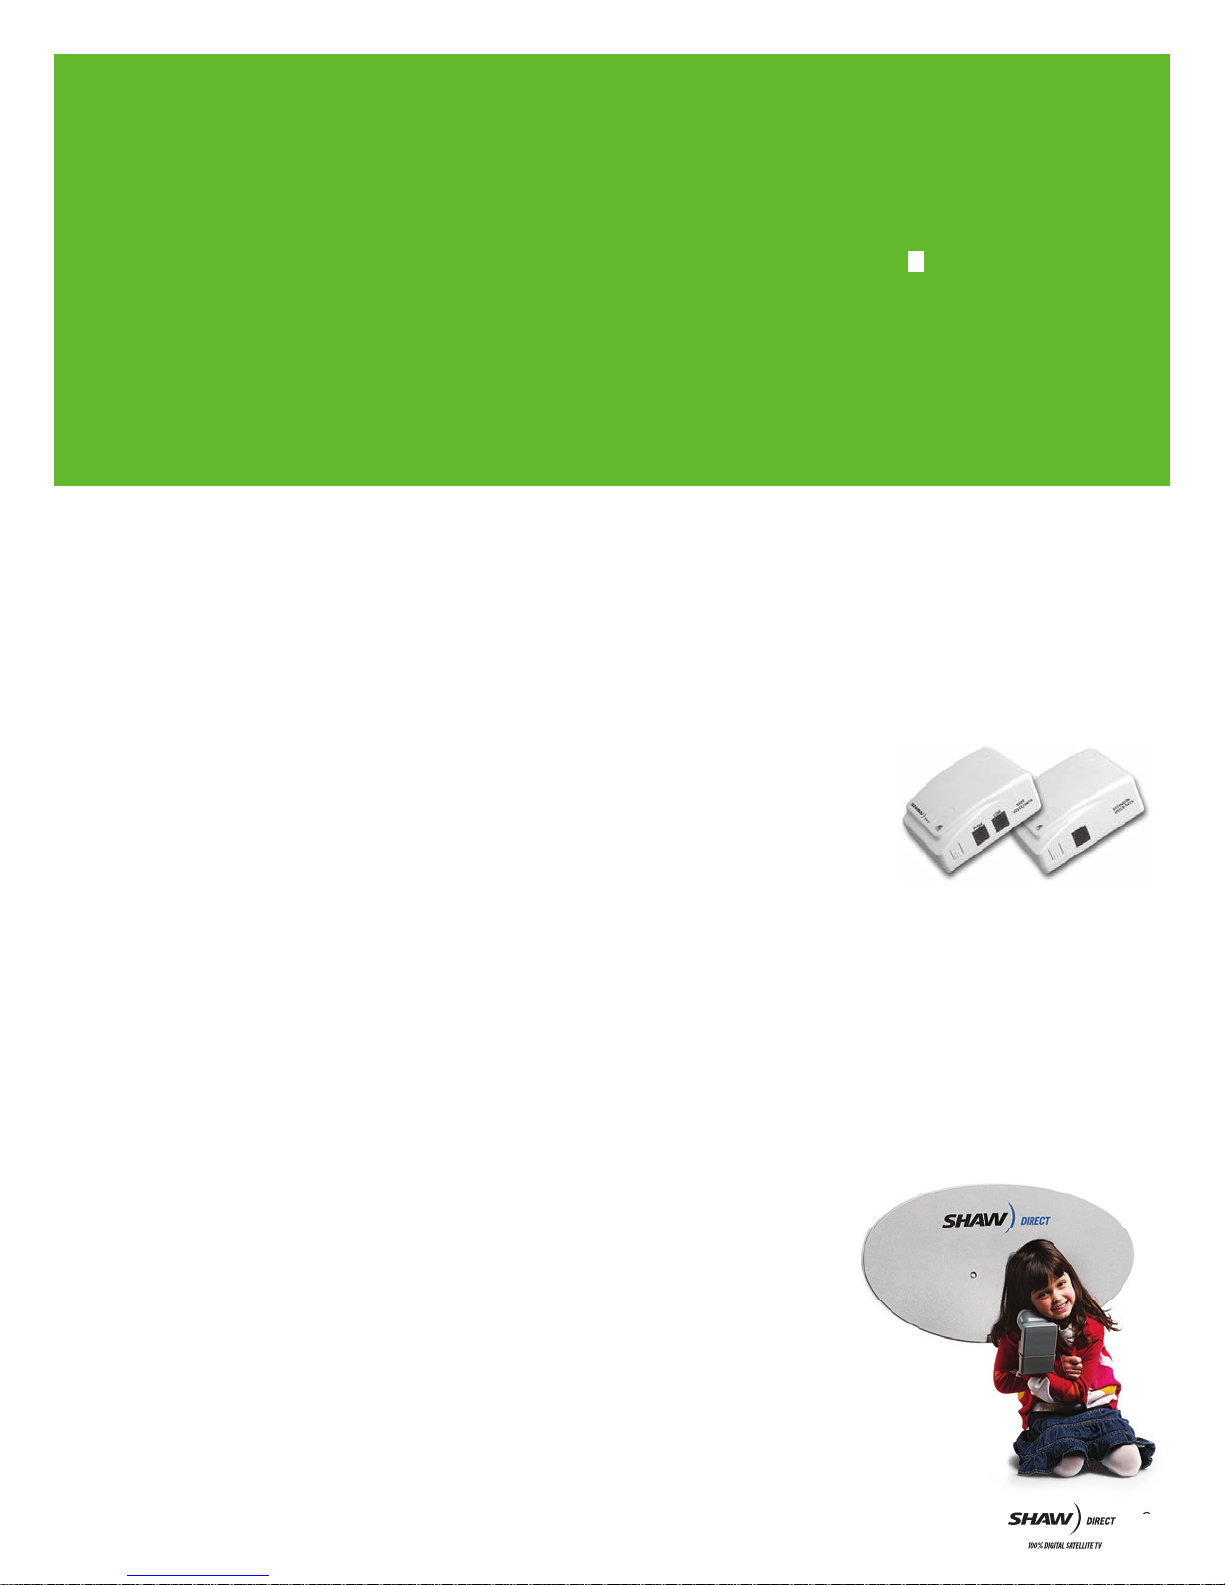
SHAW DIRECT’S WIRELESS EASY JACK
Turn any electrical outlet into a phone jack, and connect your
receiver to order Pay Per View movies and events, right from
your remote!
Here’s why it’s handy:
■ Caller ID/Call Waiting compatible
■ Built-in surge protection
■ Eliminates the cost and challenge
of hard-wiring a new phone jack
■ Also works with other devices
such as computers, phones and faxes
If you want to hear about customer offers and promotions, sign-up
for our free email news at SHAWDIRECT.CA/SCOOP. And tune into
channel 299 where you’ll also find technical tips and movie
and sports highlights.
Welcome to the Shaw Direct family!
SIMPLE SATELLITE™ WARRANTY
A lifetime warranty on external equipment.
NO LONG-TERM CONTRACTS
You don’t have to worry about a big commitment.
2
1. GETTING STARTED
3
0
20
10
40
5
0
60
This Shaw Direct Installation Manual provides all of the
information required to setup your satellite system. The manual
provides step-by-step instructions, however skills in construction,
wiring and assembly will also be required to successfully complete
the installation.
IMPORTANT: We do not recommend installing the satellite dish on your roof,
unless absolutely necessary. If you choose to mount the dish on the roof,
we strongly recommend consulting a building or construction expert
before installation.
Your Shaw Direct Dish Kit contains the following components:
■ Shaw Direct 60 cm Elliptical Dish with dual satellite hardware
(see images for complete inventory).
60 CM ELLIPTICAL DISH
IMPORTANT: Read this manual thoroughly before you start.
WARNING: All satellite dish systems must be properly grounded, particularly
if the dish is close to or above the roof line. Improper grounding can result in
damage or serious personal injury. National, provincial and local electrical
codes may require you to ground the dish directly and to insert a grounding
block in the coaxial cables running from the dish to the receiver inside the
building. Before beginning installation, carefully read the section on grounding
the dish (see section 10).
This installation requires you to:
■ Use hand tools such as a drill
■ Determine whether water pipes, electrical wiring or gas lines
are close to the installation area
■ Route coaxial cable through walls and under floors
■ Use a compass, protractor and carpenter’s level
■ Use a ladder to climb structures
■ Know your local, provincial and national grounding codes
If you do not have the experience to perform these tasks,
contact SHAW DIRECT for assistance.
You will need the following tools:
■ #1 Philips screwdriver
■ 7/16 hex wrench, open or combination end
■ Electric drill and bits
■ Carpenter’s level
■ Compass
■ Protractor
CLAMP MOUNT
AS SEMBLY
HARDWARE
1/4˝x 1-1/2˝ Long Hex Head Bolt
(Feed Support Arm Mounting)
1 Supplied
1/4˝ x 1-3/4˝ Long Carriage Head Bolt
(Antenna Mounting Bolt - Painted Head)
2 Supplied
1/4˝ x 1/2˝ Carriage Head Bolt
(Mast Adjusting Bolts)
2 Supplied
SATELLITE FEED
SUPPORT ARM
1/4˝ External Tooth Washer
2 Supplied
1/4˝ Whiz Nut
(Hex Head)
5 Supplied
Spacer Sleeve
(Feed Support Arm Mounting)
1 Supplied
QUAD LNB
UNIVERSAL
MOUNT
AS SEMBLY
If you are installing a 75 cm dish, you will also require:
■ 2 - 13 mm wrenches (one to hold and one to tighten)
■ A wind brace support is recommended for high wind areas
NOTE: You must use the mast that came with the dish.
Hex Head Hi/Lo Screw
2 Supplied
1/4˝ Flat Washer
3 Supplied
3

Key points to remember when installing your Shaw Direct System:
■ Do not drill any holes until you’ve confirmed the best location for the dish.
■ Make sure the installation of the dish conforms to local electrical and
building codes, zoning requirements and other applicable laws and
regulations. If you are unsure, contact a local electrician or building
inspector for assistance.
■ For possible periodic removal of snow, choose a site that is easily
accessible.
■ Ensure there are no visible obstructions between the dish and your line of
sight to the satellites. Keep in mind that trees will grow up and outward and
may eventually block the signal.
■ The maximum allowable length for the RG-6 coaxial cable connecting
the receiver to your dish is 125 feet. Consult Shaw Direct if the cable will
exceed this length.
■ Use only RG-6 grade coaxial cable. Using lower grade RG-59 coaxial cable
may result in excessive signal loss and poor reception. Cable grade type is
indicated on the outer jacket of the cable.
Do not install the dish:
■ Under power lines
■ Where it may be easily tampered with
■ Where it is exposed to high winds, during windy or stormy conditions
2. MOUNTING LOCATIONS
Your dish will typically be mounted on a solid base. To ensure your
dish doesn’t move in windy conditions, choose a location where it
can be securely fastened. The mounting surface should be rigid
and solid.
We do not recommend:
■ Mounting the dish on a railing
■ Installing the dish on aluminum or vinyl siding (these are unlikely to be
structurally sound)
Keep grounding requirements in mind (see section 10 for additional
information on grounding).
NOTE: We do not recommend mounting the dish on the roof unless absolutely
necessary. We also recommend that you consult a building expert for future tips
on preventing roof leakage.
3. DISH ASSEMBLY
ST EP 1: To avoid losing any hardware components, select a clear
area for dish assembly.
Step 2: On the Universal Mount, insert the (2) 1/4˝ X 1/2˝ Carriage
Head Bolts (Mast Adjusting Bolts), through the mast and the
curved slot of the mount. Capture with (2) 1/4˝ External Tooth
Washers and (2) 1/4˝ Whiz Nuts. Tighten the bolts just enough to
hold in place (see Figure A).
FIGURE A
Ass emble Mas t Adjus ting Bolts w ith Whiz Nut loose
enough to allow movement in curved slot, without
damage to painted surface.
1/4˝ External Tooth Washer,
both sides
Universal
Mount
Universal
Mount
Assembly
IMPORTANT: The Elliptical Dish has a turn radius of +/- 35 degrees. If you are
mounting the dish on the side of your house, check the assembled dish and
mounting pole to see if you can rotate the dish in the desired azimuth setting.
If you can’t rotate the dish, choose an alternate location.
Key things to remember when choosing a mounting location:
■ The mounting surface should be flat, even and in good condition.
■ If you install the dish on the roof or side of your house, be sure to attach
the bolts into a building stud, rafter or other solid surface.
■ When mounting on the roof of your house, use an adequate/approved
sealant (for your type of roofing material) around the holes where the base
of the universal mount meets the mounting surface. This will prevent the
roof from leaking. Consult with a roofing expert to confirm best sealant.
1/4˝ Whiz Nut
1/4˝ x 1/2˝ Carriage Head Bolt
(Mast Adjusting Bolt)
Step 3: Attach the dish to the Clamp Mount Assembly using the
(2) 1/4˝ X 1-3/4˝ Long Carriage Head Bolts (Antenna Mounting
Bolts-Painted Head), (2) 1/4 Flat Washers and (2) 1/4˝ Whiz Nuts.
Ensure the Center Pivot Pin on the Clamp Mount Assembly is
inserted in the mating hole of the Dish (see Figure B).
4

30
20
10
4
0
50
60
FIGURE B
1
4
0
1
3
0
1
2
0
1
1
0
1
0
0
8
0
7
0
6
0
5
0
4
0
S
K
E
W
S
K
E
W
9
0
4. LOCATING THE SATELLITE
1/4˝ x 1 3/4˝ Long
Carriage Head Bolt
(Antenna Mounting Bolt)
Clamp Mount
Assembly
1/4˝ Flat Washer
1/4˝ Whiz Nut
Dish Socket
Centre Pivot Pin
STEP 4: Before tightening the bolts, adjust the skew alignment to
the 90 degree mark on the Clamp Mount Assembly (see Figure C).
Tighten the bolts just enough to hold in place. You’ll have to make
further adjustments to this setting later.
TIP: Initially setting the skew to 90 degrees will make it easier to
aim the dish.
FIGURE C
Skew Alignment Mark
Azimuth Clamp Bolts
Boss Holes
ST EP 1: Determine the direction in which to point the dish.
The primary satellite (SAT A) is located at 107.3 west longitude; the
secondary satellite (SAT B) will be located at 111.1 west longitude.
IMPORTANT: For dual satellite (elliptical) dish installation, use the SAT B
Azimuth, Elevation and Skew listings in the Dual Satellite Locator Chart at the
back of this manual for the city nearest your location.
WRITE THEM HERE:
Azimuth Elevation Skew
SAT A: _________ SAT A: _________ SAT A: _________
SAT B: _________ SAT B: _________ SAT B: _________
FIGURE E
SKEWELE VATIONAZIMUTH
NOTE:
Skew Adjustment Nuts
Each Scale mark
is 2 degrees
STEP 5: Attach the Feed Support Arm to the dish using the (1) 1/4˝ X
1-1/2˝ Hex Head Bolt (1), Spacer Sleeve, (1) 1/4˝ Flat Washer and
(1) 1/4˝ Whiz Nut, making sure the Feed Support Arm and Spacer
Sleeve are positioned as shown (See Figure D). Position the 2 plastic
cable clips (packaged with the LNB) around the support arm to
secure the coax cable(s) from the LNB to receiver.
FIGURE D
Feed Support Arm
Dish Socket
Spacer Sleeve
1/4˝ x 1 1/2˝ Long Hex Head Bolt
1/4˝ Whiz Nut
Flat 1/4˝ Washer
STEP 2: Use a compass to determine roughly where to point your dish.
STEP 3: Choose a dish installation location with a clear line of sight
to both SAT B and SAT A based on the settings you recorded
earlier. There should be no trees, buildings or other obstructions
between the dish and the satellite. Do you have a clear line of sight
to both SAT A and SAT B?
■ If YES, go to Step 4 and continue with the installation.
■ If NO, find another location.
■ If you’re not sure, contact Shaw Direct for more information.
NOTE: To ensure an accurate compass reading, stay away from large metal
objects. To double-check accuracy, take multiple readings several feet apart.
STEP 4: At the dish install site, hold a compass level and still in the
palm of your hand. When the needle stops rotating (dark half of the
needle always points north), slowly rotate the body of the compass
so that the “N˝ marking is aligned with the dark half of the needle.
Locate the tick mark on the compass edge corresponding to the
SAT B azimuth number you wrote down earlier (see Figure F). This
is the direction in which to point your dish to receive both SAT A
and SAT B signals.
TIP: Use a stick or other object to mark the correct azimuth direction.
YOU’VE JUST FINISHED ASSEMBLING THE DISH.
5
 Loading...